QuickQueue Guide
@QuickQueiePublication on the channel according to the schedule
Content
- What can QuickQueue do?
- Getting started
Connecting QuickQueue to your channel
Publishing the first post - Functionality
Schedule
Interval
Publication on the exact date
Auto-delete
Time in the top
Automatic caption
Text Filter
What can QuickQueue do?
QuickQueue helps you to create a queue of posts and publishes them at a specified schedule in your channel. Unlike deferred posts, you don't need to set a publication date for each post. You set up the schedule once and just add new posts to the queue.
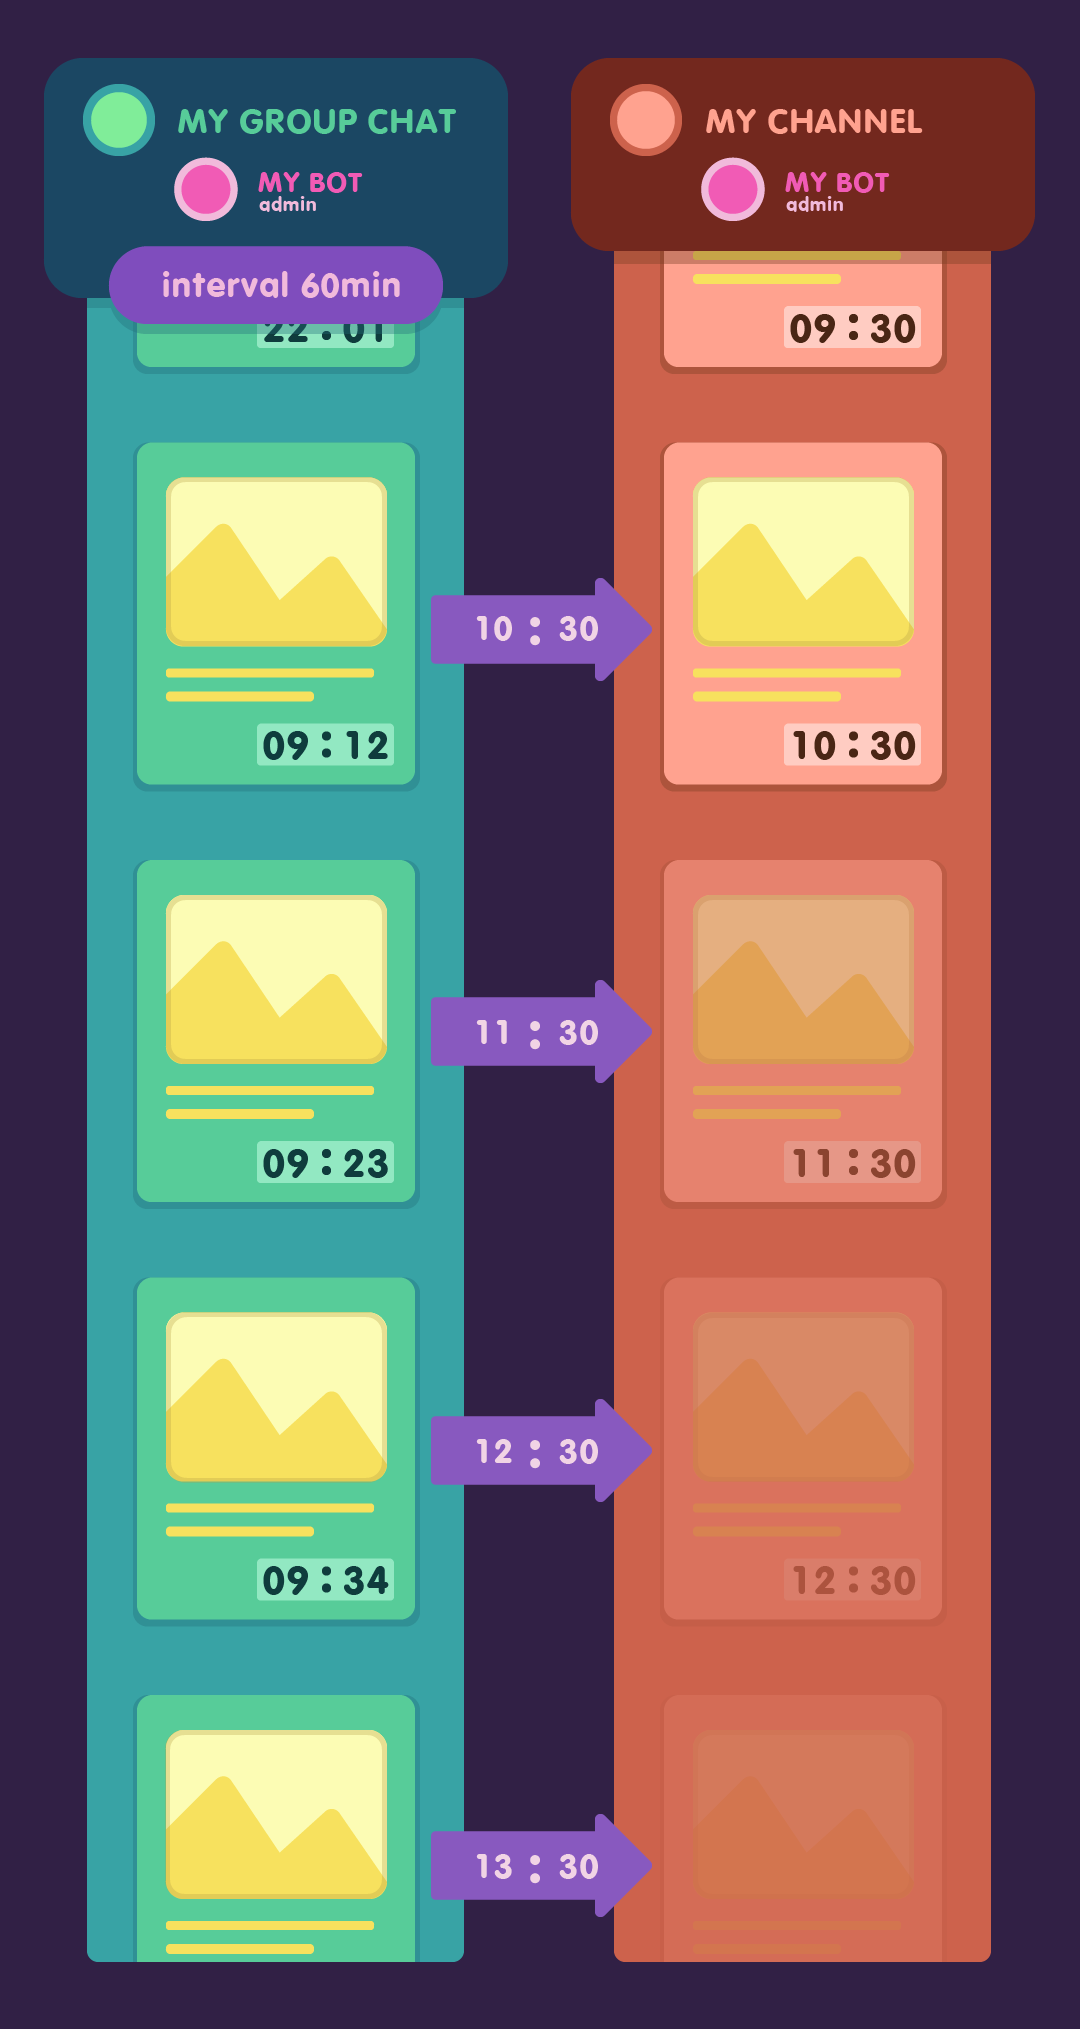
For convenient organization of the queue, each post can be given a priority, the time in the "top" and the time of automatic deletion, the exact date of publication.
Getting started
Connecting QuickQueue to your channel
- Go to the BotFather bot and create a new bot that will only be used for the QuickQueue queue. You can create a new bot using the /newbot command.|
Do not connect bots that are used in other services. - After creating the bot, copy its token, go to the bot QuickQueue, click /start and send the token of the created bot.
- Add the bot created in step 1 to the admins of your channel, to which posts from the queue will be published. Grant him the rights to publish messages.
Please note that only an administrator with the rights to add new administrators can add a bot to the channel. - Go to the your bot and set up the date by selecting the time according to your time zone.
If something doesn't work out, write to @QuickQueueSupport_bot
Adding Administrators
If you are not the only administrator on your channel:
- Create a new private group chat that will only be used for the QuickQueue queue. It is in this chat that you will add new posts, which will later be published in your channel.
- Add your bot to the administrators of the created chat, grant it the rights to delete messages.
Please note that only the person who added the bot to QuickQueue can add a bot to the chat. - Add to this chat those to whom you want to grant access to the queue.
Publishing the first post
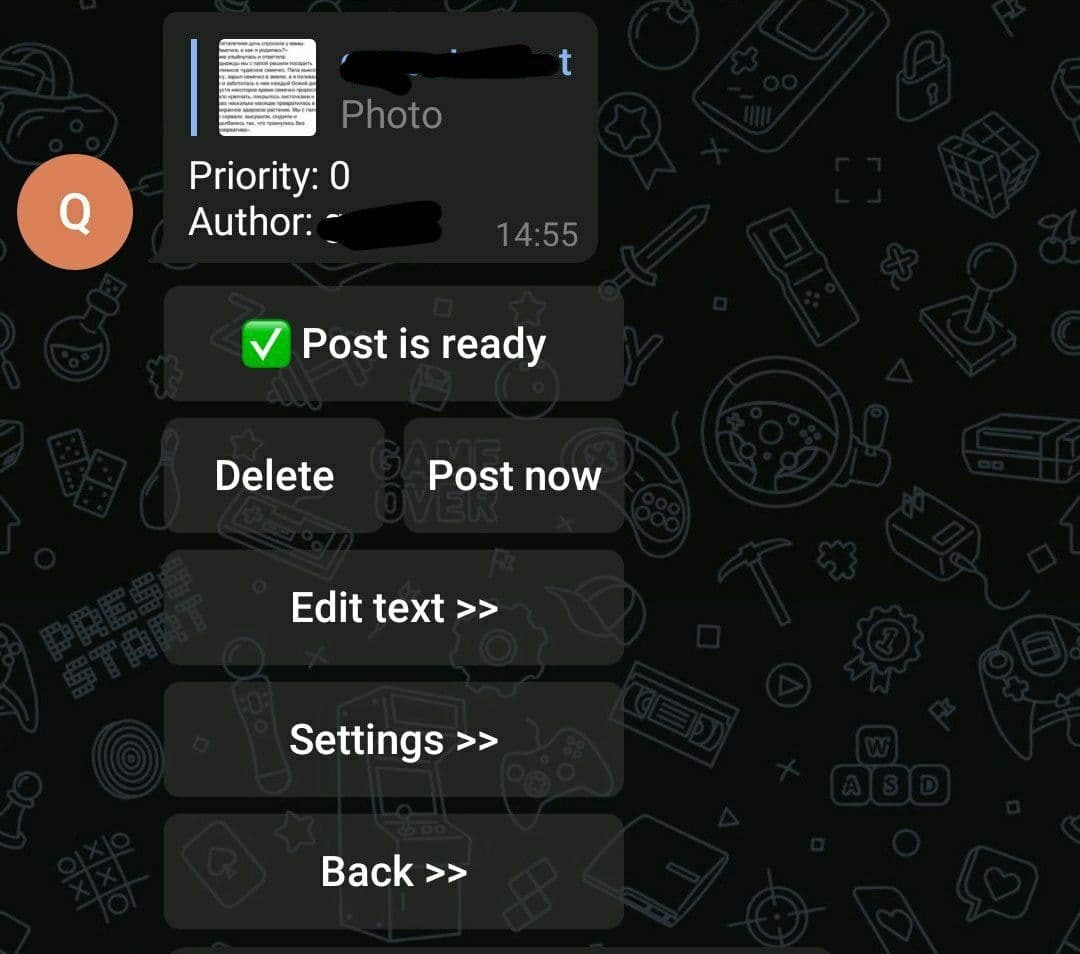
- Send the message you want to publish on the channel to the chat queue. In response, the bot will send you the same message.
- In the menu below this message, click "Ready to publish".
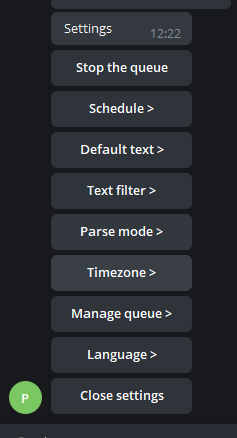
- Open the settings with the /settings command . In the settings menu, click "Start queue".
After that, the first message will be published in the linked channel within a minute. From the moment the first message is published, the time for the next message to be published will start counting down.
Also, in the settings, you can enable publishing on a schedule, instead of an interval. Then the first and subsequent messages will be published according to the configured schedule.
To avoid clicking "Ready to publish" under each new message, enable "Auto-ready to publish" in the queue settings menu.
Functionality
Schedule
You can configure the publication schedule using cron syntax.
To go to the schedule setting, open the settings menu /settings -> "Schedule" -> "Schedule"
Cron allows you to set up almost any schedule.
Send a string in the format:
 * * * * *
 | | | | |
 | | | | day of week (0 - 6, where 0 - Sunday)
 | | | month (1 - 12)
 | | day of month (1 - 31)
 | hour (0 - 23)
 minute (0 - 59)
Be careful if the value "*" is set in minutes, posts will be published every minute!
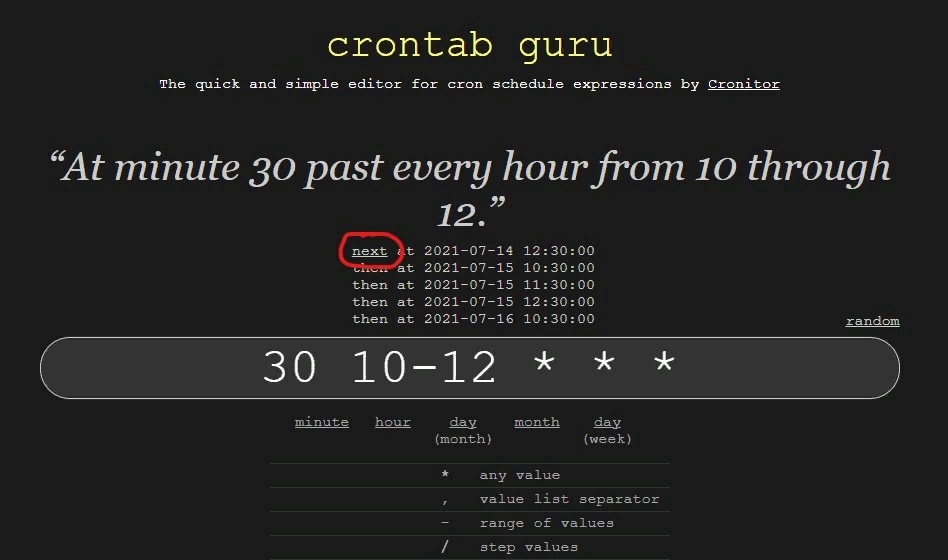
You can check your schedule on the website https://crontab.guru/
crontab. guru will show you several dates that match the schedule
Examples of schedules that you can use immediately or take as a basis for your own configuration:
*/30 * * * * - Twice an hour, at 00 and 30 minutes
0 10-22 * * * - At the beginning of each hour in the interval from 10 to 22: 59
30 10,15,20 * * * - Every day in 10:30, 15:30, 20:30
*/30 */2 * * 1-5 - From Monday to Friday, at even hours (0, 2, 4, 6 ...) every 30 minutes
After setting the value, do not forget to switch the queue to work on a schedule! /settings -> "Schedule" -> "Schedule" -> "Use schedule"
For those who are not familiar with cron, the setup may seem complicated and not clear, but in fact, it's easier than it seems! Don't forget that you can contact @QuickQueueSupport_bot for help.
Interval
Publishing by interval is very simple. But there is a detail in it that is worth paying attention to! If you just connected the queue, then with the interval enabled, the first post will be published within a minute. From the moment of publication of this post, the time for subsequent publications will start counting down.
To adjust the interval value, open the settings menu /settings -> "Schedule" -> "Interval"
The interval value is set in minutes.
After setting the value, do not forget to switch the queue to work on the interval! /settings -> "Schedule" -> "Interval" -> "Use interval"
Publication on the exact date
It is often necessary for a post to be published at exactly the specified time. To do this, of course, you can use the deferred publications function built into Telegram. But QuickQueue also provides such an opportunity, which gives some advantages over the built-in functionality:
- You can set the time for publication in the " top"
- You can set the time for automatic deletion of a post
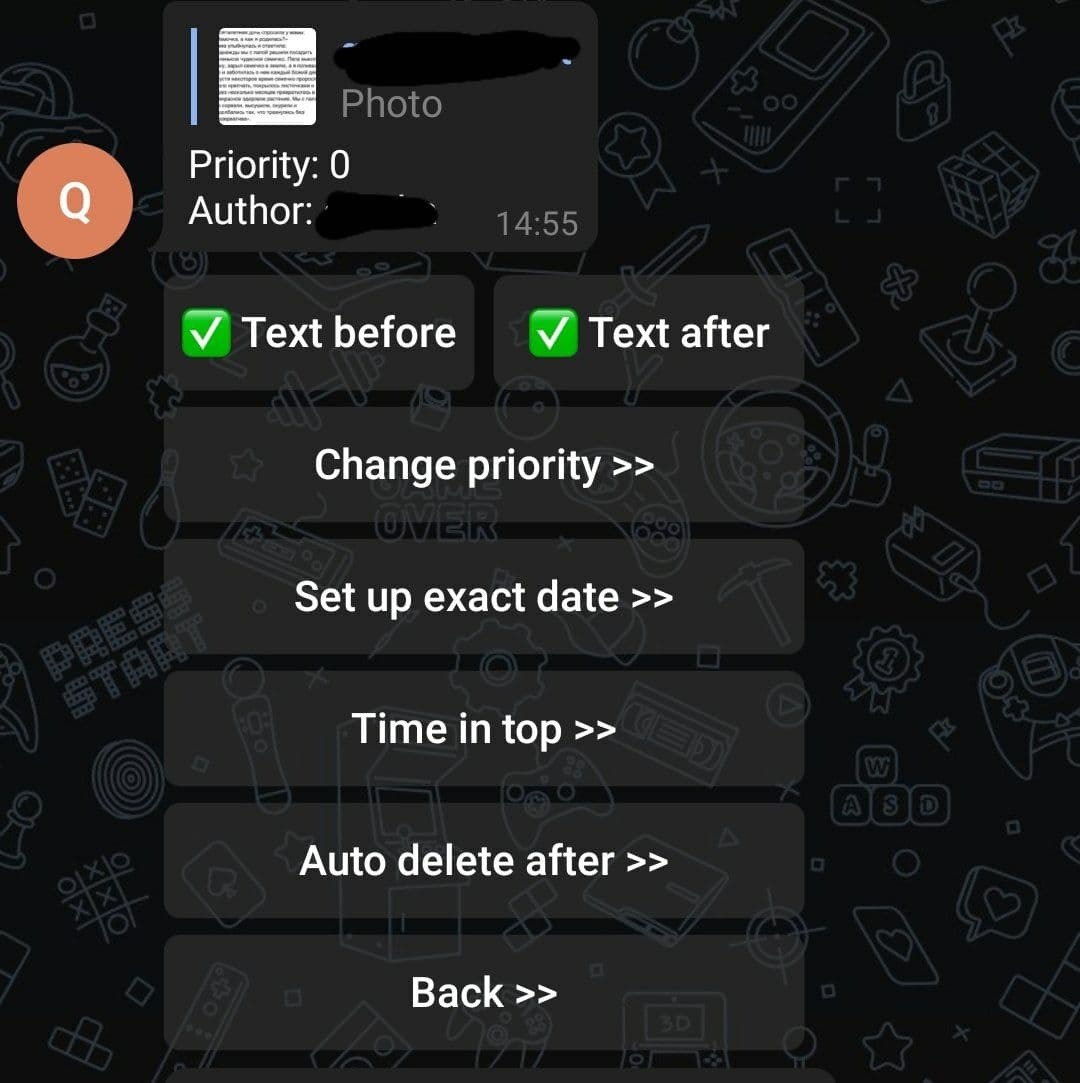
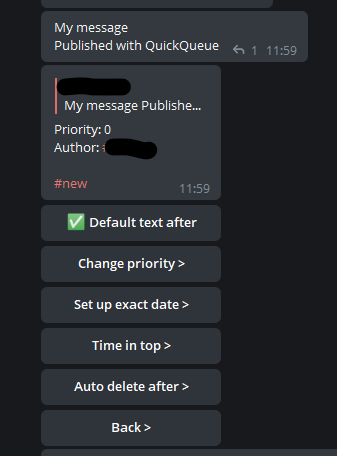
Setting the publication date is in the queue in the menu under the message "Menu" -> "Settings" -> "Set the exact date"
Auto-delete
You can set the time for automatic deletion of a post with a delay of up to 48 hours. After the specified period of time, the post will be automatically deleted from your channel.
The auto-delete time setting is located in the menu under the message "Menu" -> "Settings" -> "Auto-delete after"
Time in the top
You can set the time for publication in the "top". During this time, posts from the queue will not be published to the channel (with the exception of posts on the exact date, it will be published despite the time in the top of the previous post).
The time setting in the "top" is in the queue in the menu under the message "Menu" -> "Settings" -> "Time in the top"
Automatic caption
You can set a caption that will be automatically added to all posts. It is possible to add text at the beginning of the message and at the end
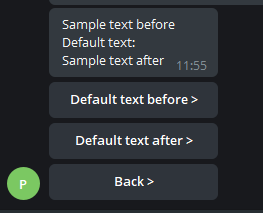
You can set the text for auto-caption in the queue settings: /settings -> "Default text"
If the default text is set in the settings under the posts "Menu" -> "Settings", it is possible to enable or disable the default text.
Text Filter
A powerful feature.
If you "borrow" content from other channels, you will definitely need this feature. You can use it to filter the message text. For example, let's imagine that you borrow content from the channel of the @for5oclock, and they have the signature @for5oclock under each post. What to do? Edit each message? Nope - not our option. Instead, you can add a filter that will automatically delete that text! Open the settings /settings -> "Text filter"
Adding the @for5oclock filter. It's done! The bot will automatically delete this text.
What should I do if I need to delete all hashtags? Easily! Let's add not just text to the filter, but a regular expression!
The regular expression that will find all hashtags looks like this:
/#[\w\d_]+/gm
Add it to the filters and there will be no more hashtags.
If you need to delete all the text, you can add such a regular expression:
/.*/s
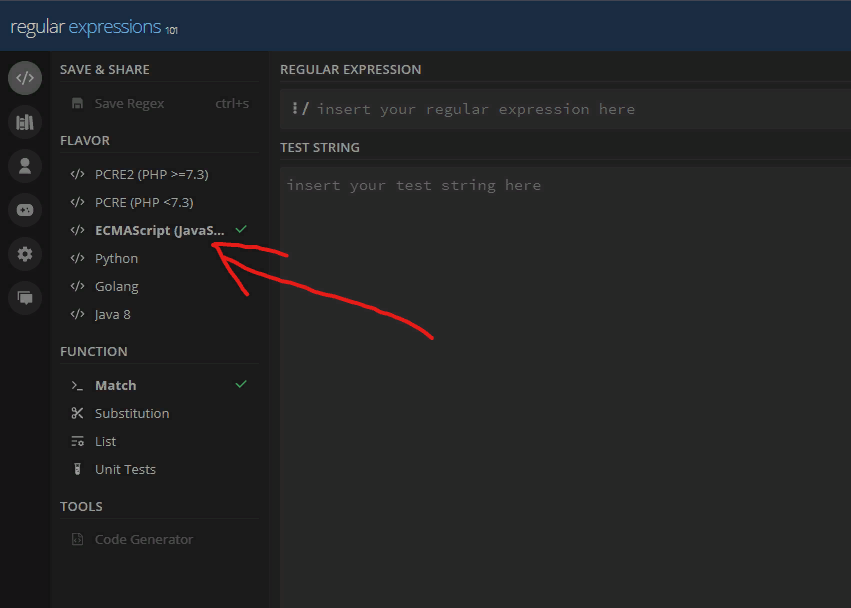
Regular expressions must comply with the ECMAScript (JavaScript) standard. You can check them on the website https://regex101.com/
Don't forget to select the appropriate standard in the menu!
It is also possible to replace the found word with another one. To do this, we will add a filter in which in the first line we will write an expression that needs to be found and through an empty line we will write an expression to replace it with, for example:
sound on

🔊
All phrases "sound on" will be replaced with an emoji" 🔊 "
Don't forget that you can contact @QuickQueueSupport_bot for help.