Modular-ShopBot Payment Methods
ModularBotTo allow customers to make purchases it is necessary to set up one or more payment methods:
ATTENTION: for a customer to proceed with payment at least one of the methods must be enabled!
Telegram
In order to use Telegram payment, it is necessary to configure a payment provider, i.e. a service that manages payments by the customer, and which interfaces with Telegram to receive the related data.
Telegram allows you to configure various providers:
https://core.telegram.org/bots/payments#supported-payment-providers.
In this guide we will use one of the most famous, namely Stripe, as an example.
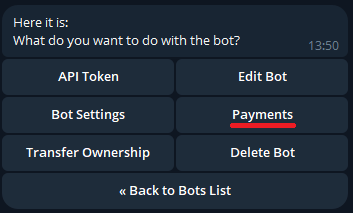
First of all we need to connect our bot to Stripe, and to do this we need to start BotFather and send the /mybots command.
Once we have selected our bot from the list, we will have to press the "Payments" button
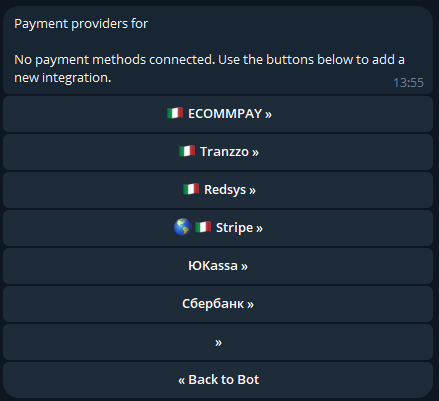
We select Stripe from the list of providers:
And finally we press the button to connect Stripe's TEST mode to our bot:
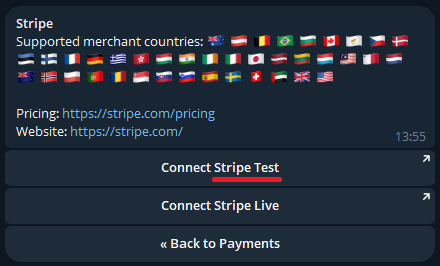
Through the test mode, it will be possible to make non-real payments to verify the correct functioning of the payment via bot.
Once we click on Connect Stripe Test, we will be redirected to the Stripe Test bot to authorize Stripe to connect to our bot:

Then by pressing Authorize, we will be redirected to the Stripe site to begin the configuration:
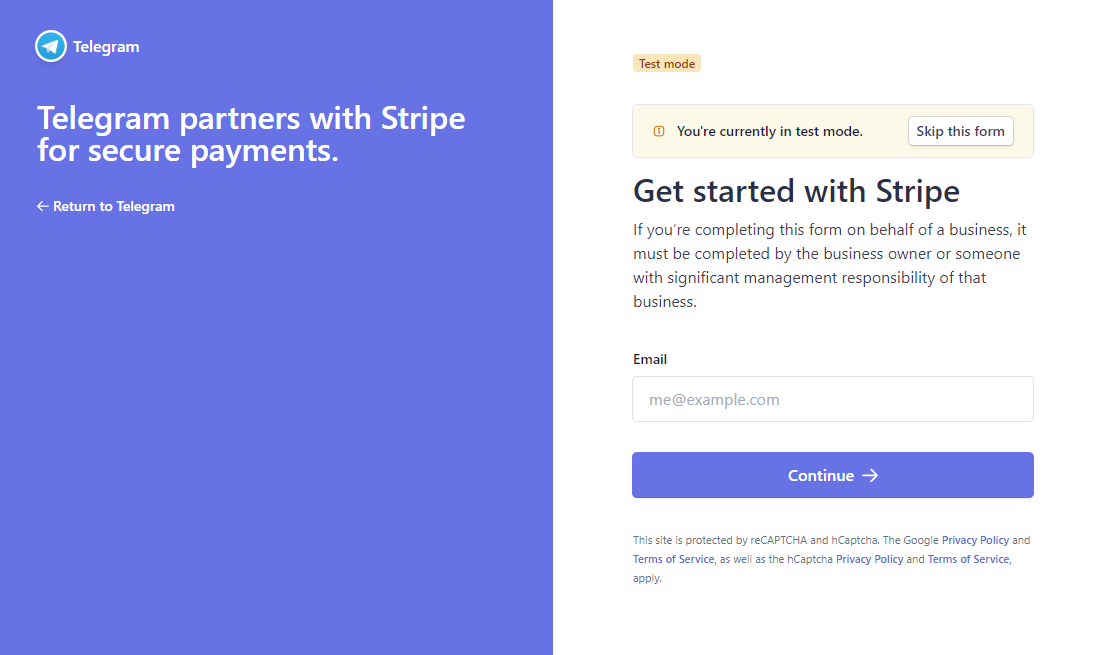
Enter your email and press the button to continue.
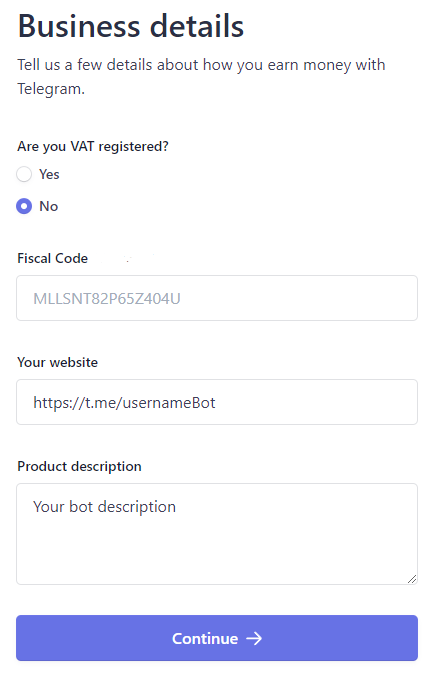
Enter the required information, and in the last two fields enter information relating to the bot, such as the link for the first case and the description in the second. Press continue to get to the part relating to the bank account:
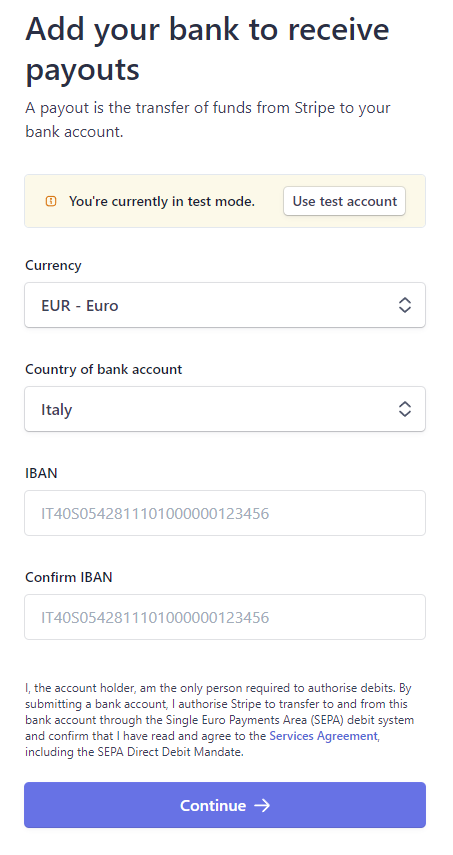
In this case, since we are configuring the TEST mode, you can enter non-real data and proceed with the Continue button.
Once the final steps have been completed, you will find yourself on the Stripe page dedicated to managing Test payments. From this page you can check how Stripe works once you receive a payment from the bot.
Before starting to test payments, however, it is necessary to return to the chat with BotFather, in which a secret token will appear in the providers menu:
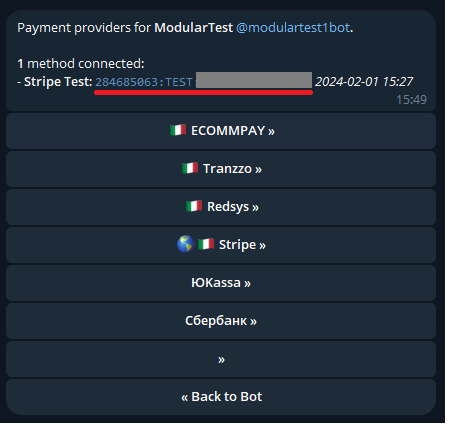
This token will be inserted in the appropriate space of the Modular-Shop management system.
So let's go to our bot in the shop section:

We press on "Manage shop" which will redirect us to our shop management system:

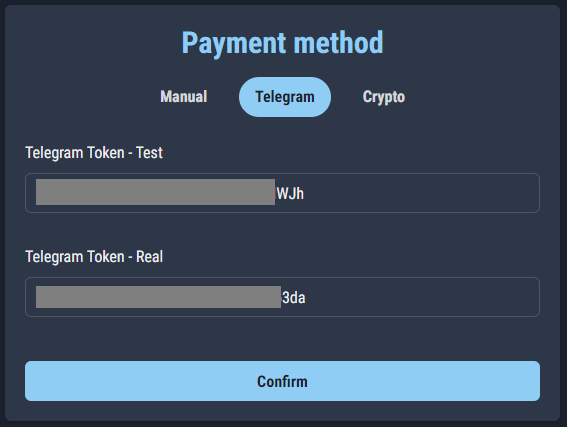
We press the "Settings" button at the top right to get to the payment methods configuration page and paste the token into the Telegram Token - Test field:
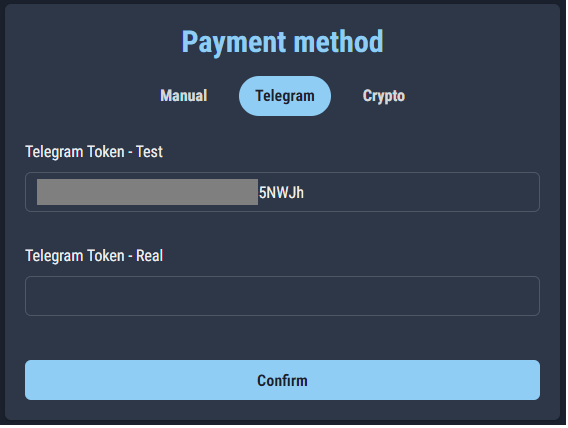
Press confirm and the Telegram payment method will be enabled.

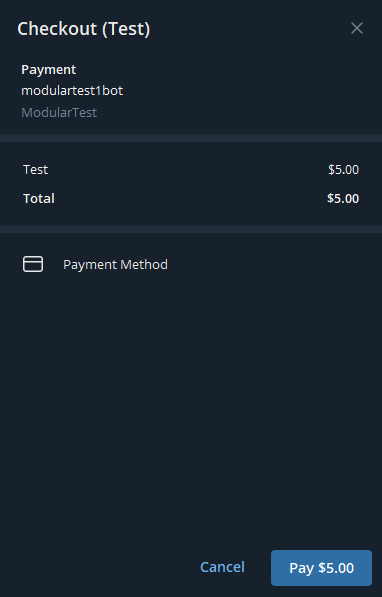
Let's now try to make a test payment:

Finally, by pressing the "Card" button, the Telegram payment procedure will be started:
After pressing Pay, enter the following as your card number: 4242 4242 4242 4242. Also enter the other fields with fictitious information:
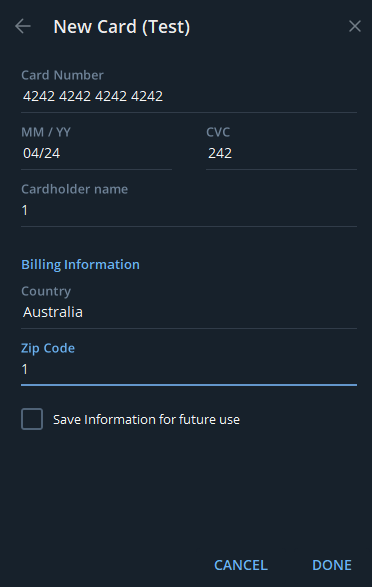
Finally, press Done > Pay > Continue and you will receive the reward for the product you purchased as a test.

We have just seen how to configure Telegram payment in Test mode, we now need to also configure Real mode to allow customers to purchase our products.
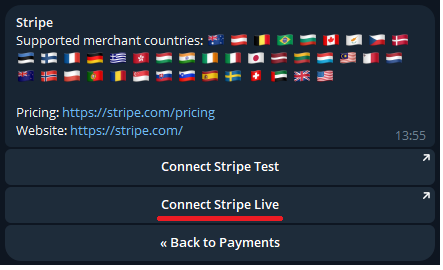
To do this, simply follow the same procedure just described, entering the correct data during Stripe registration. To register on Stripe in real mode, simply press the Connect Stripe Live button:
Once registration is completed, you will have a second secret token, which you will have to paste in the Telegram Token - Real field of the management system
Only when you have entered the Real Token will your users be able to pay with Telegram payment. The Token Test can remain active and will be used by the bot to make test payments if you administrators want to make a purchase via the bot's "Try the Shop" button.
Manual
Manual payment consists of sending payment instructions to every user who wants to purchase something from our store. These instructions must be configured in the management system and will be automatically sent by the bot to each user at the time of payment.
Instructions mean, for example, a request to send an amount of money to a certain bank account. Furthermore, in the same instructions it will be necessary to explain to the user to send the screenshot of the payment in the chat as proof.
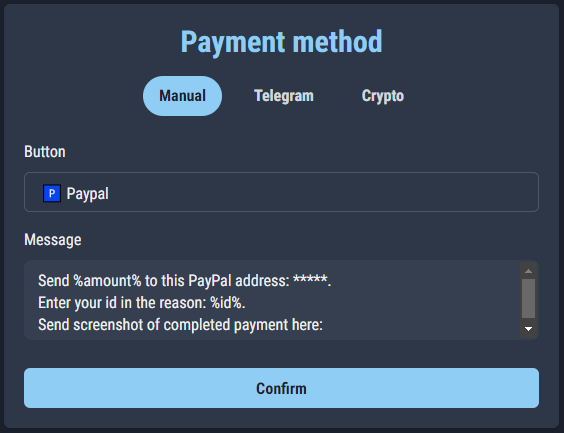
You can use the following variables to insert the user data that will replace the variable into the message:
• %amount% which will be replaced with the total price of the cart
• %id% which will be replaced with the user's Telegram id
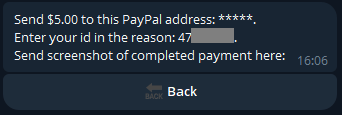
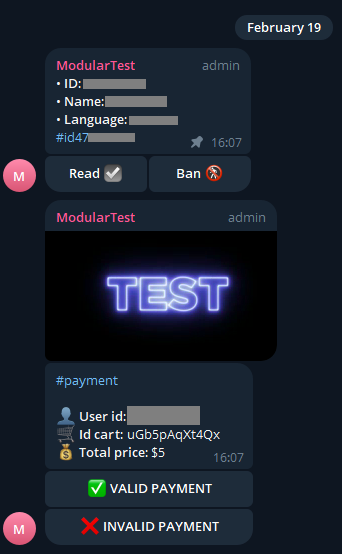
In the image below we can see an example of this:
Attention: We recommend adding to the instruction message also the warning that the user will have the number of hours you entered in the management system available to pay, otherwise the order will be cancelled.
Furthermore, as you can see from the previous image, it is possible to enter the name that the payment button will have in the user's chat with the bot.
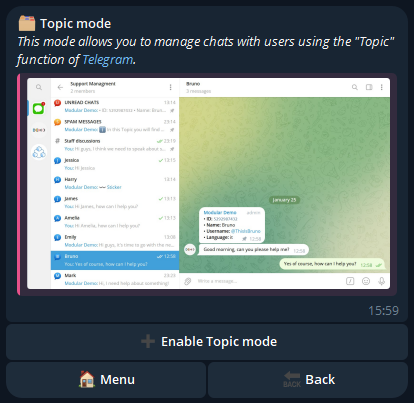
To use manual payment, you must first create a Telegram group to manage user payments; subsequently we will activate the topic mode in our bot by going to the main menu, pressing on "Feedback module" and on "Topic mode":
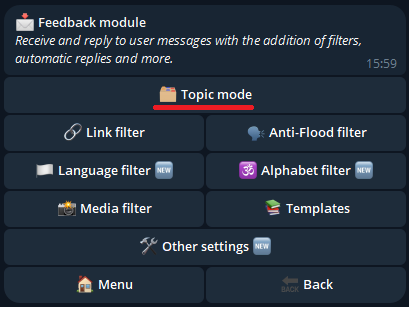
We then press on "Activate Topic mode"; once the wizard has been completed we will have our group configured in topic mode with our bot inside:
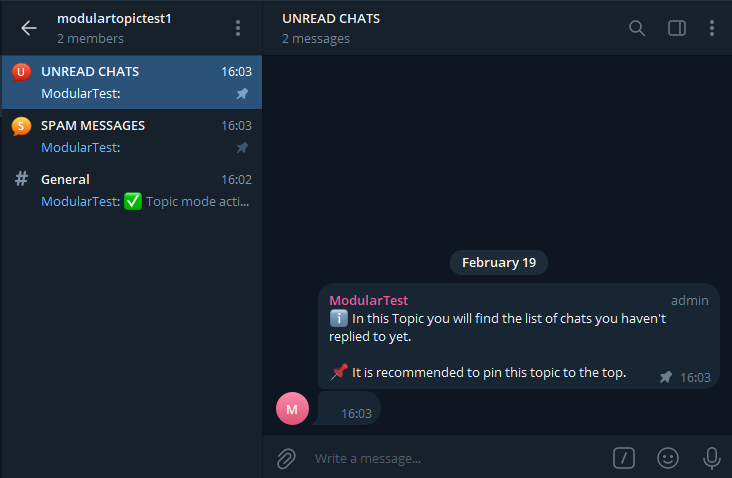
By activating topic mode, you will have a chat for each user who will send you the payment proof screen.
We then proceed to make a test payment:
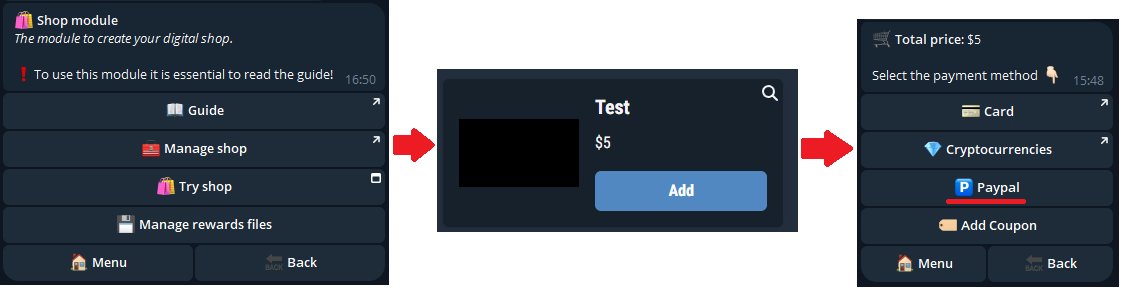
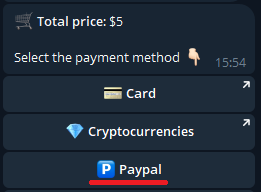
After adding a product to the cart and confirming, we press on the customized button that we defined previously (PayPal):
At this point we send a test image:

The bot tells us to wait for approval. We then return to the Topic group activated previously, where the chat with the user who made the payment (us) will appear:
Once you have verified that everything is ok, simply press on "Valid payment" and the user will be sent the reward for what he purchased.
If, however, there are problems with the screen sent, we can press on "Invalid payment" and the user will receive an automatic message relating to the payment failure.
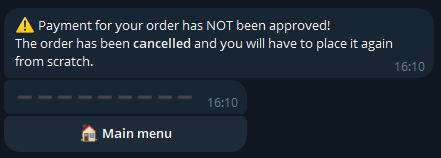
We recommend contacting the user via their Topic chat to explain what went wrong with the payment.
Crypto
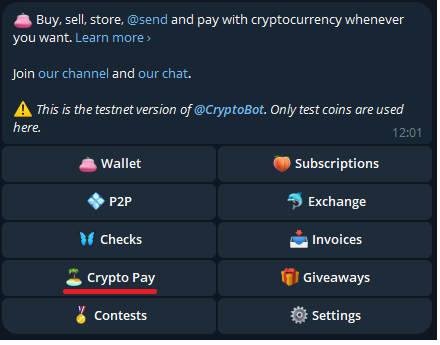
To configure the payment with crypto you must first start the bot with which the transactions will be managed. Let's then launch the @CryptoTestnetBot test bot:
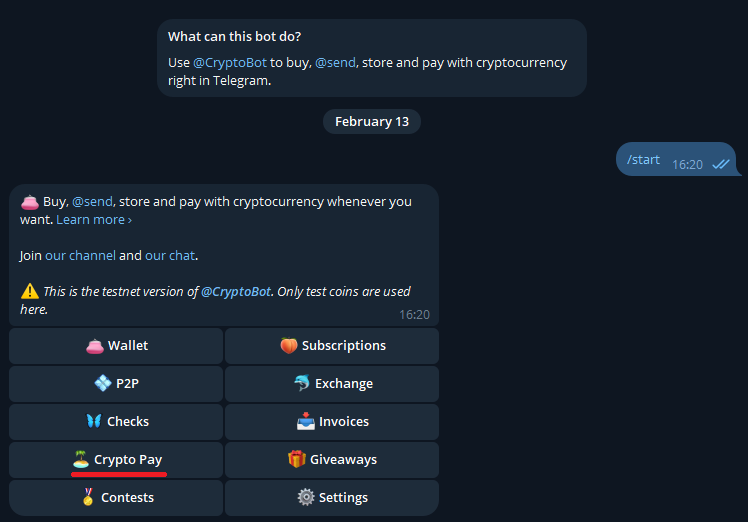
We press the "Crypto Pay" button to begin the payment configuration:
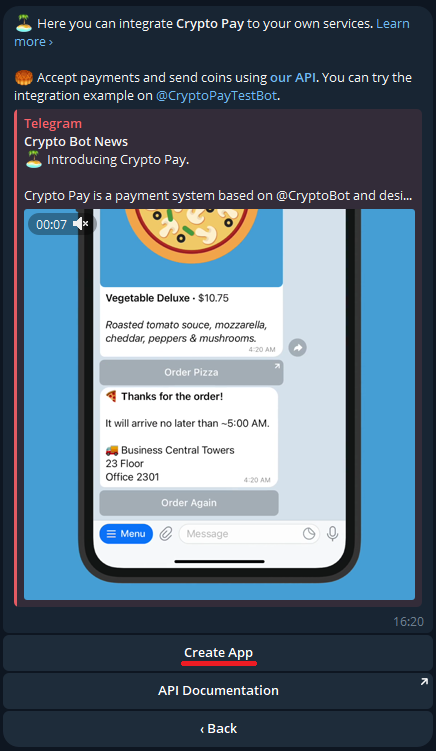
And then we press on "Create App":
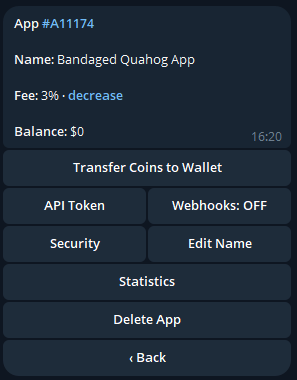
Finally we press on "Webhooks" and then on "Enable Webhook":
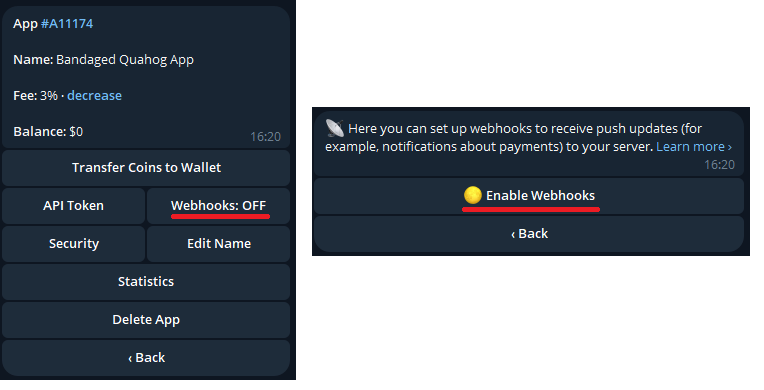
At this point we will be asked to send the server URL:
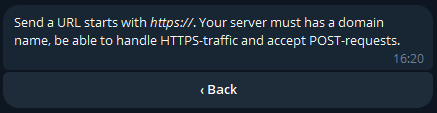
We then send the Modular server URL https://cryptobot.modularbot.me/webhook
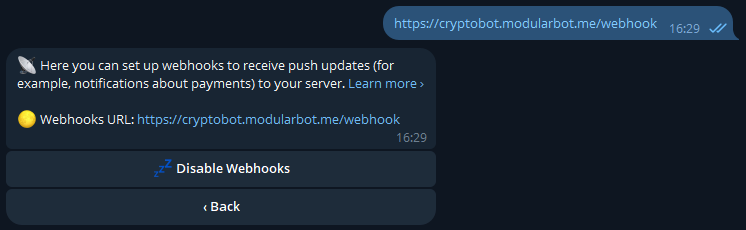
If the operation was successful you should find the URL in the bot's message.
Let's go back and verify that the "Webhook" option is ON:

We then press the "API Token" button:
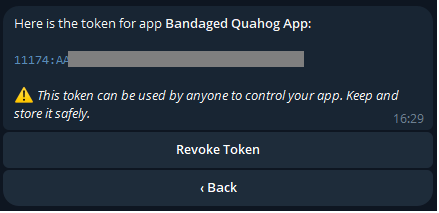
The code in blue is your secret token for Crypto payments, keep it aside.
Warning: never send your Crypto token to anyone!
This token will be inserted in the appropriate space of the Modular-Shop management system.
So let's go to our bot in the shop section:
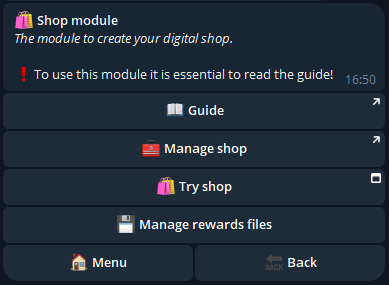
We press on "Manage shop" which will redirect us to our shop management system:
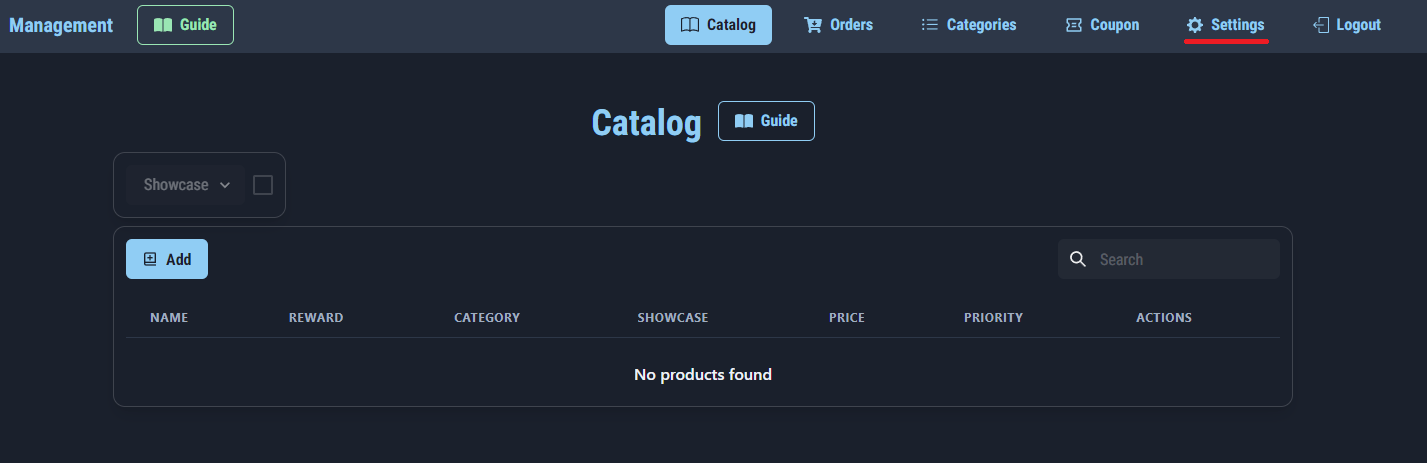
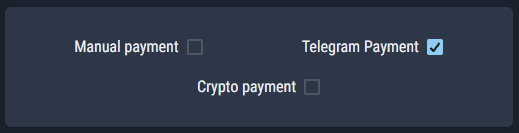
Press the "Settings" button at the top right to get to the payment methods configuration page.
We select Crypto, insert the Test Crypto Token that we saved a few steps back and press "Confirm":
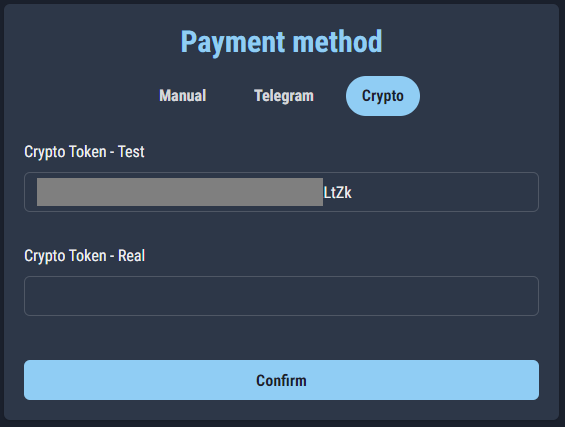
If the operation was successful, a check will appear on the chosen payment method.
Let's now load some fictitious Cryptocurrencies into our Test wallet to try a payment with Crypto.
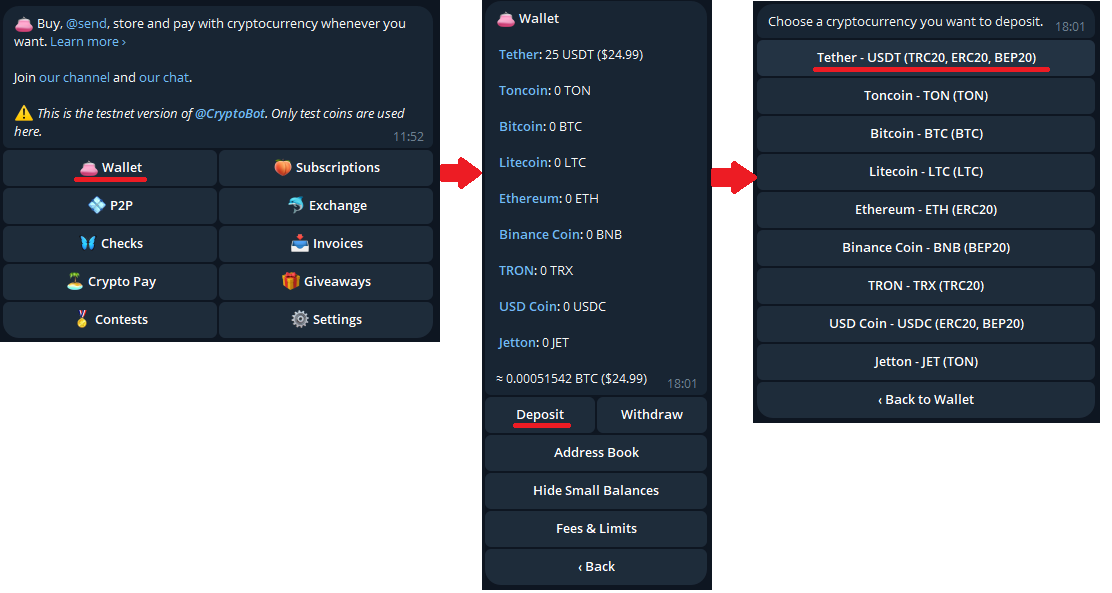
Let's first go back to the @CryptoTestnetBot home menu and press on
Wallet > Deposit > Tether - USDT:
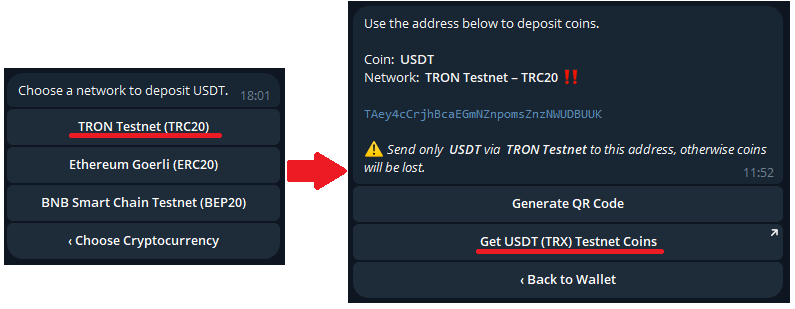
Finally we press on TRON > Get USDT:
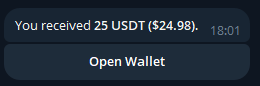
At this point, 25 USDT will be loaded into our wallet that can be used for test payments:
Now that we have some test Cryptocurrencies we can try a payment. We open our shop by pressing on "Try the shop", add a product to the cart and confirm:
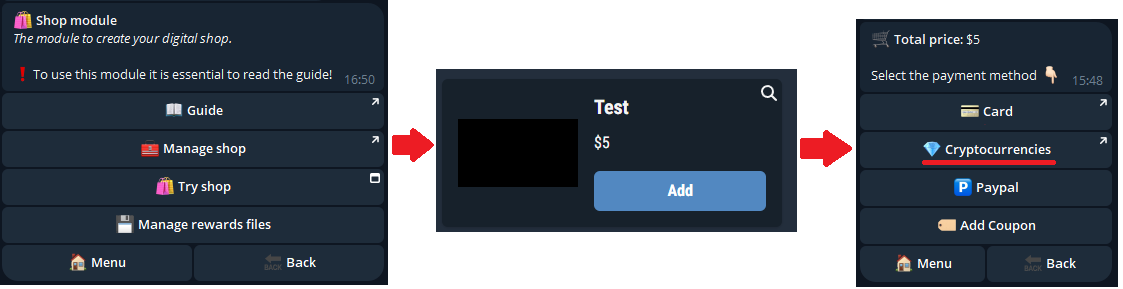
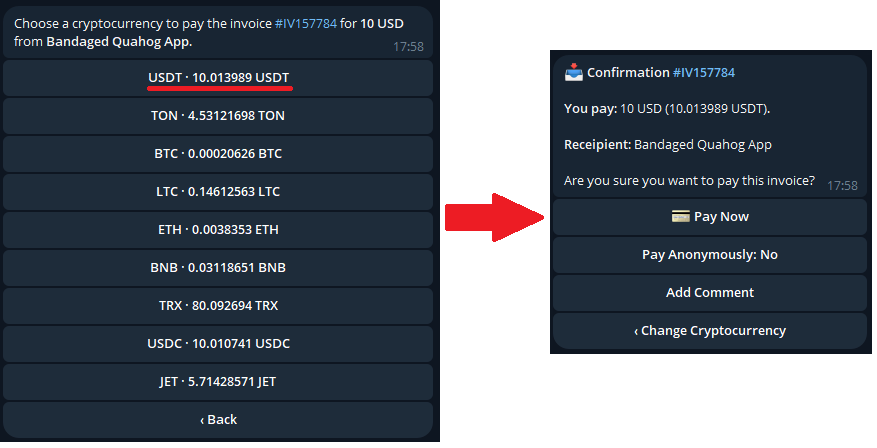
At this point we will be redirected to the Crypto bot, where we are asked what to pay with; we select the Cryptocurrency added previously and press on "Pay Now":
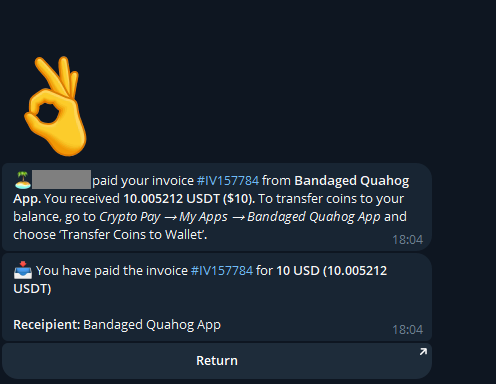
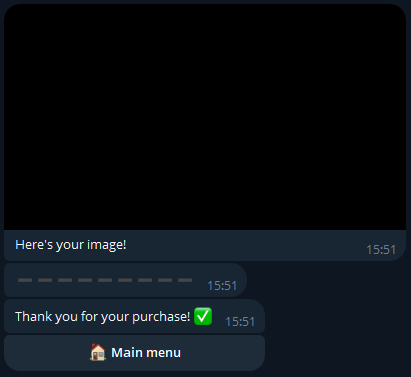
Once paid, the Crypto bot will confirm the payment while our bot will send us the reward for the product just purchased!
We have just seen how to configure Crypto payment in Test mode, we now need to also configure Real mode to allow customers to purchase our products.
To do this, simply follow the same procedure just described, but configuring the bot for real Crypto payments: @CryptoBot.
Finally, once all the steps have been carried out also for @CryptoBot, it is recommended to rename your payment "App", i.e. the name that users will see at the time of purchase, as follows:
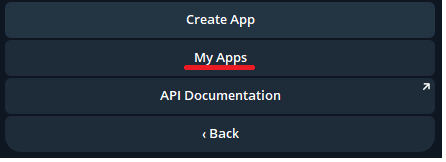
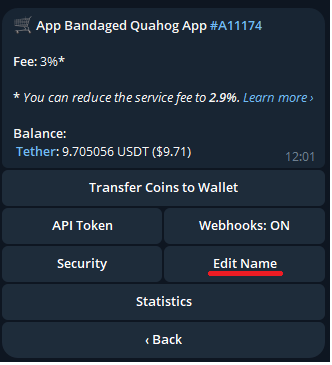
After pressing Crypto Pay > My Apps > Edit Name, send the name of your shop.