How to create a TON testnet wallet and navigate the testnet’s services.
The Open Network
- First, you’ll need to create a TON wallet in the testnet. To do so, go to this link.

The process is the same as creating a regular wallet with TON Wallet. (You can use this guide to get started.)
2. Now you have to get testnet Toncoin. Launch the @testgiver_ton_bot bot in Telegram Messenger, enter the /get command, and send the bot the address of your TON testnet wallet.
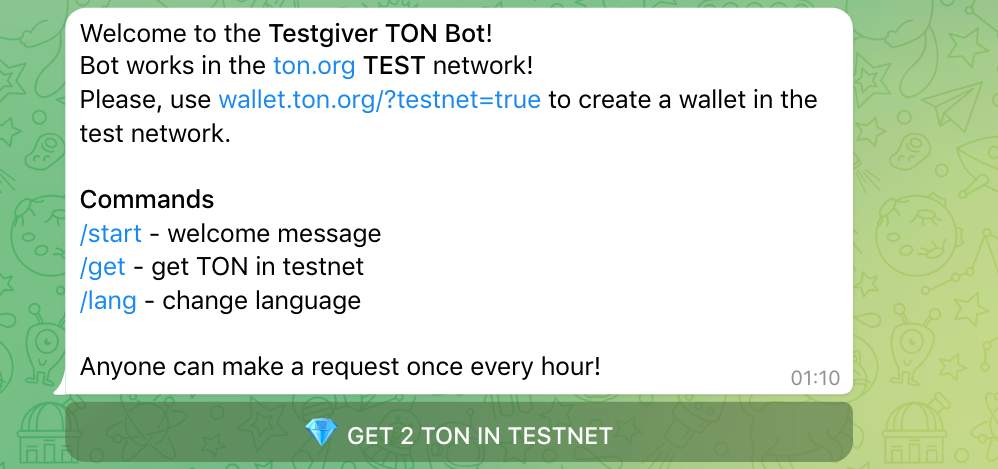
You’ll soon receive testnet Toncoin in your wallet, which you’ll be able to use.
3. Switch your TON Wallet from the mainnet to the testnet. We’ll be using the TON Wallet Google Chrome extension for this guide.
Go to your newly created testnet wallet by entering the seed phrase:

4. Click on the three dots in the upper right-hand corner and click “About”:

5. Navigate your cursor to the wallet’s version, hold “Shift,” and left-click:

6. Confirm by clicking “I’M SURE”:

7. That’s it! You’ve switched to the testnet and can now view your balance of testnet Toncoin:

8. Now, you can navigate and interact with products in the testnet.
For example, you can visit the testnet version of NFT marketplace Getgems, decentralized exchanges Tegro.Finance or Scaleton, and other products in need of testing, some of which we’ve told you about on TON Community channels.
Attention:
Be careful not to send your real Toncoin in the testnet because it’ll be lost forever.