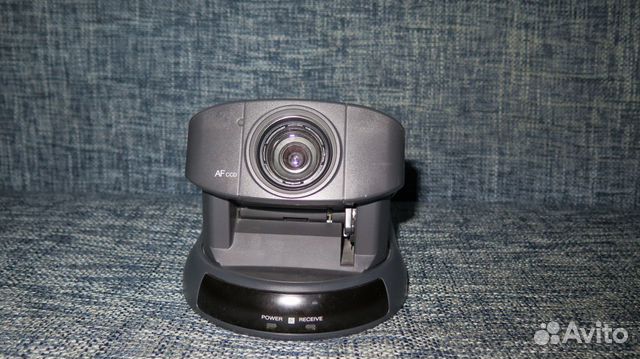
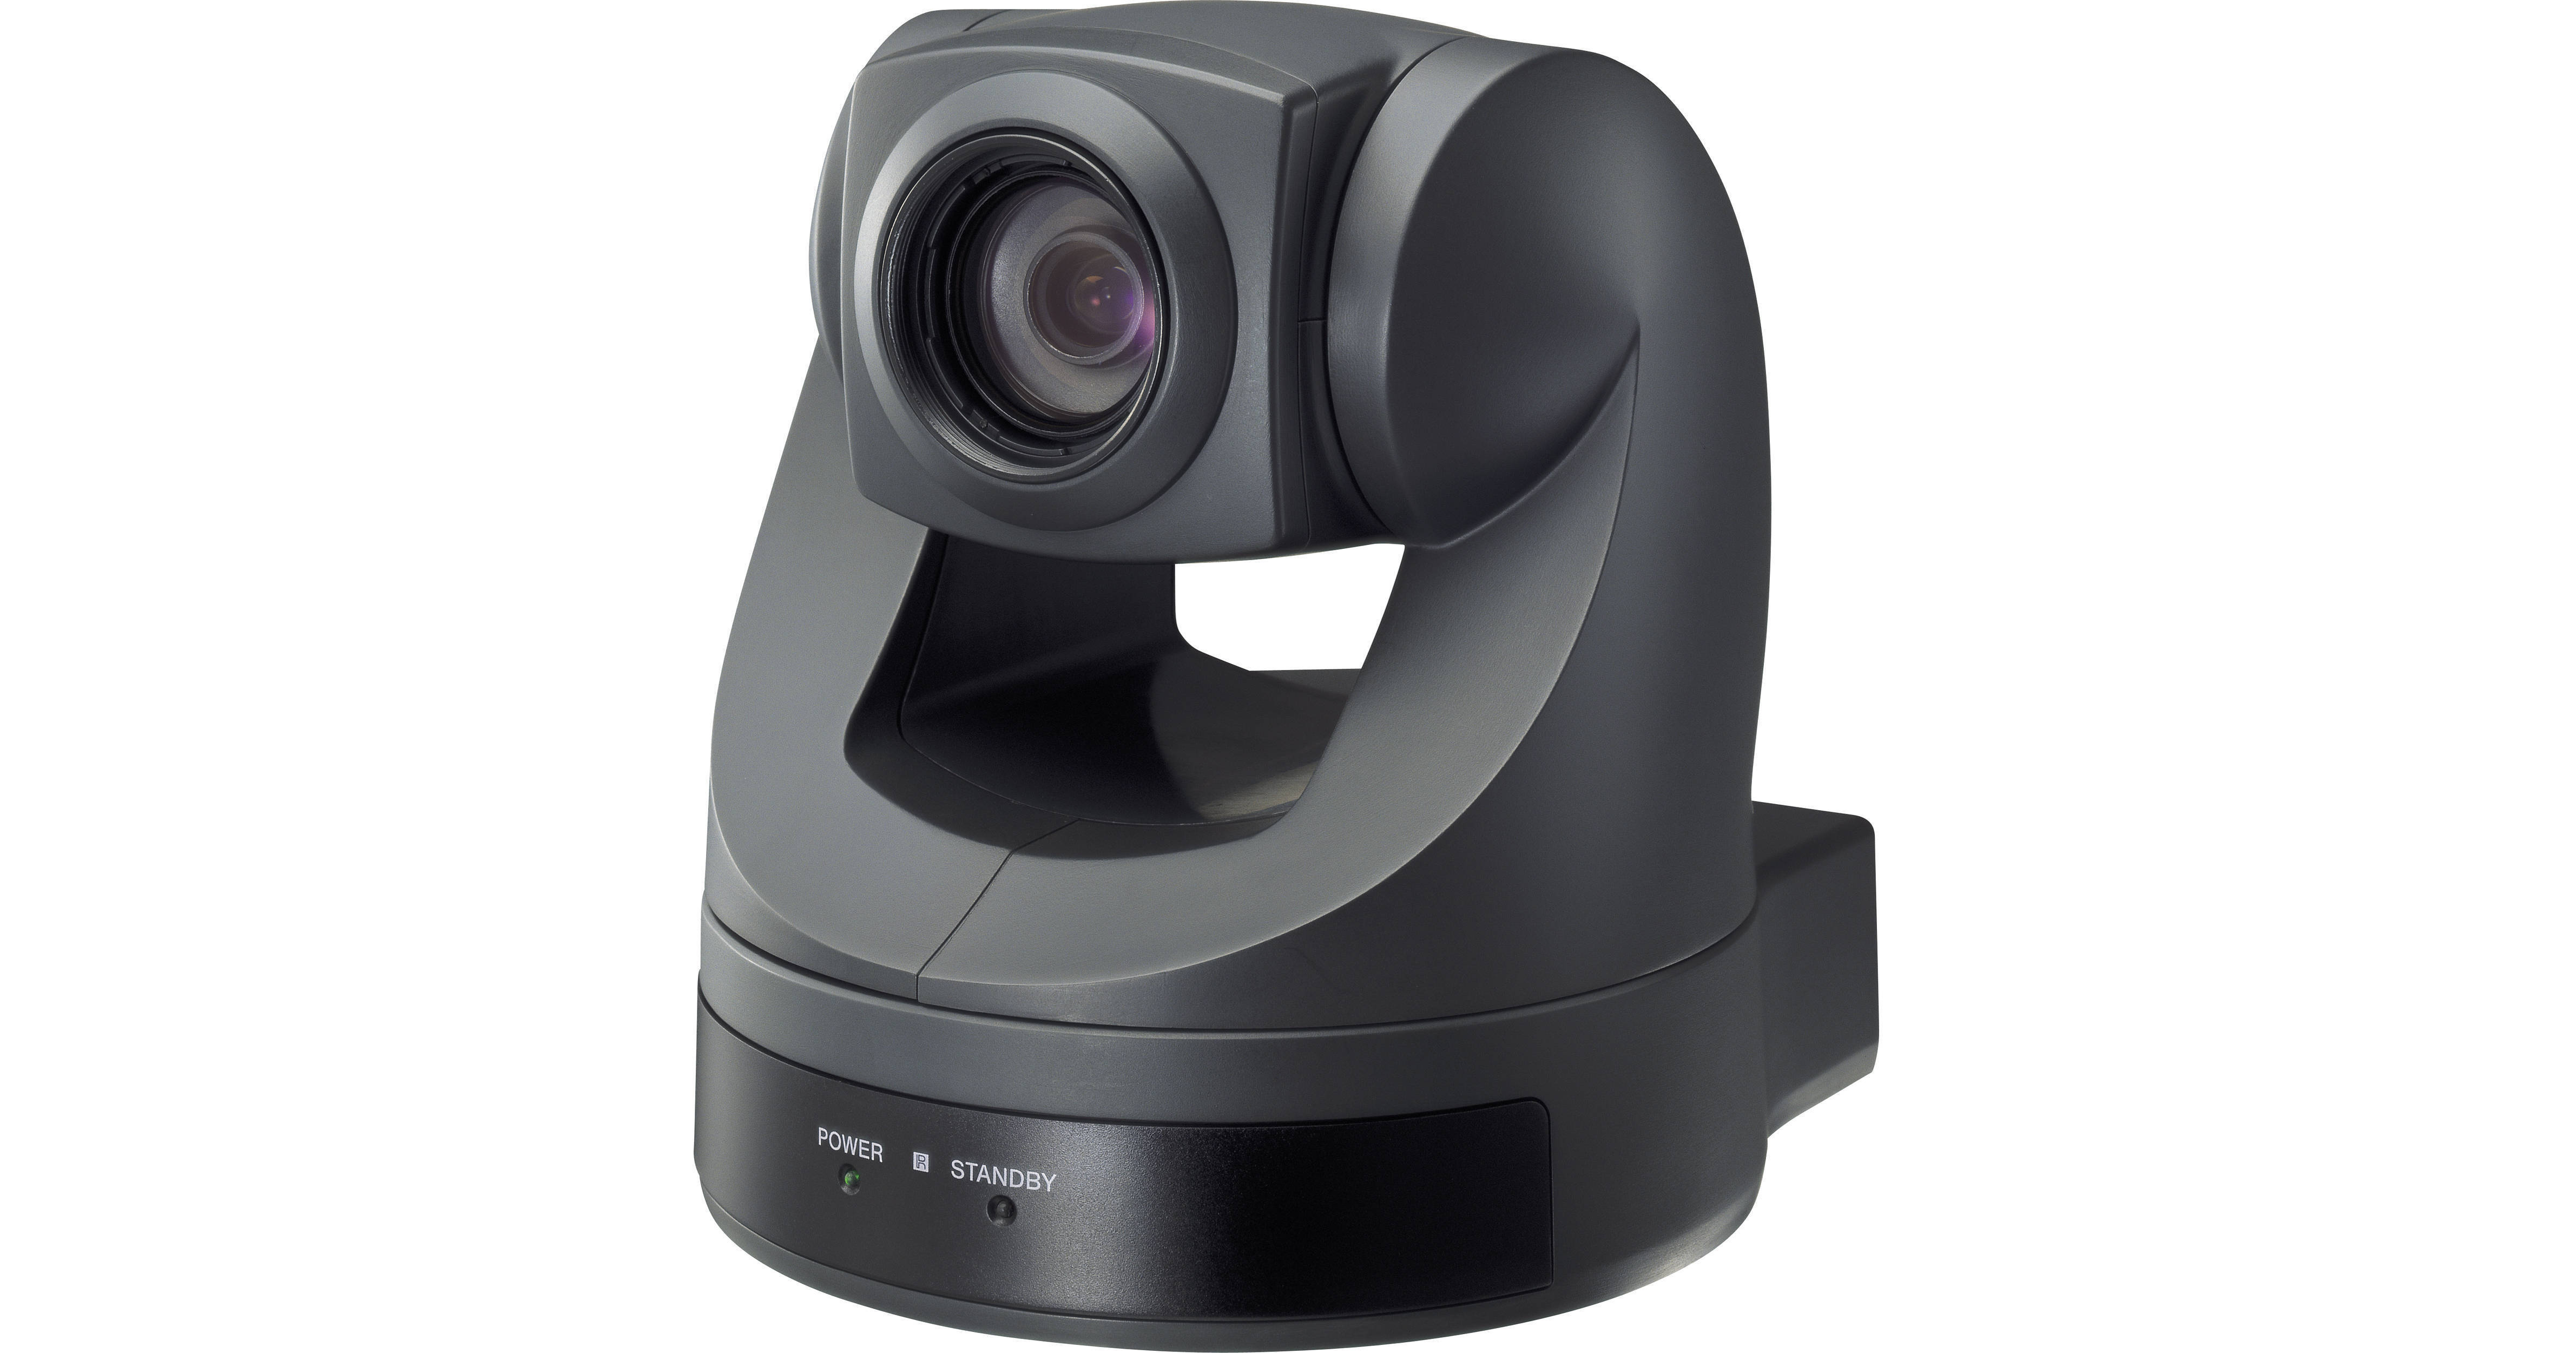
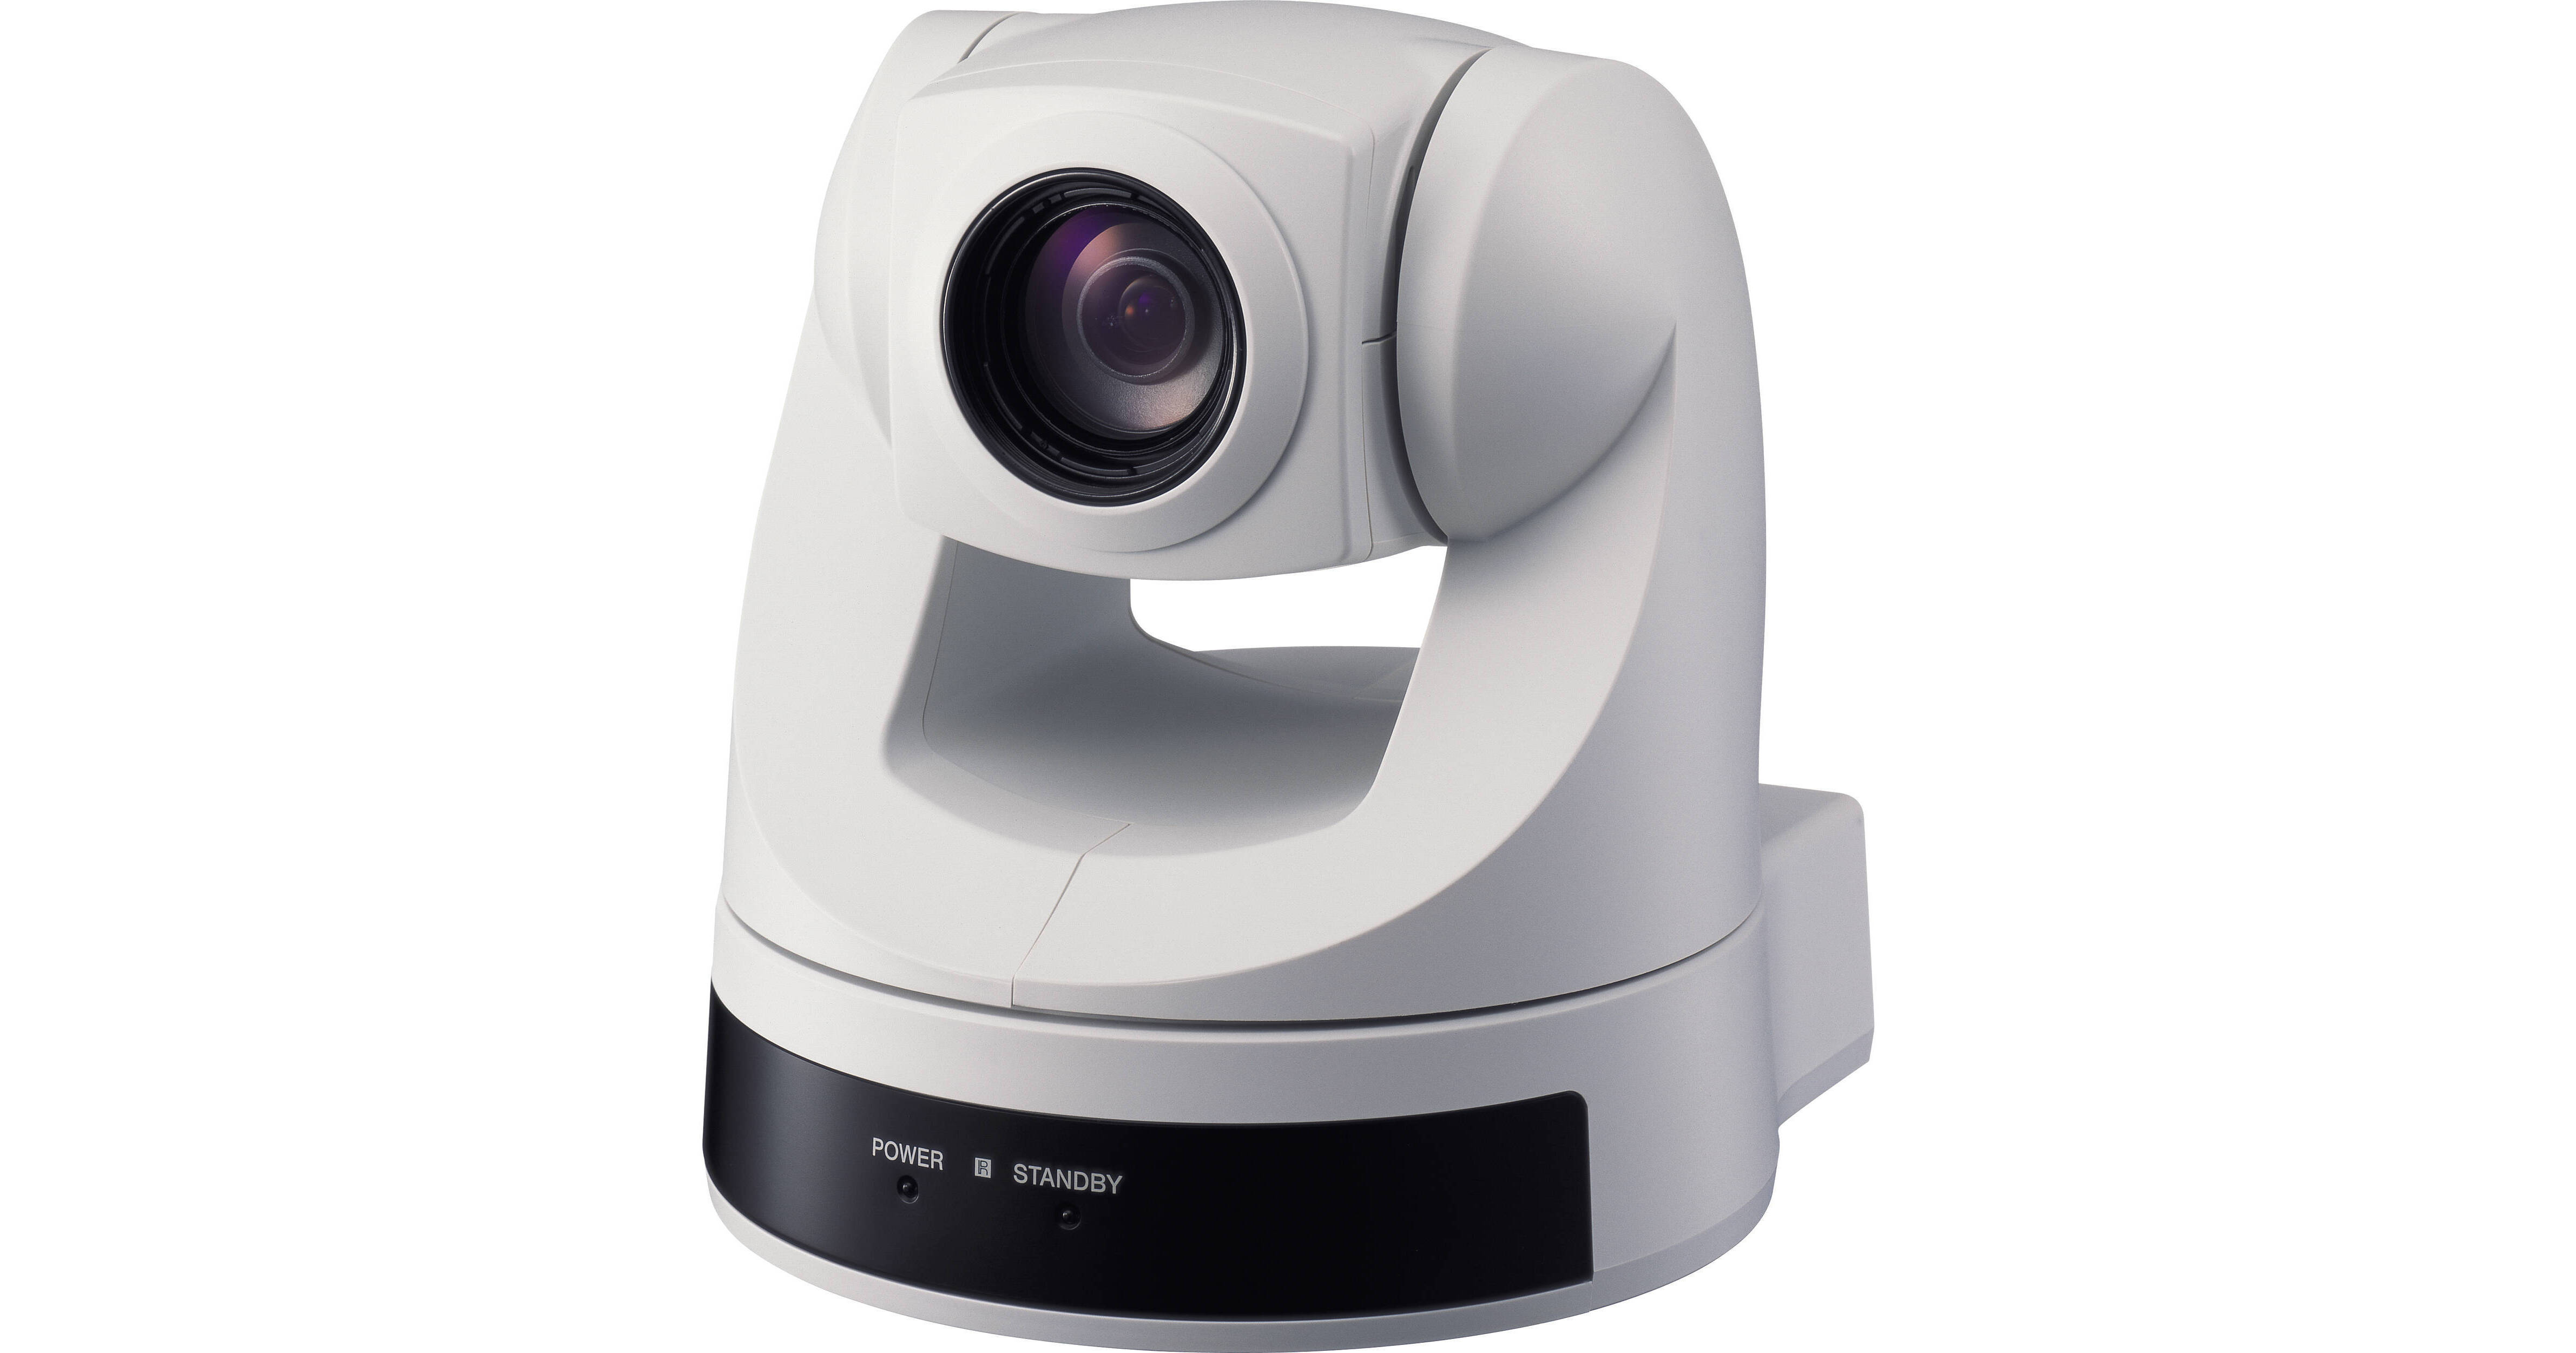
Evi-D30

🛑 👉🏻👉🏻👉🏻 INFORMATION AVAILABLE CLICK HERE👈🏻👈🏻👈🏻
Bookmark this page
Add Manual will be automatically added to "My Manuals"
page 1
page 2
page 3
page 4
page 5 - Table of Contents
page 6 - Preparations
page 7 - If you have a personal computer or audio...
page 8 - Turning on the Power
page 9
page 10 - Basic Operations
page 11 - Adjusting the Camera
page 12 - Having the Camera Memorize the Setting
page 13
page 14 - Advanced Operations
page 15
page 16 - Fine-tuning the setting
page 17 - If a subject cannot be recognized or cap...
page 18 - Detecting the Change Taking Place in the...
page 19
page 20 - Fine-tuning the setting
page 21
page 22 - General
page 23
page 24
page 25 - Precautions
page 26 - Maintenance
page 27 - Specifications
/ 27
Brochure (evi new generation series brochure) (2 pages)
User manual (evi-d80/d90 user manual) (50 pages)
Product manual (hd color video camera) (40 pages)
Digital8 video camera recorder (184 pages)
Sony camcorder user manual (10 pages)
Digital hd video camera recorder (195 pages)
Page 1 3-856-663-02 (1) Color Video Camera Operating Instructions EVI-D30 EVI-D31 (For European model only)
Page 2 Owner’s Record The model number and the serial number are located on the bottom exterior. Record these numbers in the spaces provided below. Refer to these numbers whenever you call upon the dealer regarding this product. Model No. Serial No. WARNING To prevent fire or shock hazard, do not expose the unit to rain or moisture.
Page 3 For the customers in Netherlands Voor de klanten in Nederland Bij dit produkt zijn batterijen geleverd. Wanneer deze leeg zijn, moet u ze niet weggooien maar inleveren als KCA. Als de kleuren-videocamera niet meer werkt Voor u de kleuren-videocamera wegdoet, dient u de lithiumbatterij eruit te verwijderen om deze in te leveren als KCA.
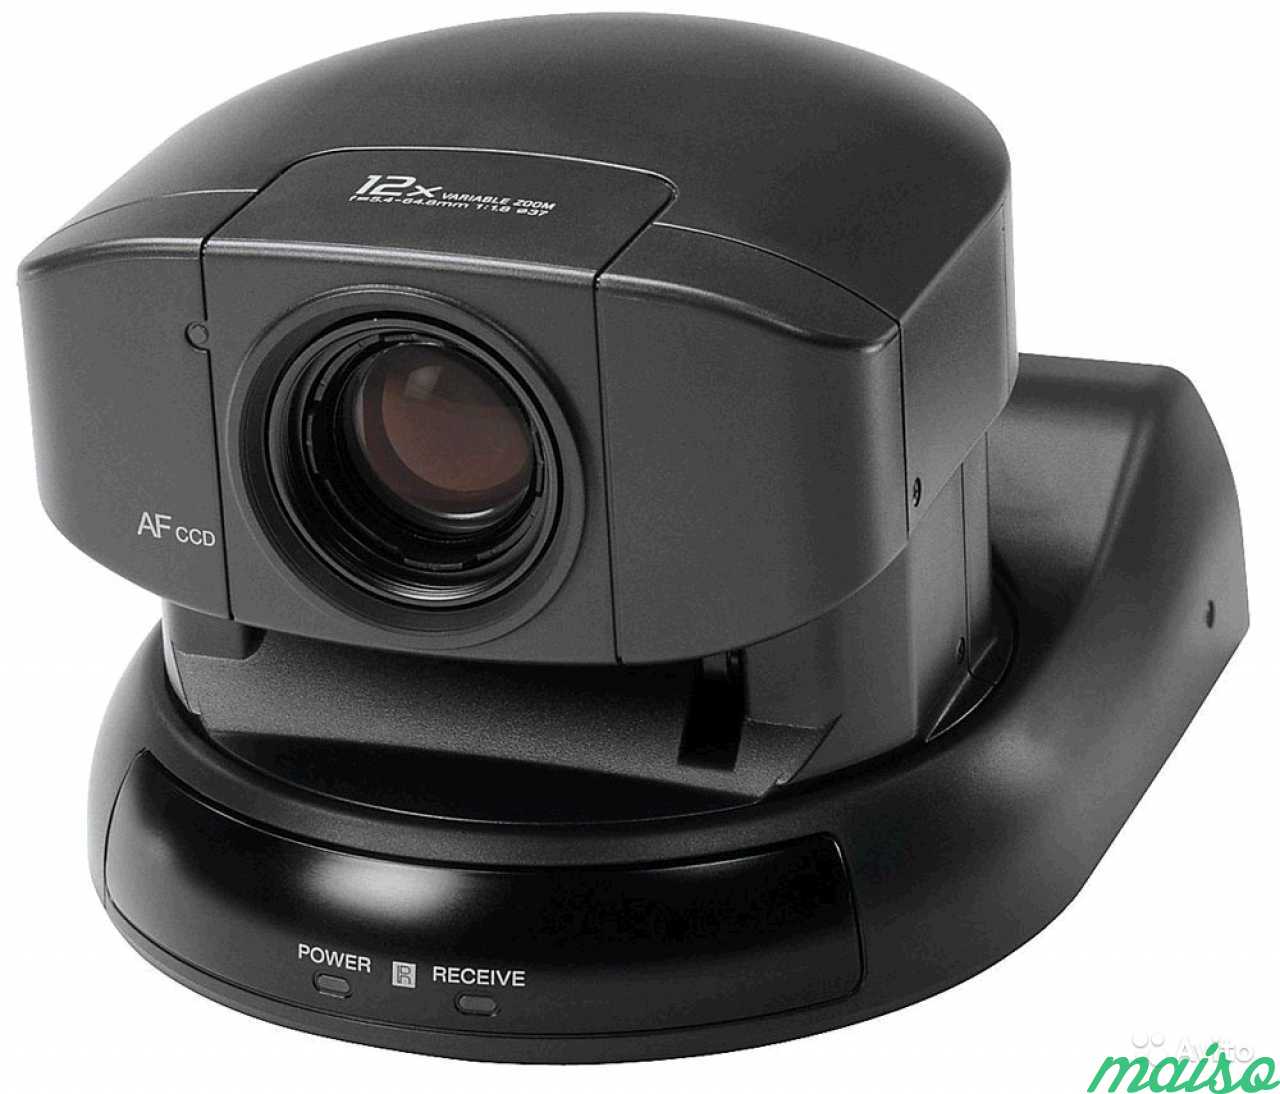
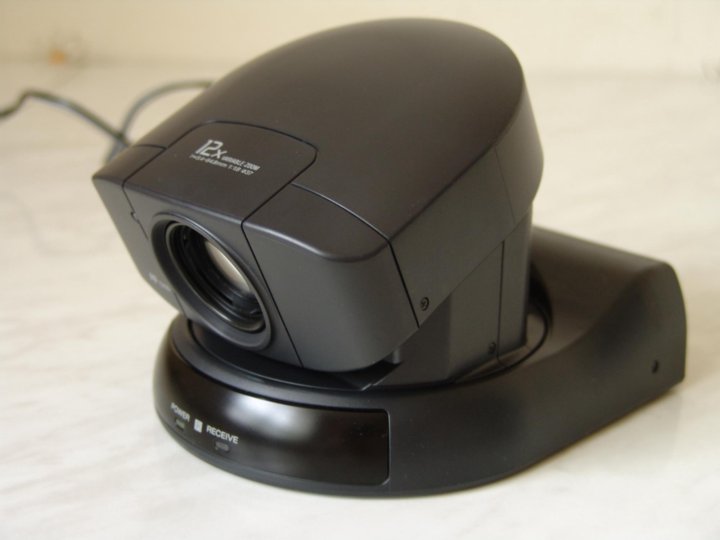
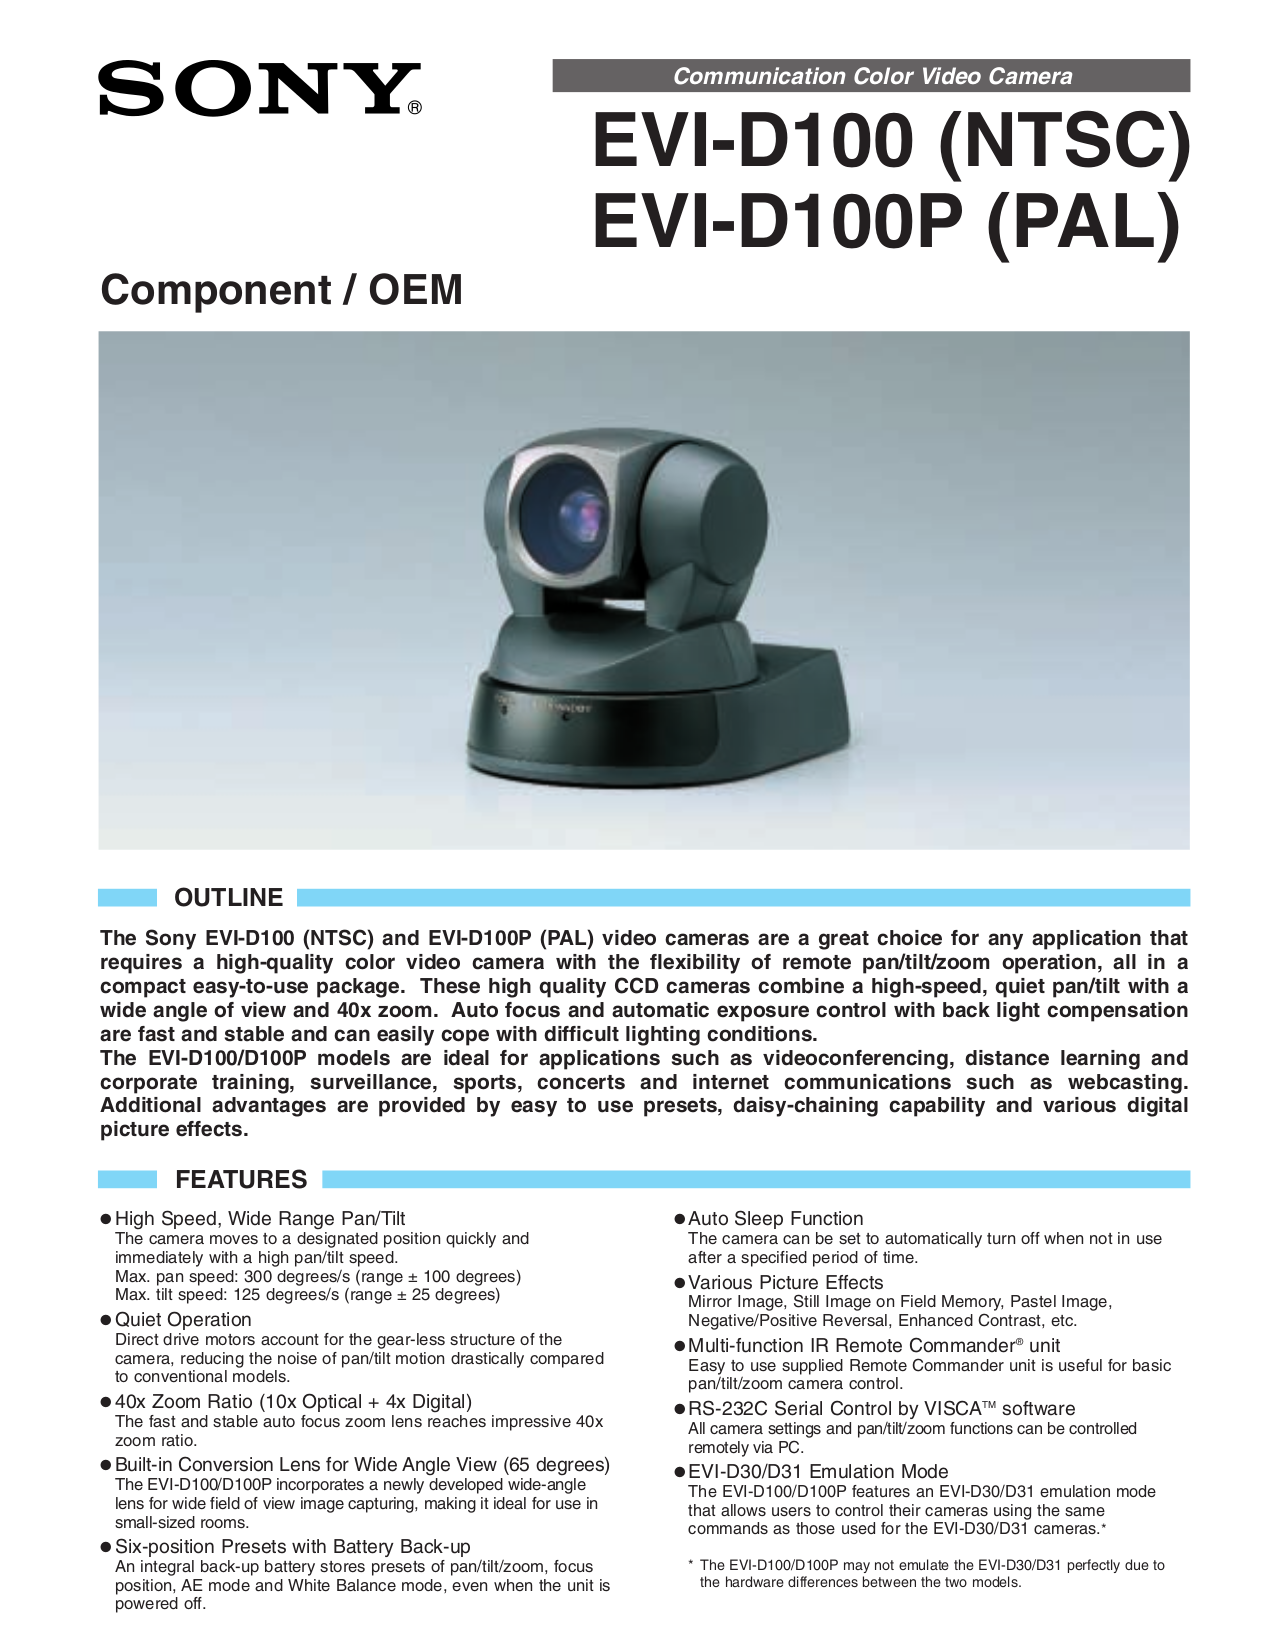
Page 4 Features • The CCD features effective picture elements of 380,000 (EVI-D30)/440,000 (EVI-D31), which enables you high-resolution shooting. • In addition to high-speed pan/tilt action, AT (Automatic target tracking) and MD (Motion detector) features are integrated, which lets you use Color Video Camera for a variety of purposes.
Page 5: Table Of Contents
Table of Contents Preparations Connections ... 6 If you have a personal computer or audio/video equipment with the S-video input ... 7 Turning on the Power ... 8 Setting the Clock ... 8 Basic Operations Pan/Tilt Operation ... 10 Adjusting the Camera ... 11 Having the Camera Memorize the Setting ...
Page 6: Preparations
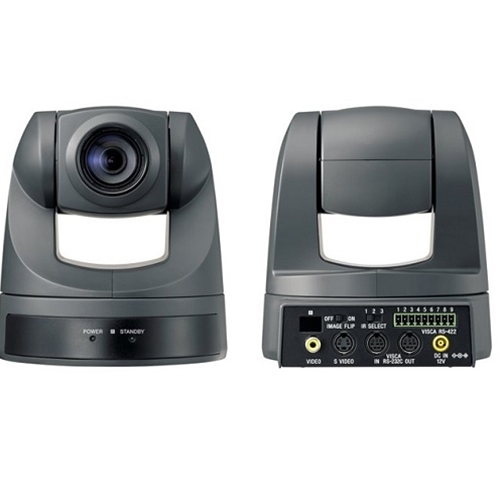
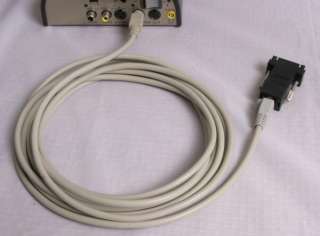
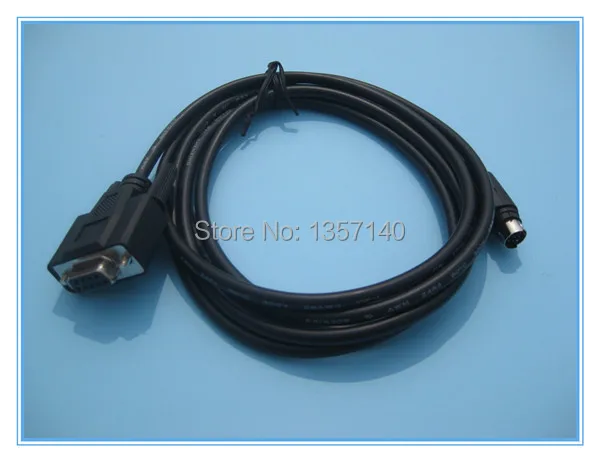
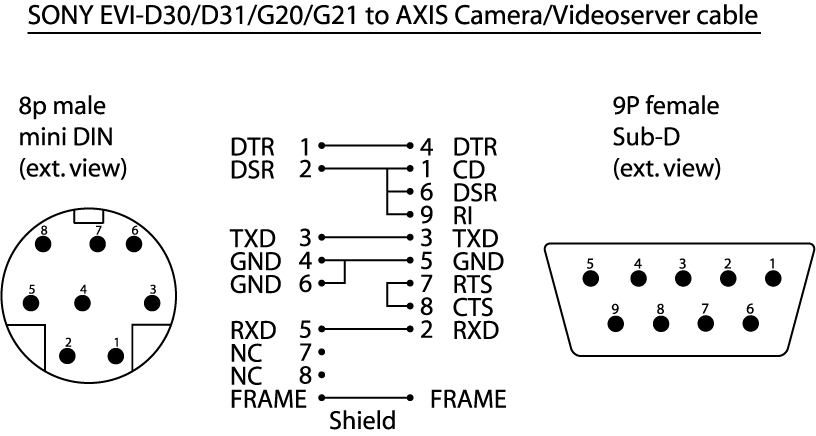
VISCA IN to VISCA OUT To VISCA IN of other EVI-D30 (in case of connecting to more cameras) AC power adaptor AC-EV2 (supplied with EVI-D30) to DC IN 13.5V AC power adaptor AC-EV3 (supplied with EVI-D31) Microphone (not supplied) to Audio...
Page 7: If You Have A Personal Computer Or Audio/Video Equipment With The S-Video Input
Consult your computer dealer or manufacturer for details. • Use only the AC-EV2 (for EVI-D30)/AC-EV3 (for EVI- D31) AC power adaptor (supplied). Do not use any other AC power adaptor. Polarity of the plug •...
Page 8: Turning On The Power
Press the DATE and TIME buttons at the same time and hold them down for about 2 seconds. Release your hand as the month and date appear and the year starts flashing. EVI-D30 Light up. EVI-D31 Repeat pressing the DATE button to select the year.
Page 9 Repeat the steps 2 and 3 to set the other time elements in the order of month, date, hour, and minute. The clock starts operating as you press the TIME button to set the minute. EVI-D30 1996 3:15:01 PM EVI-D31 1996...
Page 10: Basic Operations
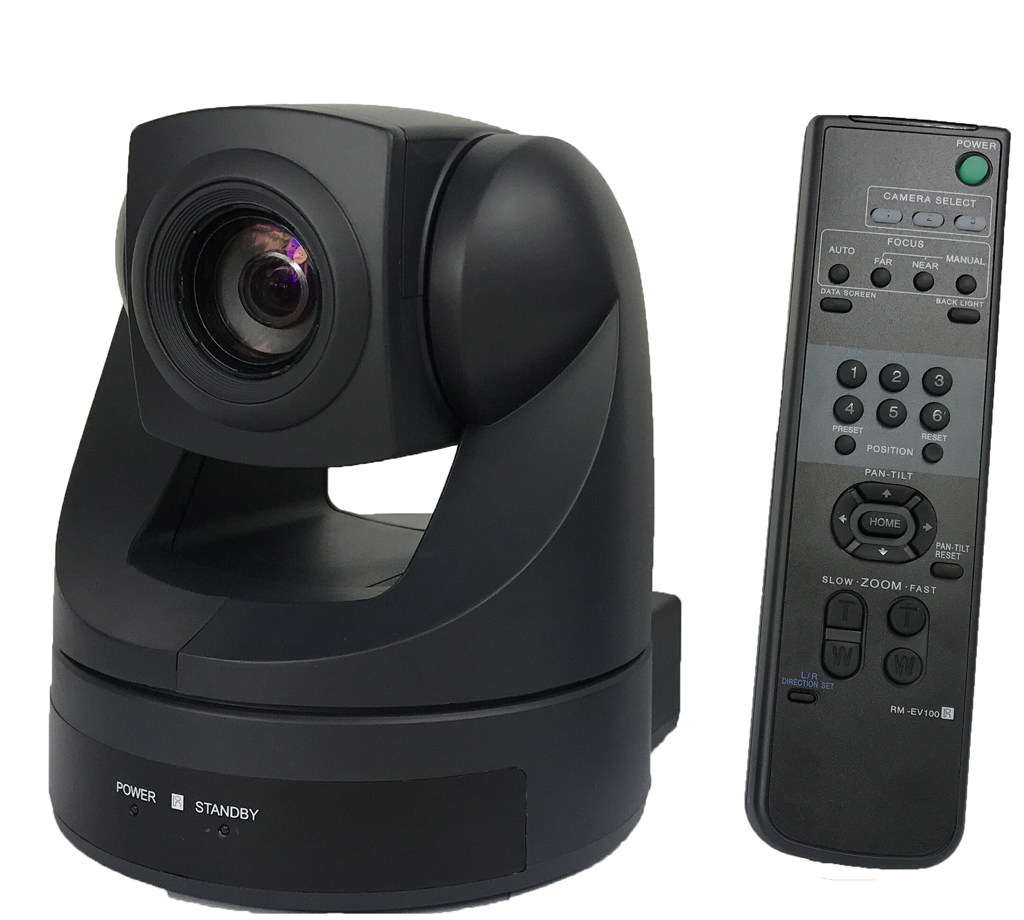
Basic Operations Pan/ Tilt Operation CAMERA SELECT HOME L/R DIRECTION Press the POWER button. The camera will be turned on, performing the pan/tilt reset action automatically. Press the arrow button to perform the pan/tilt operation. While checking the picture on the screen, press a desired arrow button.
Page 11: Adjusting The Camera
Operating range of the remote commander Use the remote commander within the range described below, facing it toward the receptor for the remote commander. Receptor for remote commander 30° 60° 60° 30° Operating more than one camera with the remote commander Notice the CAMERA NO.
Page 12: Having The Camera Memorize The Setting
Having the Camera Memorize the Setting —Presetting feature Up to six combinations of the setting (position, zooming, focusing and back lighting) can be preset. PRESET Press the PAN-TILT RESET button to reset the pan/tilt position. Adjust the position, zooming, focusing, and back lighting of the camera.
Page 13 Recalling the memorized setting Press either of the POSITION buttons 1 – 6. Canceling the preset memory While holding down the RESET button, press the POSITION button on which the settings are to be canceled. PRESET RESET POSITION While MENU PAN-TILT/CURSOR holding down...
Page 14: Advanced Operations
Advanced Operations Tracking a Subject Automatically —AT (Auto target tracking) function You can have the camera memorize certain color and brightness so that it automatically tracks a subject having the memorized color and brightness. AT ON/OFF CHASE DATA SCREEN Press the AT ON/OFF button to enter into the AT setting mode.
Page 15 MODE Tracking method CHASE 1 The pan/tilt action is not performed. (Camera does not move.) The frame tracks a subject only in the range of the screen. CHASE 2 The frame tracks a subject while the pan/ tilt action is performed. In this mode, the subject is always placed in the middle of...
Page 16: Fine-Tuning The Setting
Tracking a Subject Automatically (continued) Fine-tuning the setting Changing the frame position Although the frame normally appears on the middle of the screen, you can change its position to a different place. (In the CHASE 1 mode, the frame tracks a subject within the range of the screen.) Press the AT ON/OFF button to enter into the AT setting mode.
Page 17: If A Subject Cannot Be Recognized Or Captured
If a subject cannot be recognized or captured Depending on the characteristic or condition of a subject, the camera might hardly recognize the subject. If the AT function still does not work after the procedures mentioned in pages 14 and 15 are repeated, select an ENTRY mode that is matched to conditions under which the camera is used.
Page 18: Detecting The Change Taking Place In The Picture
Tracking a Subject Automatically (continued) Press the START/STOP button to activate the AT function. Try moving the subject to see if the frame tracks it automatically. If you have selected the ENTRY 3, the frame flashes for about 5 seconds after the START/STOP button is pressed.
Page 19 Press the FRAME button to enter into the detection frame setting mode. MD MODE FRAME DRIVE SET FRAME FRAME 1 Decide the position and size of the FRAME 1. q Press the arrow button to set the position of the FRAME 1. Then press the FRAME button.
Page 20: Fine-Tuning The Setting
Detecting the Change Taking Place in the Picture (continued) Fine-tuning the settings The MD function works in the following manner: the camera memorizes a picture of a certain moment as the “reference picture,” and compares the current picture with the reference picture to detect whether or not a change takes place.
Page 21 Adjust each parameter. q While holding down the CURSOR button, press the arrow button ( select a desired parameter. w While holding down the CURSOR button, p r e s s t h e a r r o w b u t t o n ( ) to select a desired value.
Page 22: General
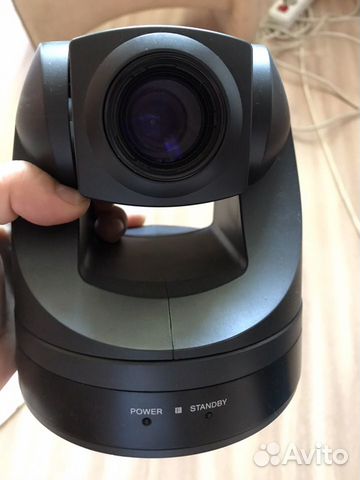
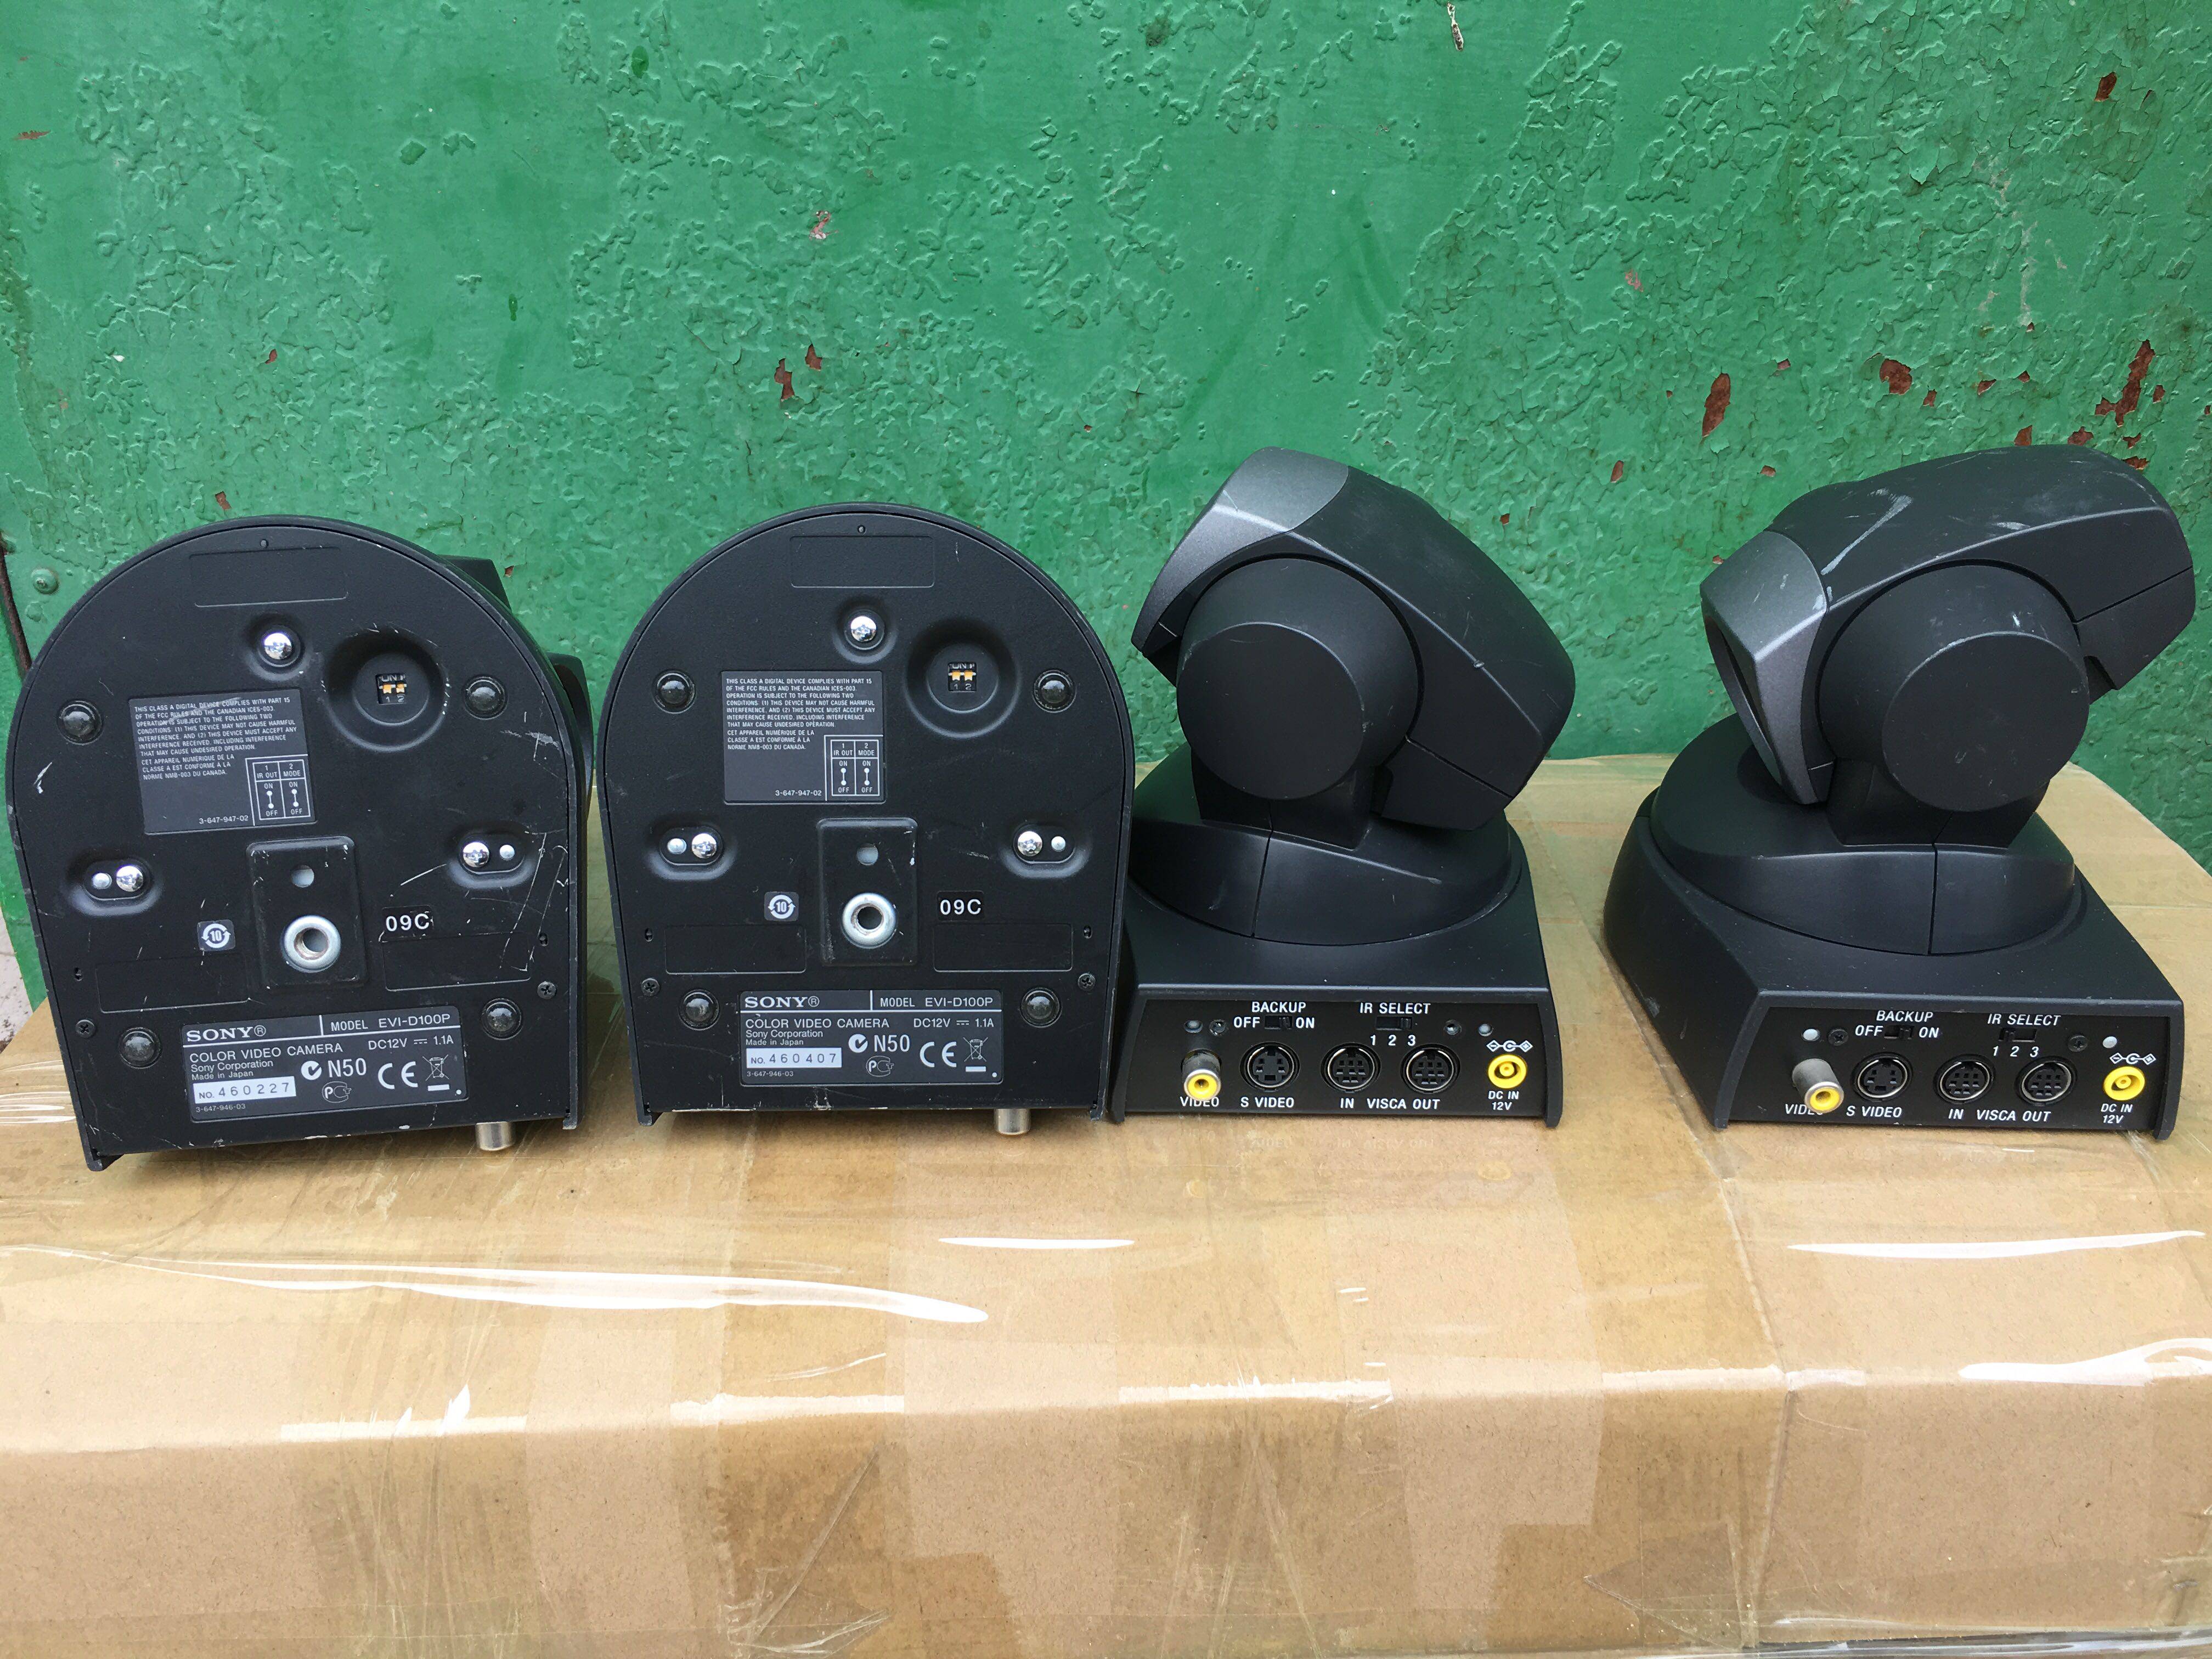
General Locations of Controls For details, see the pages indicated in . Main unit 1 Caution lamp 10 15 2 POWER lamp 3 RECEIVE lamp 4 Lens 5 Receptor for remote commander 6 IR OUT switch Use when equipment such as a VTR and personal computer, and/or another Color Video Camera are connected with a VISCA cable.
Page 23 Remote commander 1 BACK LIGHT button 2 FOCUS buttons AUTO button FAR button NEAR button MANUAL button 3 DATA SCREEN button START/STOP button 14 19 FRAME DISPLAY button 4 MENU button 5 CURSOR button 6 L/R DIRECTION SET button 7 POWER switch 8 CAMERA SELECT buttons 9 AT mode buttons AT ON/OFF button...
Page 24 Locations of Controls (continued) Screen indications AT setting mode AT mode indication Status indication (SETTING WORKING NOW) Auto back lighting indication CHASE indication (1 to 3) MD setting mode MD mode indication Frame selecting/setting indication (SELECT FRAME SET FRAME) Selected frame indication FRAME 1 FRAME 2 MD adjusting mode...
Page 25: Precautions
Precautions • The name plate indication operating voltage, power consumption, etc. is located on the bottom exterior. • After operating the unit with an AC power adaptor, disconnect the AC power adaptpr from the wall outlet if the set is not to be used for an extended period of time.
Page 26: Maintenance
Maintenance Clean dirt and soil with a soft cloth or tissue paper. Cleaning the main unit • When the body is too dirty, clean it with a soft cloth that is soaked with a diluted neutral detergent and tightly wrung. Then finish with a dry cloth.
Page 27: Specifications
Specifications System Video signal EVI-D30: NTSC Color, EIAJ standards EVI-D31: PAL Color, CCIR standards Picture element inch color CCD (Total picture element number: EVI-D30: Approx. 410,000 EVI-D31: Approx. 470,000) (Effective picture element number: EVI-D30: Approx. 380,000 EVI-D31: Approx. 440,000) Lens Electromotion twelve fold zoom lens f=5.4 to 64.8mm, F1.8 to F2.7...
Our app is now available on Google Play
SONY EVI -D 30 OPERATING INSTRUCTIONS MANUAL Pdf Download | ManualsLib
Used sony EVI D 30! - YouTube
S video подключение SONY EVI D 30 - Конференция iXBT.com | Форум
Руководство по эксплуатации Sony EVI -D 30 - ManualsBase.com - Реши свою...
Sony EVI -D 30 Specs | Manualzz
Escort Merida Yucatan
Kiev Hookers
Live Sex Cameras
Evi-D30