A step-by-step guide to setting up the Donate bot
SGLast updated: December 28, 2021
@Donate bot allows you to collect donations and subscriptions in your public and private channels on Telegram.
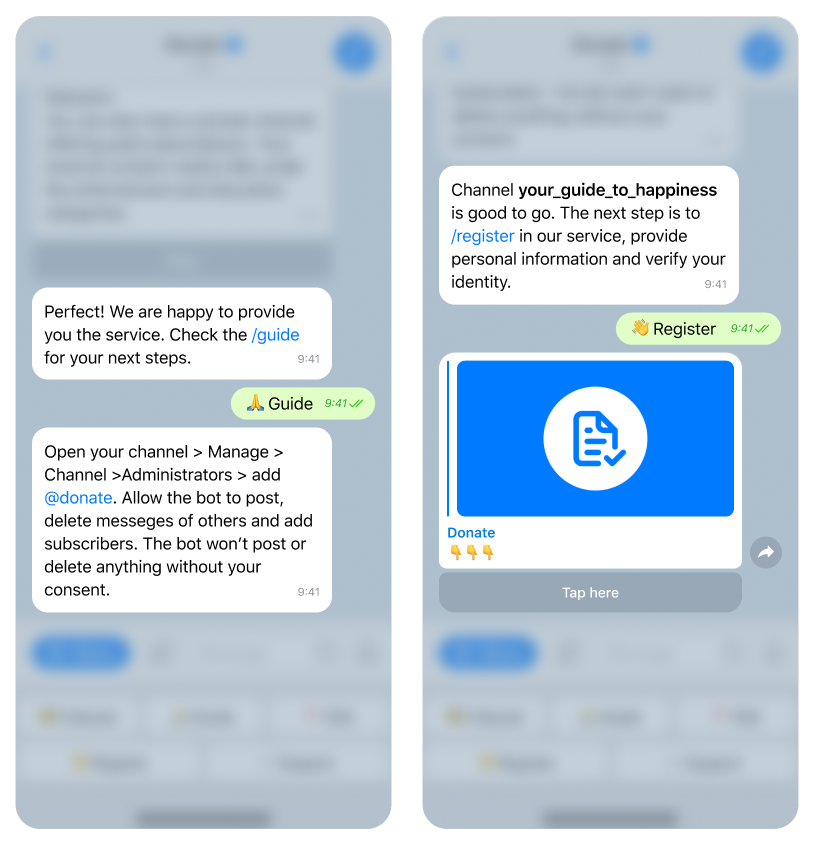
1. Open the Telegram app on any device. Find @Donate bot. Start the bot.
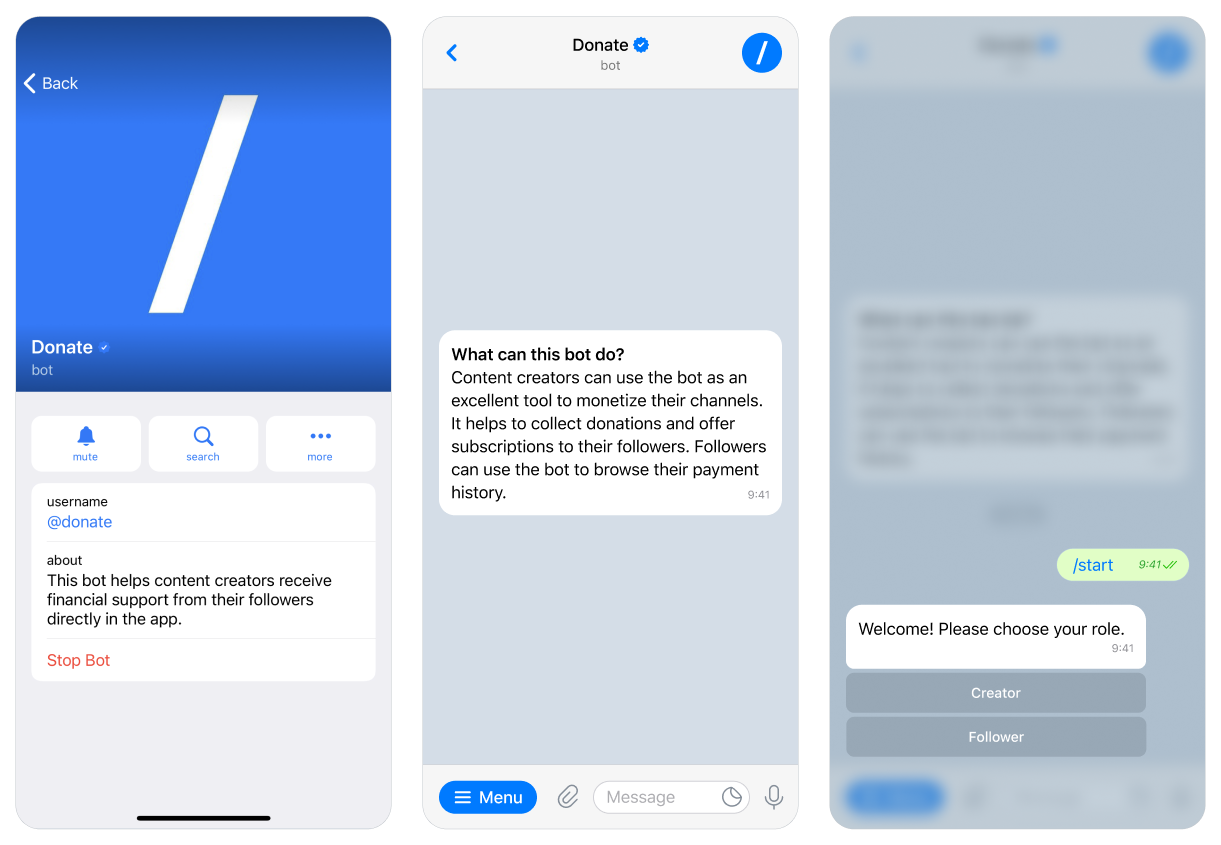
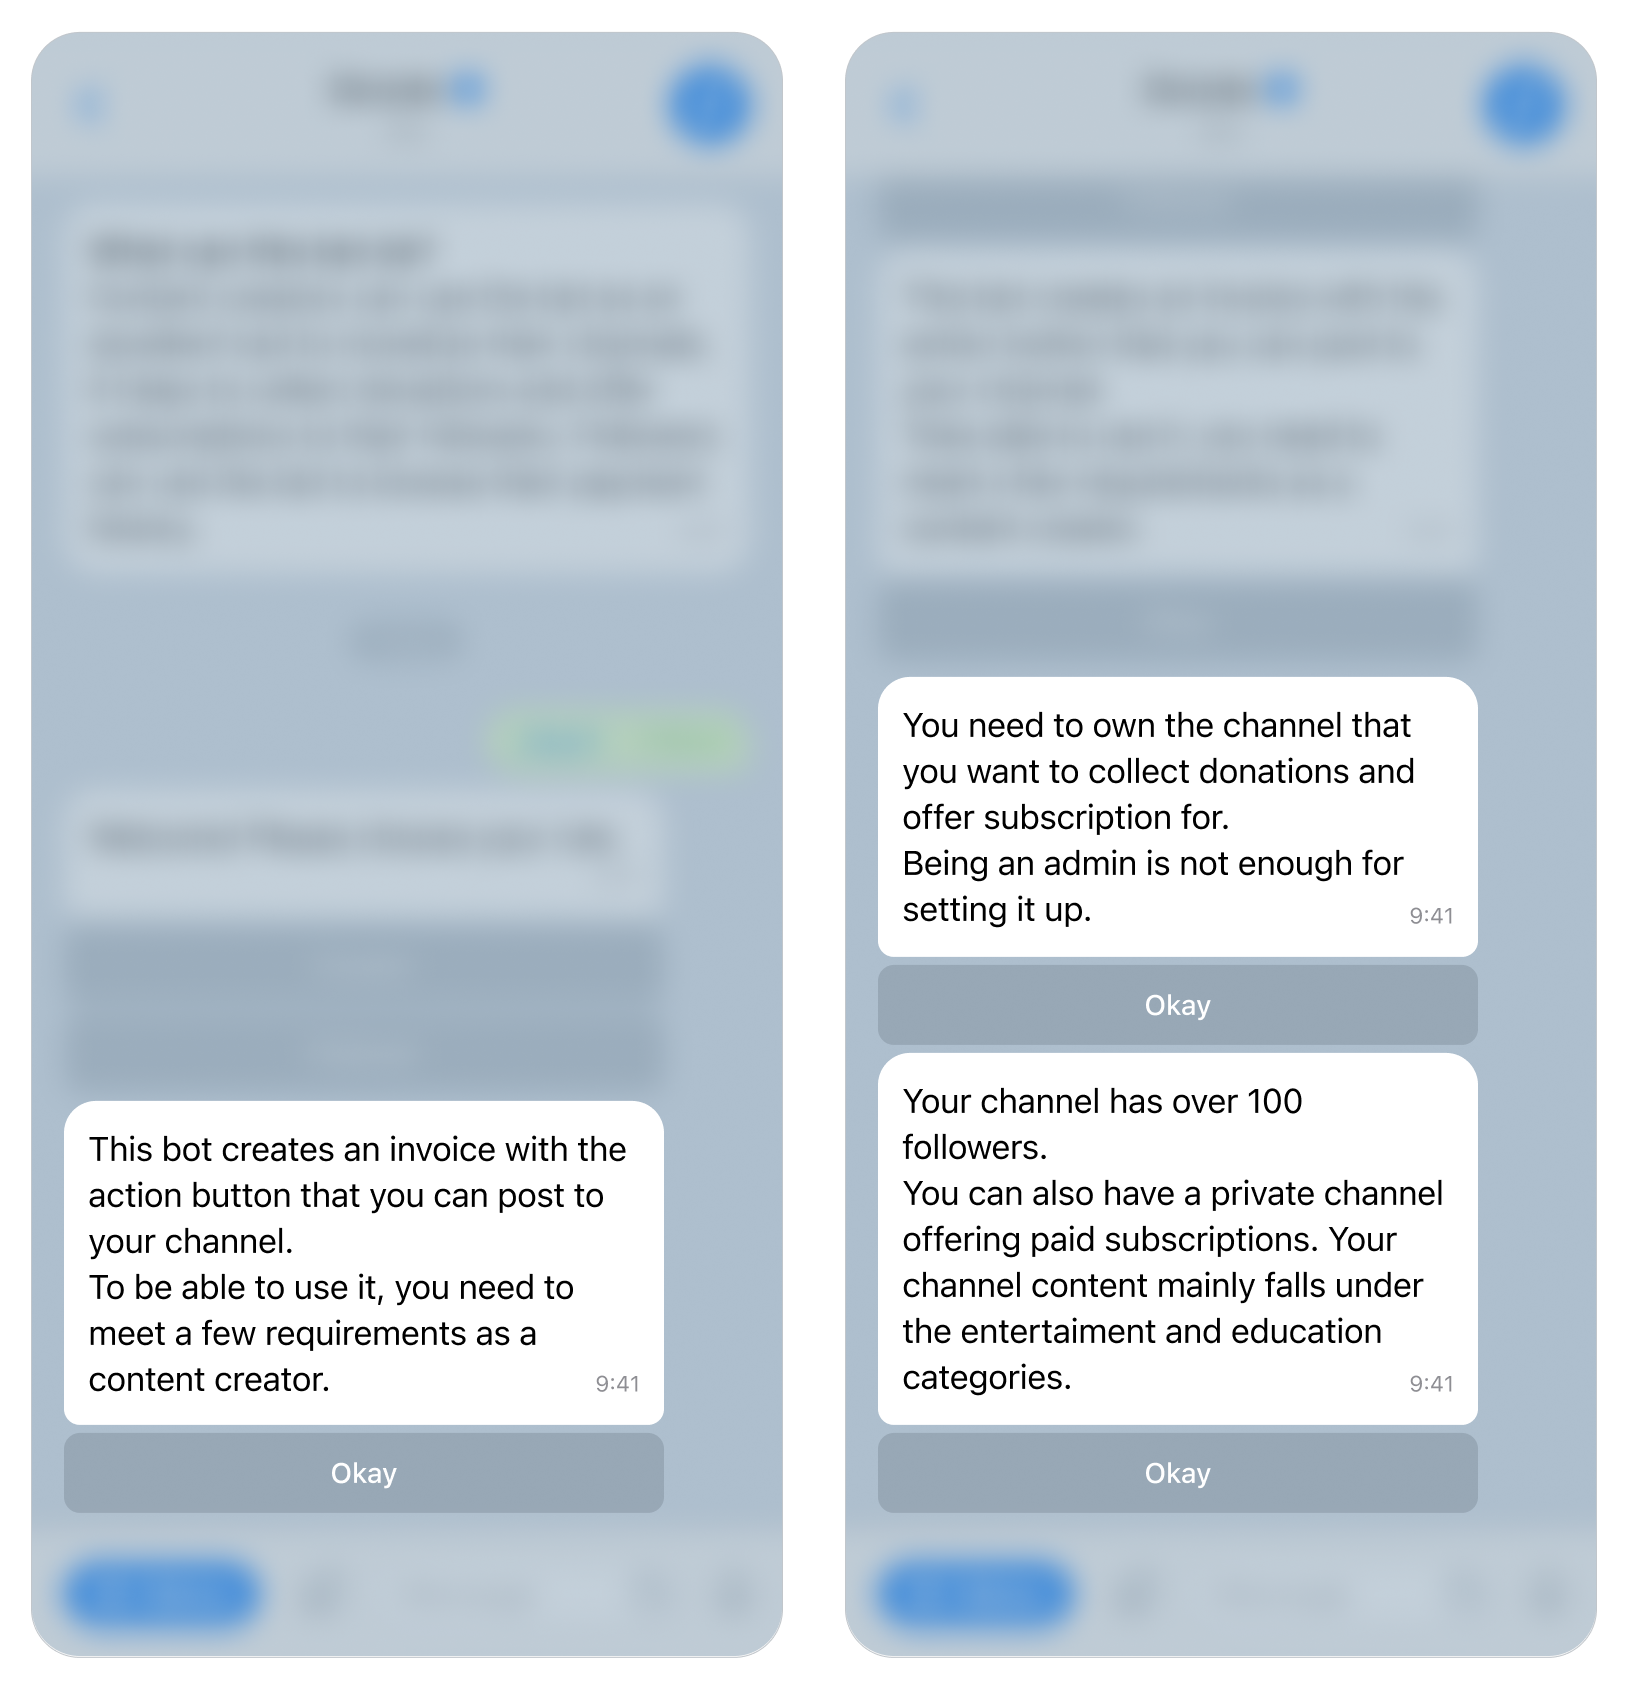
2. The bot interacts with both the Telegram content creators and their followers. You need to select your role as a Content creator. Follow the onboarding introduction that describes the current limitations.
3. Refer to the guide button to receive step-by-step instructions.
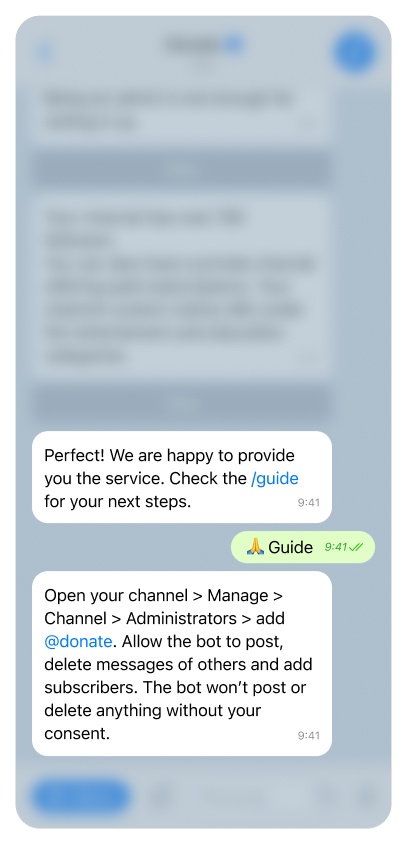
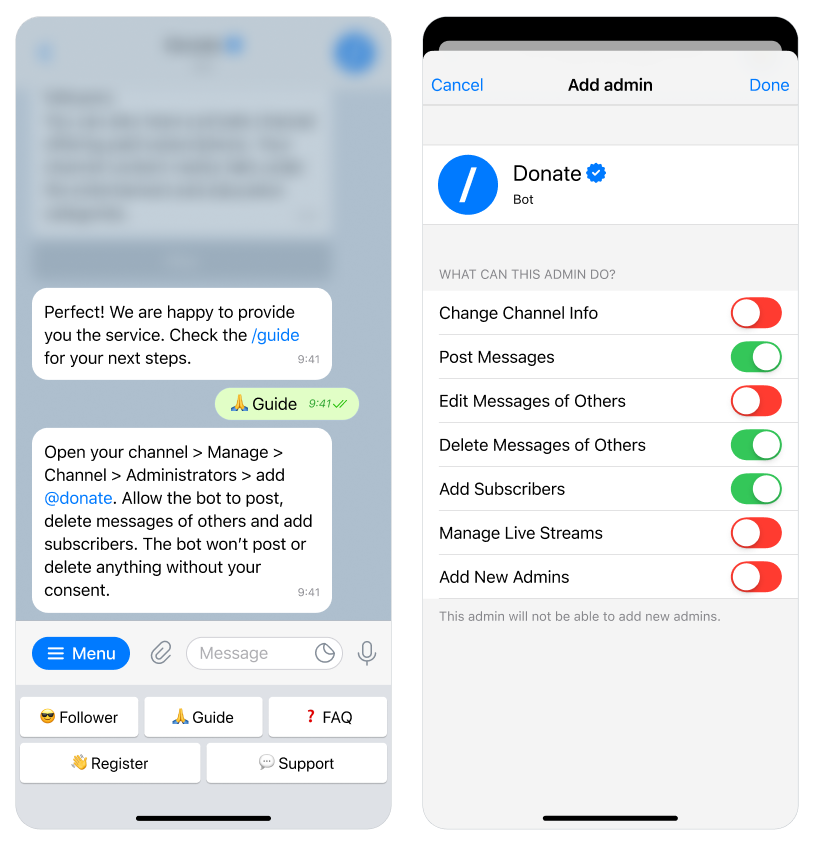
4. Add @Donate bot with admin rights to the channel or channels in which you want to collect donations and offer subscriptions. The bot has to have permission to post and delete messages, to add followers, other permissions are not needed. The bot won't post or delete anything without your consent.
Donate bot will pre-check the channel it is added to for basic eligibility. You may add the bot to your other channels later.
5. Follow the registration process.
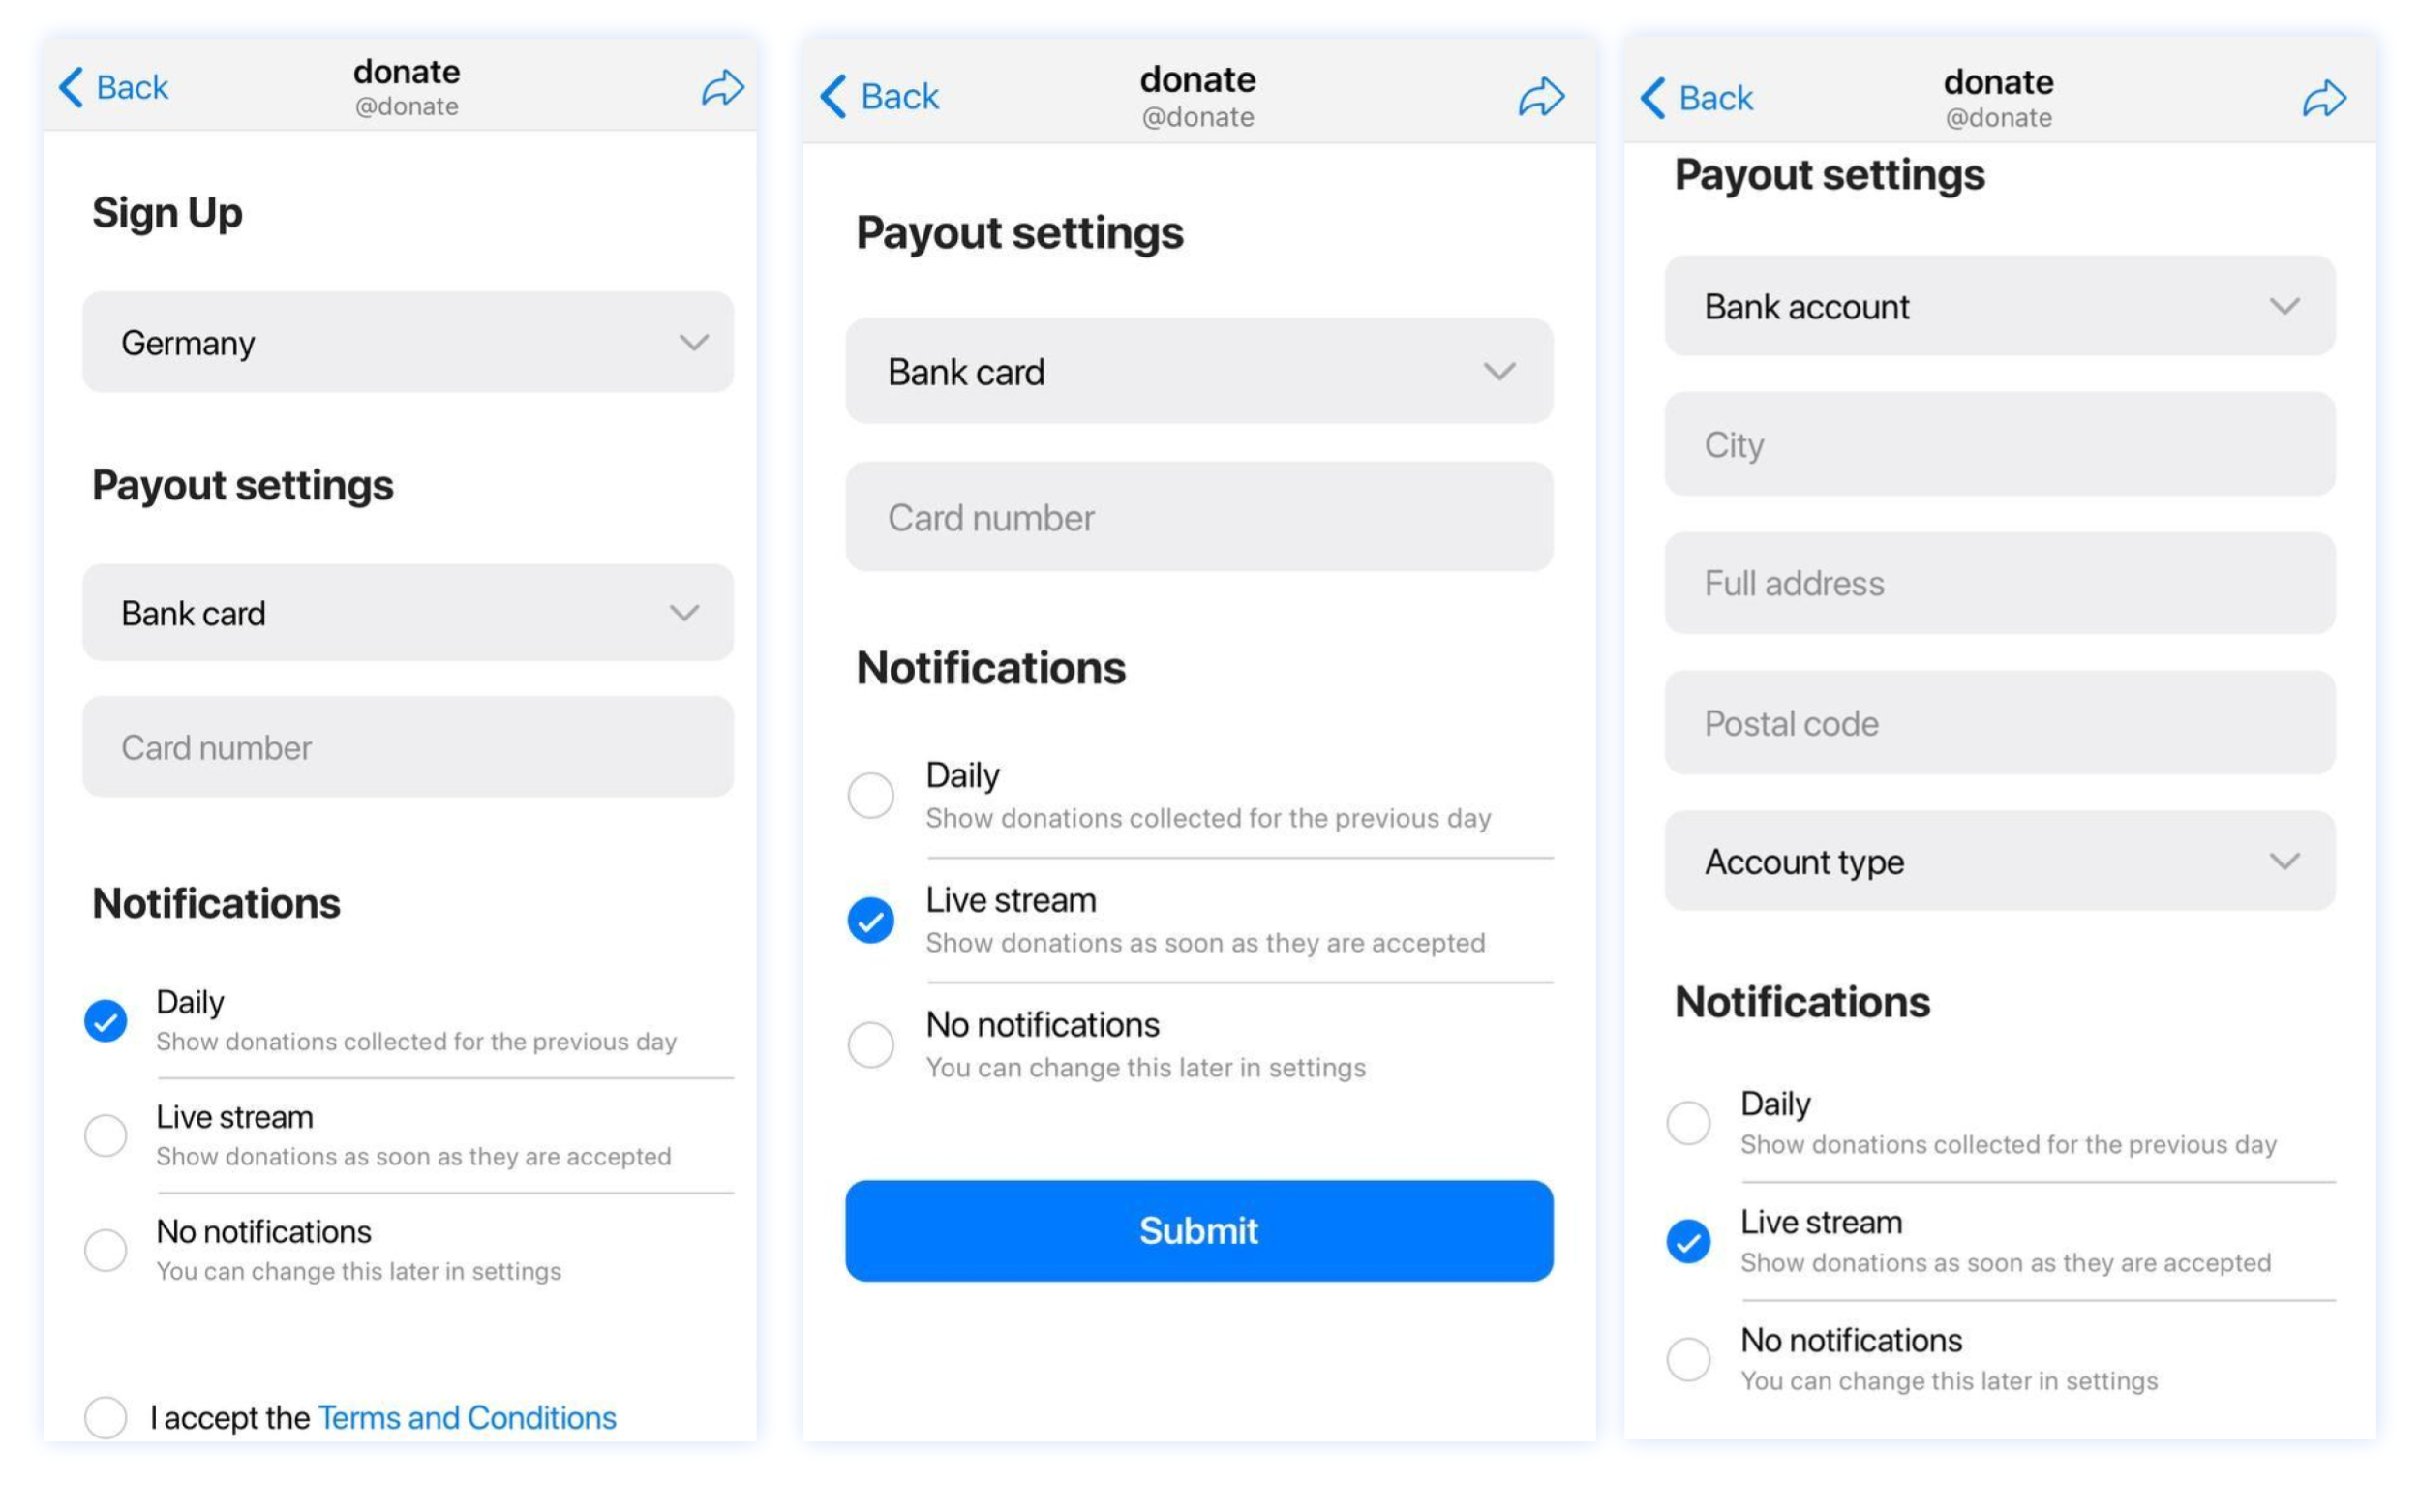
6. Select your country, choose the payout method and notifications settings.
For payouts to a bank account, a residency address is required. If your address lacks a postal code, please insert 000.
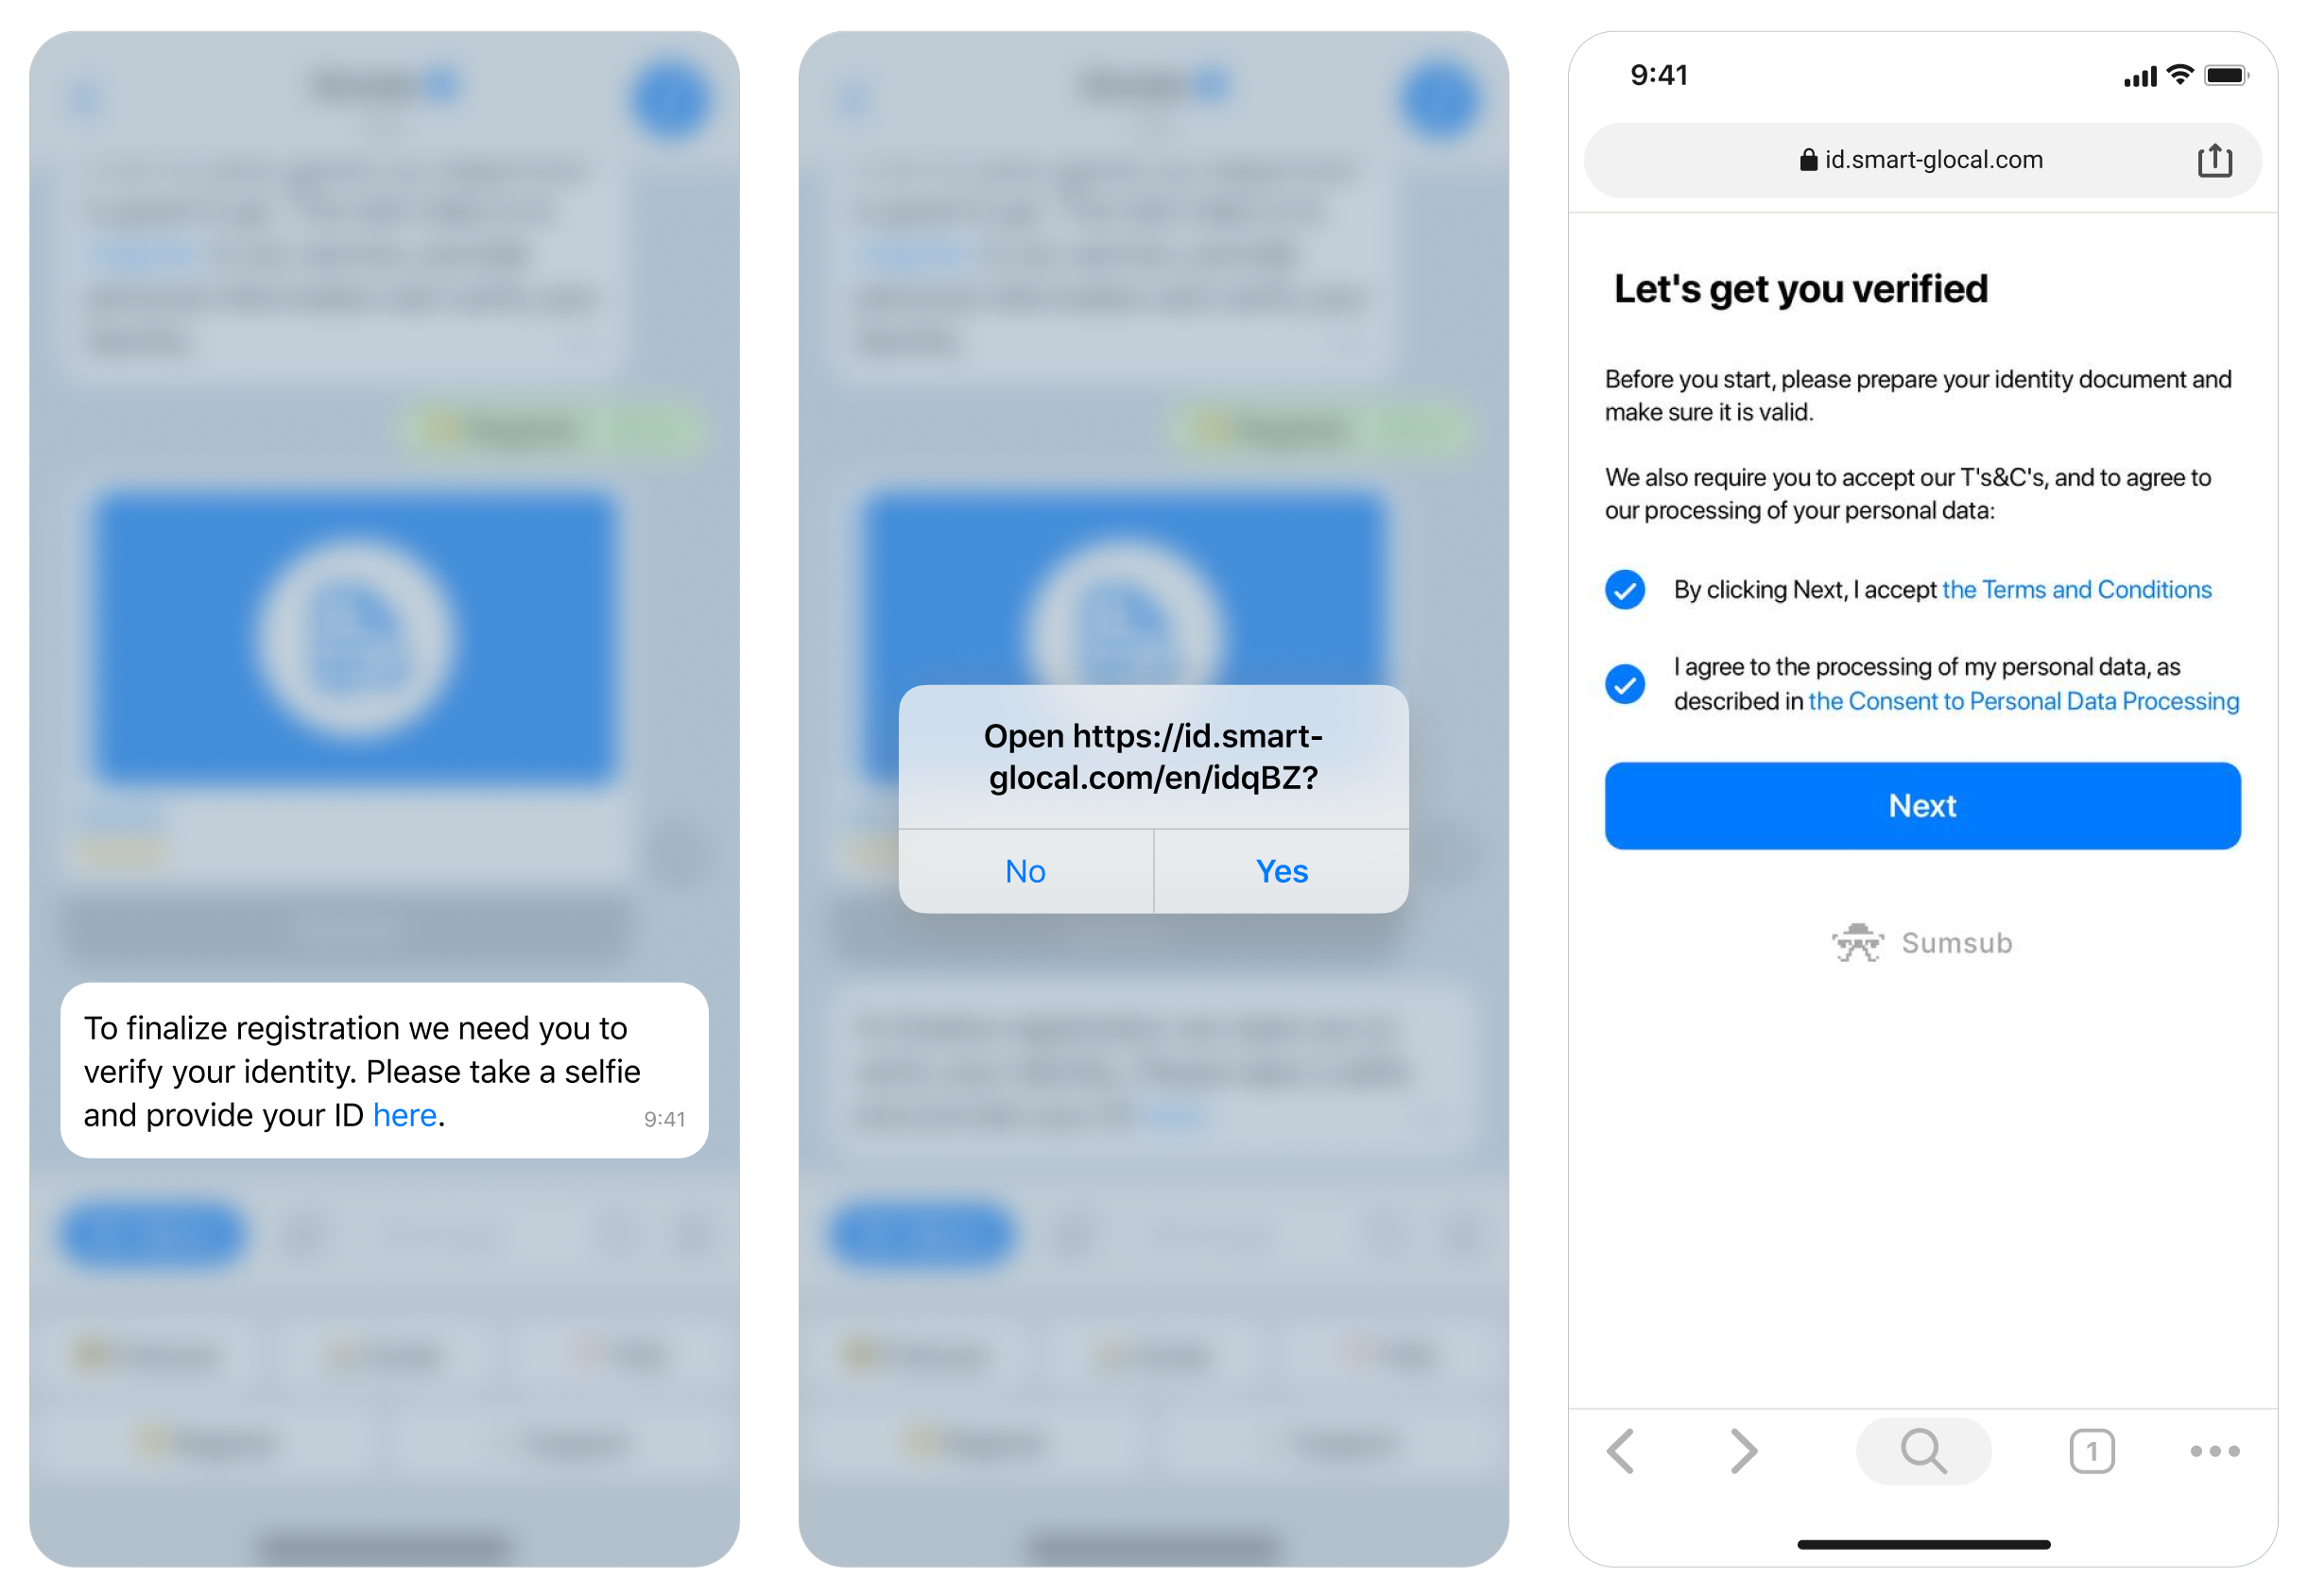
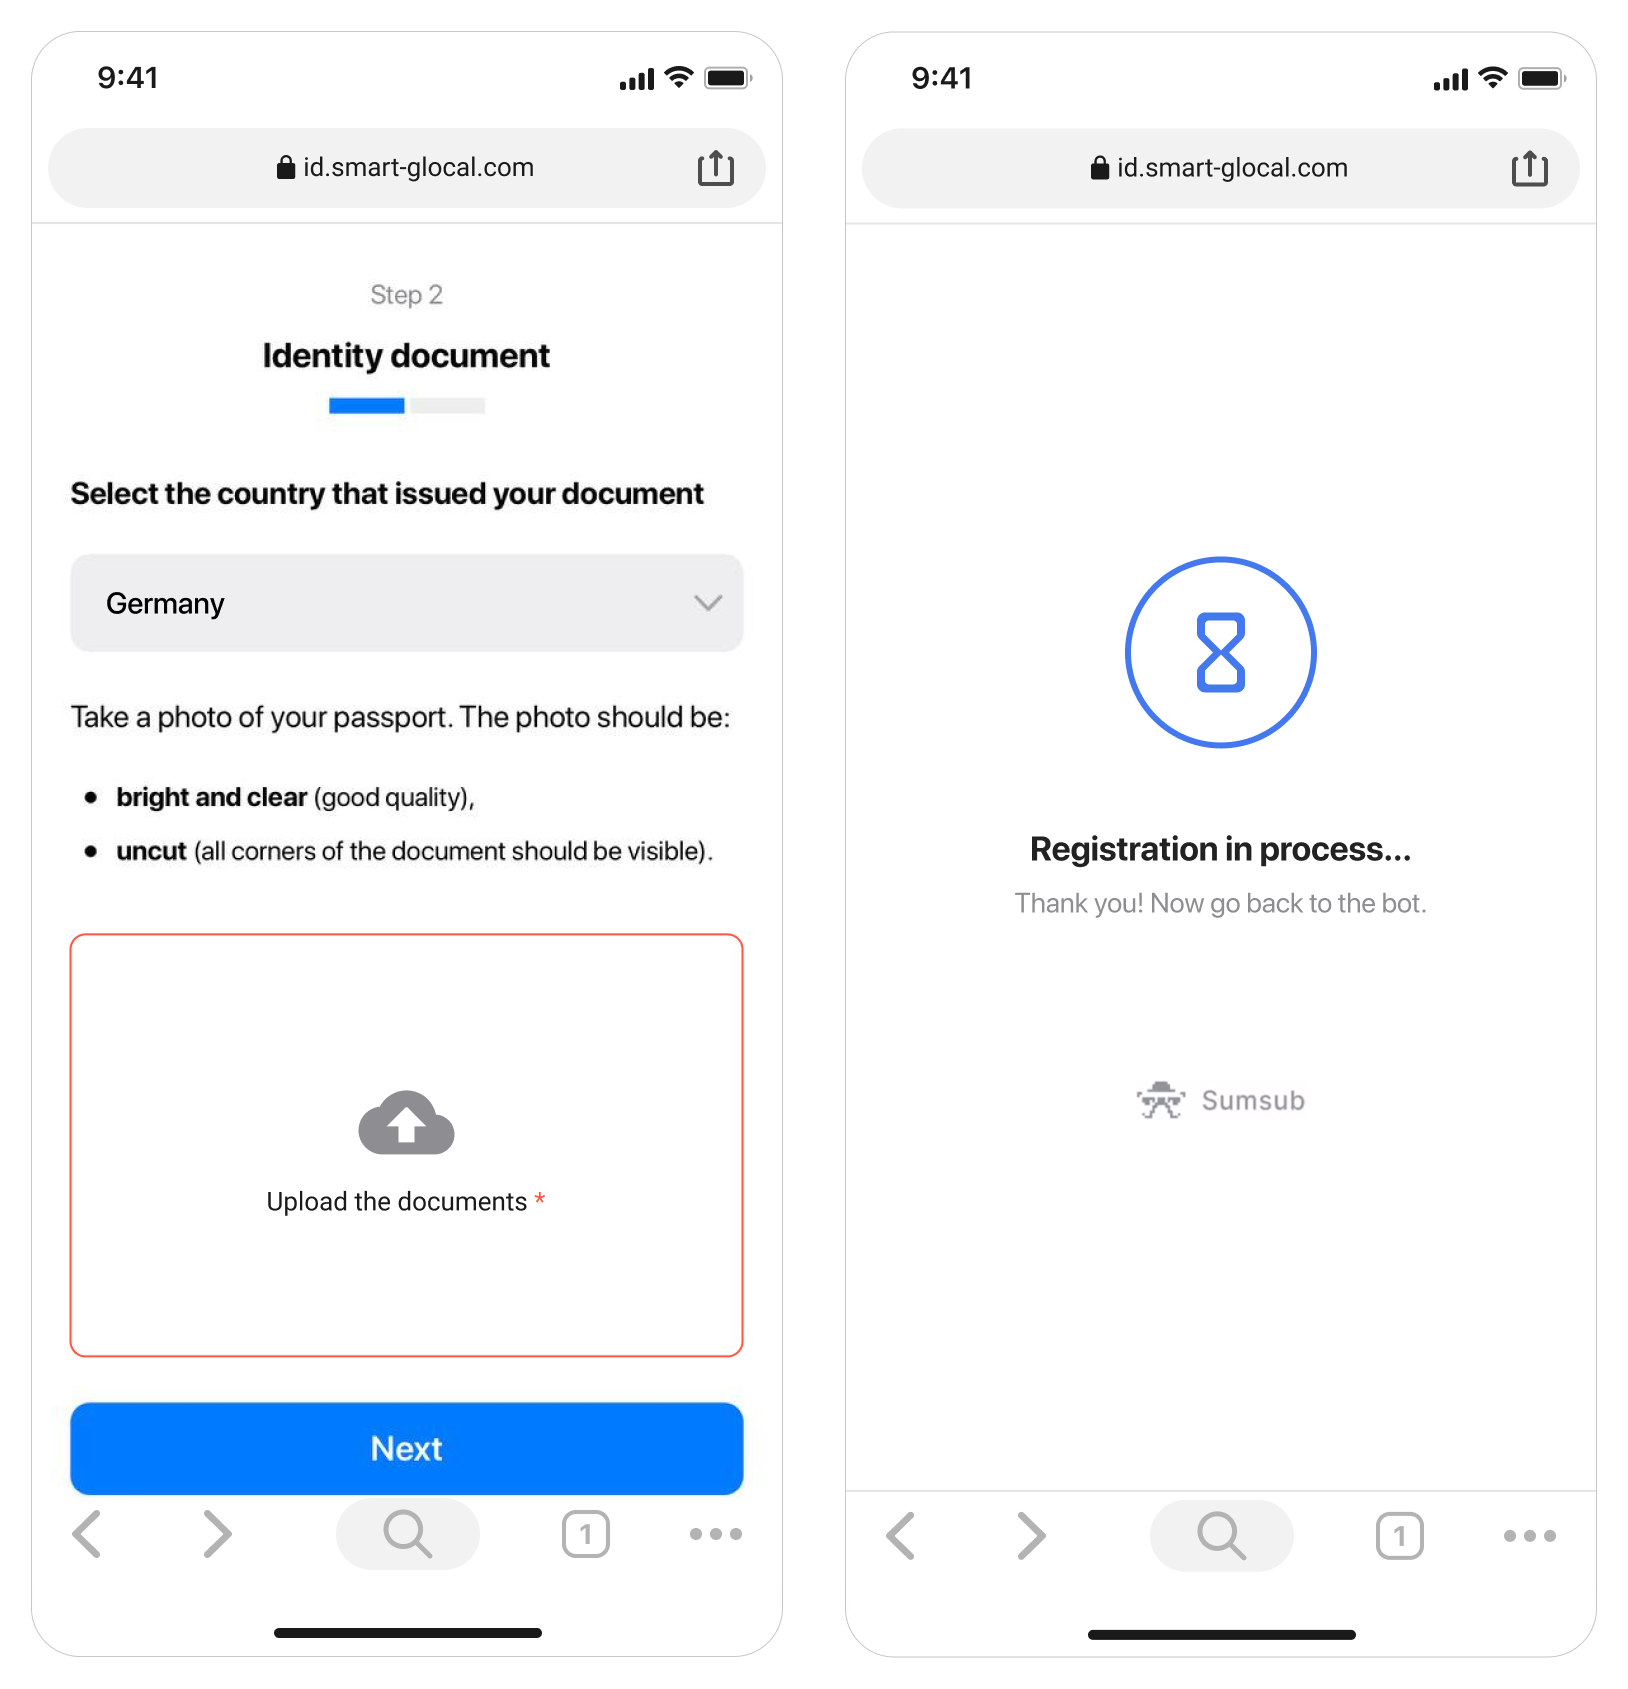
7. Verify your identity. We need you to make a 3D selfie and upload a valid ID document.
Click on the link in the message. This will lead you to our ID verification widget operated by Sum&Substance, our global ID verification partner. Your personal data is processed securely.
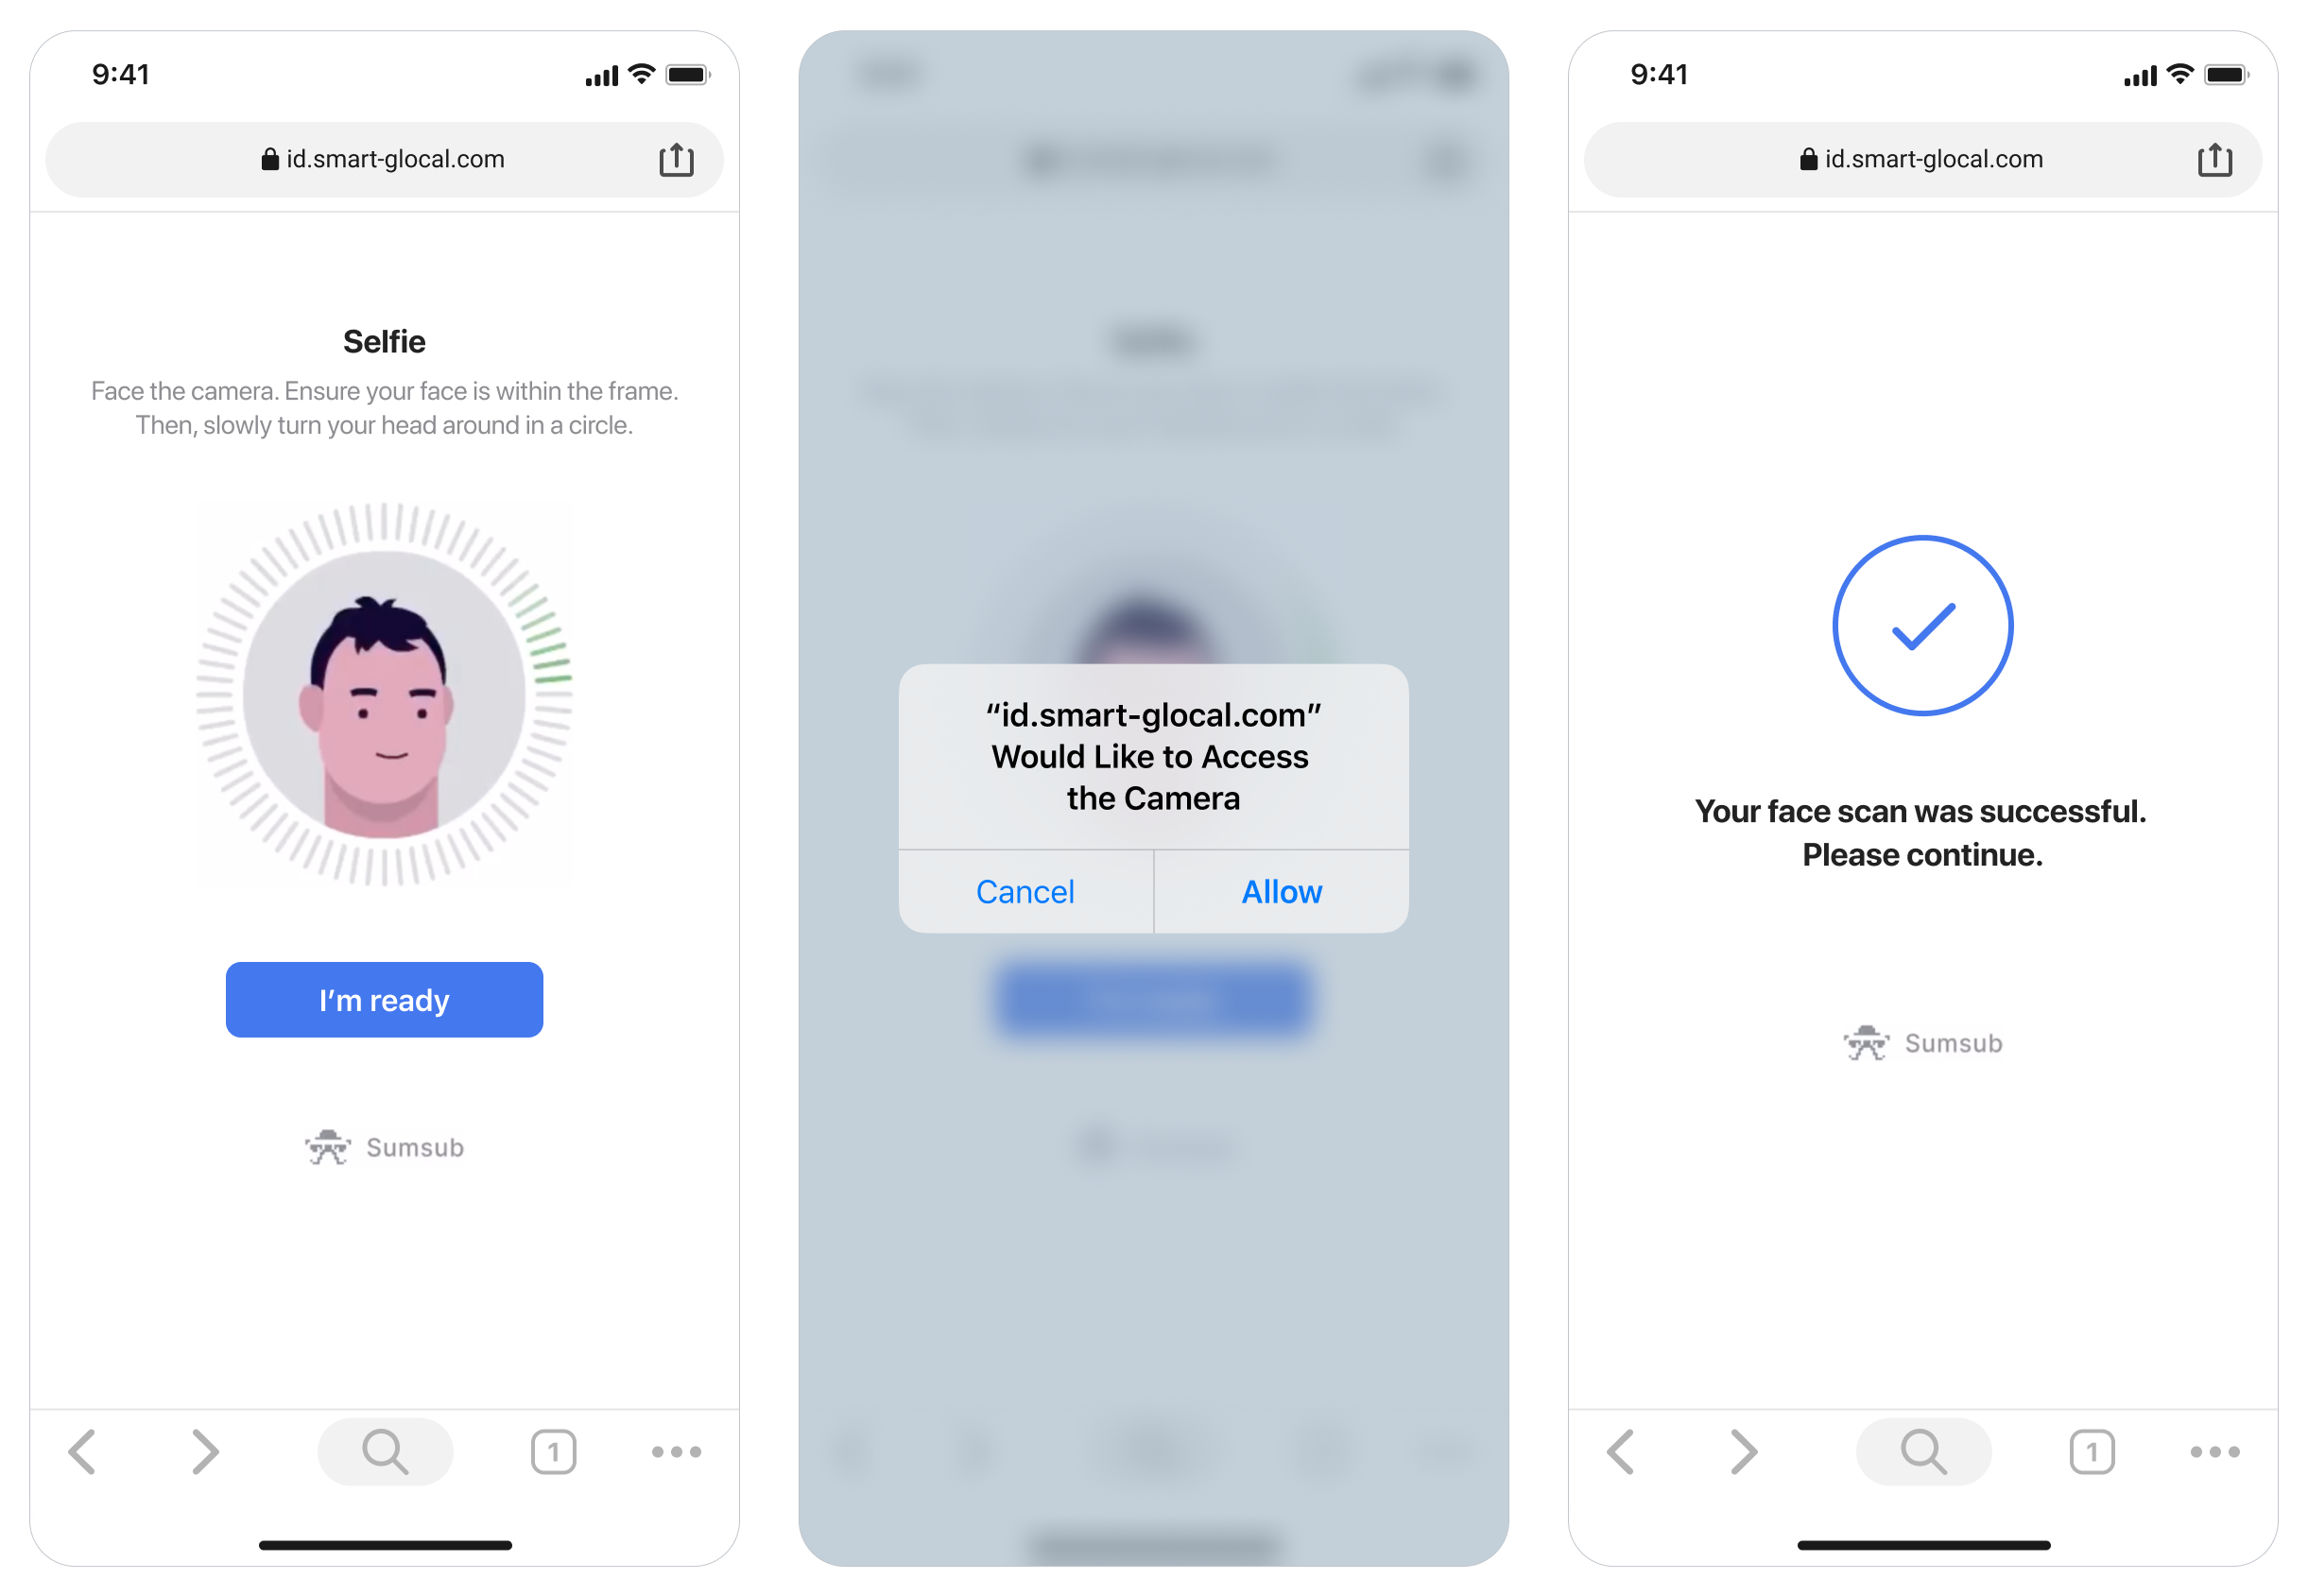
The browser that you open it with needs to have access to your camera. If it does not, you may copy and paste the link to any other web browser that is convenient to you.
8. Prepare the ID document, it can be a passport or a driver's license. You will need light for a better quality selfie. Make a 3D selfie.
9. Take a photo of your ID or upload it. The ID has to be yours and valid.
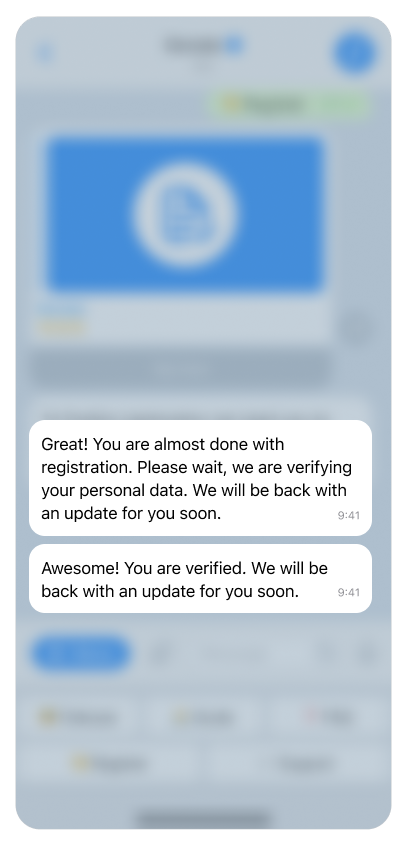
Go back to the bot. Wait until we send you a message with the result of your identity verification. It might take from several minutes to an hour depending on the image quality.
10. Now we have verified your identity and are making the final check — making sure your channel(s) are in line with our content restriction guidelines. It might take from several minutes to an hour depending on the queue.
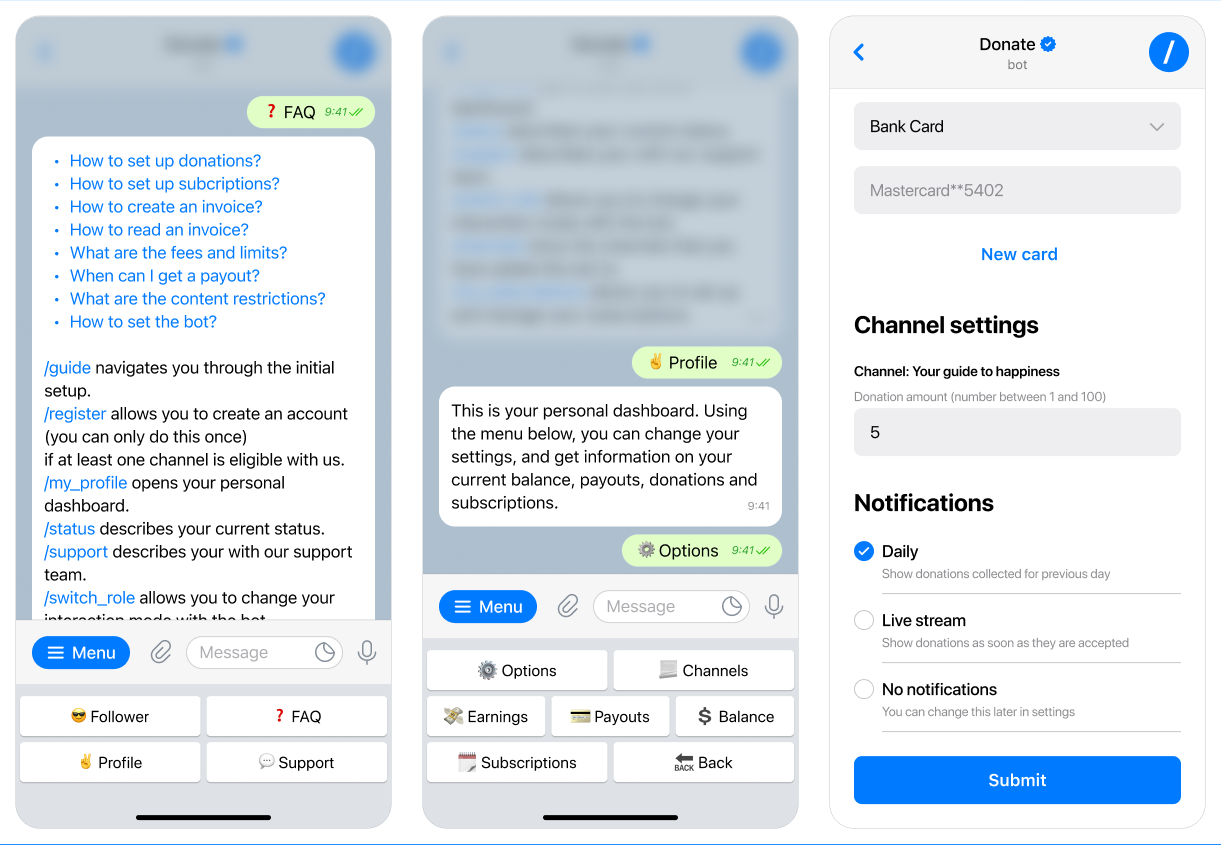
11. Refer to the FAQ for instructions on creating an invoice. At this point, this can be done by any channel administrator. And use the /my_profile command to access your personal dashboard, where you can set the preferred donation amount, create a subscription, and manage your channels.
Subscribe to @donatebotnews to be the first to know about our latest features.