100% Similarity Face-Swapped with Braundress Mask Upload Mode
braundressai100% Similarity Face-Swapped with Braundress
使用Braundress机器人制作100%相似度换脸图片
Introduction/介绍
Most face-swapping methods on the market suffer from insufficient similarity. However, using the BraUndress masking mode allows for 100% transplantation of a face onto another image.
市面上大部分换脸方法存在相似度不足的问题,而使用BraUndress蒙版模式可以将人脸100%移植到另一张图片上。
Operating Steps/操作步骤
**STEP 1**:
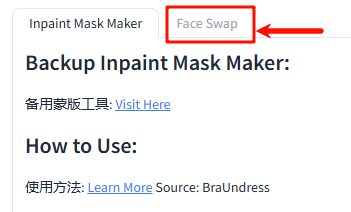
Open the BraUndress tool website, click on the FaceSwap Tab page, and enter the face stitching tool page
👉Inpaint mask maker - a Hugging Face Space by BraUndress
打开BraUndress工具网站,点击FaceSwap Tab页,进入人脸拼接工具页
👉Inpaint mask maker - a Hugging Face Space by BraUndress
(You can also use professional tools such as Photoshop, pixlr.com, etc. to stitch together, and the stitching principle is the same as below)
(也可以自行使用Photoshop,pixlr.com,等专业工具拼接,拼接原理同下)
**STEP 2**:
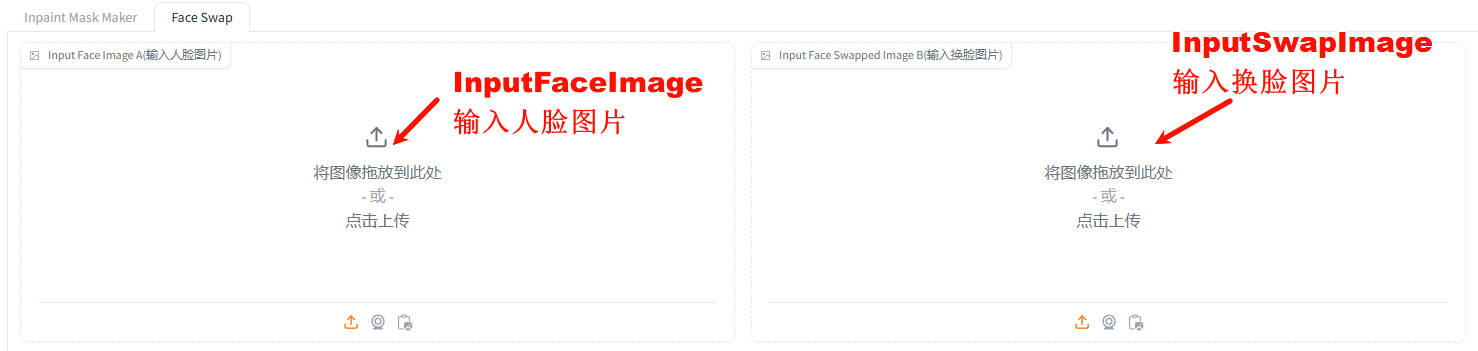
Upload face image A at the left image input and face swapping image B at the right image input
在左侧的图片输入处上传人脸图片A,右侧的图片输入处上传换脸图片B
**STEP 3**:
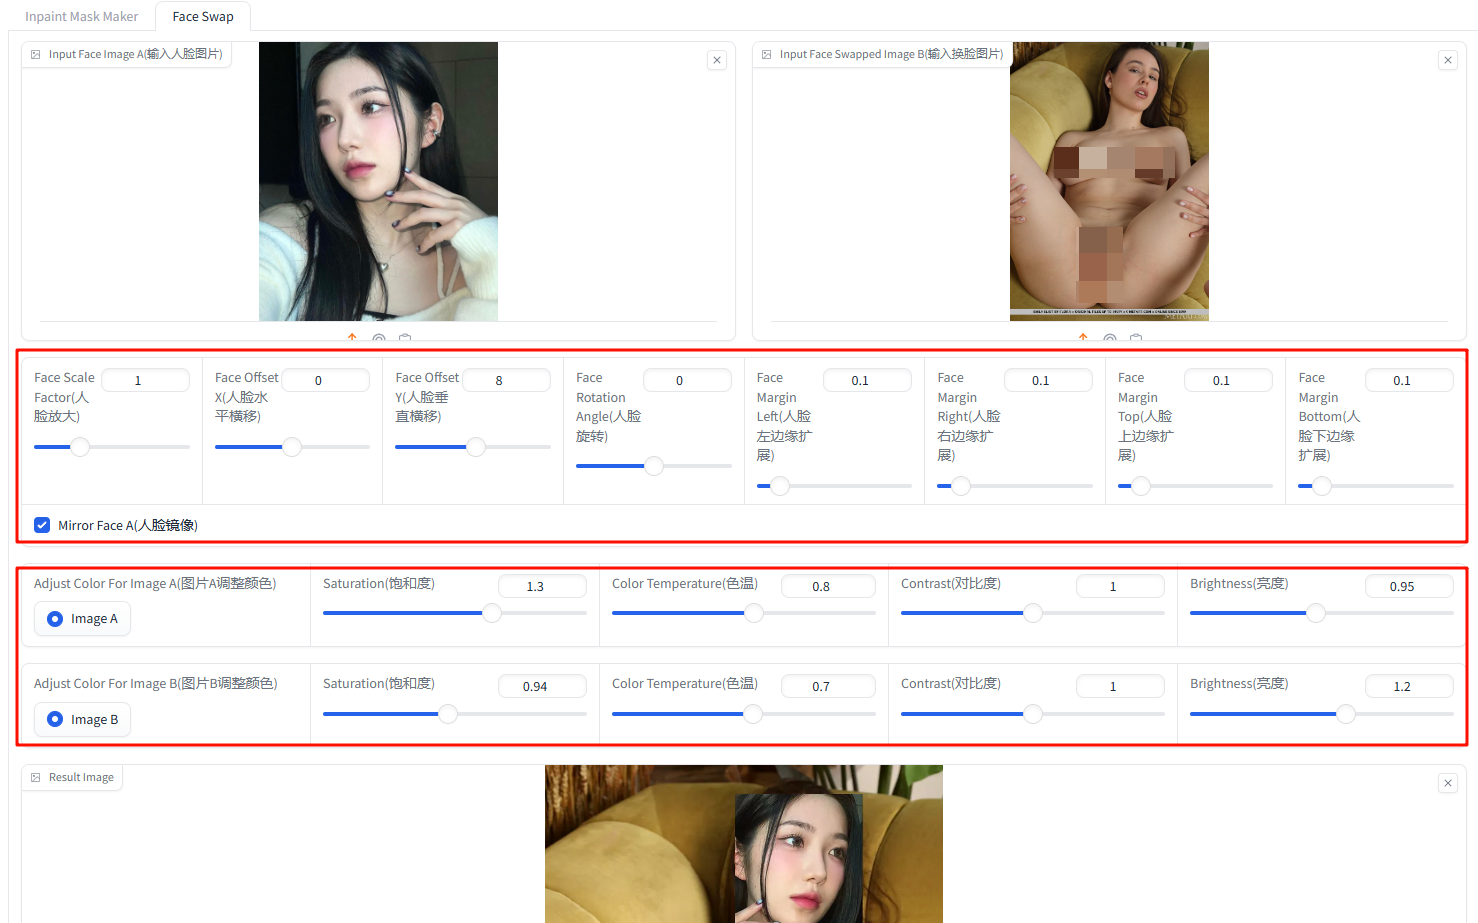
After the images are uploaded, the system will automatically crop the face from Image A and place it onto Image B. Then, you can use the toolbar below to adjust Face A to enhance its overall integration with Image B.
These adjustments include: enlarging the face, horizontal/vertical movement, rotation, expansion, mirroring, saturation, color temperature, contrast, and brightness.
图片上传完成后,系统会自动将图片A中的人脸裁剪到图片B上。然后,您可以使用下方的工具栏调整人脸A,以提升与图片B的整体协调性。
这些调整包括:放大人脸、水平/垂直移动、旋转、扩展、镜像、饱和度、色温、对比度和亮度。
**STEP 4**:
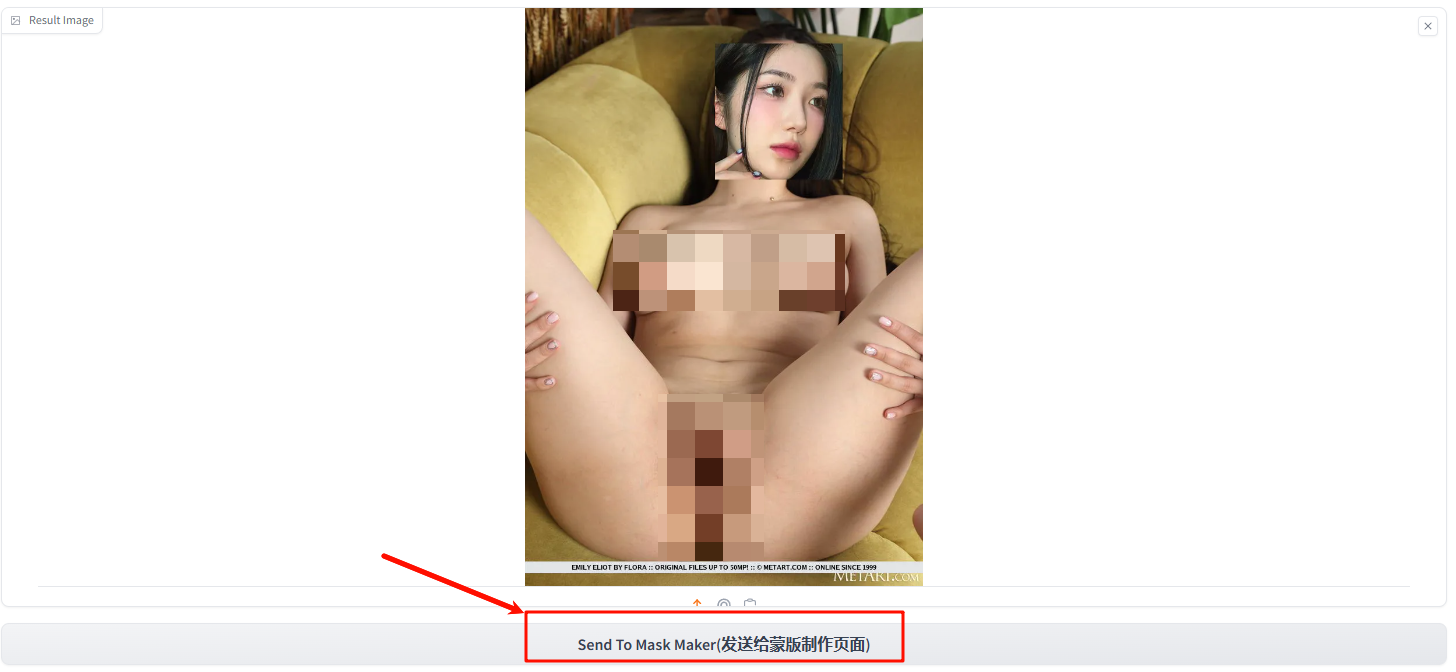
After making adjustments, click the "Send to Mask Maker" button at the bottom of the page to send the adjusted image to the Tab1 Inpaint-Mask-Maker page.
调整完成后,点击页面下方的“发送到蒙版制作”按钮,将调整后的图片发送到Tab1蒙版制作页面。
**STEP 5**:
Switch to the Inpaint-Mask-Maker page, click the brush button to apply the transition area between the two images. After painting, click the "Generate Mask" button to create the masked image.
切换到蒙版制作页面后,点击笔刷按钮涂抹两张图片的衔接区域。涂抹完成后,点击“生成蒙版”按钮生成蒙版图片。
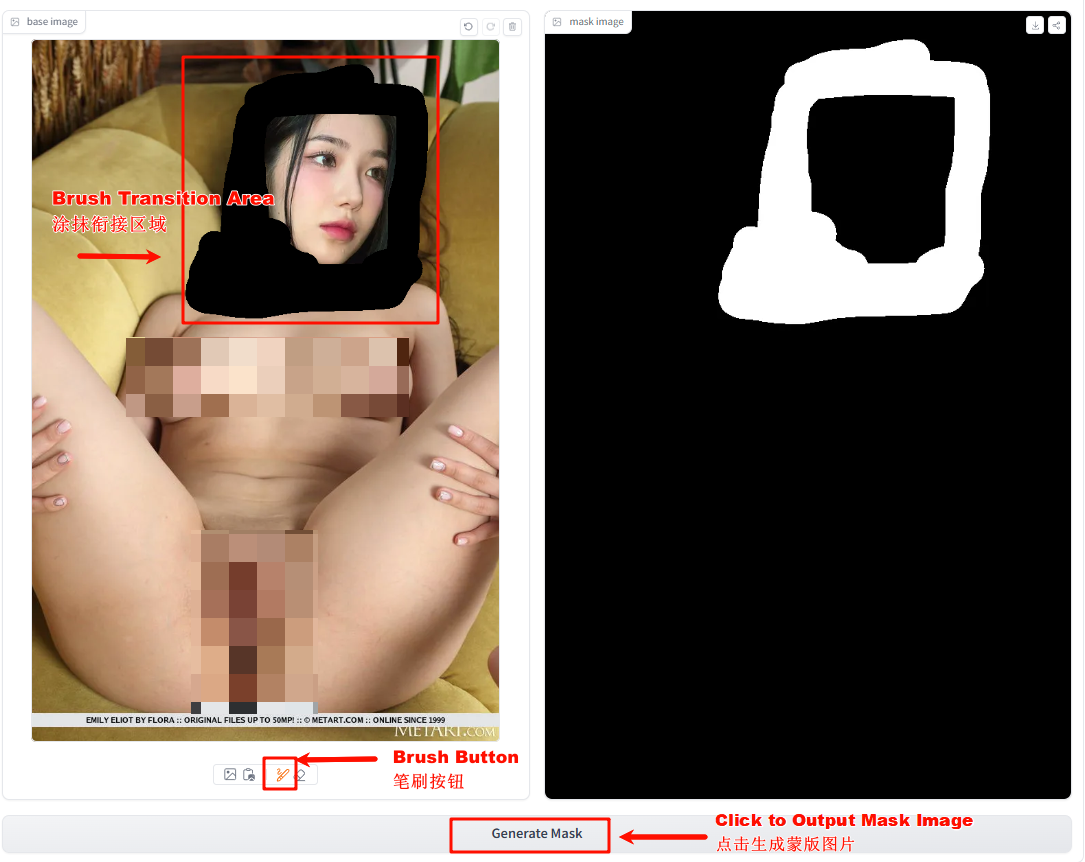
Tip: Paint over a large area of the junction, especially around the neck, using the reference image as a guide.
提示:请尽可能大范围地涂抹衔接区域,特别是脖子部分,以参考图片为准
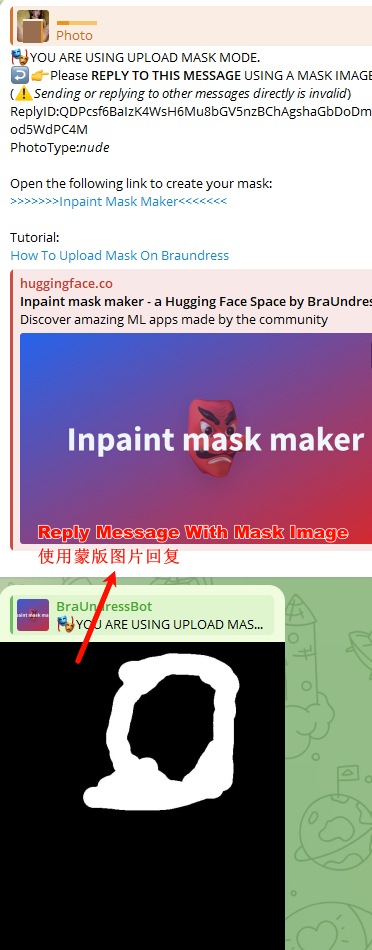
**STEP 6**:
Send the stitched image and the mask image to the BraUndress bot using the mask upload mode with NUDE photo type
Please refer to the following link for instructions on how to use the BraUndress bot's mask mode:
https://telegra.ph/HowToUploadMaskOnBraundress-05-01
将拼接的图片和蒙版图片使用蒙版上传模式发送给BraUndress机器人,选择“全裸”图片类型。
请参考以下链接了解BraUndress机器人蒙版模式的使用方法: https://telegra.ph/HowToUploadMaskOnBraundress-05-01

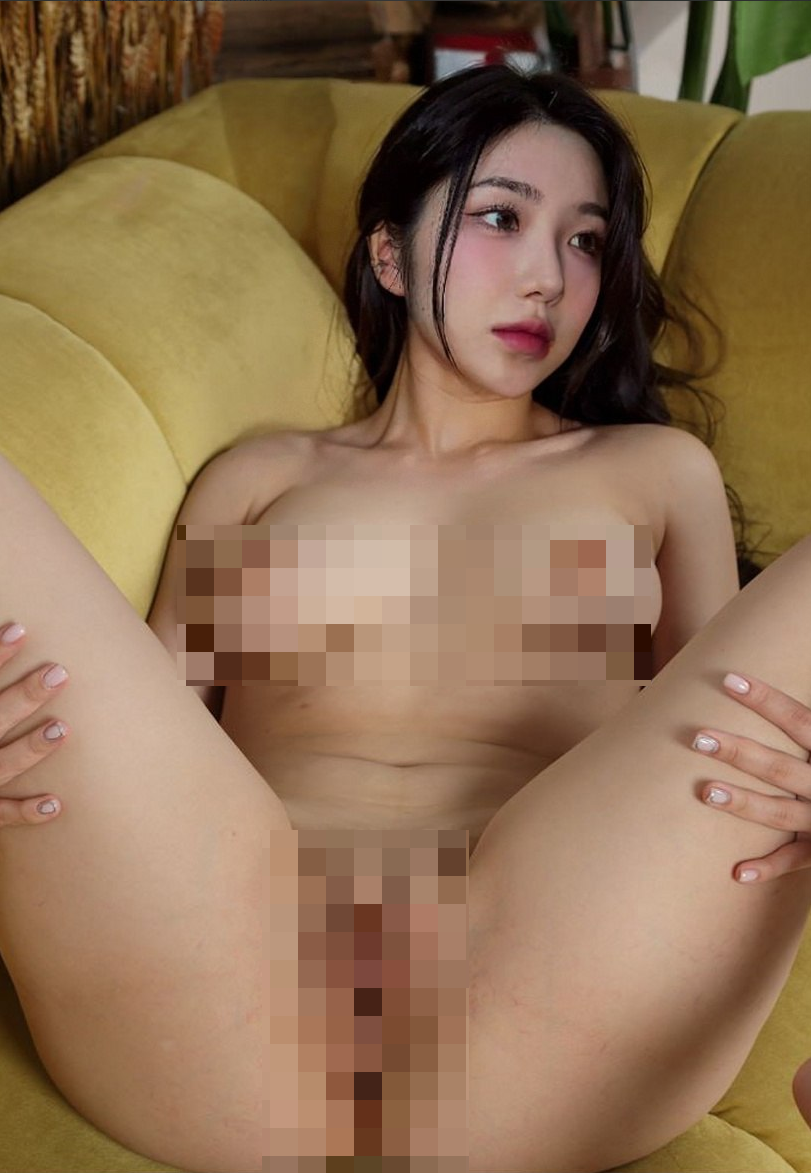
**STEP 7**:
Face-Swapped Complete
换脸完成
Tips:
① Using facial images from the same angle as the face changing images to improve the quality of face changing
② Adjust the color trend of the two images to be consistent and improve the quality of face changing
提示:
①使用与换脸图片相同角度的人脸图片提升换脸质量
②调整两张图片的颜色趋向一致提升换脸质量