"Transform Your Home with Venetian Plaster: Expert Advice from a Nottingham-based Specialist" for Dummies
Readying your walls for plastering is an important step in attaining a soft and professional coating. Whether you're remodeling your property or readying a room for art work, appropriate wall structure preparation ensures that the plaster sticks properly and develops a long lasting area. In this guide, we will walk you with the measures to prep your wall structures for plastering, with knowledge from a Nottingham plasterer.
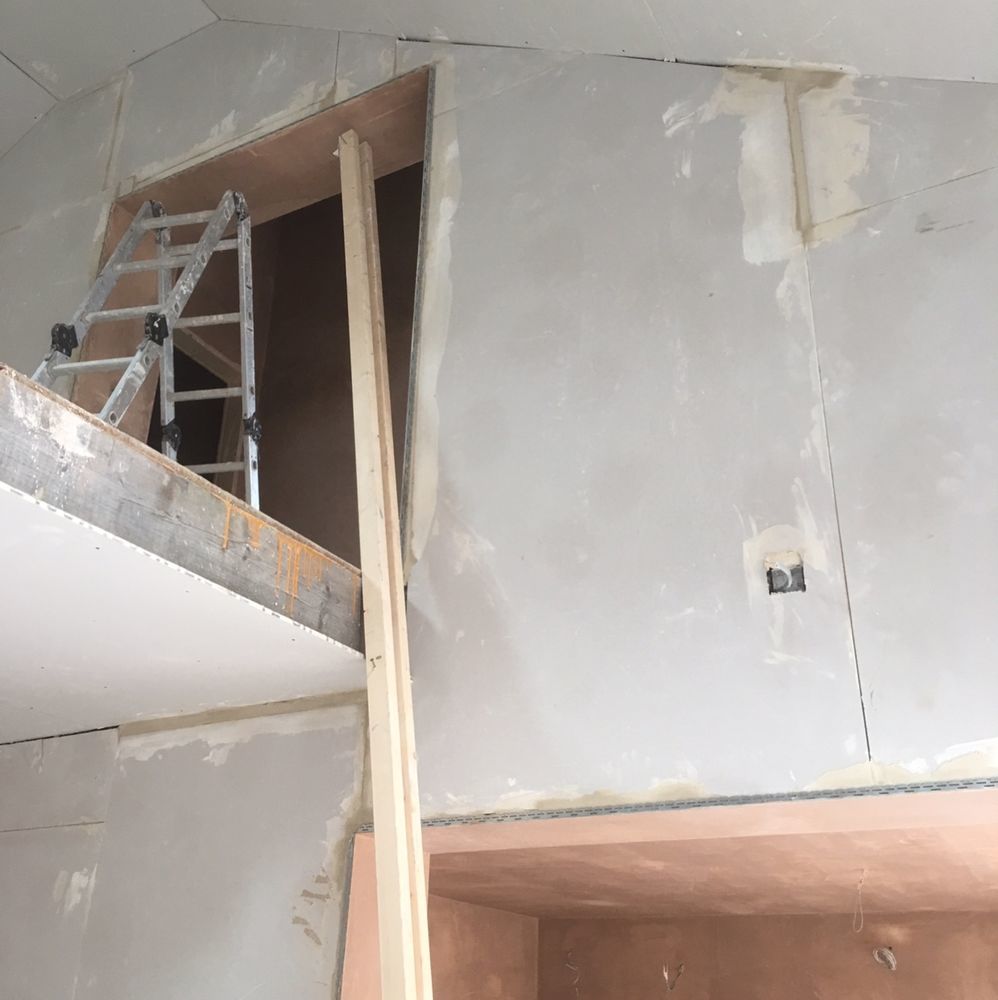
1. Remove the Room: Before you start readying your wall structures, it's important to get rid of the space of any sort of home furniture or decorations. This will definitely not only provide you along with plenty of space to function but likewise protect your personal belongings from dirt and potential harm during the method.
2. Remove Wallpaper: If there is existing wallpaper on the wall structures, it need to have to be eliminated before paste. Make use of a wallpaper steamer or wallpaper pole dancer service to soften the adhesive and carefully peel off off the newspaper. Guarantee that all signs of wallpaper are completely gotten rid of as they can impact plaster adherence.
3. Repair service Destroyed Areas: Examine your walls for any kind of gaps, openings, or other harm that need repair service prior to paste. Make use of a filler compound or shared substance to fill up in these flaws and create a hassle-free area. Allow ample time for the material to dry before moving on.
4. Clean Your Wall surfaces: Dust and particles may meddle along with appropriate adherence of paste, so it's essential to clean up your walls thoroughly prior to starting. Make use of a suction cleaner or mop to eliminate loosened dust and webs from all areas. Additionally, wipe down the walls making use of cozy water and mild cleaning agent to get rid of oil or blemishes.
5. Use Primer: Keying your wall surfaces is an vital step as it assists enhance adherence and prevents humidity saturation coming from the clean paste – guaranteeing an constant function and minimizing breaking risks eventually on. Select a appropriate primer based on your wall style (e.g., drywall, masonry) and administer it according to manufacturer instructions.
6. Shield Adjacent Surfaces: Plastering may be a unpleasant method, so it's critical to secure surrounding surface areas from plaster splatters. Cover floorings and furnishings with decrease towels or plastic sheets to stop damage. Additionally, use painter's strip to safeguard the edges of these treatments and shield fixtures like power outlets.
7. Moisten the Wall surfaces: Before administering plaster, dampening the walls can aid boost bonding between the plaster and the area. Gently shoot This Article Is More In-Depth onto the wall surfaces utilizing a misting bottle or damp sponge. Be mindful not to oversaturate as excessive dampness might endanger the stability of the paste.
8. Mix Your Plaster: Comply with the supplier's guidelines for combining your paste appropriately. Use clean water and a well-maintained container to ensure a hassle-free mix without any lumps. It's necessary to function quickly but successfully once you begin mixing, as plaster prepares fairly quickly.
9. Use Plaster: Begin by administering a thin coating of paste (understood as scrape coat) onto the wall making use of a trowel or war hawk and float technique. Spread it uniformly all over the surface, making certain it adheres well and loads any kind of spaces or irregular places on your wall.
10. Refine Out Unevenness: After using the scrape layer, allow it to partly prepared prior to smoothing out any type of irregular places with a upright side or screeding tool. This are going to aid generate an uniform surface for succeeding coatings of paste.
11. Use Top Coats: Once your blemish layer is completely dry enough (but still somewhat damp), administer subsequent layers of plaster making use of identical procedures as in the past – evenly spreading and smoothing each level until you attain your desired density.
12. Sanding and Finishing Contacts: After permitting ample time for drying, utilize sand paper to delicately fine sand down any sort of rough places or blemishes in your newly administered paste coatings. This measure helps create an uniform finish that is prepared for additionally embellishing such as painting or wallpapering.
Through complying with these actions summarized by a Nottingham plasterer, you can easily make certain that your wall surfaces are appropriately ready for plastering. Taking the time to prepare your wall surfaces properly will lead in a smooth and specialist finish that will enrich the total appearance and toughness of your space. Pleased plastering!