Passport editing (step-by-step for newbies)
CosmosGuide step-by-step to editing passport or any some scans document using an image editor with simple method for modifying.
How to without Photoshop skills to get an image of edited passport in 10 minutes.
Let's get started and figure out what we need to get started:
- Scanned passport (buy or find google pic)
- Photoshop CS5 (you can use any version)
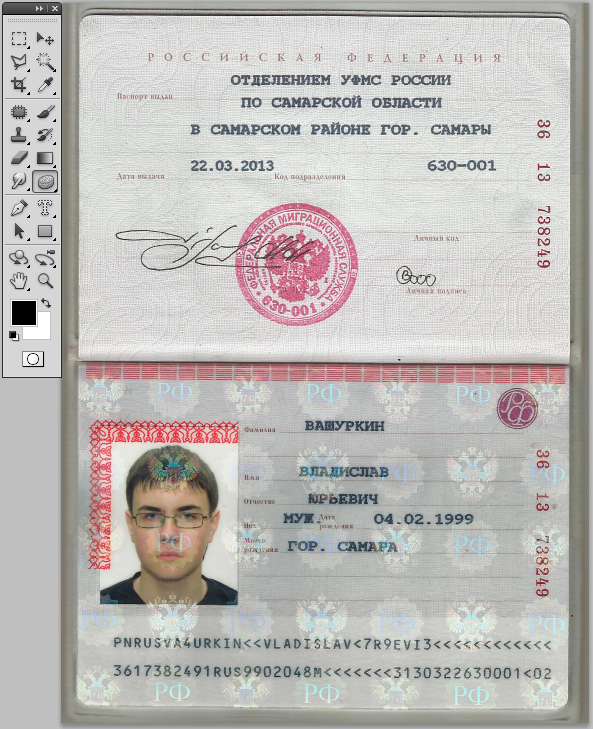
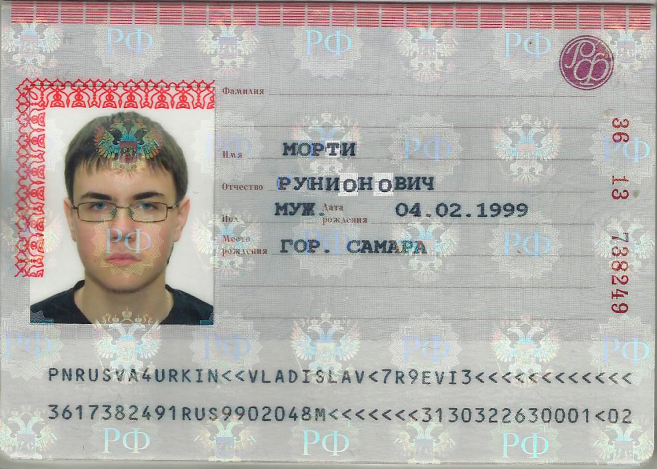
Opening scanned image and see:
Rectangular Marquee Tool("M") and select all words or letters from which we can create set of data we need.
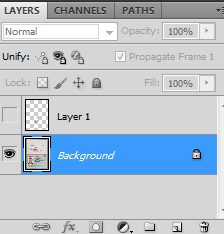
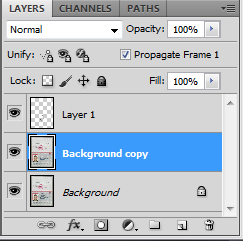
When selection is made, right-click "New layer via copy" - thus we will copy selected part to new layer. And to unmark box with Eye for hide new layer.
Look at Layers:
Select layer Background and do same copy("Ctrl + J").
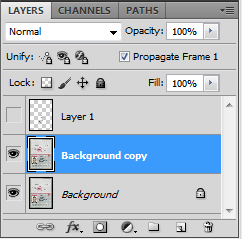
This layer Background copy for clear primary data on image. For it need tools Clone Stamp Tool("S") and Patch Tool("J"). Just selecting clean area for duplicate("hold Alt+click") and press to area with data what will be erase from document.
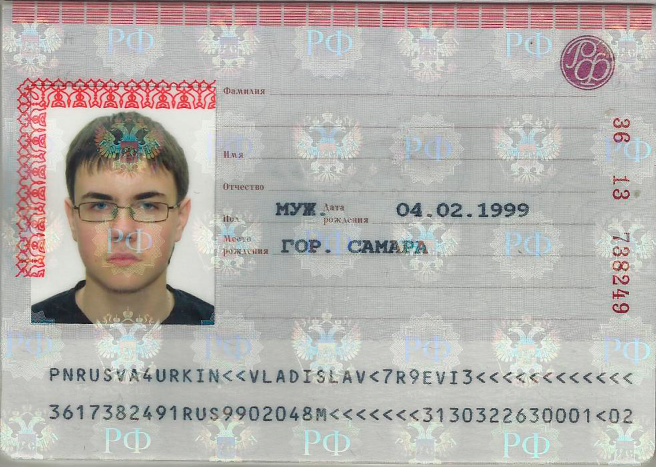
Thus get work result:
Now do visible for Layer 1 and working it.
Using Rectangular Marquee Tool("M") to select want letters and Move Tool("V") for moving and place on must area.
So far, does not look very nice:
We can select letters and right-click "New Layer Via Cut" to cut area for new layer. Now selecting layers for edited single letter each.
Use Eraser Tool("E") to remove under letter, and Move Tool("V") to align signs. And editing coloring Levels ("Ctrl+L").
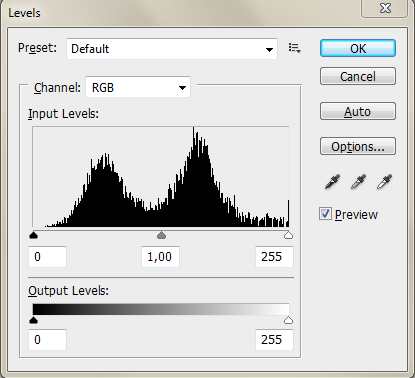
Moving leverage for make letters lighter or darker.
Final result will look:
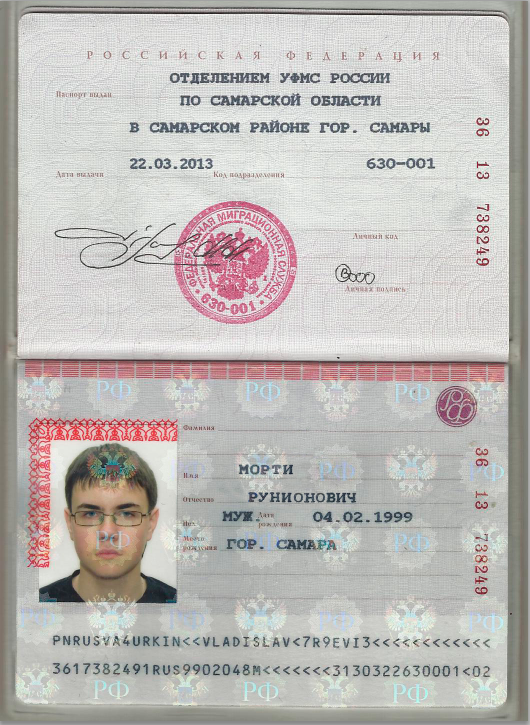
This work was not best. If receive same result, try Blur Tool("Q") for layers with letters but not overdo it.
Save as Image with compression for low-quality and disguise traces of editing. Finished file image includes EXIF metadata here Photoshop was used, don't forget cleaned.