osu! low-latency guide (ENG)
Vudek (translated by YAUIO)
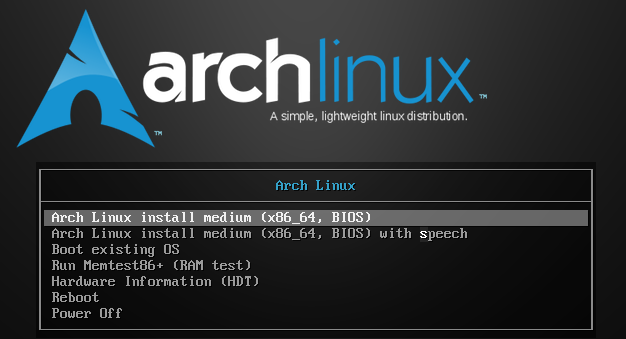
First step is to download ISO from the official site. Download Rufus and write the ISO to any useless flash drive.
System installation
- Boot from the USB drive and choose the first option, wait for the system to boot
2. Now we are in the installer
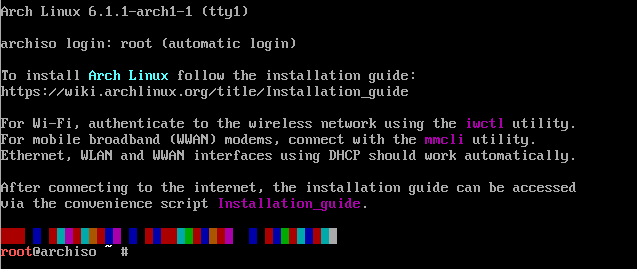
3. Type the archinstall command to get into install settings
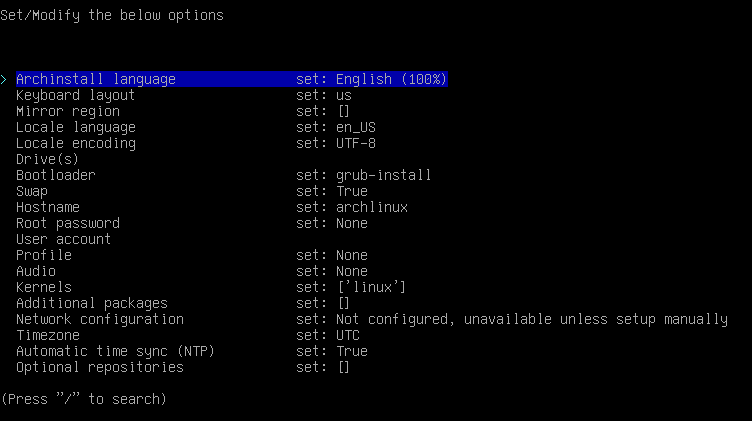
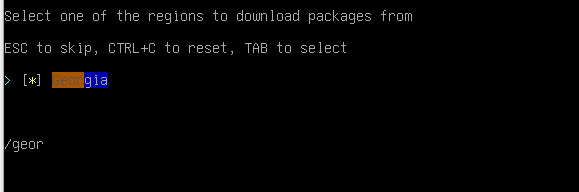
4. We will start the installation from setting up mirrors, which is option 3. Then you need to find your city/region. In my case it would be Georgia.
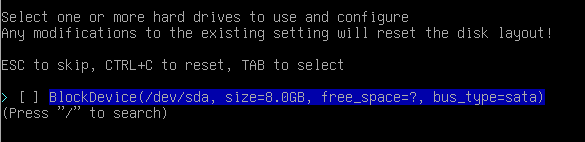
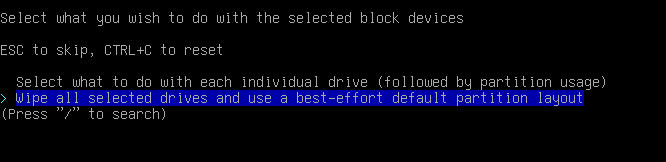
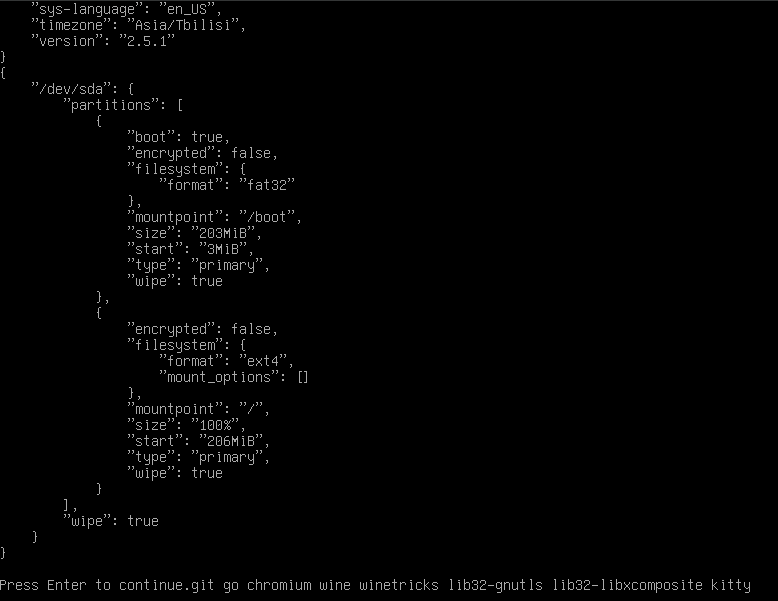
5. After setting up your region, you need to choose option Drives. In that guide installation is supposing that you have free SSD/HDD drive without any important data, because we will completely delete all the data. Next you need to choose Disk Layout and choosing options as shown below.

6. After choosing a drive, a layout and a filesystem, you need to set up Root password.
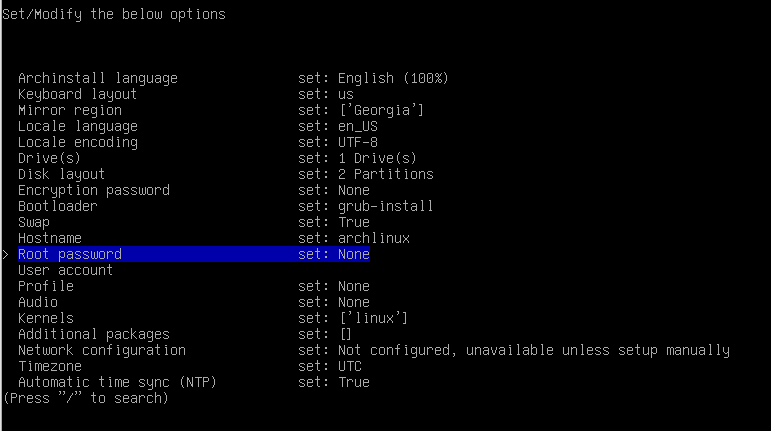
And you need to enter whatever password you want (it is password for root user). WARNING!!! Password isn't shown while typing it in, it is normal for linux.

7. After setting up root password choose the User account option.
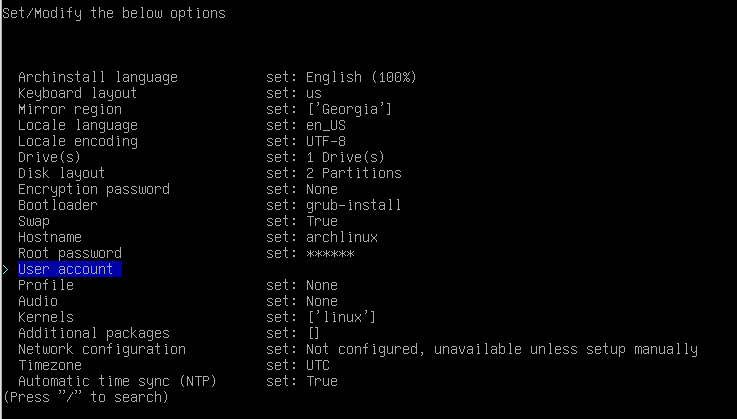
Choose Add a user

Now you need to set up username and password to your account
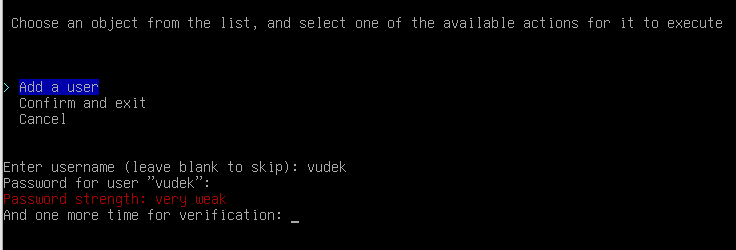
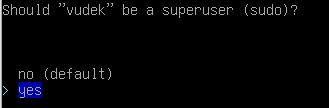
After setting up your password, you will be asked to give the user superuser rights. You need to choose yes. Then you need to choose Confirm and exit.

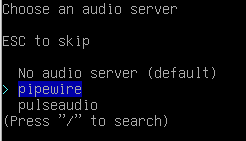
8. Choose Audio -> Pipewire
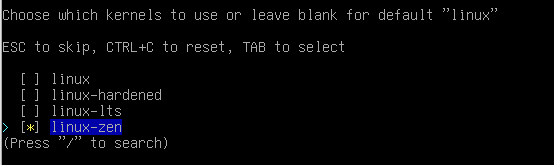
9. Choose Kernels, then find linux-zen and tick it using SpaceBar (as shown on the photo below)
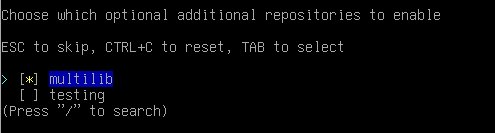
10. Choose Optional repositories, open it and tick multilib (also using SpaceBar)
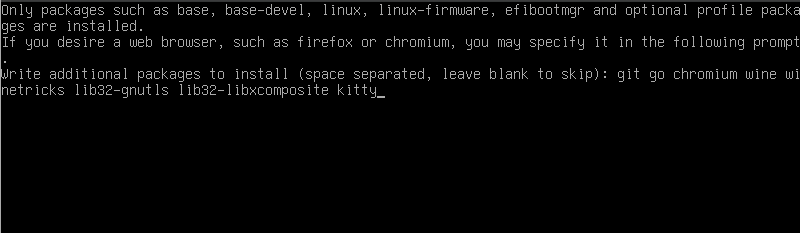
11. Choose Additional packages and write those packages to install:
git go chromium wine winetricks lib32-gnutls lib32-libxcomposite kitty rofi nemo flameshot
And press Enter.
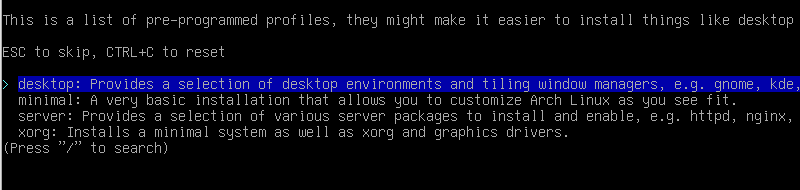
12. Choose Profile. Then, choose desktop
In my installation i will use i3-gaps as the enviroment, so i choose i3.
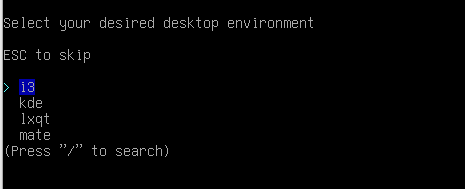
//if you don't have i3-gaps option, choose i3-wm

Further install depends on your PC config.
You should choose between AMD/ATI [for AMD graphics], Nvidia (proprietary)[for Nvidia graphics], Intel [for Intel graphics] and VMware/VirtualBox [for virtual machines]

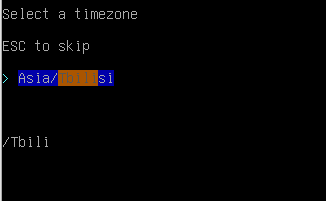
13. Choose Timezone and select your timezone
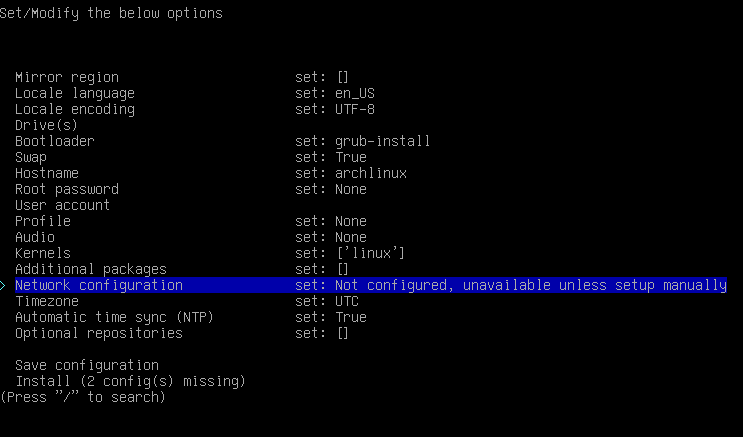
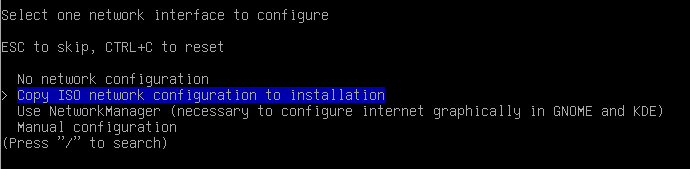
14. We are installing Arch Linux on your PC, not flash drive, so you need to copy the network setting from the USB drive. Choose Network configuration.
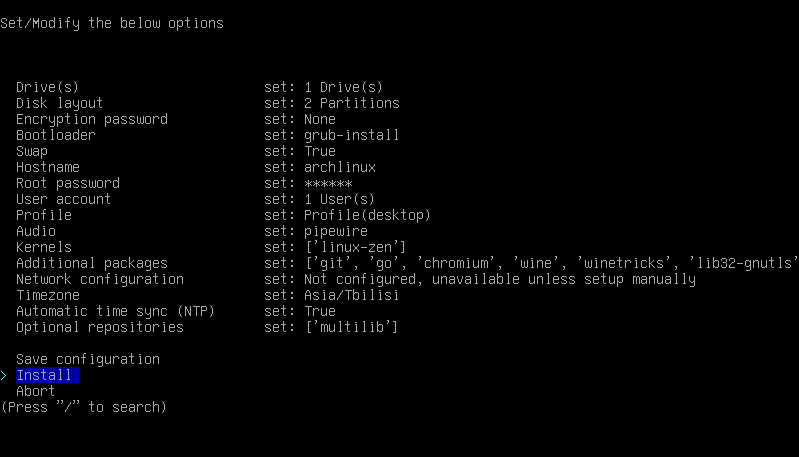
15. Choose Install and press Enter two times. Congratulations, you are a linux user now.
Now you can go make yourself a deserved cup of tea or coffee, or drink some beer if you would like to. The length of installation is 100% capped with your internet speed, so you need to just wait a bit. While you are waitng, you can subscribe to mine (Vudek's) telegram, twitter, YouTube, twitch. It isn't hard for you at all, but it will make me feel a lot better :3
//Translator's (YAUIO's) socials: Twitter, Telegram, YouTube, Twitch
After the installation ended, you need to choose No, and execute reboot in the command line.
Now you need to boot into the freshly-installated system. You will see the login screen, where you need to enter the password from your user account (7.2) and press Enter. Congratulations, you made it to the insides of the system! You may already have a lot of questions, so let's start basic linux configuration.
WE ARE IN LINUX
Linux configuration
With your first login, you will be asked to create basic config. You need to agree, pressing Enter two times.
First of all, let's change that outdated console to beautiful kitty terminal.
Press Win+D and type in kitty and press Enter. Terminal will open.

Type in
nano ~/.config/i3/config
And press Enter
Find that line using Ctrl+W
exec i3-sensible-terminal
and change i3-sensible-terminal to kitty:
exec kitty
Repeat the search using Ctrl+W, but search for other line that time:
bindsym $mod+r mode
and change the line to:
bindsym $mod+r exec "rofi -show drun -theme purple"
and somewhere in the file you need to add that line:
bindsym Print exec "flameshot gui"
and that one (for russian layout):
exec --no-startup-id "setxkbmap -layout us,ru -option grp:caps_toggle"
Save the config pressing Ctrl+O and then Enter. Ctrl+X to exit text editor.
Type the command in:
i3 reload
to check is everything working.
PrintScreen should execute flameshot, which is similar to the Windows' scissors.
Changing the language to russian (or whatever you've set up) is CapsLock.
To open any program you should use Win+R.
Now we can open our terminal threw Win+Enter and we even won't get blinded!
osu! phase
Type that line in terminal and press Enter
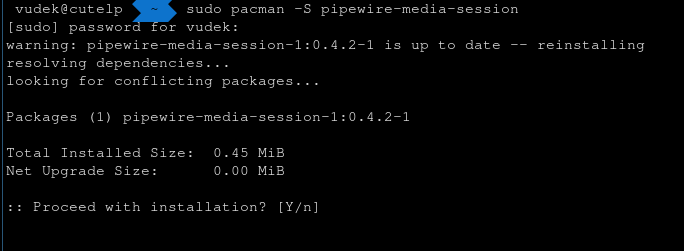
sudo pacman -S pipewire-media-session
and you'll need to type in your password. Type it in and choose Y to install the package.
Now we'll try to run osu!
(by the way you can open Chromium using Win+R and open the guide there, to copy the lines. To paste in terminal use Mouse3)
Type in
WINEARCH=win32 WINEPREFIX=~/.wineosu winetricks dotnet45 cjkfonts gdiplus
When the MONO installation pops up, press Cancel.
Further install is Windows-alike, ticking up some options and pressing Next. After install choose Restart Later, because it won't change anything.
So, we've installed the enviroment for osu! to run, now we need to install osu!
Create a folder for osu
mkdir ~/osu/
Download osu!
wget --output-document ~/osu/osu\!.exe https://m1.ppy.sh/r/osu\!install.exe
Run osu!
WINEARCH=win32 WINEPREFIX=~/.wineosu wine ~/osu/osu\!.exe
If you've done everything correctly, now you have running osu! on archlinux.
//any issues? - dm @yauio in discord, i'll try to help
Let's make a start script for osu
Create a folder
mkdir -p ~/.local/bin
Create a script
nano ~/.local/bin/osu
And paste that in (using Mouse3, which is scrolling wheel button)
#!/usr/bin/env bash
#export PATH="/opt/wine-osu/bin:$PATH" #custom WINE ArchLinux
export PATH="$HOME/wine-osu/bin:$PATH" #custom WINE new

export WINEARCH=win32
export WINEPREFIX="$HOME/.wineosu"
export WINEFSYNC=1

export STAGING_AUDIO_DURATION=13333 #1.333ms at 48KHz
export STAGING_AUDIO_PERIOD=13333 #1.333ms at 48KHz

#export vblank_mode=0 #For AMD, Intel and others
export __GL_SYNC_TO_VBLANK=0 #For NVIDIA

cd ~/osu
#wine --version
wine "osu!.exe" #-devserver gatari.pw
Save using Ctrl+O, exit using Ctrl+X
Type
chmod +x ~/.local/bin/osu
Add our freshly-installed game to the program list
nano ~/.local/share/applications/osu.desktop
And paste that code into it
[Desktop Entry]
Type=Application
Comment=osu!
Exec=.local/bin/osu
GenericName=osu!
Name=osu!
StartupNotify=true
Save using Ctrl+O, exit using Ctrl+X
Now you should have osu! in Win+R program list.
Finalizing tweeks
You need to set up custom WINE version with all patches osu! needs. Here is the link
After downloading, paste that line into terminal
cd ~/Downloads && tar -xvf wine-osu-7.15.2-x86_64.tar.xz && cp -r wine-osu ~/wine-osu && rm -rf wine-osu && cd
Custom WINE build is installed!The last step is to set up low-latency settings for our audio server. Paste that line into terminal
mkdir -p ~/.config/pipewire && cp -r /usr/share/pipewire/* ~/.config/pipewire/
Than create a file using
nano ~/.config/pipewire/media-session.d/alsa-monitor.conf
Where we will write
session.suspend-timeout-seconds = 0
Save using Ctrl+O, exit using Ctrl+X
Now we need to change some values in configs
nano ~/.config/pipewire/pipewire.conf
Find that section (you won't find the wrong one) and change values to 64, as shown below
  ## Properties for the DSP configuration
  default.clock.rate     = 48000
  #default.clock.allowed-rates = [ 48000 ]
  default.clock.quantum    = 64
  default.clock.min-quantum  = 64
Save using Ctrl+O, exit using Ctrl+X
Enter the second config
nano ~/.config/pipewire/pipewire-pulse.conf
Find sections that are shown below (it is better to use Ctrl+W here) and change values to 64 as shown below
node.latency = 64/48000
And the second section is
  pulse.min.req       = 64/48000   # 5ms
  pulse.default.req   = 64/48000   # 20 milliseconds
  pulse.min.frag      = 64/48000   # 5ms
  pulse.min.quantum   = 64/48000   # 5ms
  pulse.min.req       = 64/48000   # 5ms
  pulse.default.req   = 64/48000   # 20 milliseconds
  pulse.min.frag      = 64/48000   # 5ms
  pulse.min.quantum   = 64/48000   # 5ms
Save using Ctrl+O, exit using Ctrl+X
Now we need to reload the audio server to activate new settings. Paste this line into terminal and run it using Enter
systemctl --user restart pipewire.service pipewire.socket pipewire-media-session.service pipewire-pulse.service pipewire-pulse.socket
Let's test our osu!gameplay
Enter osu! using Win+R. Before playing, you need to go to audio -> devices -> turn on compatibility mode (as shown below)

Congartulations, now you can play osu!, but there is one problem. You probably need OpenTabletDriver, don't you?
Paste into terminal
pacman -S --needed git base-devel && git clone https://aur.archlinux.org/yay.git && cd yay && makepkg -si
After installation paste
yay -S opentabletdriver osu-handler osu-mime
If somethings pops up, just press Enter multiple times.
Then set up OpenTabletDriver running these lines in terminal
echo "blacklist wacom" | sudo tee -a /etc/modprobe.d/blacklist.conf
sudo rmmod wacom
echo "blacklist hid_uclogic" | sudo tee -a /etc/modprobe.d/blacklist.conf
sudo rmmod hid_uclogic
systemctl --user daemon-reload
systemctl --user enable opentabletdriver --now
Congratulations, you've set up your OTD! You can close terminal using Win+Shift+Q and open OpenTabletDriver. Press Win+R and open it using Enter or double click on Mouse1.
After opening the driver, you will see everything as in Windows.

Set up your area and filters, Save and Apply. Close the driver using Ctrl+X (or Win+Shift+Q if doesn't work)
CONGRATULATIONS!!! Welcome to the world of low latency and no freezes!
Guide is written by Vudek and translated to English by YAUIO. See you next time <3