How to connect to a wireless display in Windows 10
February 7, 2019 by James Walker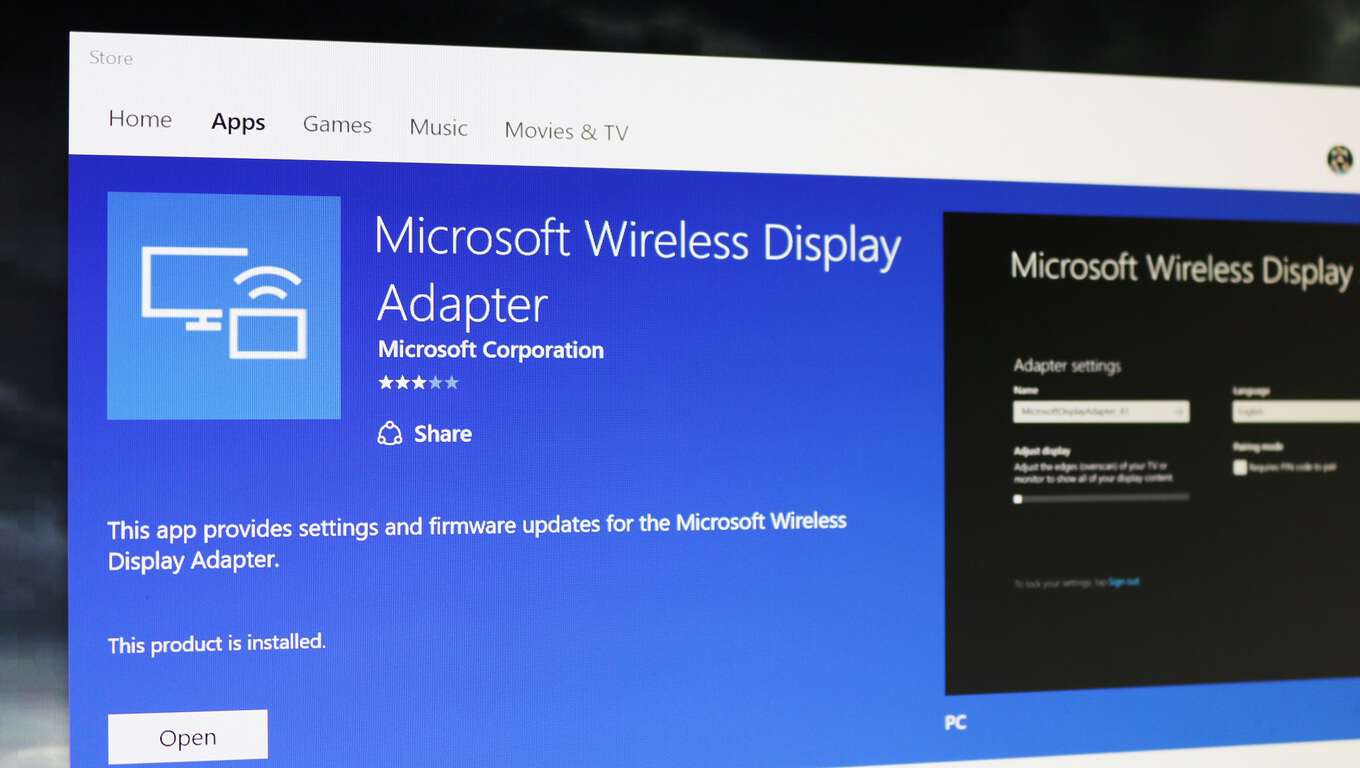
How to connect to a wireless display
To connect to a wireless display in Windows 10:
- Turn on your wireless display or adapter.
- Press the "Windows+K" keyboard shortcut to open the Connect pane.
- Look for your display in the Connect pane; it may take a few moments to appear.
- Tap the name of your display to connect.
- When you're finished with the connection, reopen the Connect pane and press the "Disconnect" button.
Wireless display technology has evolved considerably over the past few years in Windows 10 and it's now seeing more widespread use. Whether you're casting your screen or connecting to a board room projector, Windows' built-in wireless display support makes it much simpler to temporarily add a second monitor. The days of fumbling around with cables and adapters are fading away.
Connect to a wireless display
Getting connected isn't tricky but may not be the most intuitive procedure. The steps are the same irrespective of what you're connecting to, whether it's a projector, another Windows PC or a wireless display adapter.
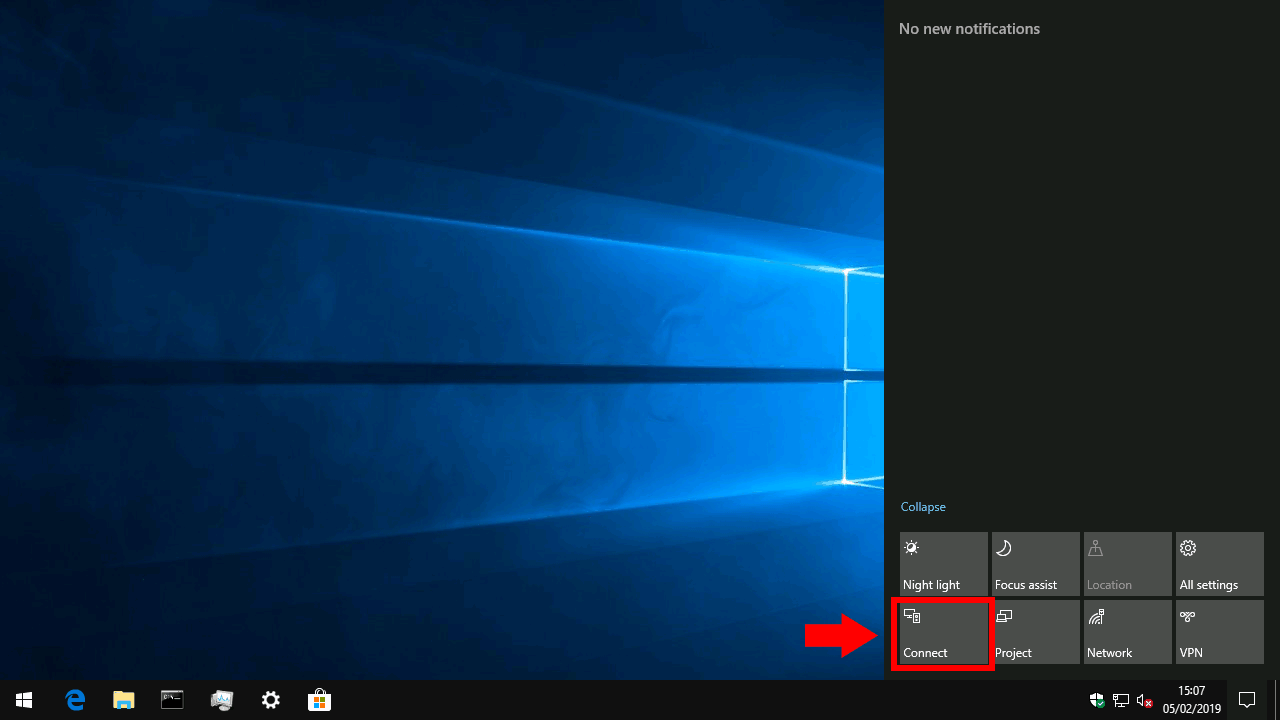
The quickest way to connect is using a keyboard shortcut. Press Win+K to open Windows 10's Connect panel, which will appear as a flyout to the right of your screen. Alternatively, you can click the "Connect" quick settings tile in Action Center (pictured above) to launch this flyout.
The Connect pane lets you connect to a variety of wireless devices, including audio receivers, accessories and Bluetooth products. Most importantly for us, it will detect wireless display receivers, such as Miracast display adapters. To make sure every possible device shows up, you may need to enable Wi-Fi and Bluetooth – you can use Action Center's tiles to do this.
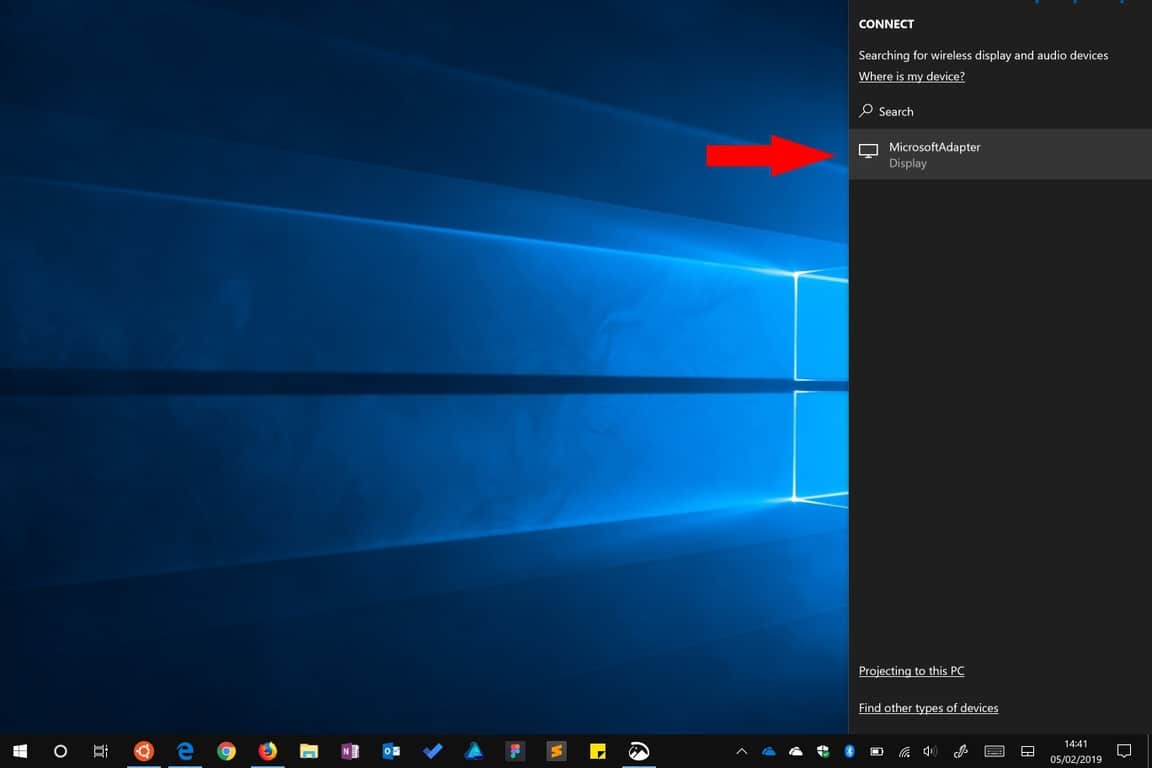
Make sure the device you want to connect to is turned on and then look for it in the Connect pane. After a few seconds, it should show up in the list and you'll be able to tap it to connect. At this stage, you may need to follow any instructions which appear on the device you're connecting to.
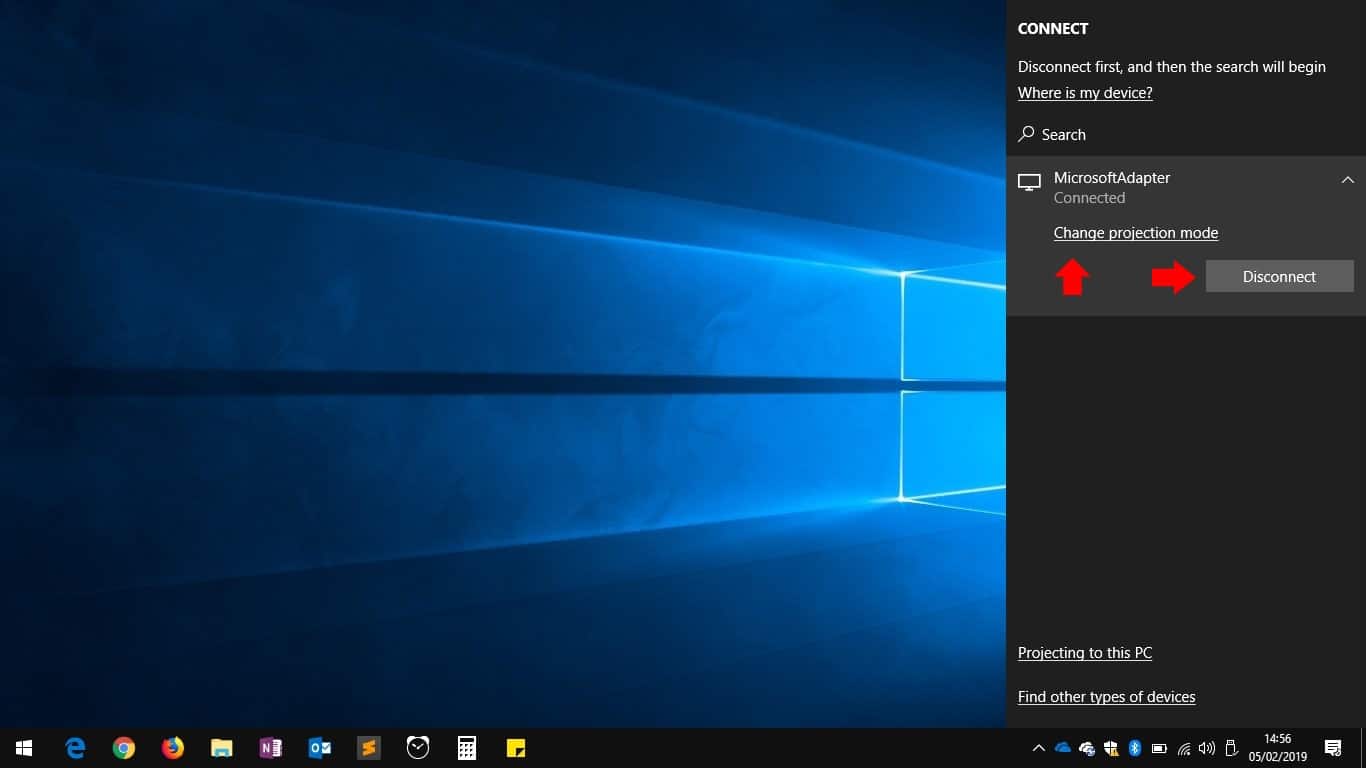
Generally, Windows will take a moment to initiate the connection, before the device gets activated as an additional display. You'll then see it show up as "Connected" in the Connect pane.
The "Change projection mode" link lets you choose how the wireless display is used. By default, it will be in "Duplicate" mode, which mirrors your display onto the wireless screen. This is ideal for most projection and casting scenarios.
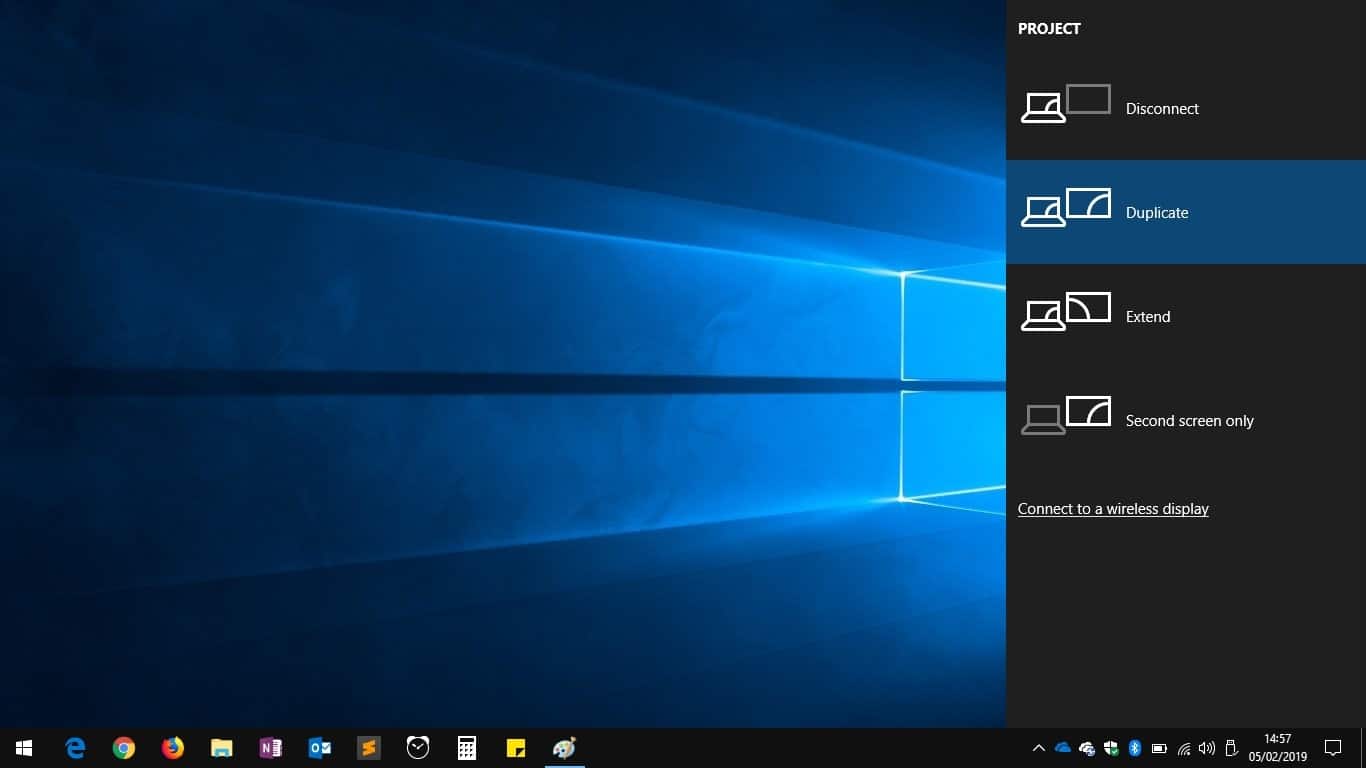
You can choose to use the display as a second monitor with the "Extend" option. Alternatively, you can use just your primary or wireless display, with the other one displayed.
When you're ready to disconnect from the wireless display, you can return to the Connect pane with Win+K. When you tap your connected device's name, you'll see a "Disconnect" button. Press it to end the session and revert your desktop to its previous display settings.
If you run into any issues trying to connect a wireless display in Windows 10, Microsoft has troubleshooting help available.
Fix connections to wireless displays or docks in Windows
Windows 10
If you’re having trouble connecting to your wireless display or wireless dock, try the following to fix things:
- Make sure your Windows 10 device supports Miracast. Here's how to check on your PC: Select the Start button, type Connect, and then select Connect from the list of results. In the Connect app, the text will tell you if your Windows 10 device supports it. To check on your Windows 10 phone, on Start , swipe over to the All apps list, and look for Continuum . If Continuum appears in the All apps list, your Windows 10 phone supports Miracast.
- Make sure Wi-Fi is turned on. To do this on your PC, select the Network ( or ) icon at the far right of the taskbar, and then check the Wi-Fi quick action. On your Windows 10 phone, swipe down from the top of your screen to open action center, and then check the Wi-Fi quick action.
- Make sure the display supports Miracast and verify it's turned on. If your wireless display doesn't, you’ll need a Miracast adapter (sometimes called a dongle) that plugs into an HDMI port.
- Make sure your device drivers are up to date and the latest firmware is installed for your wireless display, adapter, or dock. See the support info on the manufacturer's website for instructions, or search Microsoft Store for your manufacturer's app to help you.
- Restart your PC or phone and the wireless display or dock.
- Remove the wireless display or dock, and then reconnect it. To remove the device, open Settings , and then select Devices > Bluetooth & other devices . Select the wireless display, adapter, or dock, then select Remove device. After that, try reconnecting.
Search
apps & features
Optional features
Add a feature
Wireless Display
Install
Windows 11
If you’re having trouble connecting to your wireless display or wireless dock, try the following to fix things:
- Make sure your Windows 11 device supports Miracast. Here's how to check on your PC: To do this on your PC, select the Network icon at the far right of the taskbar, and then check to see if you have the Cast quick setting.
- Make sure Wi-Fi is turned on. To do this on your PC, select the Network icon at the far right of the taskbar, and then check the Wi-Fi quick setting.
- Make sure the display supports Miracast and verify it's turned on. If your wireless display doesn't, you’ll need a Miracast adapter (sometimes called a dongle) that plugs into an HDMI port.
- Make sure your device drivers are up to date and the latest firmware is installed for your wireless display, adapter, or dock. See the support info on the manufacturer's website for instructions, or search Microsoft Store for your manufacturer's app to help you.
- Restart your PC and the wireless display or dock.
- Remove the wireless display or dock, and then reconnect it. To remove the device, open Settings, and then select Bluetooth & devices > Devices. Under Wireless displays & docks, select More options (three vertical dots) next to the wireless display, adapter, or dock you want to remove, then select Remove device > Yes. After that, try reconnecting.