Vore Photomanipulation
💣 👉🏻👉🏻👉🏻 ALL INFORMATION CLICK HERE 👈🏻👈🏻👈🏻
25 Best Photo Manipulation Tutorials
Photo manipulation involves transforming an image using various methods and techniques to achieve a desired result. Most photo manipulations are skillful artworks typically created by an artist, designer or photographer in Adobe Photoshop.
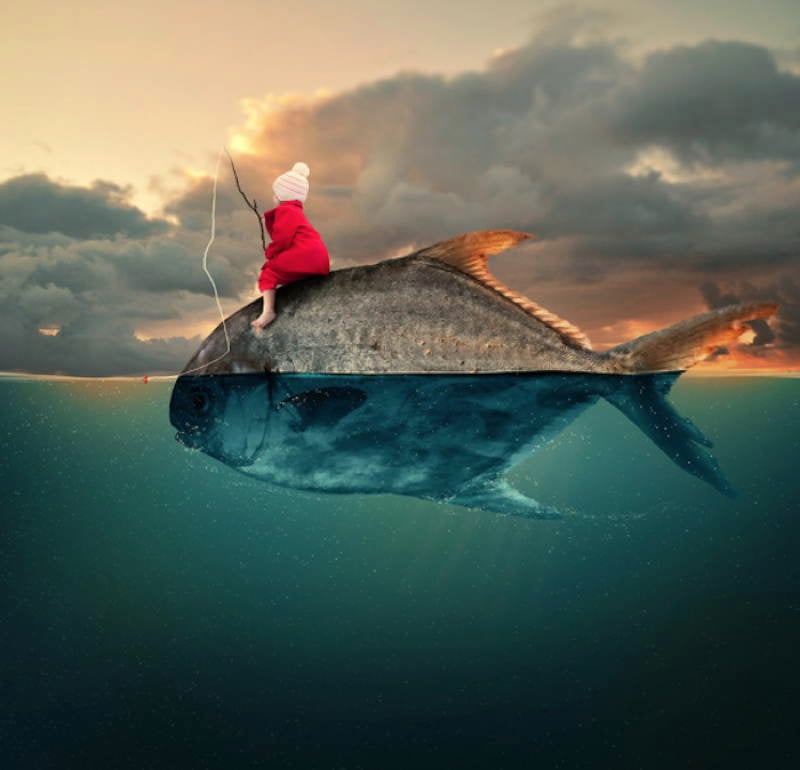
In this tutorial you'll learn a good technique for incorporating glass transparency into photo manipulations, while placing a cute, pirate hamster on the high seas.
Make some beautiful and colorful art by using the Brush Tool, adding texture, embedding images and applying Adjustments.
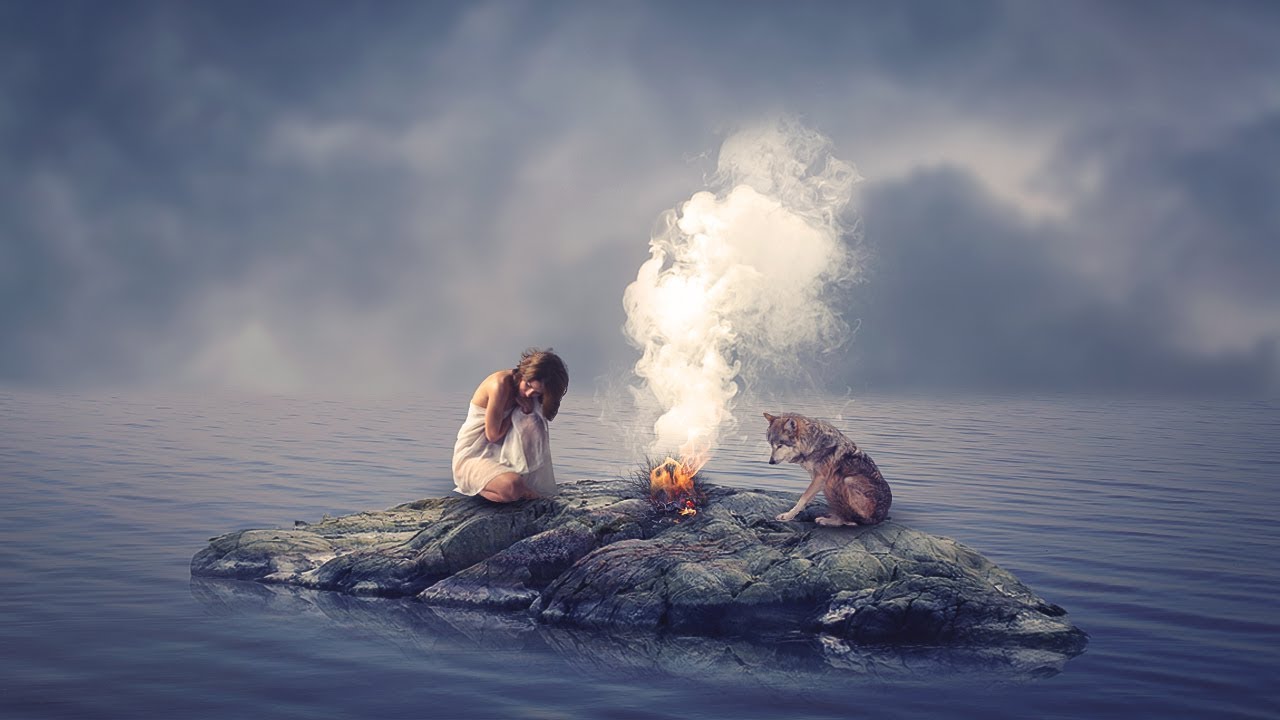
Create a nice looking illustration of woman burning by using simple techniques and tools such as the Brush Tool and Transform Warp.
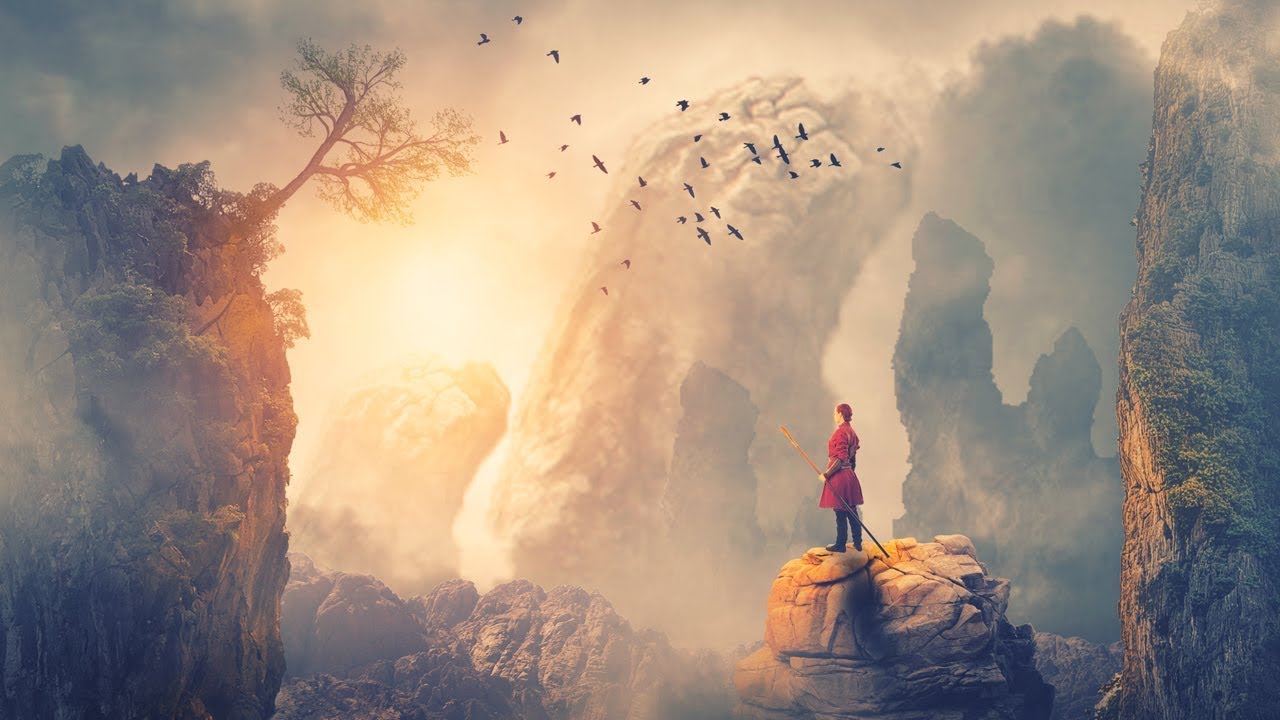
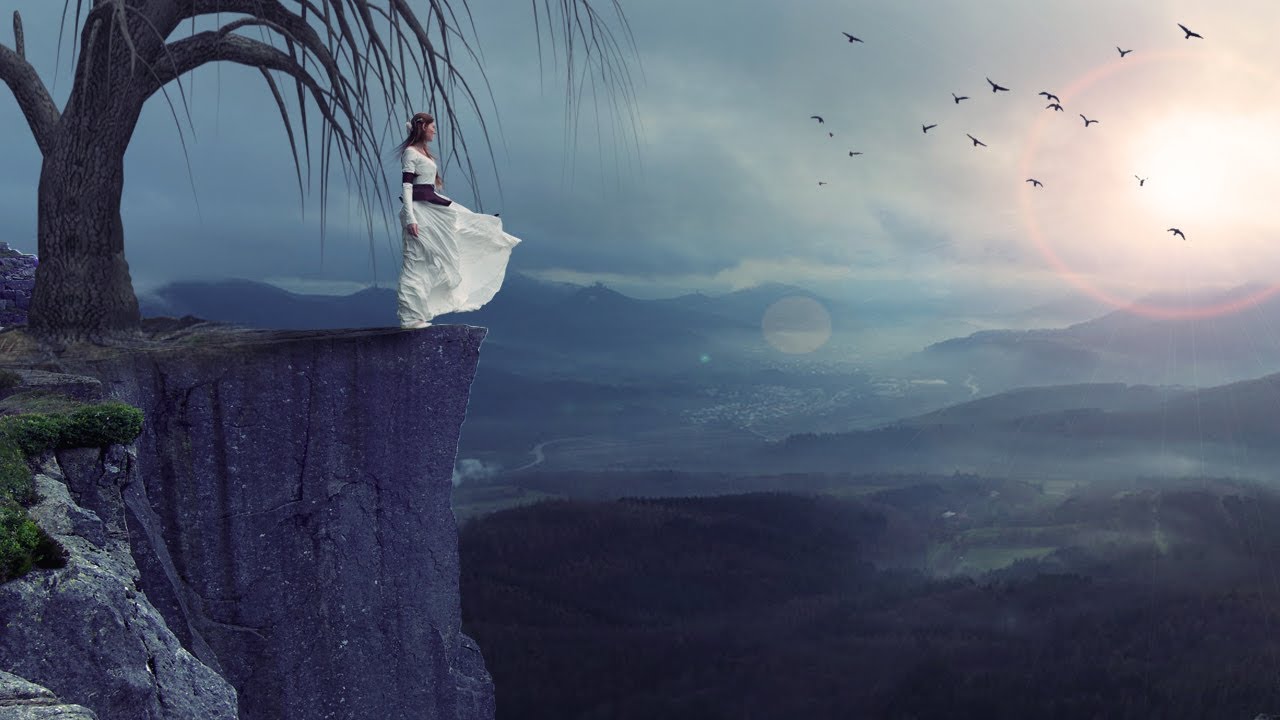
This tutorial is meant for those of you who may be relatively new to Photoshop or matte painting in general.
Create a really cool and super easy typographic portrait by using the Displace Filter and some Blend Modes to achieve the effect.
See the techniques for creating a cyborg from photographic sources, tapping into the movie heritage of the cyborg, and mixing it with the glossy Bleach Bypass look.
Learn techniques to merge several objects into one piece, and apply image Adjustments to fine-tune each of the objects.
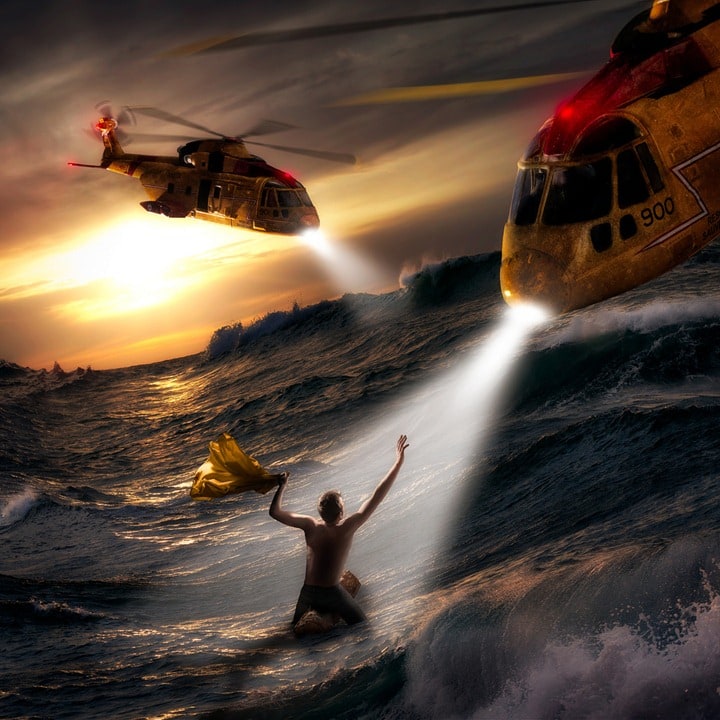
The main focus, aside from the style of course, is fusing elements from different sources together to create a cohesive whole by using tricks with light sources, shadows and image grading.
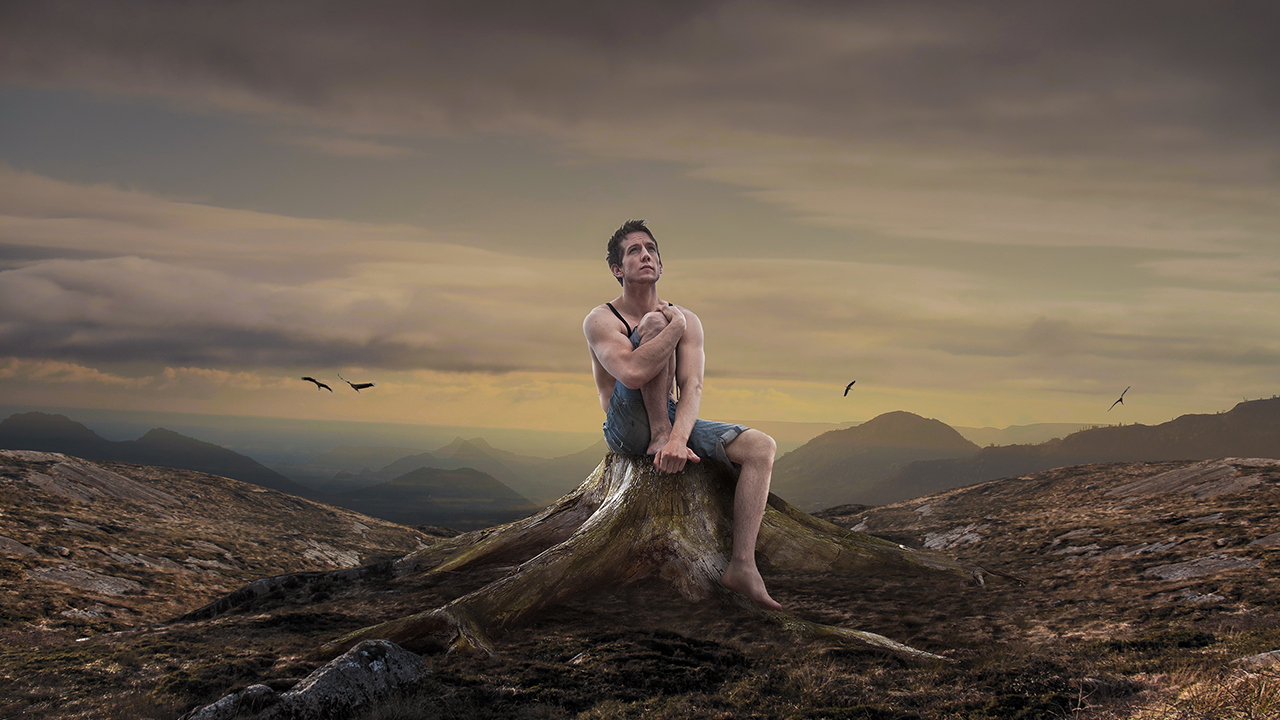
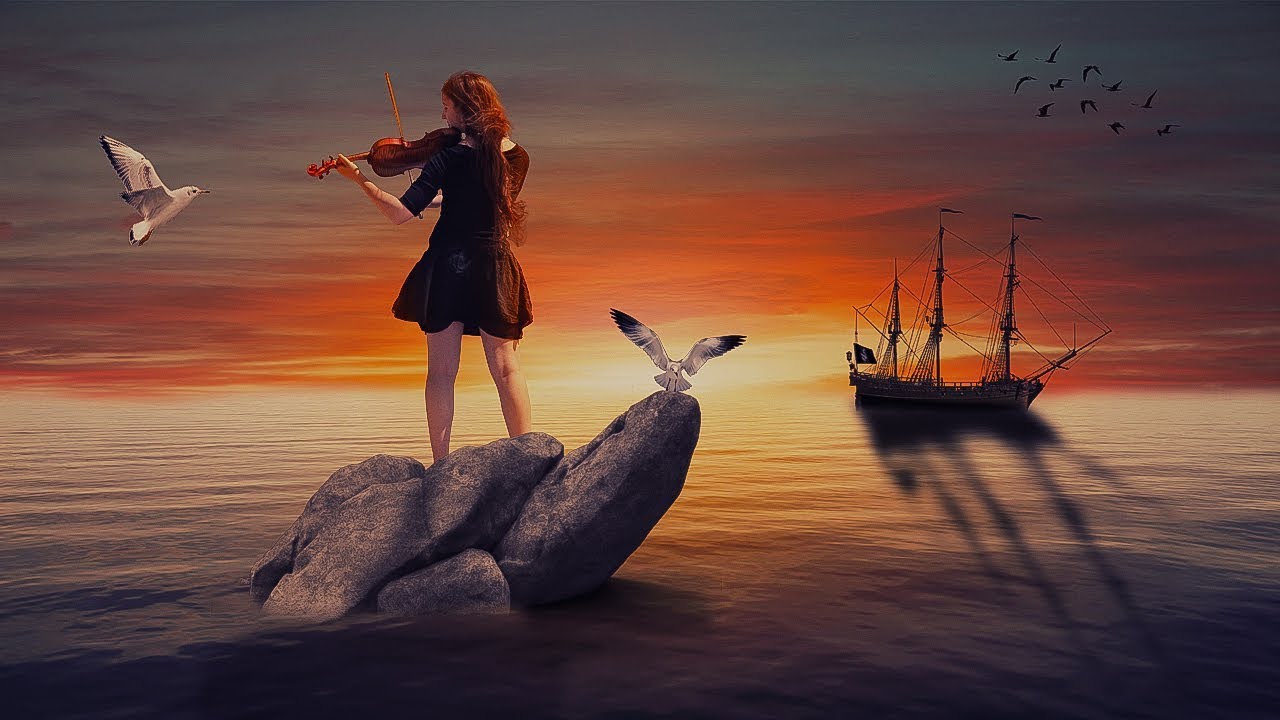
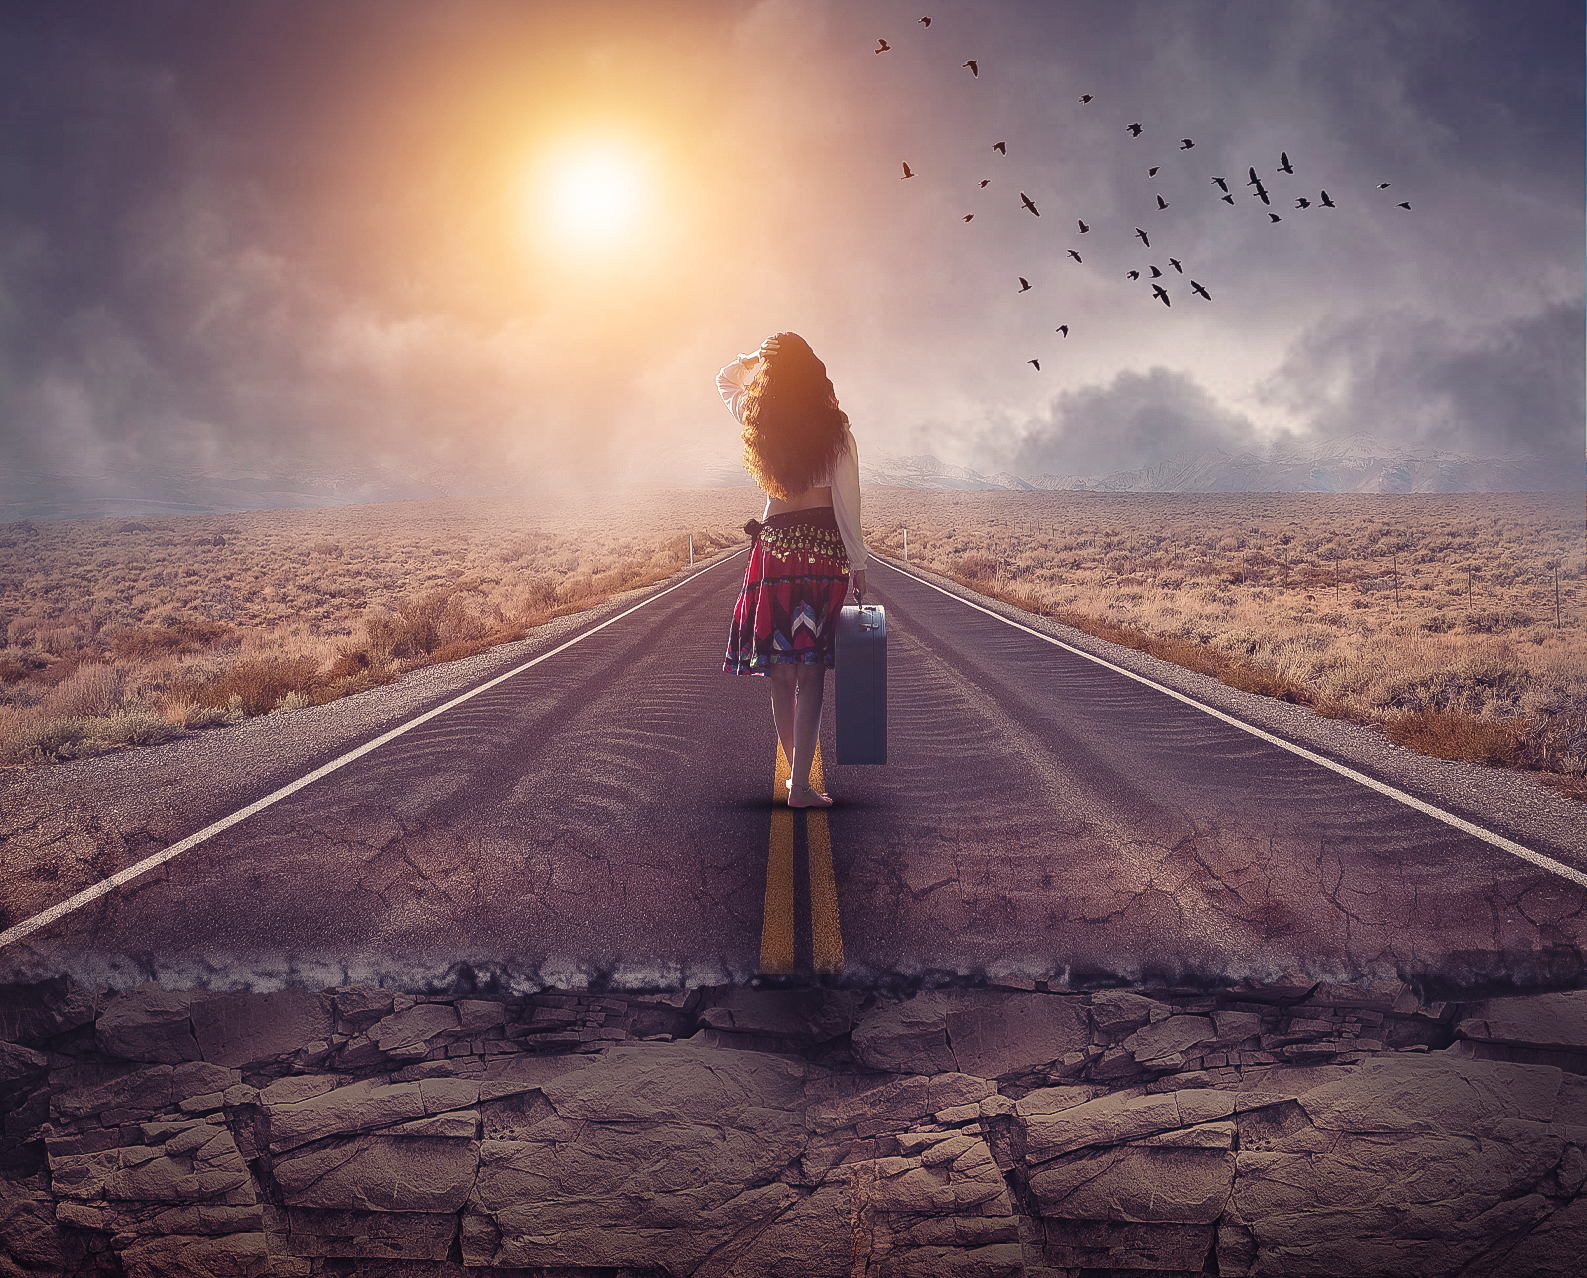
Everyone with basic Photoshop skills can recreate this simple scene by using the most important thing in this kind of photo manipulation, the right images.
Combine photos and add special effects, use several tricks to reduce your Photoshop file size, and a number of layers and layer styles to turn a normal photograph into stunning artwork.
Learn the process of applying the Warp Tool effectively and a few other tricks to make smoke look like a skull.
Turn yourself into a cyborg by learning your way around the Pen Tool and the Brush Tool to create this cool effect.
Utilize several tools in Photoshop to create this awesome cyborg-based photo manipulation.
Get help on your quest of learning Photoshop by completing this awesome face.
This tutorial will show you basic photo manipulation techniques that you can use on your own projects.
Learn how to combine and warp images plus apply easy color correction with this tutorial.
Create a 3D grunge metal movie poster title in Adobe Photoshop by using 3D Extrusion.
Check out this demonstration on how to create a shoe advertisement by using several stock images.
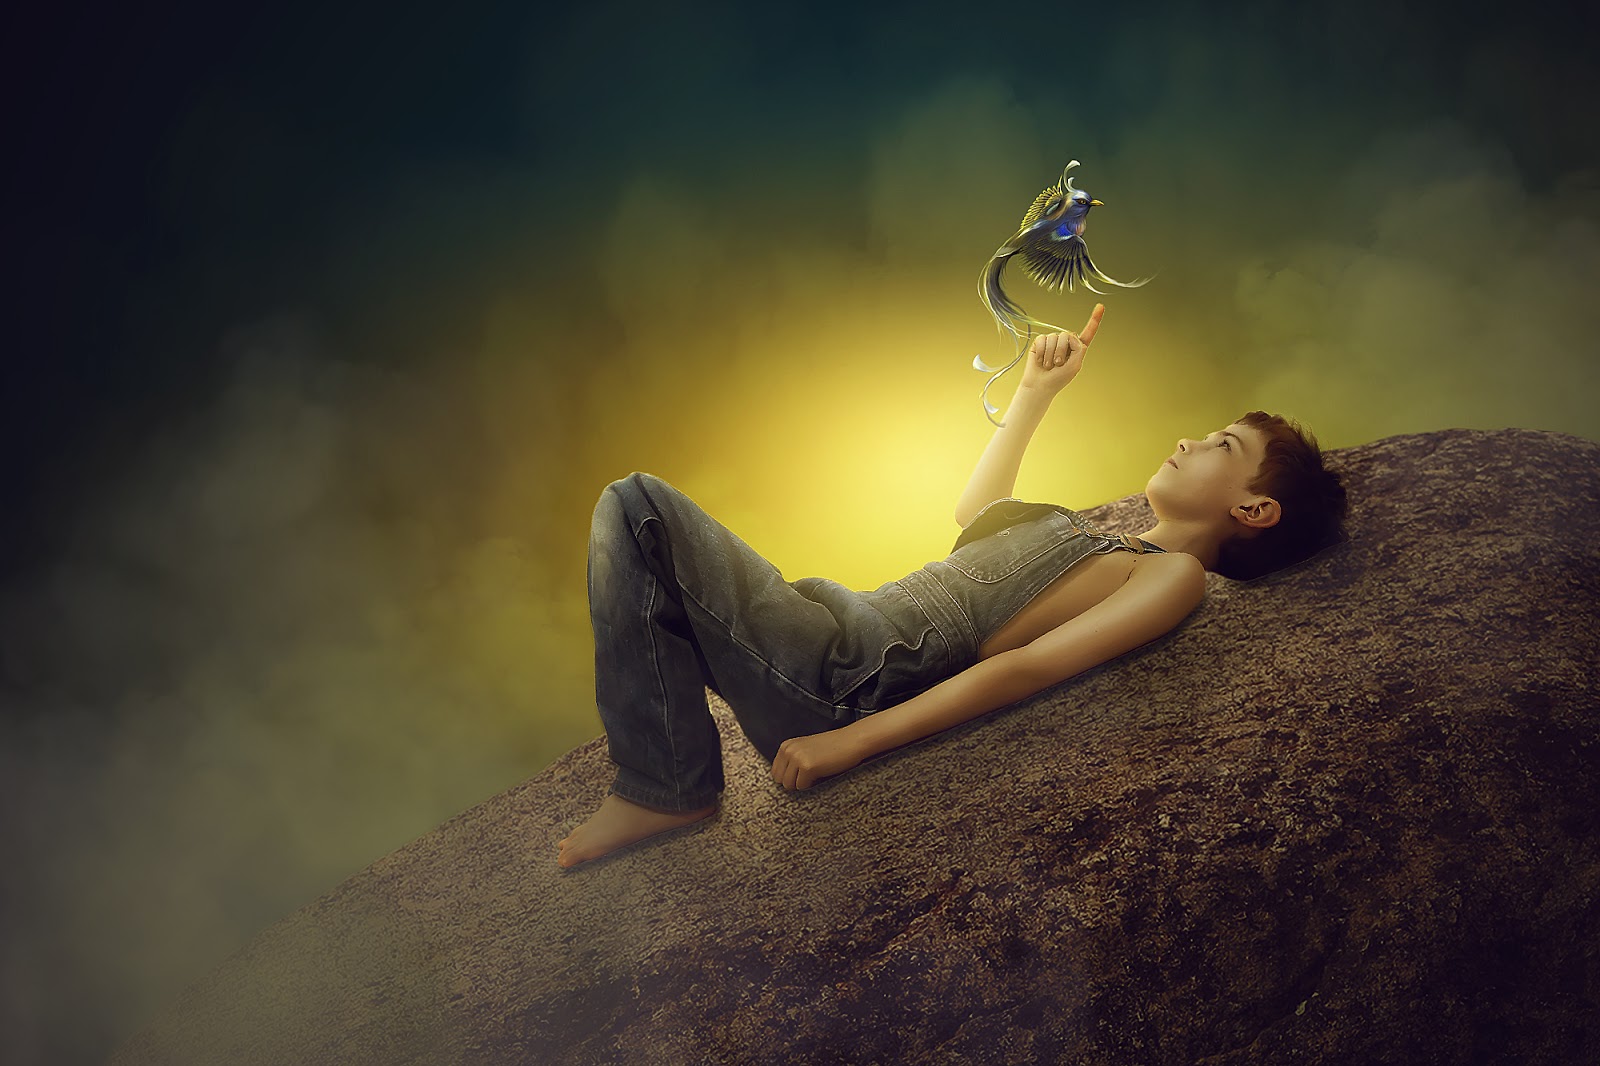
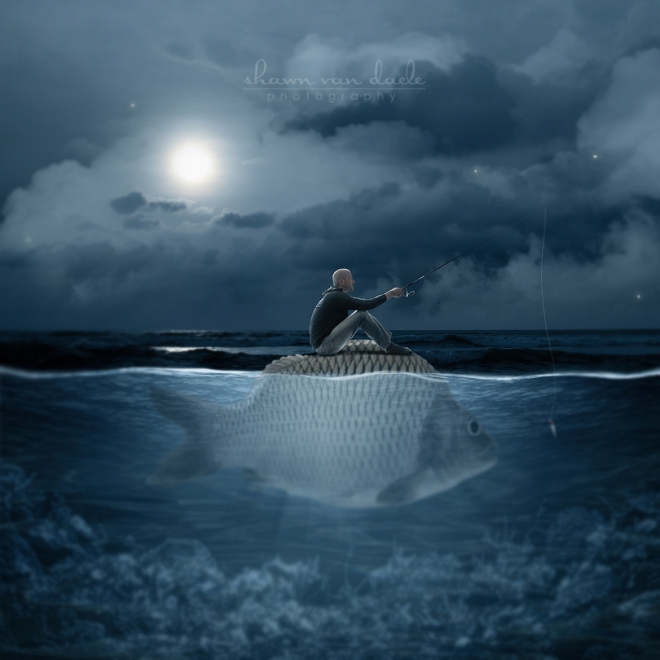
Combine several images of water, animals and people to create this surreal photo manipulation.
Realistically applying a texture to an uneven surface is a hands-on process, more so than simply overlaying a texture and changing the Blending Mode.
Use radial gradients to add colorful light effects, use layer masks to make non-destructive edits, and harmoniously bring together design elements using Adjustment Layers and image adjustments.
Create a beautiful composition in Photoshop derived from several elements and part of the Paradigm Shift exhibition.
Apply smoke effects, play with Blend Modes, create simple light and glow effects using the Gradient Tool, use filters, and create shattered shard elements from scratch.
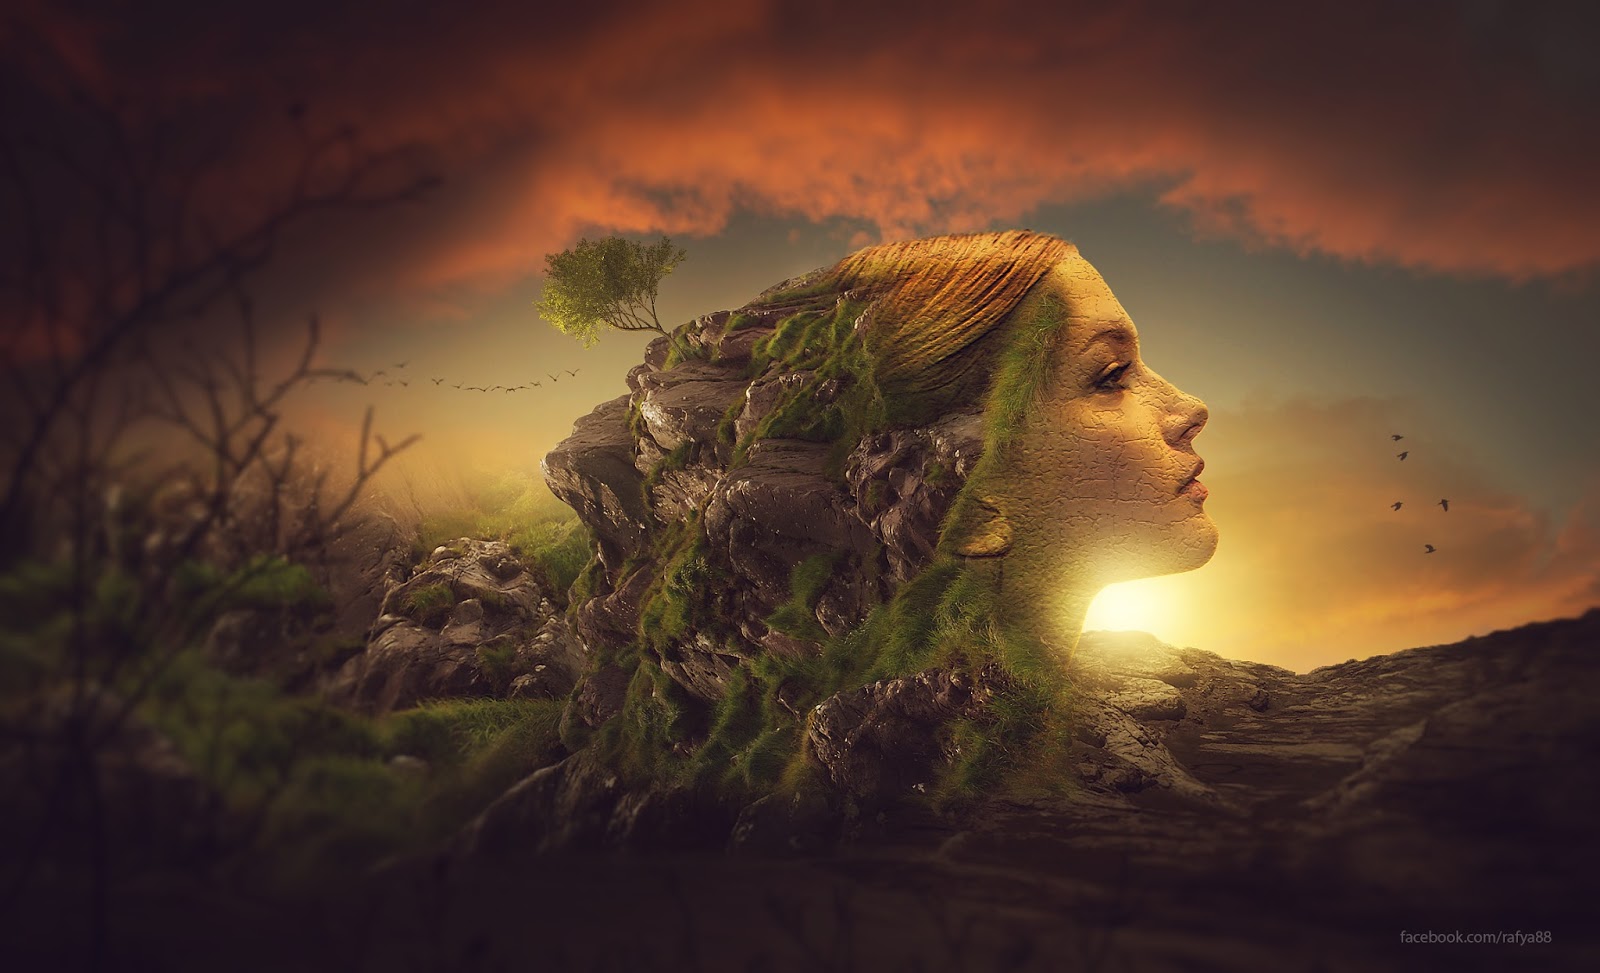
In this tutorial use stock photos and texture to create a surreal scene and have some fun.
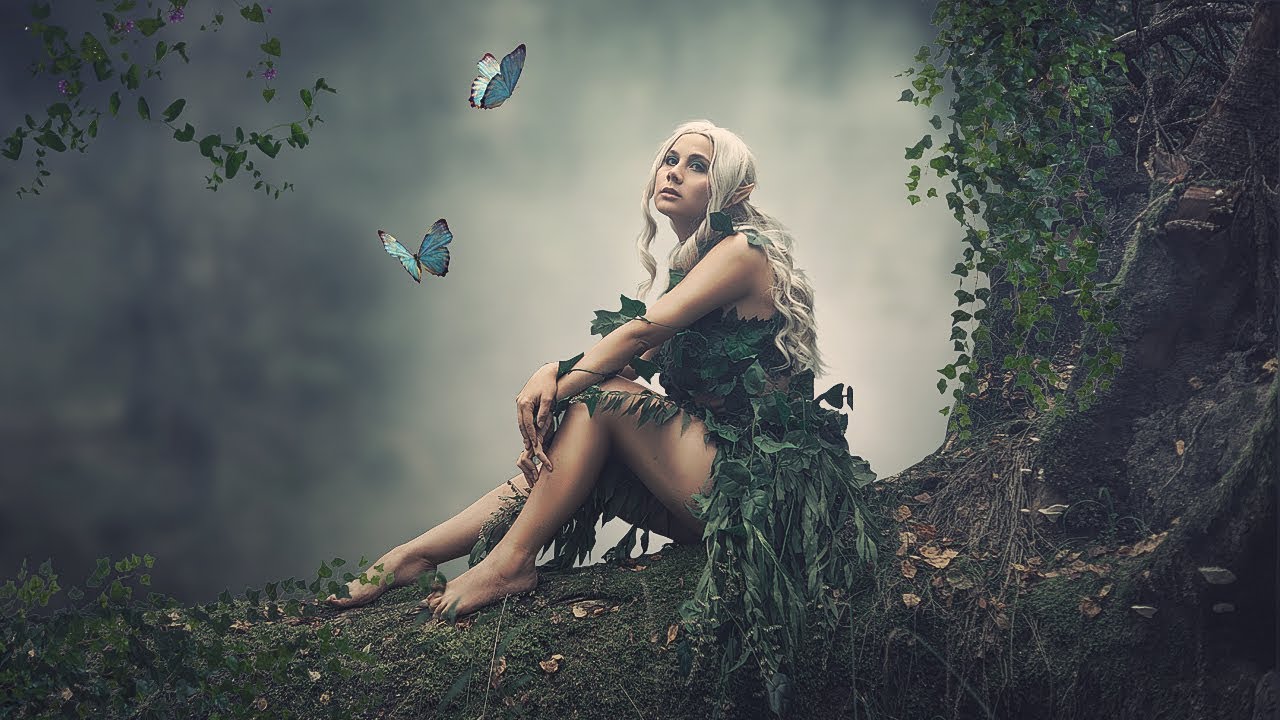
To create this fantasy scene use several Photoshop tools like Color Range, use different Blending Modes, and more.
Crafting new images with photo manipulation.
An art as old as photography itself, explore photo manipulation and learn about photo retouching, photomontage, image editing, and other photo manipulation techniques.
Photo manipulation didn’t begin with the invention of photo editing software. Photographers, editors, and retouchers have been cutting up, combining, and creating new work out of existing assets for over a century. Photo manipulation can be used for artistic pursuits such as surrealistic photomontage or the creation of alien worlds on the covers of sci-fi novels. “I’d call it a medium by itself,” says photographer Eduardo Valdes-Hevia. “It sits somewhere between photography, painting, and more traditional arts.”
It’s important to understand photo manipulation’s checkered history. A famous Civil War battlefield image of Ulysses S. Grant on a horse is actually the combination of multiple images. Stalinist Russia made ample use of doctored photos for propaganda purposes. In 1982, National Geographic courted controversy by altering the pyramids of Giza to fit on their cover.
If you’re a photojournalist and you’re attempting to represent subjects accurately, you should not combine or distort photos in certain ways. The National Press Photographers Association (NPPA) is very clear about this in their code of ethics, which states:
Editing should maintain the integrity of the photographic images’ content and context. Do not manipulate images or add or alter sound in any way that can mislead viewers or misrepresent subjects.
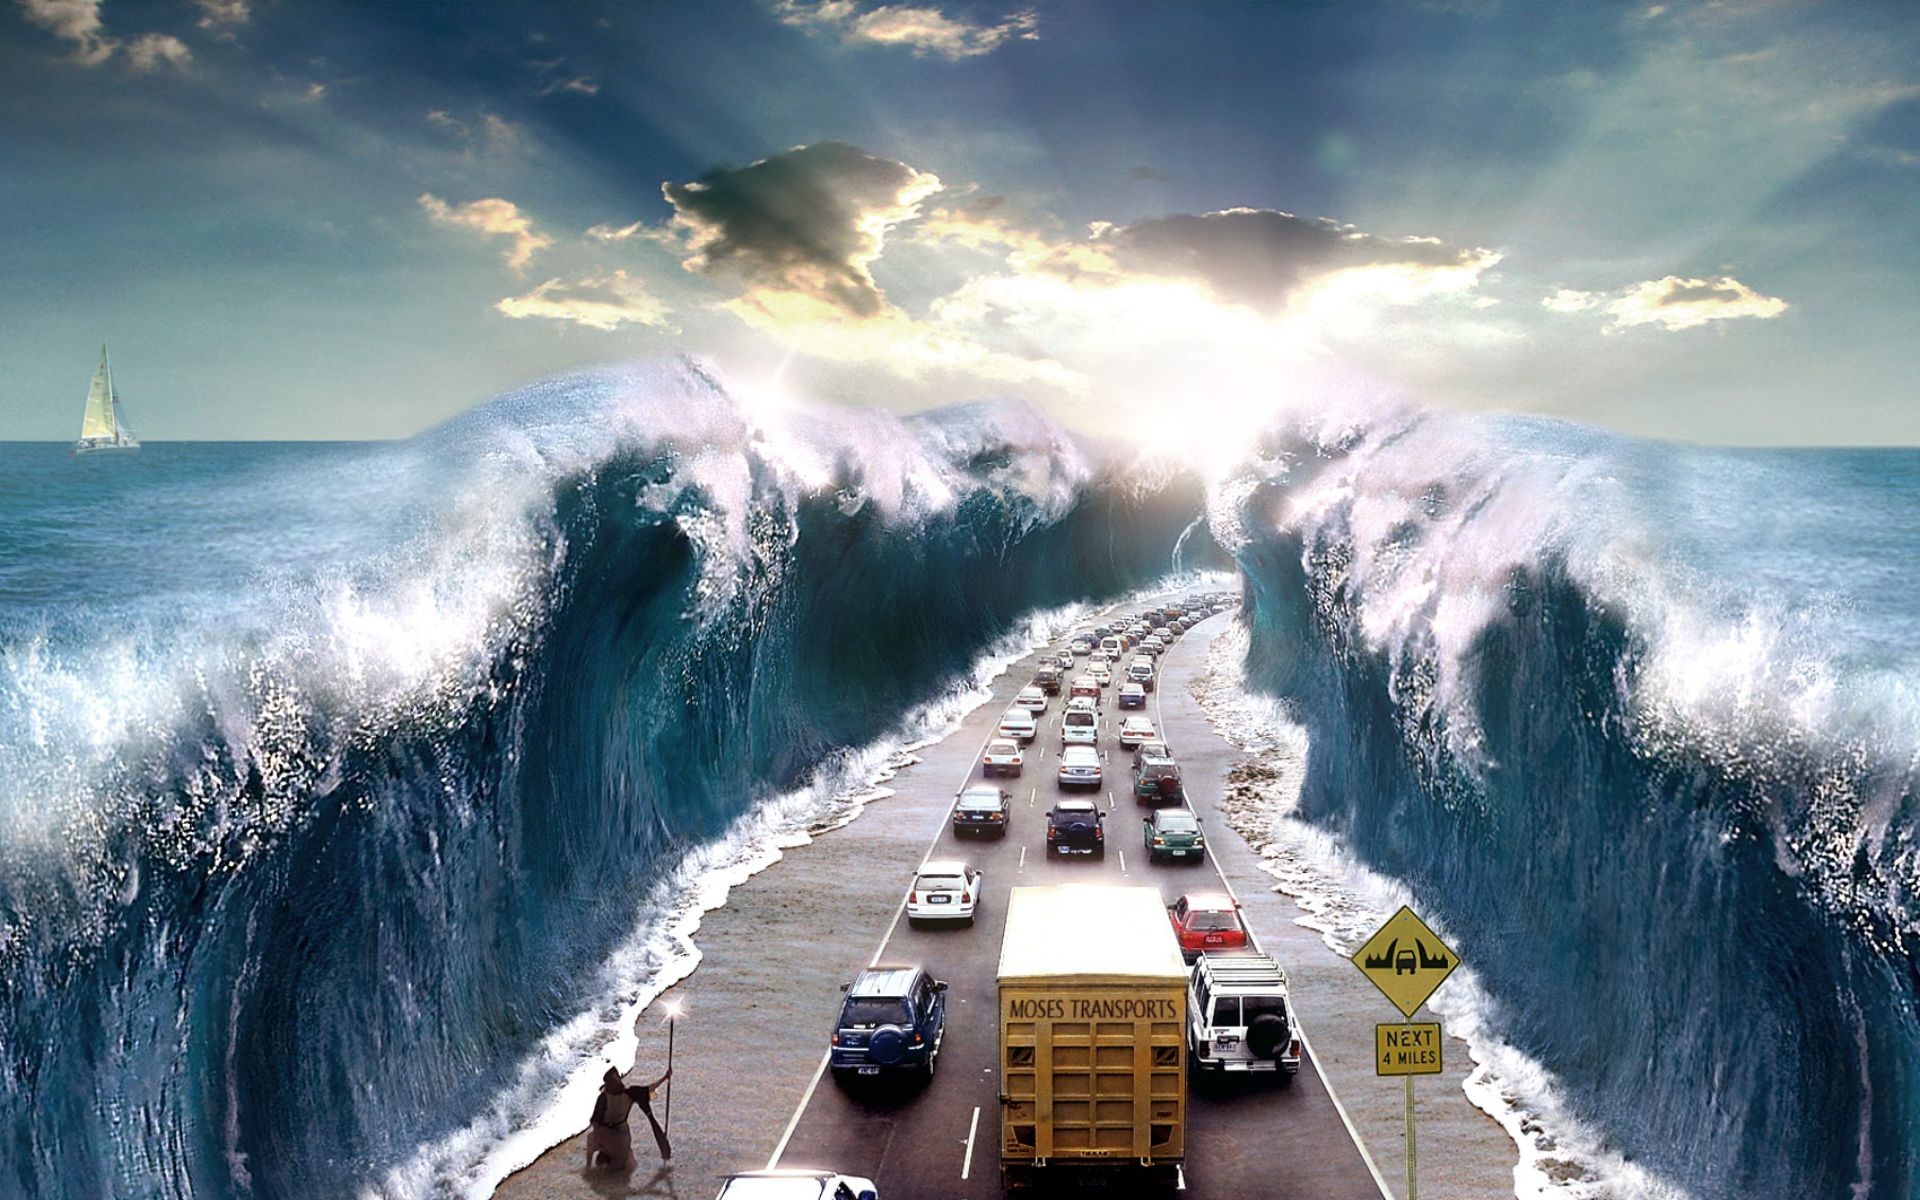
Photo manipulation is for artistic and aesthetic expression, not deception. With that in mind, this is how to put whales in the sky, airplanes in the ocean, and far-off planets in the sky above Earth.
Before combining any images or manipulating photos, understand what you’re trying to accomplish. “You need to have a very clear idea of what you want,” says Edwin Antonio, an artist who combines modern fashion with historical fine art. “That way, you don’t get distracted. Just focus on your goal.”
In commercial work, you might want to get rid of elements in the frame that distract from the subject. “Photo manipulation has always been used,” says Antonio. “Maybe there’s a trash can in the background or a line on the floor. My clients want the focus to be on their product, rather than on a random thing lying around.” By getting rid of unimportant visual elements, subtle photo manipulation can pull a viewer’s attention to where it belongs.
If you’re creating digital art, think about what you’re combining and what themes you’ll be using in your work. Know what you’re going to do before you start in on your work. Have a clear idea and an outline for your final product before you fire up Adobe Photoshop. “It’s good to write down ideas when you have them,” says photographer Ronald Ong. “When ideas come up, I sketch them.”
Photographic art can break all laws of physics and reality, but it still has to obey the rules of photography. “The picture you’re creating should be as realistic as possible,” says Ong. Realism here doesn’t mean creating scenes that can be found in real life. Photomontage and digital art can still feature sci-fi and fantasy elements. However, the minotaurs, mermaids, and surreal scenes you create still need to have realistic perspective, lightings, shadows, and color.
Use images that work together well.
Achieving that realism starts with combining complementary photos. The images you’re working with should have something to do with each other when it comes to factors like color and light. “You can be amazing and know what you’re doing,” says Valdes-Hevia, “but if you are using two pictures that are radically different, that have very different perspectives or lighting, you’re going to have to heavily edit it.” The more you have to edit your photos, the harder your job is.
Perspective is the first thing you’ll want to line up when combining photos. While it’s possible to alter lighting and colors in Photoshop, altering perspective is much more difficult. Get tips on how to introduce new objects to an image or subtract existing ones.
After that, match lighting, going from darkest to lightest elements in your composition. “When you’re trying to match lighting, you want to match the darkest color of your subject to match the darkest color of your background,” says Valdes-Hevia. “Same with the highlights.”
Making sure colors match is your next step to bring images together. Matching shadows, and their range of colors, is important. An ordinary viewer might not be able to articulate why shadows look wrong, but they will notice it. “I always adjust the hue and saturation settings,” says Ong. “Make sure shadows blend into the background. Brightness, contrast, shadows, highlights — try to make it blend.”
Control subjects and elements in camera.
Finding stock images or other existing photos with complementary elements is possible, but sometimes the best photos are the ones you take yourself in a controlled photoshoot. “It often looks better if you take your own pictures because you can plan ahead and match all the lighting and perspective beforehand.” says Valdes-Hevia. Getting shadows and perspective to line up and work together is much easier if you’re the one who created those shadows and perspectives in the first place.
As you edit, make sure that you can go back and change things or restart your workflow. “One of the first things I had to learn was how to edit non-destructively,” says Valdes-Hevia. “Make sure you can go back later and change things you’ve done in the beginning. Masks are your friends.”
Creating new images out of existing photos is difficult, but rewarding. The best way to get good at it is to do it. “Work on it. Try different things. It’s not going to look amazing at first, but it’s all about practice,” says Valdes-Hevia. “You’ll build an eye for realism, perspective, lighting, and colors as you go along. Don’t get discouraged.”
Make two photos into one image. Discover the photo manipulation techniques to create dramatic composite images.
Get the details of double exposure effects.
Double exposure is one of the oldest photo effects. Learn how to do it more easily with modern technology.
As you practice, learn your tools. “I learn the most just messing around in Photoshop,” says Valdes-Hevia. “I think to myself, ‘I’ve never clicked on this. What does it do?’” Be curious, investigate, and learn the software. “Know the name of each tool and what they’re used for,” says Antonio.
Grow your budding skills by studying photo manipulation tutorials. Find examples of photo manipulation and try to work backward to find out what the artist did. Play around with stock photos. Keep making your own work and putting it out there. As you do, your own worlds will emerge and your own vision will take shape.
Create beautiful images with Photoshop brushes, Content-Aware Fill, and the many tools photographers rely on.
Explore double exposure photography and learn how to create one yourself.
Look into the world of surrealism, and find out how to make your own dreamlike images.
An introduction to shallow depth of field.
Explore how shallow depth of field can add dimension to your photographs.
Building a great landscape photo.
Explore ways to artistically capture scenic views with tips on landscape photography.
Try Photoshop, free for 7 days then US$20.99/mo.
Selecting a region changes the language and/or content on Adobe.com.
We have detected you are visiting a different region on adobe.com
Просматриваете Adobe.com за пределами США? Посетите региональный сайт и узнайте об актуальных расценках, событиях и предложениях в вашей стране.
Are you visiting adobe.com from outside your region? Visit your regional site for more relevant pricing, promotions and events.
50 Photoshop Manipulation Ideas & Tutorials
25 Best Photo Manipulation Tutorials
Beginners guide to photo manipulation in Photoshop | Adobe
Photo Manipulation - TutsPs Top Quality Photoshop Tutorials
35 Awe-Inspiring Photo Manipulation Experts (With Examples!)
Testicle Torture Porn
Myredbook Orange
Real Twin Porn
Vore Photomanipulation