Vintage Text

🔞 ALL INFORMATION CLICK HERE 👈🏻👈🏻👈🏻
Vintage Text
Font size (px):
Between letters (px):
Opacity:
778 Free Vintage Fonts1001 Fonts · Free Fonts Baby!
Vintage text | 3D vintage inscription :: TextDrom
Three Easy Vintage Text Effects to Add Retro Charm to Your Designs
Vintage Text Free Vector Art - (106,470 Free Downloads)
80+ Retro Font Effect ideas | retro font, retro, text effects
Home › Design › Design Inspiration › Three Easy Vintage Text Effects to Add Retro Charm to Your Designs
By Grace Fussell | February 21, 2018
Resources for Business and Agencies
Grace is a graphic designer and design writer from the UK, based in Bordeaux, France. She's a self-confessed 'print geek' and loves all things InDesign, print design, and branding. She shares her experience in the design industry via blogs and her e-teaching business, InDesignSkills.com.
© 2013-2021 Shutterstock Inc. All rights reserved.
To create one of the effects below, all you’ll need is access to Adobe InDesign and to download this texture overlay EPS image. Don’t forget, there are also tons of fonts and vector text effects ready for incorporating into your designs. You can even search, license, and add fonts, effects, or any image straight into your InDesign document using the Shutterstock plugin .
You can set up your InDesign document to any size, but here I’ve set the page up as an A3 landscape layout. The text will remain editable (i.e. not vectorized) when the effects are applied, which makes it super adaptable for any layout.
Expand the Layers panel (Window > Layers) and create three layers by choosing New Layer from the panel’s main menu. Name the first layer Background , the second one Type , and final layer Texture .
Then lock all layers except Background .
Expand the Swatches panel (Window > Color > Swatches) and choose New Color Swatch from the panel’s main menu.
Create a CMYK Process swatch with the values set to C=78 M=42 Y=44 K=31 . Click Add and then OK .
Repeat to create two more new swatches:
Use the Rectangle Tool (M) to create a shape across the Background layer, setting the Fill Color to C=92 M=67 Y=46 K=45.
Lock the Background layer and unlock the Type layer above.
Use the Type Tool (T) to create a text frame on the page, and type in your preferred text. Set the text in a chunky font, such as Loew .
Select the text frame, and Edit > Copy , for pasting later on.
From the Swatches panel, set the Font Color to C=92 M=67 Y=46 K=45 to match the background.
With the text frame selected, go to Object on the main menu, and Effects > Drop Shadow .
Set the Mode to Normal, Effect Color to your green swatch, C=78 M=42 Y=44 K=31 , and Opacity to 100% . Increase the Distance to 4 mm, Size to 1 mm, Spread to about 60% and Noise to around 30% . Then click OK .
Edit > Paste to drop a copy of the text frame on top of the original. Adjust the Font Color to the red swatch, C=0 M=79 Y=62 K=0 , and go to Object > Effects to uncheck the Drop Shadow box and remove the effect.
Shift the text frame up and to the right slightly.
You can soften the red text slightly by selecting the text frame and switching to the Type Tool (T).
From the Swatches panel, click on the ‘T’ outline symbol at the top-left corner, and apply the same red swatch to the stroke (outline) of the text.
From the Stroke panel (Window > Stroke) increase the Weight of the Stroke to 2 pt.
Lock the Type layer and unlock the top layer, Texture .
Create an image frame using the Rectangle Frame Tool (F) over the top-left corner of the page. File > Place the EPS overlay texture you downloaded earlier, and allow it to fill the frame.
Select the frame and Edit > Copy, Edit > Paste three times, positioning each frame over a corner of the page, until the page is full.
Select all four image frames and Object > Effects > Transparency . Set the Mode to Hard Light and bring the Opacity down to 30% . Click OK .
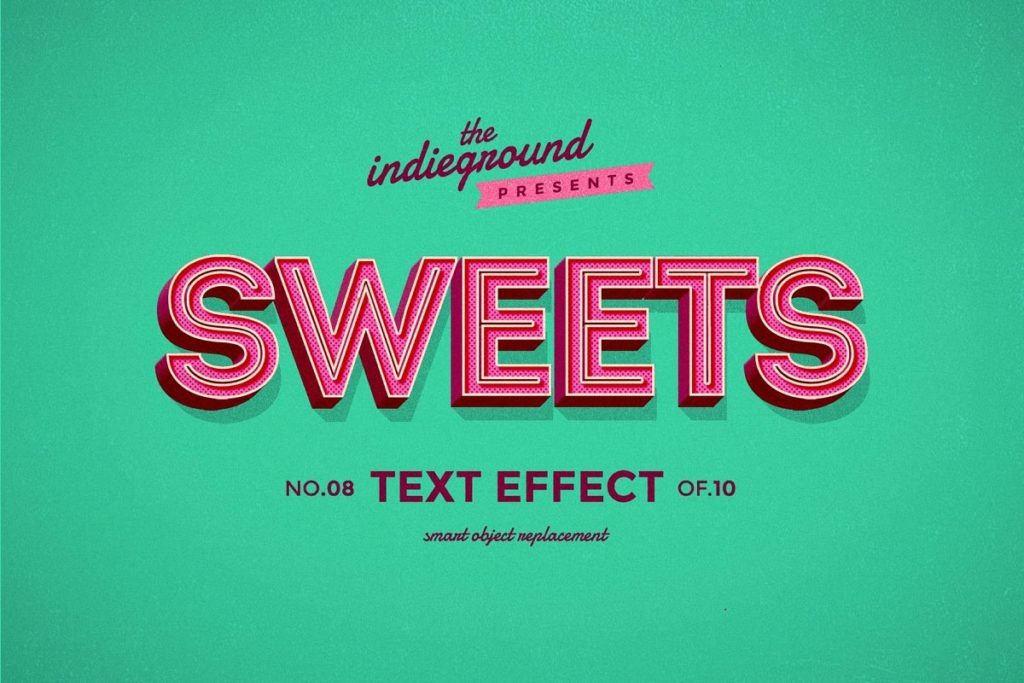
Now you you have a simple retro text effect using a vintage overlay. Read on for two more retro type styles.
Expand the Layers panel (Window > Layers) and create three layers by choosing New Layer from the panel’s main menu. Name the first layer Background , second one Type , and final layer Texture .
Then lock all layers except Background .
Expand the Swatches panel (Window > Color > Swatches) and choose New Color Swatch from the panel’s main menu.
Create a CMYK Process swatch with the values set to C=22 M=28 Y=99 K=0 . Click Add and then OK .
Repeat to create two more new swatches:
Use the Rectangle Tool (M) to create a shape across the Background layer, setting the Fill Color to C=22 M=28 Y=99 K=0.
Use the Type Tool (T) to create a text frame on the page. Type in the first word of your heading, and set the Font to a condensed display style, like Antonio Bold .
Set the Font Color to C=78 M=60 Y=68 K=91.
Create a second text frame below, slightly overlapping the first frame, and type in the second word of the title. Set the Font to a retro script, like Airstream . Change the Font Color to your blue swatch, C=84 M=26 Y=34 K=8.
Select both text frames and go to Object > Effects > Bevel and Emboss.
Set the Style to Pillow Emboss and Technique to Chisel Hard . Increase the Size and Soften values to 3 mm , and the Depth to about 50%.
Bring the Highlight Opacity down to around 80% , and the Shadow Opacity to 60%.
Lock the Type layer and unlock the top layer, Texture .
Create an image frame using the Rectangle Frame Tool (F) over the top-left corner of the page. File > Place the EPS overlay texture you downloaded earlier, and allow it to fill the frame.
Select the frame and Edit > Copy, Edit > Paste three times, positioning each frame over a corner of the page, until the page is full.
Select all four image frames and Object > Effects > Transparency. Set the Mode to Screen and click OK .
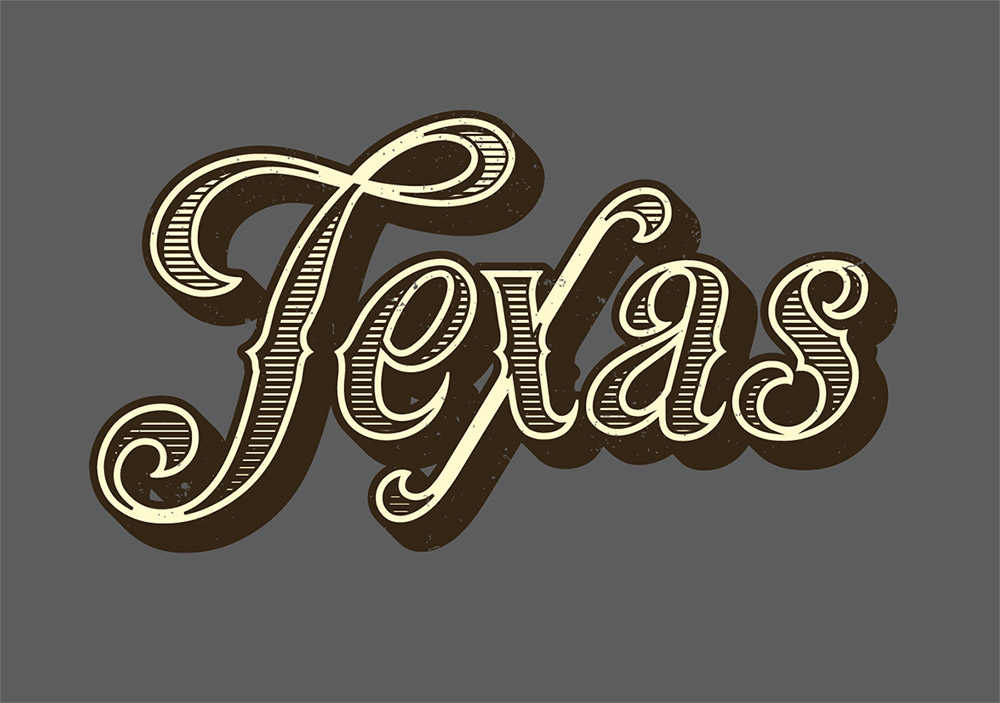
The final product should look something like this. Play around with fonts and colors to customize the look of your retro text.
Expand the Layers panel (Window > Layers) and create three layers by choosing New Layer from the panel’s main menu. Name the first layer Background , second one Type , and final layer Texture .
Then lock all layers except Background .
Expand the Swatches panel (Window > Color > Swatches) and choose New Color Swatch from the panel’s main menu.
Create a CMYK Process swatch with the values set to C=5 M=5 Y=8 K=0 . Click Add and then OK .
Repeat to create three more new swatches:
Use the Rectangle Tool (M) to create a shape across the Background layer, setting the Fill Color to C=5 M=5 Y=8 K=0.
Use the Type Tool (T) to create two text frames on the page, setting the text in a slab serif font like Acknowledgement .
Set the text color in your new red, C=27 M=77 Y=49 K=22 , and blue, C=93 M=67 Y=44 K=13 , swatches.
You can add another text element to the layout—ampersands look particularly good—set in its own text frame, and in Adobe Caslon Pro Italic.
Set the Font Color to C=36 M=34 Y=68 K=18.
<
With this text frame selected, Right-Click > Arrange > Send to Back. Then go to Object > Effects > Transparency , set the Mode to Multiply and bring the Opacity down to 40%.
Select both the red and blue text frames, and go to Object > Effects > Transparency. Set the Mode to Multiply .
Lock the Type layer and unlock the top layer, Texture.
Create an image frame using the Rectangle Frame Tool (F) over the top-left corner of the page. File > Place the EPS overlay texture you downloaded earlier, and allow it to fill the frame. Select the frame and Edit > Copy, Edit > Paste three times, positioning each frame over a corner of the page, until the page is full.
Select all four image frames and Object > Effects > Transparency . Set the Mode to Screen and click OK .
The final retro text effect looks like this. Experiment with different overlays from Shutterstock to get an array of vintage styles on your typography projects.
Looking for more quick and easy ways to take your typography to the next level? We have tons of helpful tips and tutorials to help you incorporate unique type into your designs.
Use these curated creative assets to keep your projects running.
Download free virtual backgrounds, video clips, images, and music.
Best Point Spread
Sensual Lesbian Porn Video
Softcore Brazilian
Blonde Big Tits Suck
Please Fuck Me Hard Porno Hd Tube