Use Alist For Windows
Azusa · mikanPreface: Alist is a netdisk aggregator that supports 123 Netdisk, Ali Netdisk, BlueZero Cloud, Baidu Netdisk, Xunlei Cloud Disk and other netdisks. It is open source and can run on many platforms. Below you will learn how to create your own Alist on Windows.
The first part, download alist.exe main program
Alist Github:GitHub - alist-org/alist
Click on the underlined sentence above to enter Alist's Github page, find the line below Releases 3.7.2 (with version updates, this number will change, as long as the line below is.) Click on it.

on this page, scroll down; find alist-windows-386.zip (yellow circles)

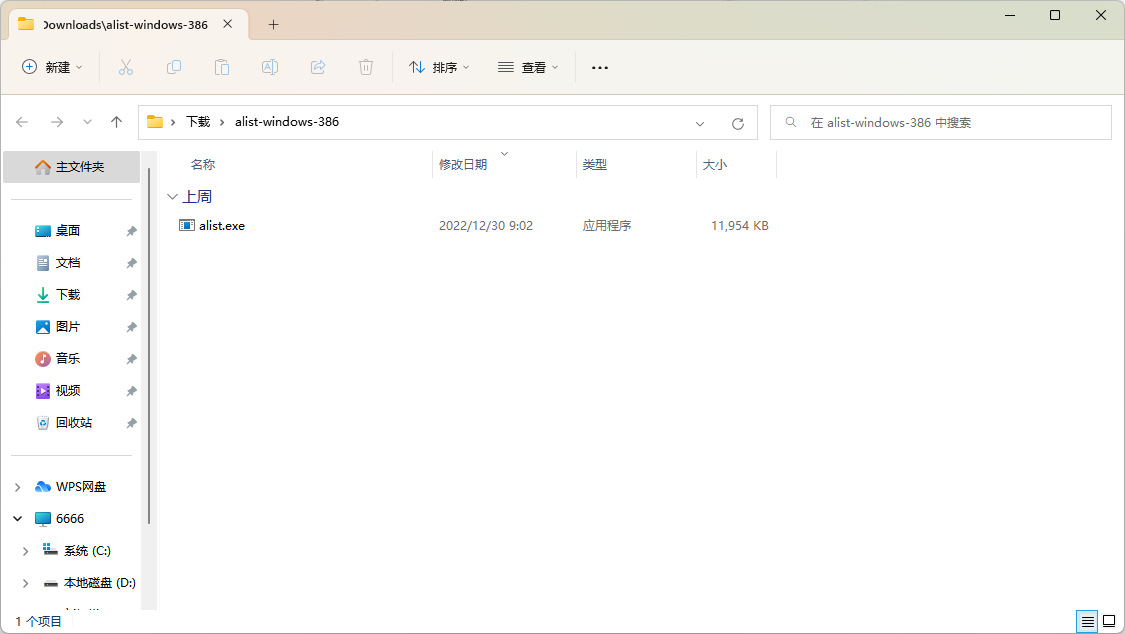
Click to download, after downloading you can click on the file icon (to open the file location) without opening the file

in the file manager window opens, select and right click on the file we just downloaded and select Extract All


Select Extract and a new window will automatically pop up
The second part, use Alist
Since alist is a Command tool, you double-click directly to hit the meeting to bring up a black window and display:
This is a command line tool.
You need to open cmd.exe and run it from there.
What to do at this time? Don't panic, type cmd in the address bar of File Explorer and press Enter on your keyboard to open the black window you just saw and automatically locate the current directory.


Next, type alist server and enter


Look closely at this window and you should be able to tell where the password is located,is Initial Password
Please note! This initial password does not have to be exactly the same as the one in the screenshot! This password is randomly generated!
You can write down this password, familiar with the operation of the computer people directly selected, and then press Ctrl + C can be (Windows 7 requires right-click copy!)
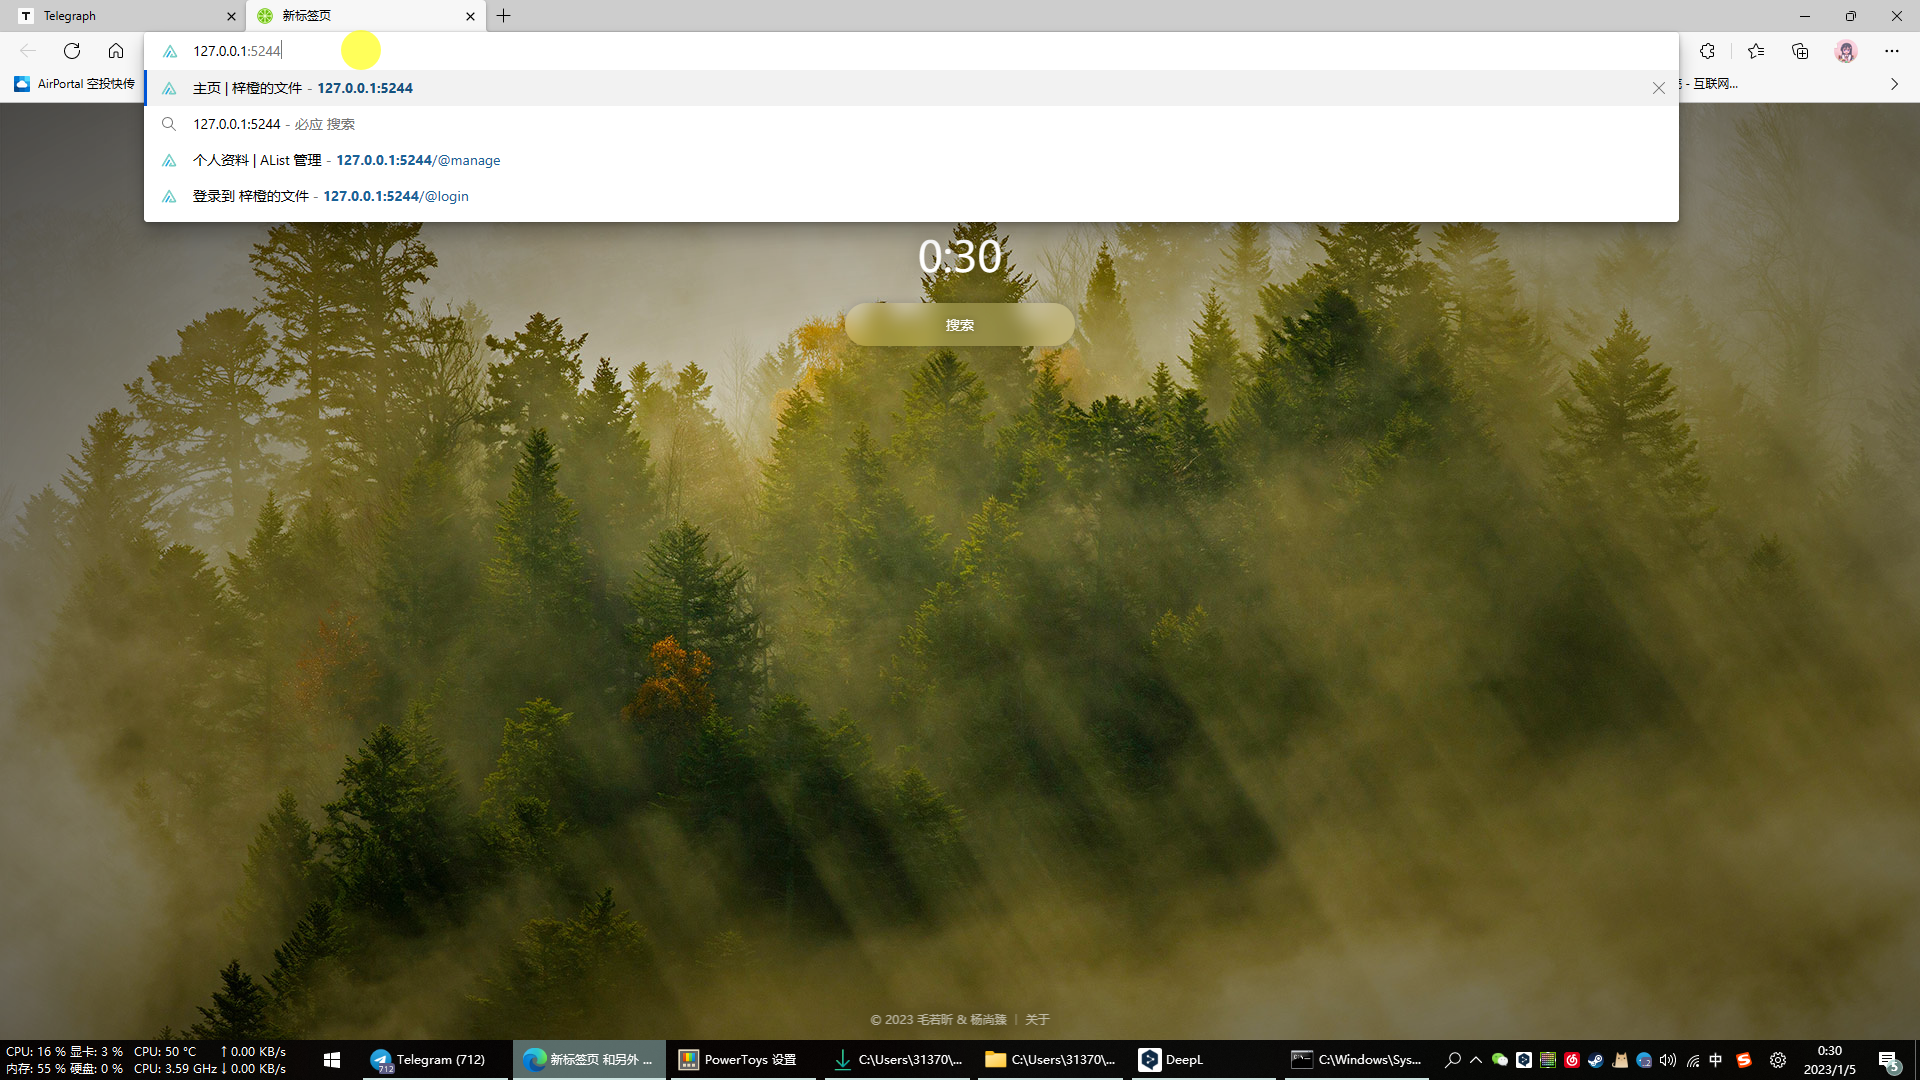
After writing down (and copying) the password, go back to your browser, type 127.0.0.1:5244 in the address bar and enter

User name is admin
The password is the initial password just displayed, please enter/paste

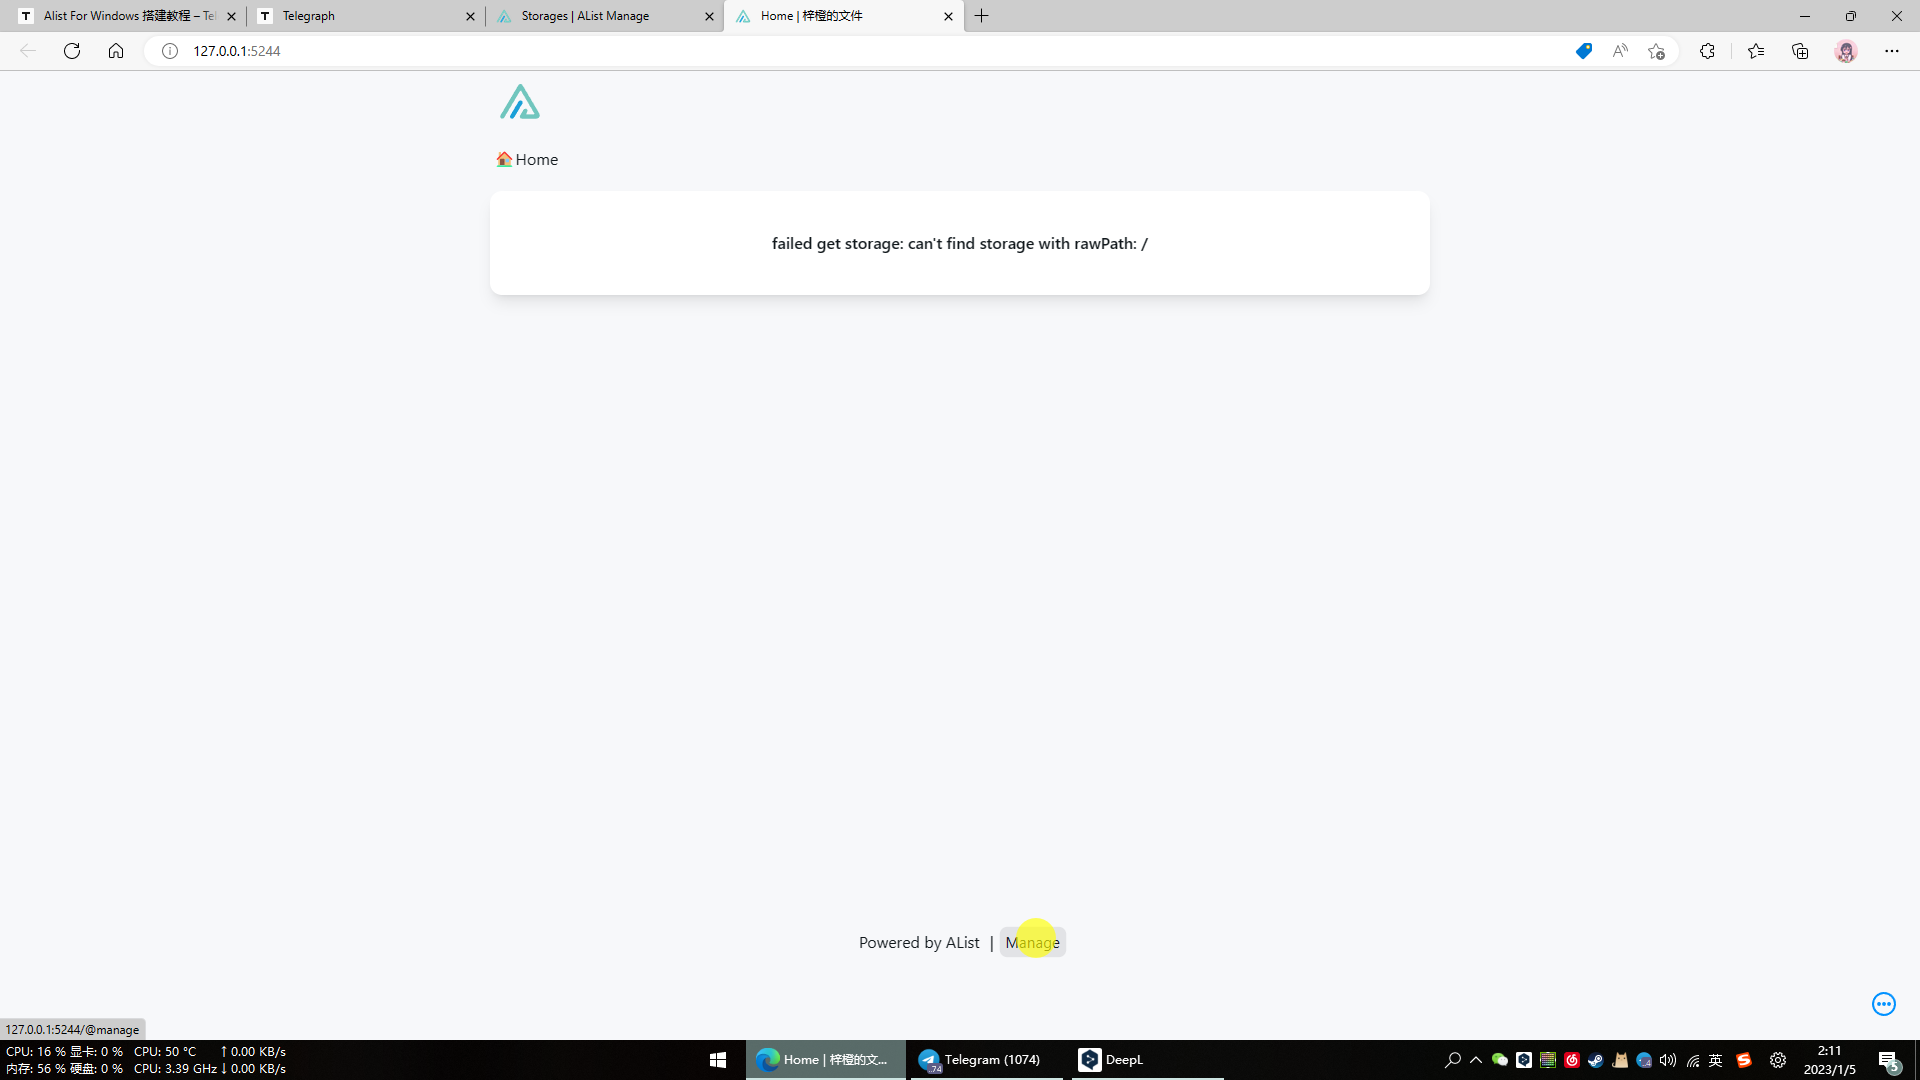
After logging in you will come to this page, click on Manage (yellow circles)

When you come to this page, first change a username and password that you know well, here is the example of AACCGG

Click Save, then it will return to the login page just now

Enter the username and password you just changed, click Login, and then continue to click Manage after logging in.
Select Storages on the left and click Add


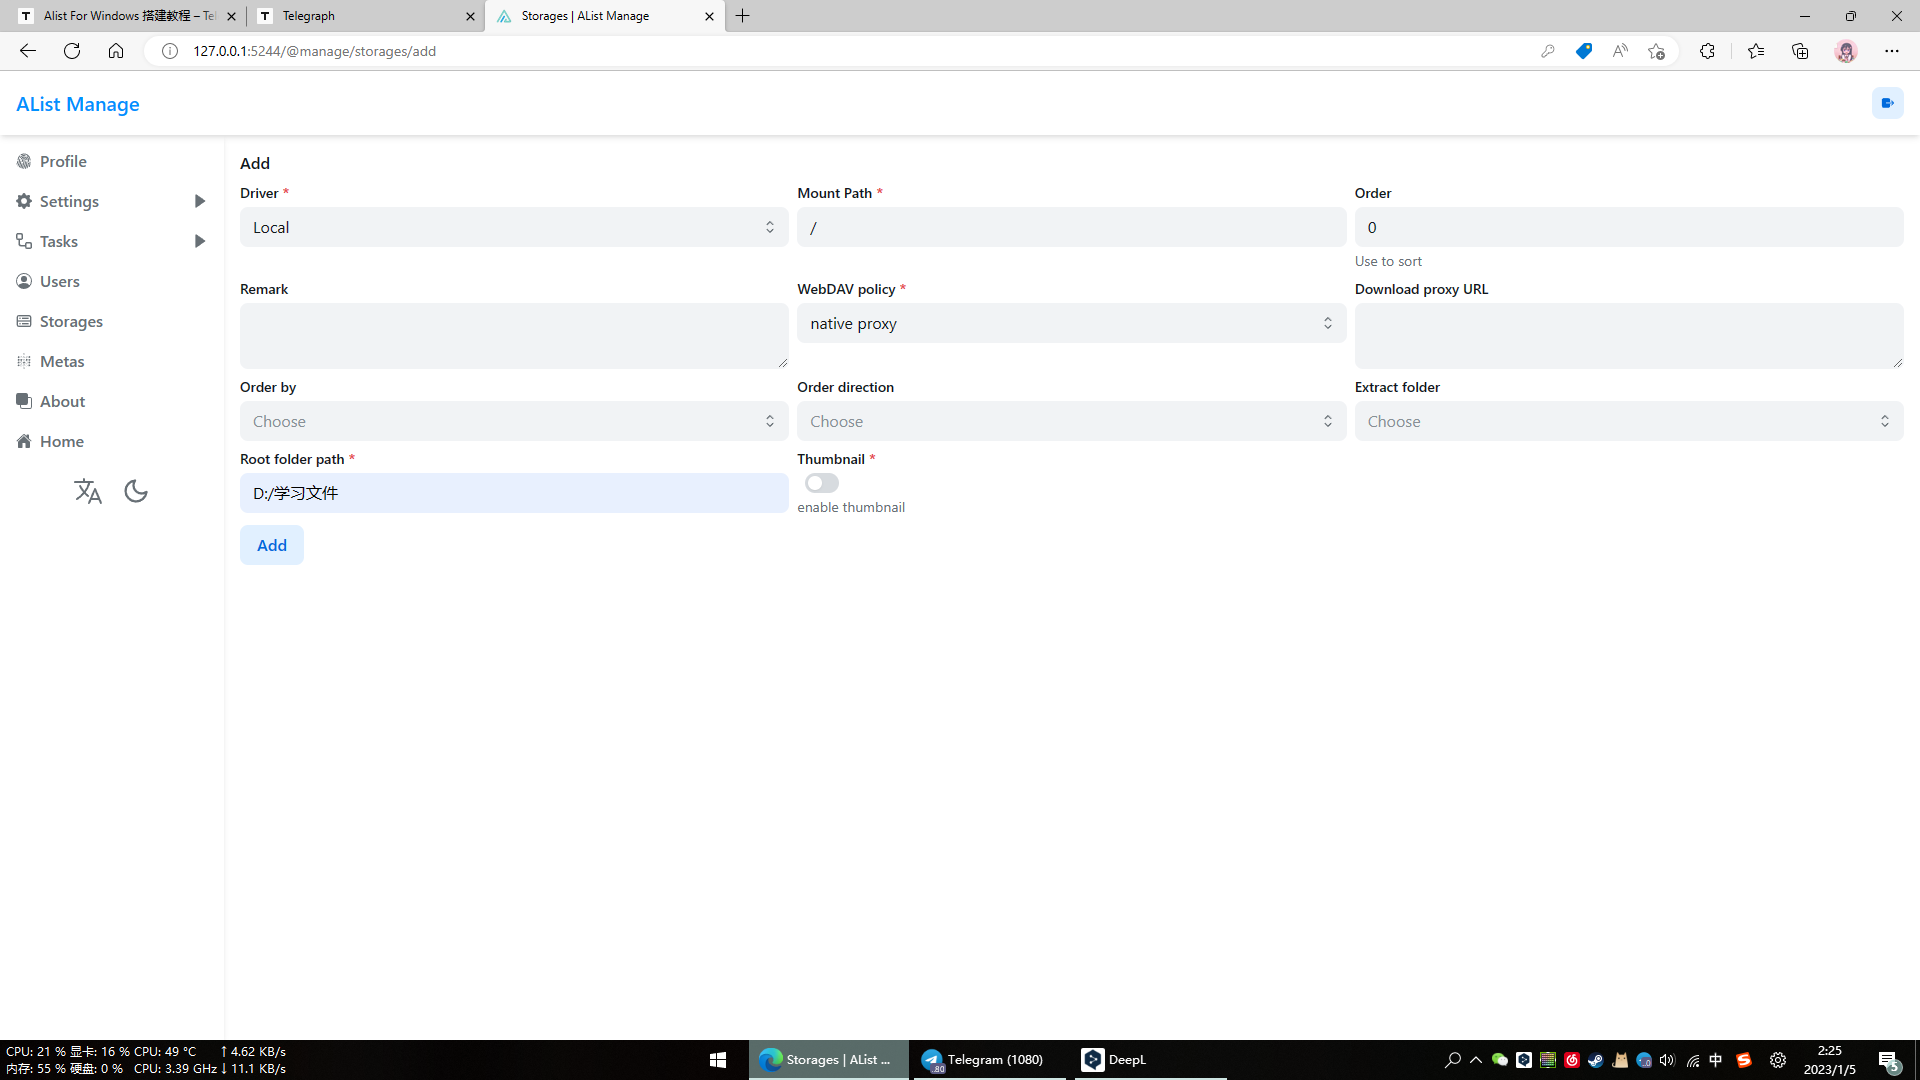
Once you get to this page, there are many kinds of driver, here we will use the local as an example. Other driver can be viewed in the official help documentation, which can teach you how to add them.


Now to the page where you are overwhelmed, don't panic, let me explain something important
Mount Path:is the path to alist, add some words after the slash to add a folder to the root of alist with the contents of the folder you choose to mount
Root folder path:This refers to the location of the files on your computer. After you enter it correctly, you will see the contents of the folder you chose to mount on your computer in the alist
Here we use D:\学习文件 as an example

Click Add, here you can see the storages we just made, now click Home
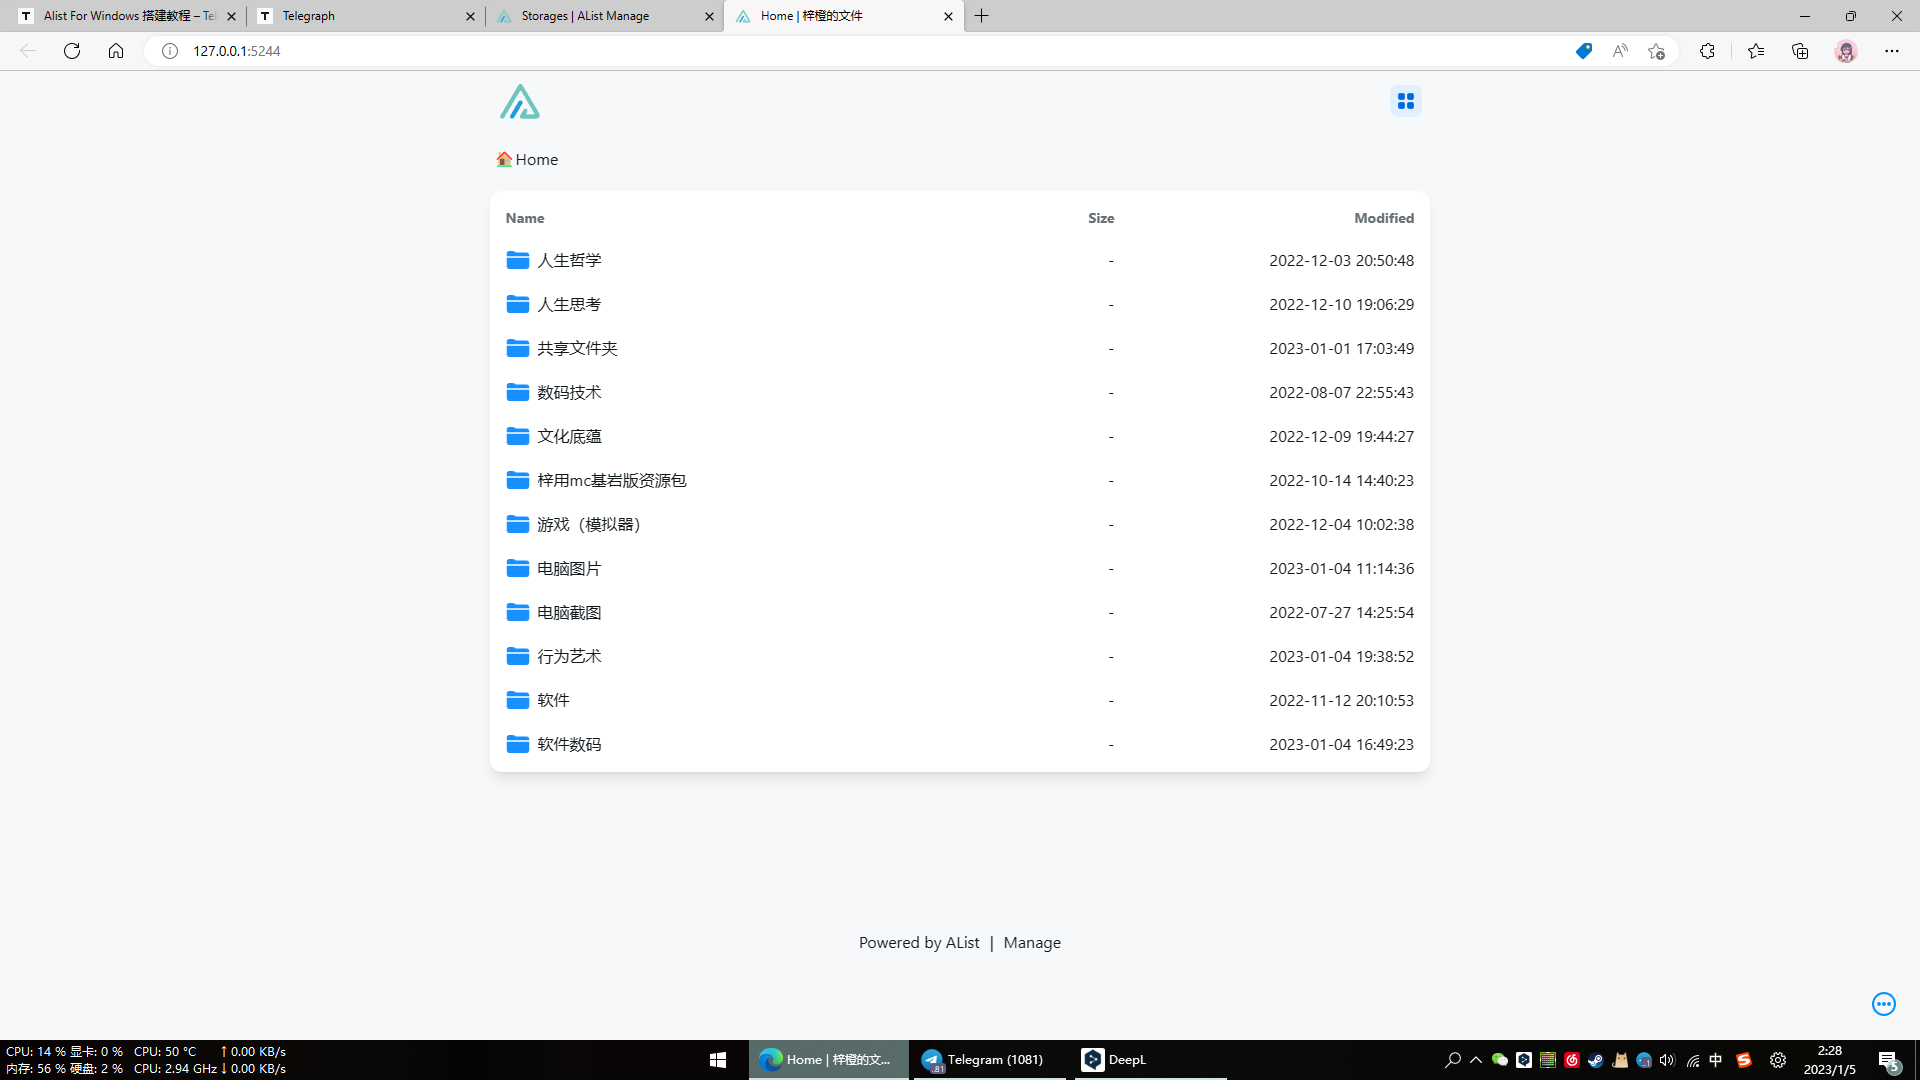
You can see that the computer's files are displayed here

But what if we add words to the mount path?


As you can see, many of the previous folders are gone! In their place are my documents.
Where did the files go? Just click on this "My Files" to find out!

Look, there it is!

Additional part, use devices on the LAN to access your computer's alist (if your computer is on the public network, everyone can access the files in alist! (Provided they know the IP address of your computer on the public network.)
We just saw that alist can be opened with a browser
Then you can use the browser of your phone on the same LAN to open alist on your computer
How to do it? First, you need to know your computer's intranet IP (IPv4 address)
Press and hold the Windows key on your keyboard with one hand and press the R key on your keyboard with the other hand

When this window appears, just type cmd

The black window appears, but the path is not the same, it does not matter, type ipconfig

Then there is this long list. Don't panic, here if you are using a network cable to connect to the computer; look for Ethernet adapter; if the computer is using a wireless network to connect to the router; look for wireless LAN adapter. Here I'm using a wireless connection.

Finding an IPv4 Address .... .... ....:192.168.2.14This line (also the number behind does not need to be the same)
The number after this is your computer's intranet IP
Next, use phone.

Enter.
The IPv4 address you just saw on your computer: 5244
and click go (the reason for my input method skin is the little lightning bolt, the others are in the bottom right corner)

And we're in.
Scroll up to log in.
Afterword: the birth of alist for many people with some technology to provide a convenient way to manage the network disk, I wrote this tutorial is to let a lot of do not understand can also easily use this network disk, later I will also write advanced operation so that you can explore the lower limit of this tool, good efforts!