"Understanding the Warranty Coverage for Your Oppo Device's Screen Repair" for Dummies
A Step-by-Step Overview to Dealing with Your Oppo Screen at Property
Crashes occur, and one of the very most common incidents with smartphones is a handpicked or destroyed screen. If you possess an Oppo smartphone and are dealing along with a busted display screen, don't worry! Along with the ideal devices and a little patience, you can take care of your Oppo display screen at home. In this step-by-step guide, we are going to walk you via the method of fixing your Oppo screen.
Before we start, it's essential to keep in mind that mending your phone's display at residence may declare null and void any existing service warranty. If your unit is still under warranty or if you are uncertain regarding carrying out the fixing yourself, it's suggested to contact an authorized Oppo solution center for professional help.
Measure 1: Gather the needed resources
To mend your Oppo display, you will certainly require a couple of important resources. Create sure to collect the complying with things prior to starting:
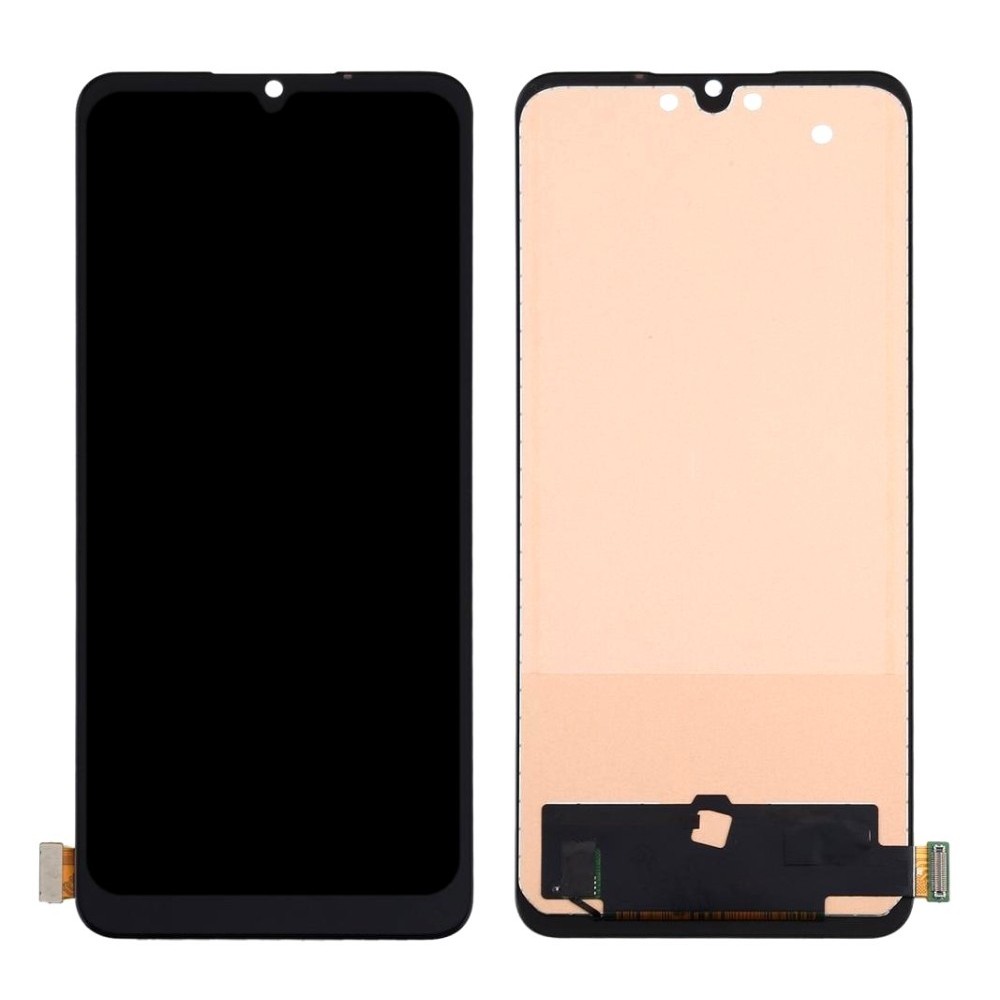
1. Substitute display: Obtain a suitable substitute display for your specific Oppo model. You can easily discover these on the internet or at regional electronics retail stores.
2. Screwdriver collection: A accuracy screwdriver set will definitely be required for removing screws and opening the phone.
3. Plastic pry device: This resource is made use of to delicately separate components without resulting in harm.
4. Tweezers: Tweezers happen in useful when handling small components and ports.
5. The Latest Info Found Here : These strips help secure the brand new display screen in place.
6. Isopropyl alcohol and microfiber fabric: These are utilized for cleaning reasons.
Step 2: Energy off your phone
Prior to starting any kind of repair service process on your Oppo unit, make sure that it is powered off completely. This measure is vital for avoiding any kind of unexpected damages throughout disassembly.
Action 3: Clear away the back cover
Utilizing a plastic pry resource, meticulously insert it into the gap between the rear cover and structure of your phone. Gently administer stress to release the clips holding the back cover in location. Once the clips are launched, you can take out the rear cover and set it apart.
Action 4: Eliminate the battery (if easily removable)
If your Oppo device has a removable electric battery, currently is the opportunity to remove it. Look for any sort of screws or clips protecting the battery in location and make use of a screwdriver or pry resource to release them. Carefully separate any kind of connectors and raise out the battery.
Step 5: Disconnect internal parts
To access the display, you are going to require to detach a variety of internal elements. Start through removing any sort of screws that secure these elements in area using a suitable screwdriver. Maintain track of each screw's site as they may differ in size.
Next, delicately separate all ports fastened to the circuit board, including those for the electronic camera module, speaker, and various other sensing units. Take your opportunity during this action to stay away from damaging any type of fragile wires or connectors.
Measure 6: Get rid of destroyed monitor
Once all interior parts are disconnected, you may proceed to eliminate the damaged display. Use a plastic pry tool or your fingernails (if feasible) to very carefully lift one section of the monitor installation away coming from the framework. Little by little work your way around until all edges are free of charge from clips or adhesive.
Be considerably careful during this action as excessive pressure may result in additional damages. Take note of any type of sticky bits that need substitute when mounting your brand-new display screen later.
Action 7: Put up brand-new display
Take your substitute monitor and straighten it along with the structure of your Oppo device. Delicately press down on all sides until it snaps into area securely. Ensure that all adapters edge up correctly just before going ahead.
Action 8: Reconnect interior components
Reverse Step 5 by reconnecting all inner parts such as ports for electronic camera components, speakers, and sensing units back into their corresponding slots on the motherboard.
Measure 9: Replace electric battery (if appropriate)
If you gotten rid of a removable electric battery in Step 4, properly insert it back right into its port and protect it along with any kind of screws or clips that were previously eliminated.
Action 10: Replace rear cover
Straighten the back cover with the frame of your Oppo gadget and press down securely until all clips pop right into place. Take a minute to ensure that the spine cover is tightly attached before relocating on.
Measure 11: Energy on your phone
With the repair complete, electrical power on your Oppo tool to test the brand new display. If everything is functioning correctly, congratulations! You have efficiently dealt with your Oppo screen at house.
In conclusion, mending a excellent or wrecked Oppo display at property is possible with the best resources and cautious execution. Having said that, it's crucial to don't forget that not all repair services may be done through novices, and seeking them might invalidate guarantees or create more damages. If you are not sure or uneasy with executing the fixing yourself, it's always finest to look for qualified support coming from an authorized service center.