Two javaagent to activate JetBrains
https://t.me/joinchat/Re_wujlNDSwYKV77Two javaagents for activating JetBrains products will be described here.
We start with ja-netfilter
- Download latest ja-netfilter-vX.X.X.zip from https://github.com/ja-netfilter/ja-netfilter/releases
- Unpack all the contents of the .zip into a directory so that the full path does not contain spaces. For example (it will be different for Linux and OS X, but the principle is the same): c:\Users\Public\Jetbrains. You now have the c:\Users\Public\Jetbrains\ja-netfilter folder.
- In the same place c:\Users\Public\Jetbrains\ja-netfilter, create a janf_config.txt file with the following contents:
[DNS]
EQUAL,jetbrains.com
[URL]
PREFIX,https://account.jetbrains.com/lservice/rpc/validateKey.action
- Now add a line with the full path to the ja-netfilter.jar file to the .vmoptions file. This is located in the bin directory of your JetBrains IDE. For example:
C:\Program Files\JetBrains\IDEA\bin\idea64.exe.vmoptions
Or, if you use Custom VM Options, the path would be, for example:
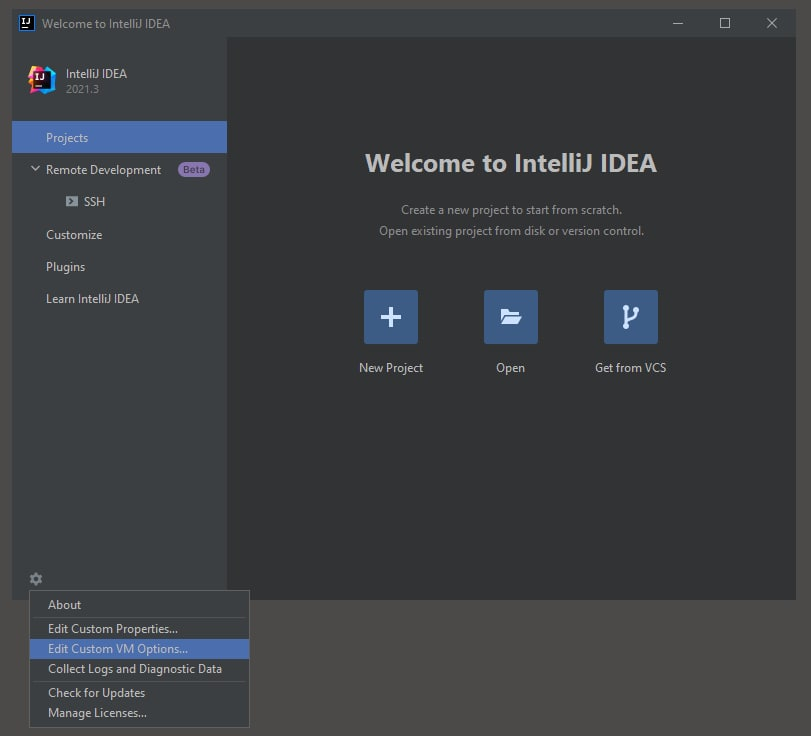
C:\Users\{UserName}\AppData\Roaming\JetBrains\IntelliJIdea2021.3\idea64.exe.vmoptions or open from menu
So if something doesn't work, make sure you change the right file (custom takes precedence over the one in the bin directory)
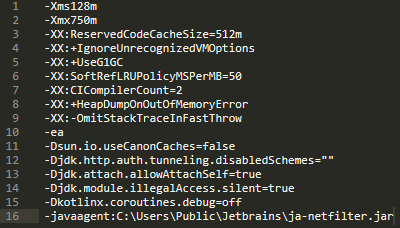
So, add a line to the end of the .vmoptions file:
-javaagent:C:\Users\Public\Jetbrains\ja-netfilter\ja-netfilter.jar
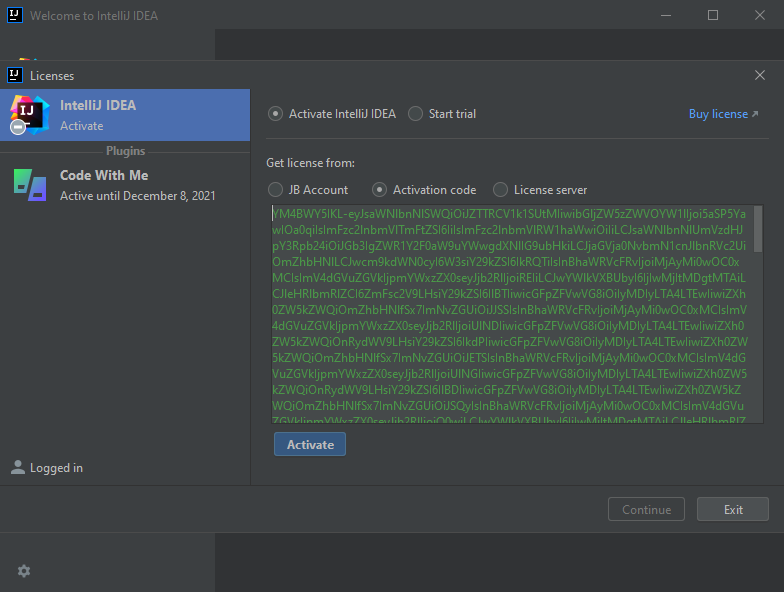
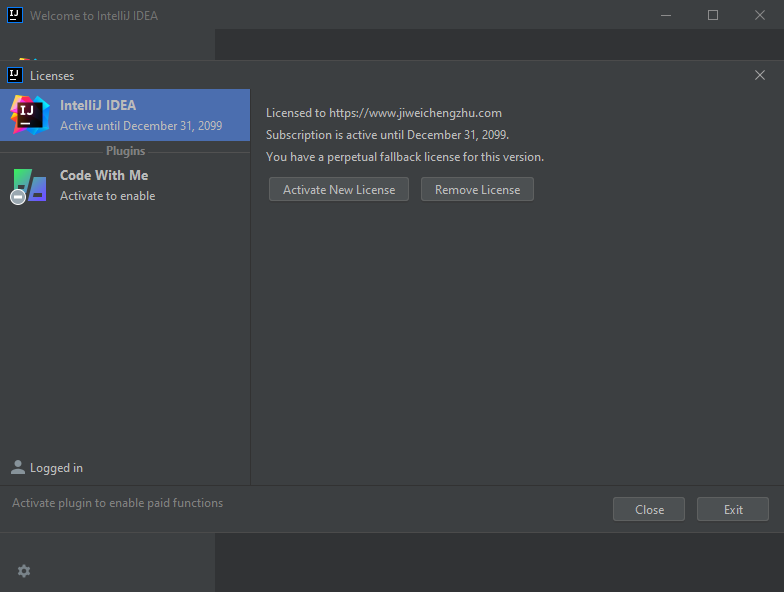
- Everything is almost ready, you just need to use any suitable key to activate. Launch your IDE, paste the code and press Activate. The activation code can be downloaded here: key_2022.08.10.txt

If you do not want to use the key
- Download latest FineAgent-vX.X.X.jar from https://github.com/ja-netfilter/plugin-fineagent/releases and copy to the directory c:\Users\Public\Jetbrains\ja-netfilter\plugins
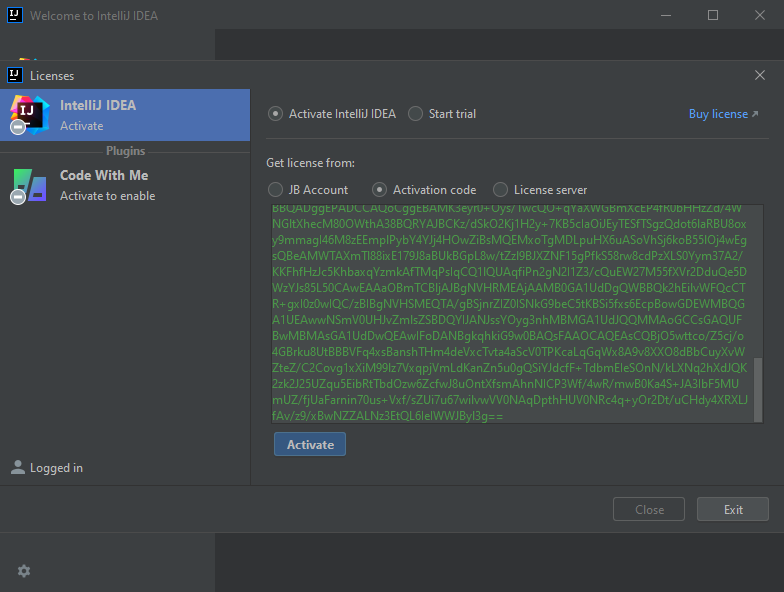
- Launch your IDE, paste the code from ActivationCode.txt and press Activate
That's all, suggestions and comments about this manual, please write to https://t.me/joinchat/Re_wujlNDSwYKV77
FAQ
Q: This license YM4BWY5IKL has been cancelled.
A:
- Edit the correct .vmoptions. Edit the file for the platform you are using (x86, x64). Remember that .vmoptions located in C:\Users\{UserName}\AppData\Roaming\JetBrains\ProductNameXXXX.X\product64.exe.vmoptions has priority over the one located in C:\Program Files\JetBrains\ProductNameXXXX.X\bin\product64.exe.vmoptions.
- Check that the javaagent .jar path does not contain spaces. The line starts with a "-" and it is the only one uncommented javaagent line in the file, the others are commented out with a "#" at the beginning of the line.
- Make sure there is a file janf_config.txt with a filter rule in the directory near the .jar. If you are using a system other than Windows, check that the line ends match your system.
- If anything is unclear, read README.md and blog page.
- If that doesn't help, create an issue https://github.com/ja-netfilter/ja-netfilter/issues
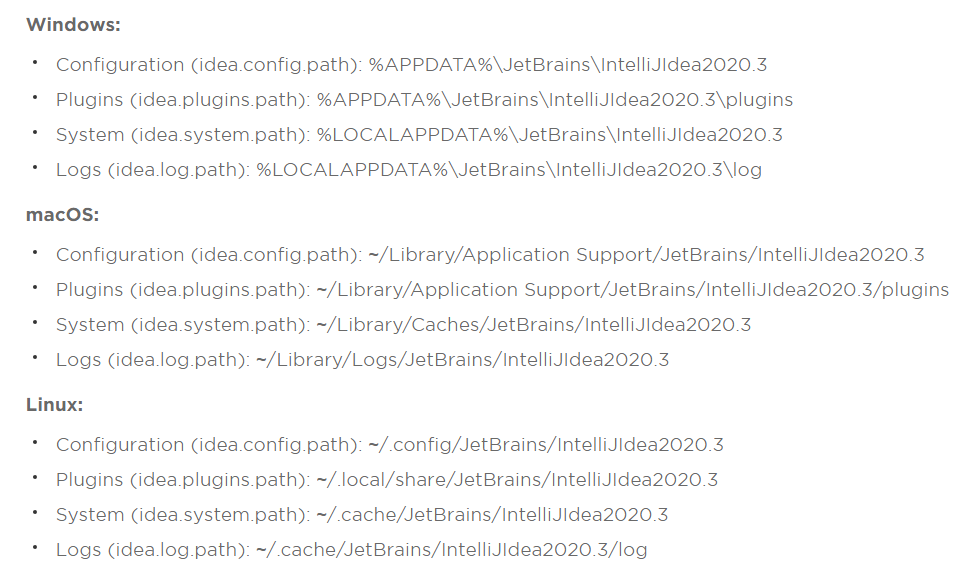
Q: Where is the .vmoptions file on OS X / Linux?
A: Check Configuration path https://intellij-support.jetbrains.com/hc/en-us/articles/206544519
Q: How to activate a plugin XXX?
A: Search for the key on the https://jetbra.in/s
Q: Which other javaagent works?
A:
- You can use JetbrainsIdesCrack_5_3_1_KeepMyLic.jar. Copy it to the folder c:\Users\Public\Jetbrains, change javaagent line and use the key to activate it.
- Alternatively you can use BetterIntelliJ-1.20.jar. Add 1.2.3.4 bs.studycoder.com to hosts file, copy BetterIntelliJ-1.20.jar to c:\Users\Public\Jetbrains and specify path to it in javaagent line. Use key for activation.