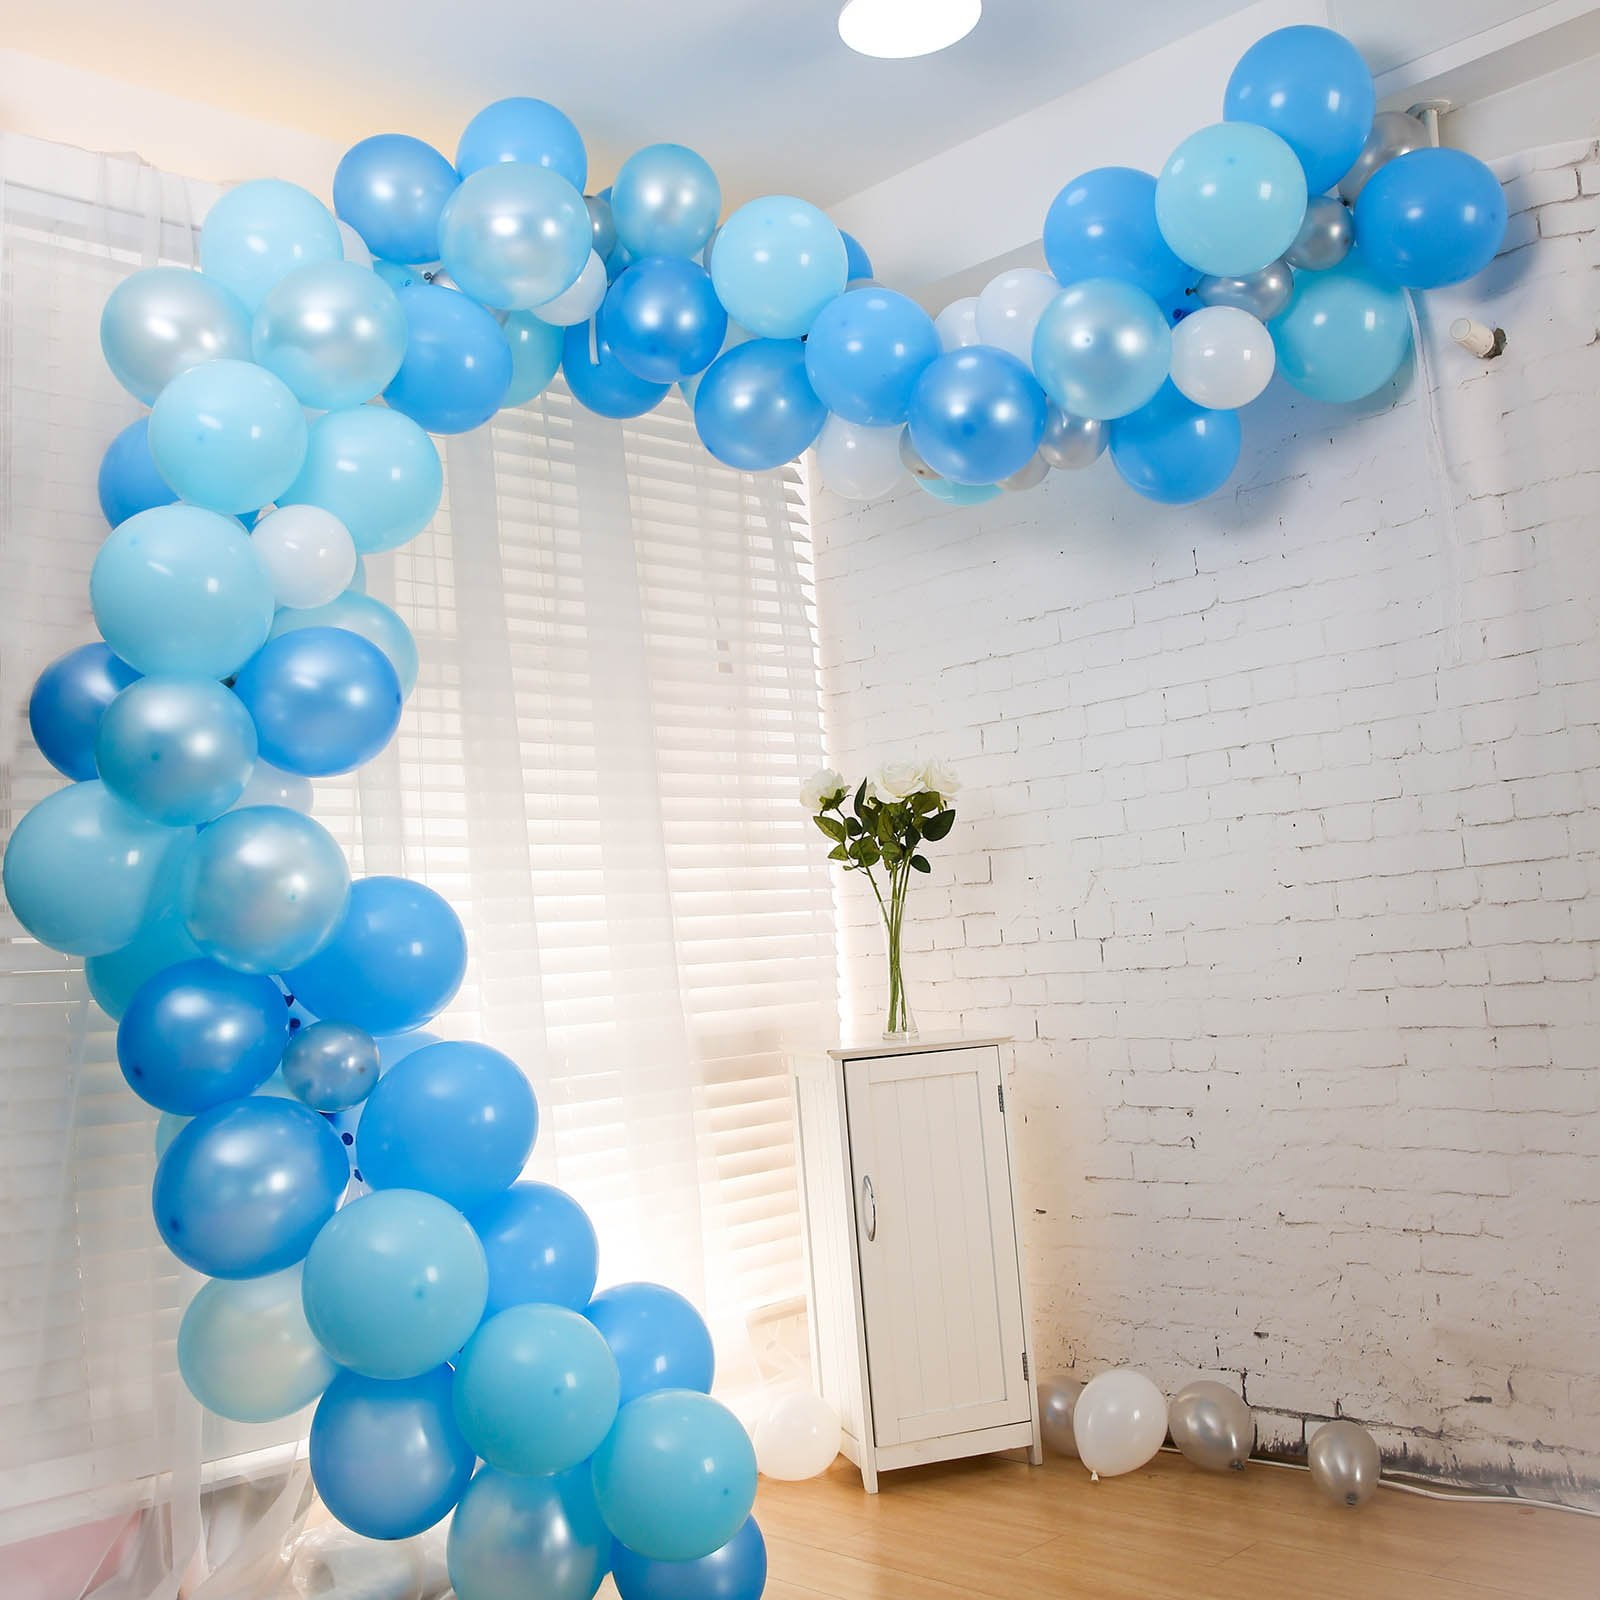
The smart Trick of "Step-by-Step Guide: How to DIY a Balloon Arch" That Nobody is Talking About
Developing a balloon arc can seem to be like a daunting activity, but with the right materials and some determination, it can easily be a fun and very easy DIY project for any kind of event. Whether you're organizing a birthday celebration party, wedding ceremony or child shower, a balloon arc is certain to produce a statement. Comply with these straightforward actions to produce your really own balloon arc.
Measure 1: Acquire Components
To create your balloon arc, you'll need the following materials:
- Balloons (in a variety of colors and sizes)
- Balloon pump
- Angling collection or cord
- Order hooks
- Scissors
Measure 2: Choose Your Colors
Before you begin blowing up balloons, decide on the shade plan for your balloon arc. You can easily opt for colours that match the motif of your occasion or go along with a rainbow of different colors for a a lot more festive appearance.
Step 3: Pump up Your Balloons
Using your balloon pump, pump up your balloons to different sizes. Attempt to vary the size of your balloons so that they suit together well when developing the arch. Once inflated, link off the ends of each balloon.
Step 4: Develop Your Foundation
Make a decision where you really want to position your balloon arc and use order hooks to secure angling series or cord in an arch design. This are going to offer as the bottom for connecting your balloons.
Action 5: Attach Your Balloons
Starting at one end of the angling product line or cord bottom, take one inflated balloon and tie it onto the product line making use of its gathering. Alternative between different colored balloons as you relocate down the line until you have got to desired span and satisfaction.
Action 6: Readjust as Needed
Once all of your balloons are connected, action back and analyze how they look all together. Adjust personal balloons if needed through delicately pushing them up or down along the fishing series until they are equally spaced.
Action 7: Protect in Place
Once you are satisfied along with how everything appears, make use of added demand hooks to secure the sportfishing product line or cord bottom in place. This will make sure that your balloon arc remains in location throughout your event.
Creating a balloon arch is a exciting and simple method to add some colour and fancifulness to any type of event. By complying with these simple actions, you may make a stunning statement item that is certain to wow your visitors. So acquire your source, choose your different colors, and receive prepared to DIY your quite personal balloon arc!
Always remember, the trick to making a successful balloon arch is to differ the dimension and shade of your balloons. This will produce deepness and interest in your concept. Don't be hesitant to explore along with various shapes and sizes until you discover a mix that works for you.
Another idea is to make use of high-quality balloons that are less very likely to put or decrease quickly. You don't desire all of your difficult work to go to squander because of a popped balloon!
Ultimately, help make sure you have sufficient opportunity when planning your venture. A balloon arc can take anywhere coming from 30 mins to a number of hours relying on its size and complexity. Give yourself plenty of time so that you're not rushed or stressed as you produce your work of art.
In conclusion, producing a DIY balloon arch is an quick and easy and fun project for any kind of event. By complying with these simple actions, you'll be capable to create a beautiful claim part that will make an impression on all of your attendees. Therefore acquire your components, pick your different colors, and get all set to unleash your imagination!