Step by Step to Install RGB Headlights on a Jeep Wrangler JL
MorsunUpgrading your Jeep Wrangler JL with RGB headlights is a powerful way to enhance both the look and functionality of your vehicle. RGB headlights not only provide excellent illumination for off-road and nighttime driving but also allow you to customize the halo color and effects via smartphone control. Here’s a complete, step-by-step guide to installing RGB headlights on your Jeep Wrangler JL.
What You’ll Need:
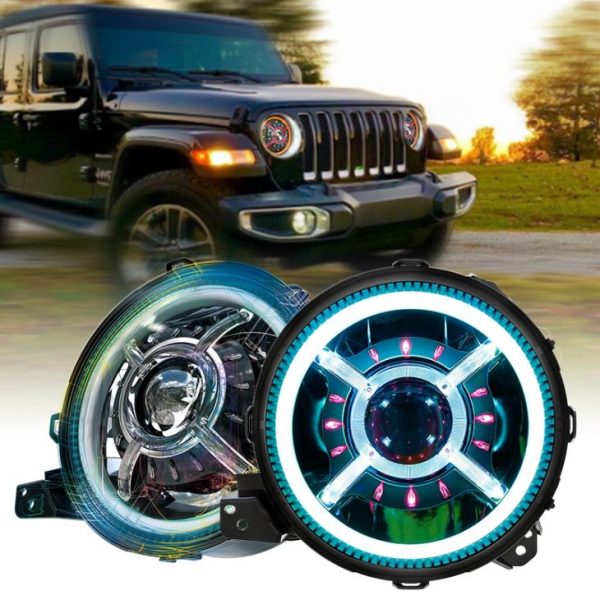
- Jeep Wrangler RGB LED Headlight kit (compatible with Jeep Wrangler JL)
- T40 Torx bit and ratchet
- Trim removal tool
- Wire connectors or T-taps
- Electrical tape or heat shrink tubing
- Smartphone (for Bluetooth app control)
- Zip ties
Step 1: Disconnect the Battery
Before beginning, always disconnect the negative battery terminal to prevent any electrical shorts or accidental power-on during installation.
Step 2: Remove the Front Grille
Use a trim removal tool to gently pry off the six plastic clips at the top of the grille. Once removed, gently pull the grille outward from the bottom to release it from the clips along the front bumper. Set it aside carefully.
Step 3: Remove Stock Headlights
Locate the four T40 Torx screws securing each factory headlight to the body. Unscrew and remove them. Gently pull the headlight forward and disconnect the factory wiring harness from the back. Repeat the process for the second headlight.
Step 4: Install the RGB Headlights
Position the new Jeep RGB headlight into the mounting location. Connect the main power connector (usually plug-and-play). Next, connect the RGB control wire. Most RGB headlights come with an external control box with a Bluetooth module—route this wiring toward the fuse box or firewall area.
Step 5: Wiring the RGB Controller
Locate a 12V ignition or accessory power source. Common options include the fuse tap for the cigarette lighter or an unused slot in the fuse box. Use a T-tap or fuse tap connector to draw power for the RGB controller. Ground the black wire to a clean, metal surface near the fuse box.
Secure all wiring with zip ties, and avoid sharp edges or moving parts.
Step 6: Mount the RGB Controller Box
Mount the RGB controller box in a dry, secure location under the hood, preferably near the battery or fuse panel. Use double-sided tape or zip ties to secure it.
Step 7: Reinstall the Grille
Once the RGB headlights and controller are securely in place, reattach the front grille by aligning the bottom clips and pressing the top back into place. Replace the six plastic clips at the top.
Step 8: Reconnect the Battery
Reconnect the negative battery terminal. Double-check all wiring connections to ensure everything is tight and secure.
Step 9: Test the Headlights
Turn on your headlights and use the smartphone app (typically specified by your RGB kit) to test the halo colors, patterns, and brightness. Cycle through different modes such as solid colors, flashing, or fade effects. Make sure the main high and low beams work properly too.
Final Tips:
- Make sure your RGB headlights are DOT approved and legal in your state when driving with white halos.
- Keep the app updated for better performance and new features.
- Regularly inspect the wiring for wear, especially if you drive off-road often.
Installing RGB headlights on your Jeep Wrangler JL is a straightforward upgrade that brings style, personalization, and improved nighttime visibility. With basic tools and a little time, you can transform your Jeep’s front-end appearance and stand out on any trail or street.