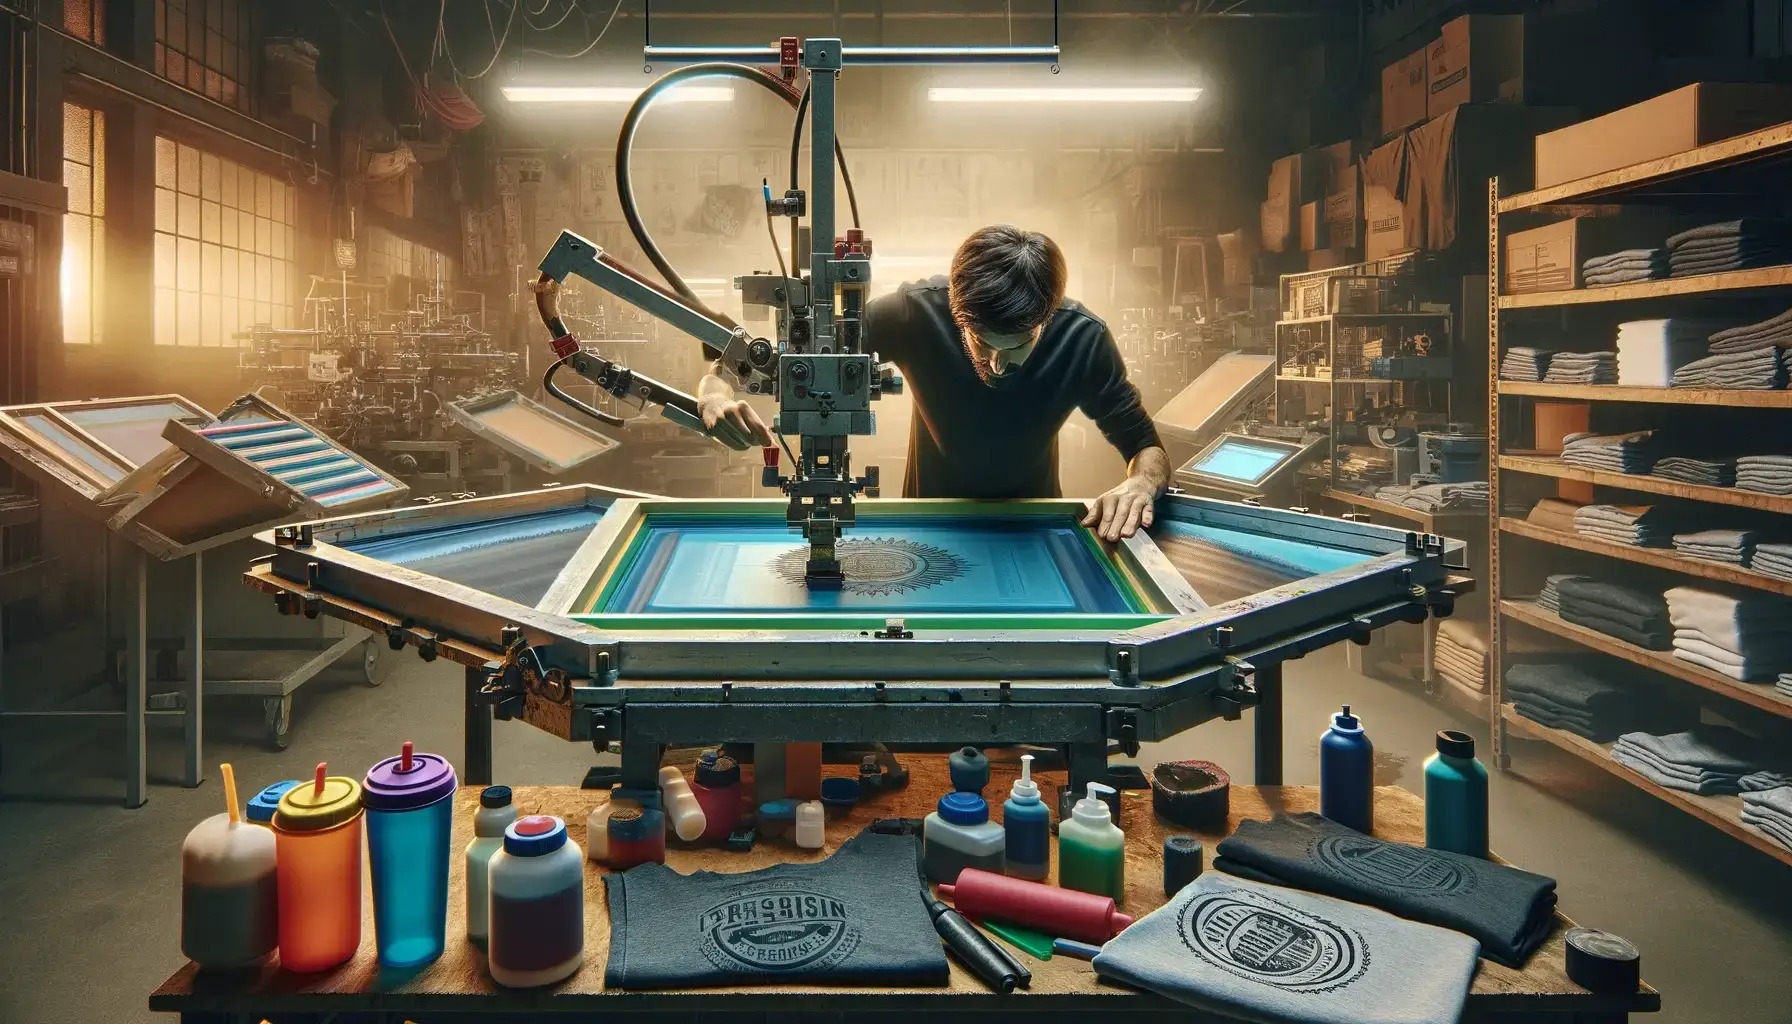
Step-by-Step Guide to the Screen Printing Process
Screen printing is a widely used technique for creating custom designs on various materials. Here’s an easy-to-follow guide on how to do screen printing:
1. Gather Your Supplies
You'll need:
- A mesh screen stretched over a frame
- Emulsion and sensitizer
- A squeegee
- Printing ink
- A design stencil (printed on transparency film)
- A strong light source
- Your printing surface (e.g., t-shirts, posters)
- Tape and a place to wash your screen
2. Prepare the Screen
- First, clean the screen to remove any dust or debris.
- Mix the emulsion with the sensitizer and use the squeegee to apply a thin, even layer to both sides of the screen.
- Allow the screen to dry in a dark room to prevent unwanted exposure to light.
3. Create the Design Stencil
- Print your design onto a transparent sheet.
- Place this transparency on the screen and secure it with a piece of glass to keep it flat and in place.
4. Expose the Screen
- Put the screen under a strong light source for the recommended time, usually between 1-2 minutes.
- The light will harden the emulsion except where your design blocks it.
5. Rinse the Screen
- Rinse the screen with water to wash away the unhardened emulsion, which leaves open areas in the mesh where the ink will pass through.
- Allow the screen to dry completely.
6. Set Up Your Printing Area
- Place the screen on top of the material you're printing on.
- Secure the screen with tape to prevent it from shifting.
- Insert a piece of cardboard inside t-shirts or other fabrics to avoid ink bleeding through.
7. Apply the Ink
- Pour a small amount of ink at the top of the screen.
- Use the squeegee to pull the ink evenly across the screen towards you.
- Repeat a few times to ensure the ink is spread evenly and penetrates the material.
8. Lift the Screen
- Carefully lift the screen to reveal your printed design.
- If printing multiple items, repeat the process and add fresh ink as needed to keep prints consistent.
9. Cure the Ink
- Let the printed items dry completely.
- Cure the ink using a heat press or conveyor dryer according to the ink manufacturer's instructions to ensure it sets properly.
10. Clean Up
- Clean your screen, squeegee, and other tools immediately after printing to prevent the ink from drying and clogging the mesh.
- Proper cleaning will extend the life of your screen and tools.
By following these steps, you can create bright, durable screen-printed designs for a variety of uses.