Spiralizer
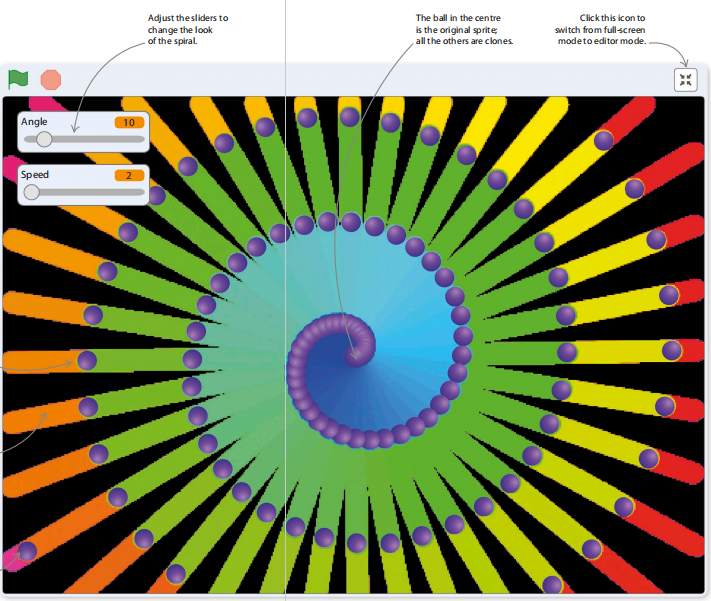
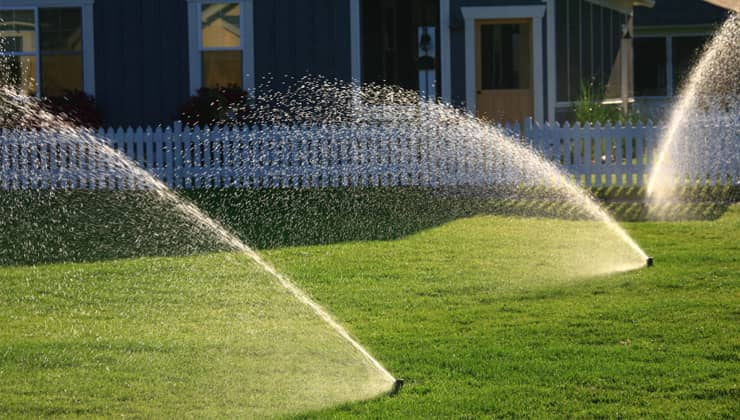
Water sprinkler
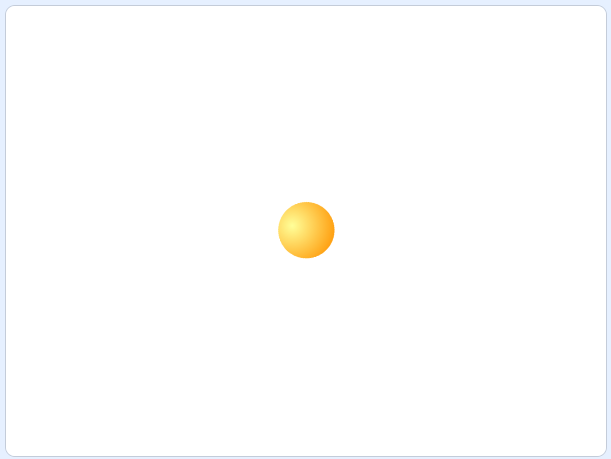
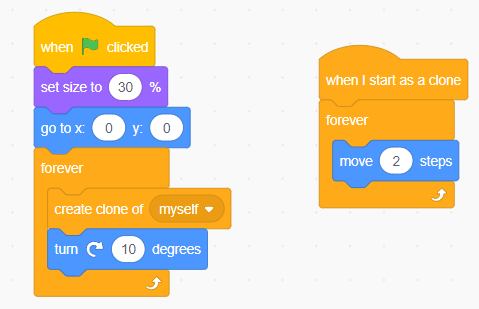
Step 1. Start a new project. Remove the cat sprite by right-clicking on it and selecting “delete”. Load the ball sprite from the sprites library. The ball has several different coloured costumes. Click the Costumes tab and choose the colour you like best.
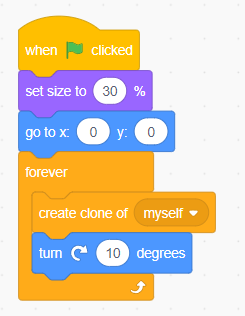
Step 2. Add this loop to make clones of the ball. When you run this code nothing much will appear to happen. Actually, it’s making lots of clones of the ball sprite, but they’re all on top of each other. You can drag them apart with the mouse (but only in editor mode, not full-screen mode).
Step 3. To make the clones move, add this code to the ball sprite. Every new clone will now run its own copy of this code when it appears. The code makes the clone move away from the centre in the direction the parent sprite was pointing when it was loned. Run the project.
What’s going on?
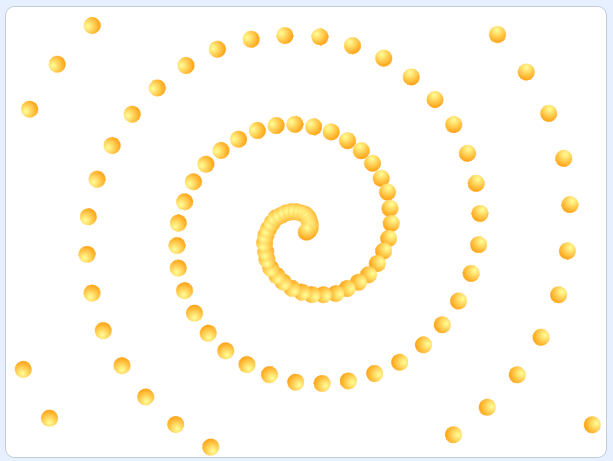
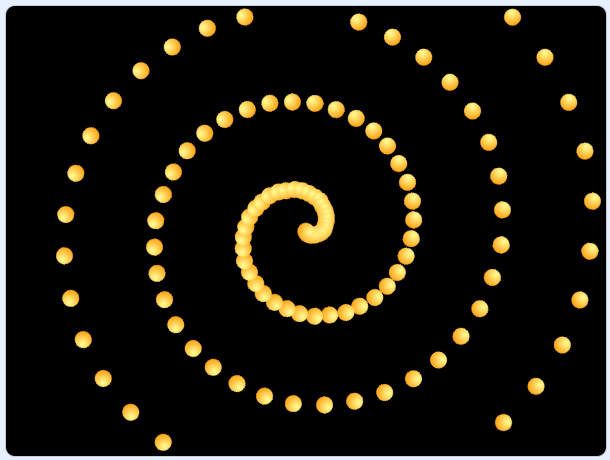
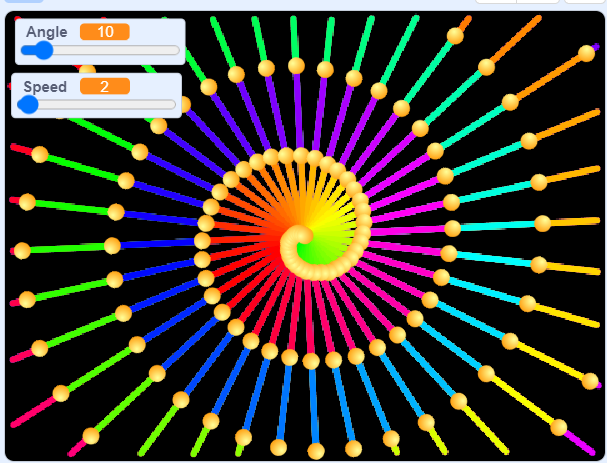
The parent sprite changes its direction a little before each clone is created. As a result, the clones move off in slightly different directions, one after another. Each clone travels in a straight line to the edge of the stage, making the clones form an ever-expanding spiral pattern.
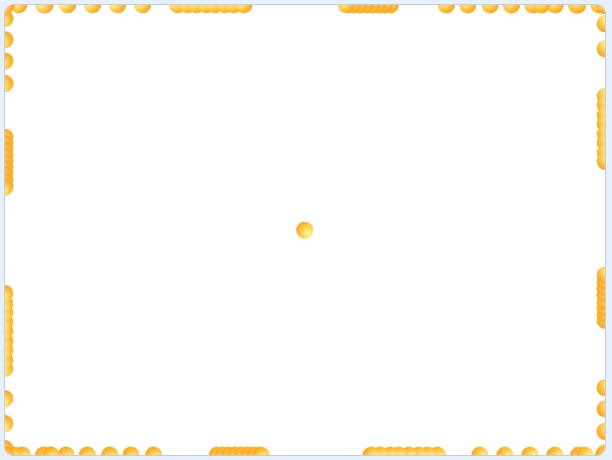
Step 4. The clones will stop appearing after a while as Scratch won’t allow more than 300 clones on the stage at once. Any instructions to make new clones after this are ignored. The clones stop forming at the centre and all the existing clones collect around the edge of the stage.
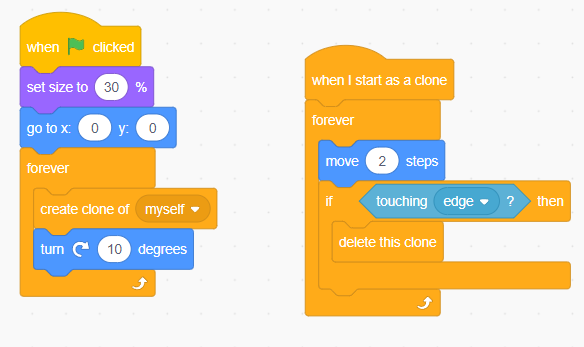
Step 5. To fix this problem, add an “if then” block inside the clone’s “move” loop to delete the clone when it gets to the edge. Run this version. Now the balls should disappear at the edge as fast as they are made, and the spiral should continue for as long as you want – Scratch will never reach its clone limit.
Step 6.To make the spiral show up better, add a black background. Click the paint symbol in the backdrops menu to the right of the sprites list to create a new backdrop. Use the fill tool to paint the backdrop solid black.
Taking control
There are two numbers in the ball’s code that you can change to alter the spiral’s appearance. One is the change in the angle before each new clone appears. The other is the number of steps in the “move” block, which determines the clones’ speed. If you create variables for these numbers, Scratch lets you add a slider control to the stage so you can change them while the project is running. This makes experimenting easy.
Step 7
Create variavle called Angle and Speed. Keep them ticked
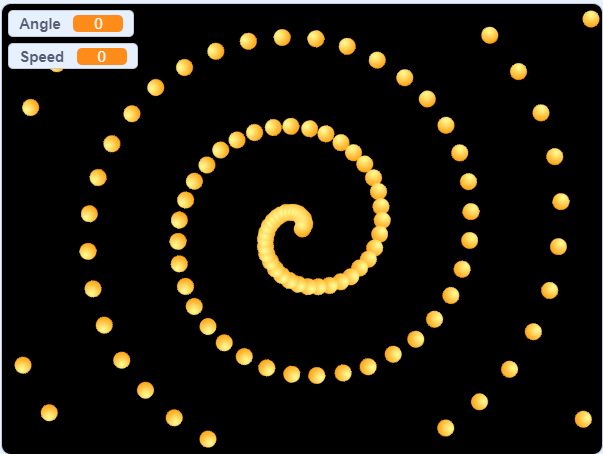
Step 8. Now change the ball’s code to use the variables.
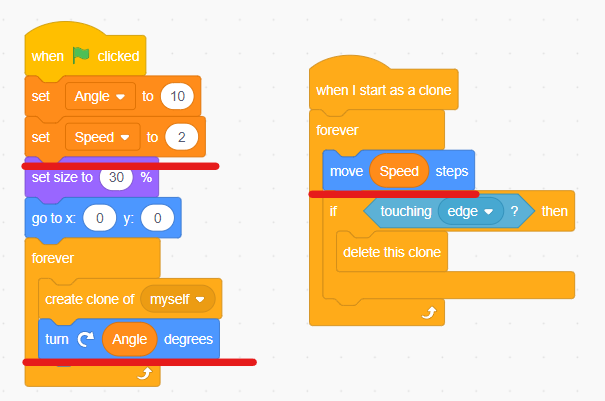
Step 9. Run the project and everything should work just as before. Right-click on the “Angle” variable on the stage and select “slider”. Do the same for “Speed”.
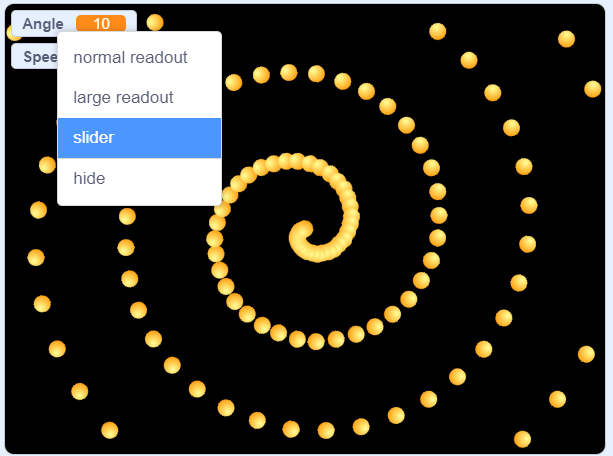
Step 10. Now try experimenting with different values.
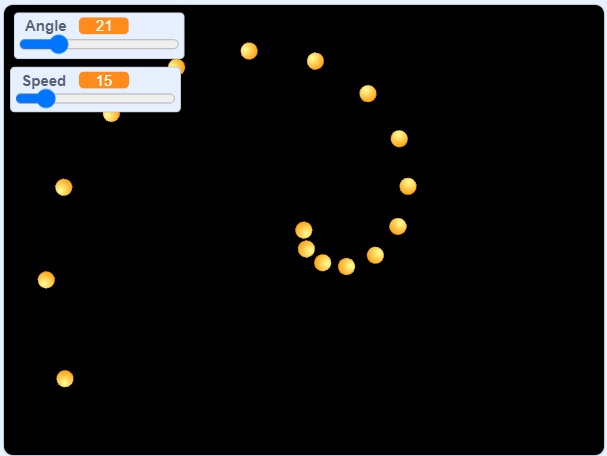
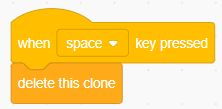
Step 11. You might find it handy to clear the stage of clones from time to time, so add this code to turn the space-bar into a clone destroyer. Each clone runs all the ball sprite’s code except the one headed by a green flag, so this code will affect every clone. Run the project and tap the space-bar to try it out.
Pen
Scratch has extensions – extra blocks of code that can be added to projects. One of these extensions is a magic pen. If you switch the pen on, it will draw a line wherever the sprite goes. Every clone has a pen too, so by turning them on you can create some amazing art.
Step 12. Acrivate Pen extension by adding from the bottom left of the screen. Then add these blocks
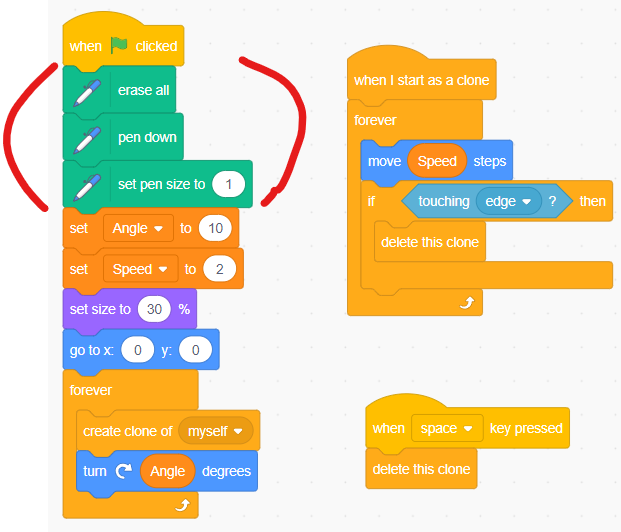
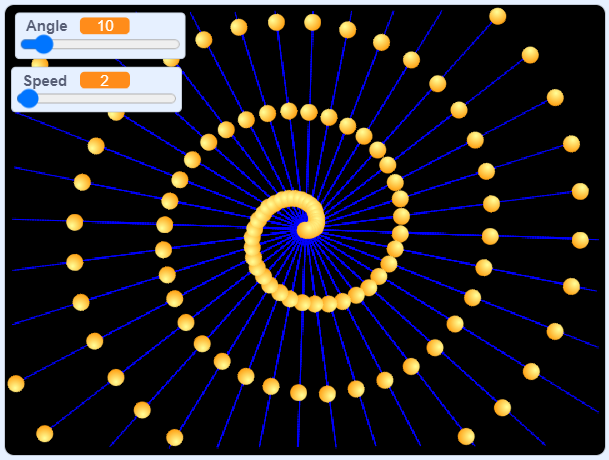
Step 13. Add an “erase all” block to your clone-destroyer code. This makes the space-bar wipe the stage clear of everything, creating a blank canvas for your art.
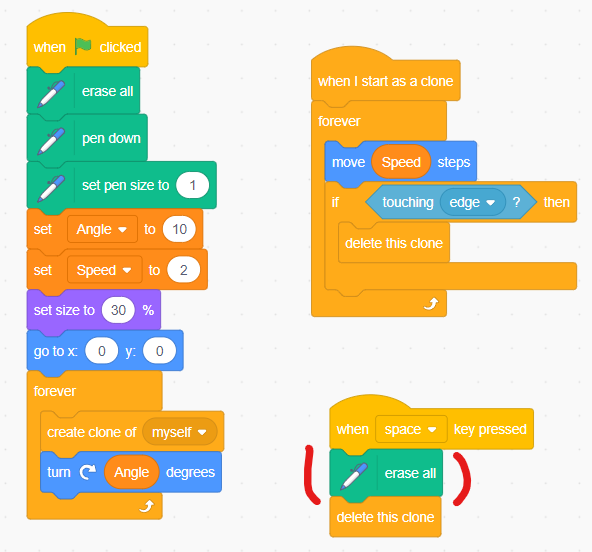
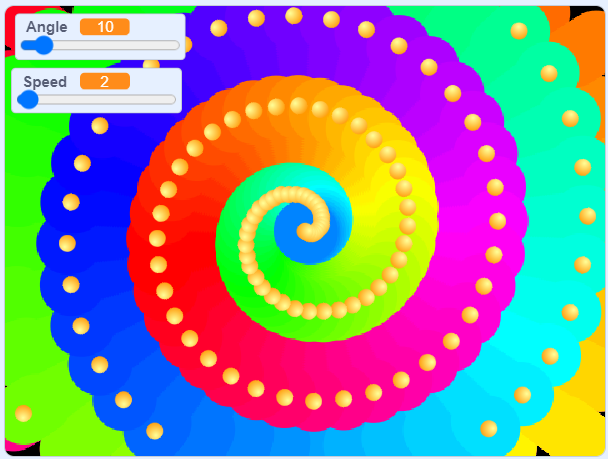
Step 14. As a final experiment, change the pen colour for each clone so that each one draws in a new colour.
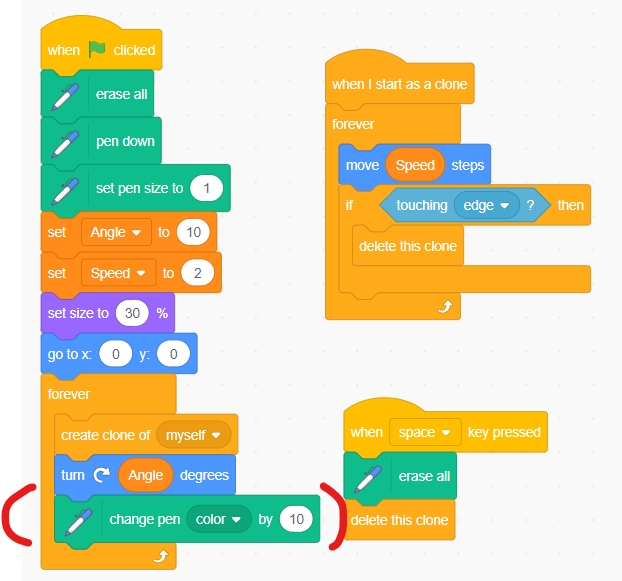
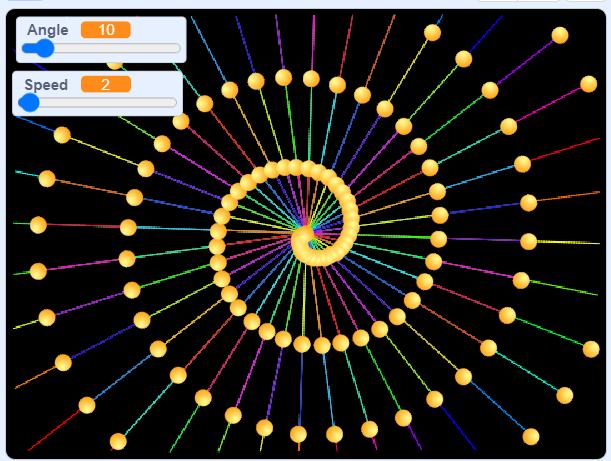
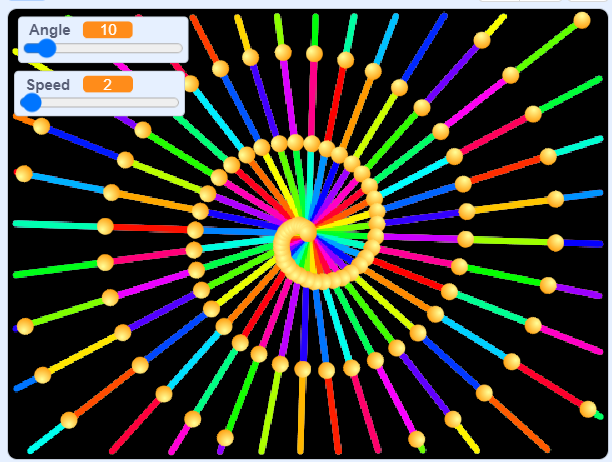
Step 15. Run the project and explore the range of effects you can create by changing the sliders, the pen size, and the pen’s colour. Try thicker pen sizes and see what happens. Don’t forget you can clear up by pressing the space-bar.
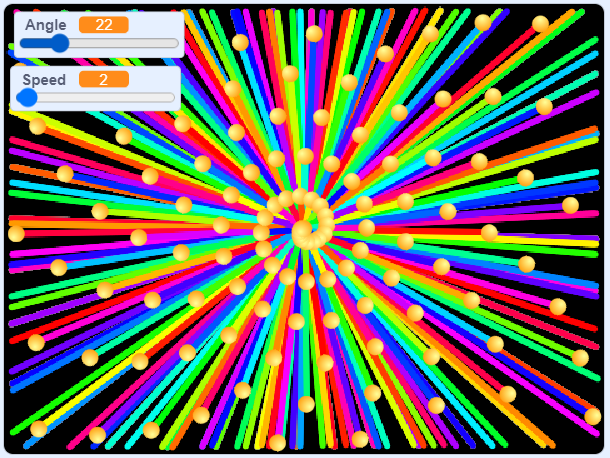
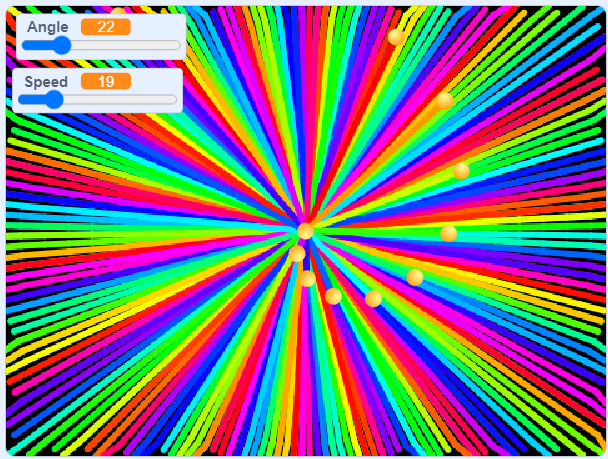
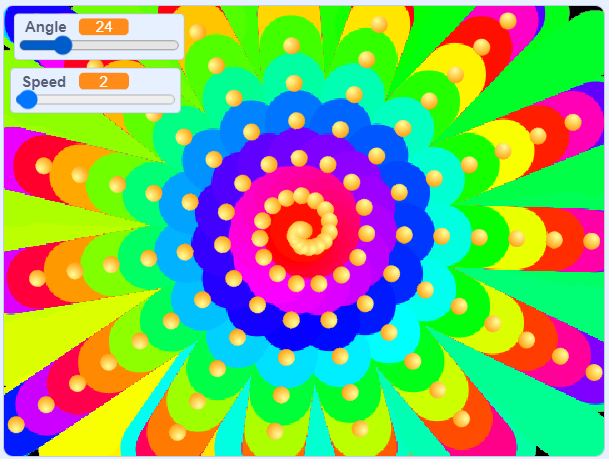
Step 16. Set Angle to 7 and Speed to 10 when 1 key pressed
Step 17. Set Angle to 2 and Speed to 1 when 2 key pressed
Step 18. Hide the ball, the variables Angle and Speed when down arrow key pressed
Step 19. Show the ball, the variables Angle and Speed when up arrow key pressed