Sperm On Face Photoshop Guide

⚡ 👉🏻👉🏻👉🏻 INFORMATION AVAILABLE CLICK HERE 👈🏻👈🏻👈🏻
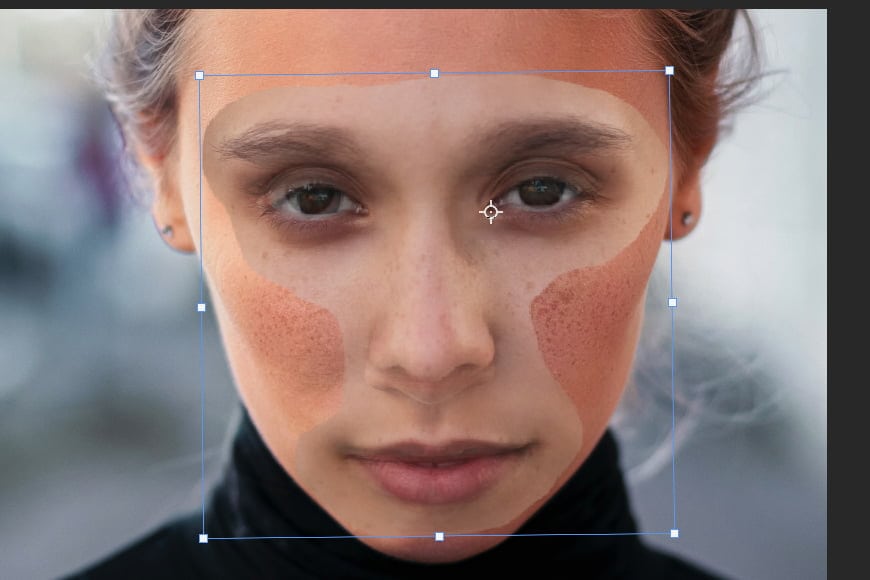
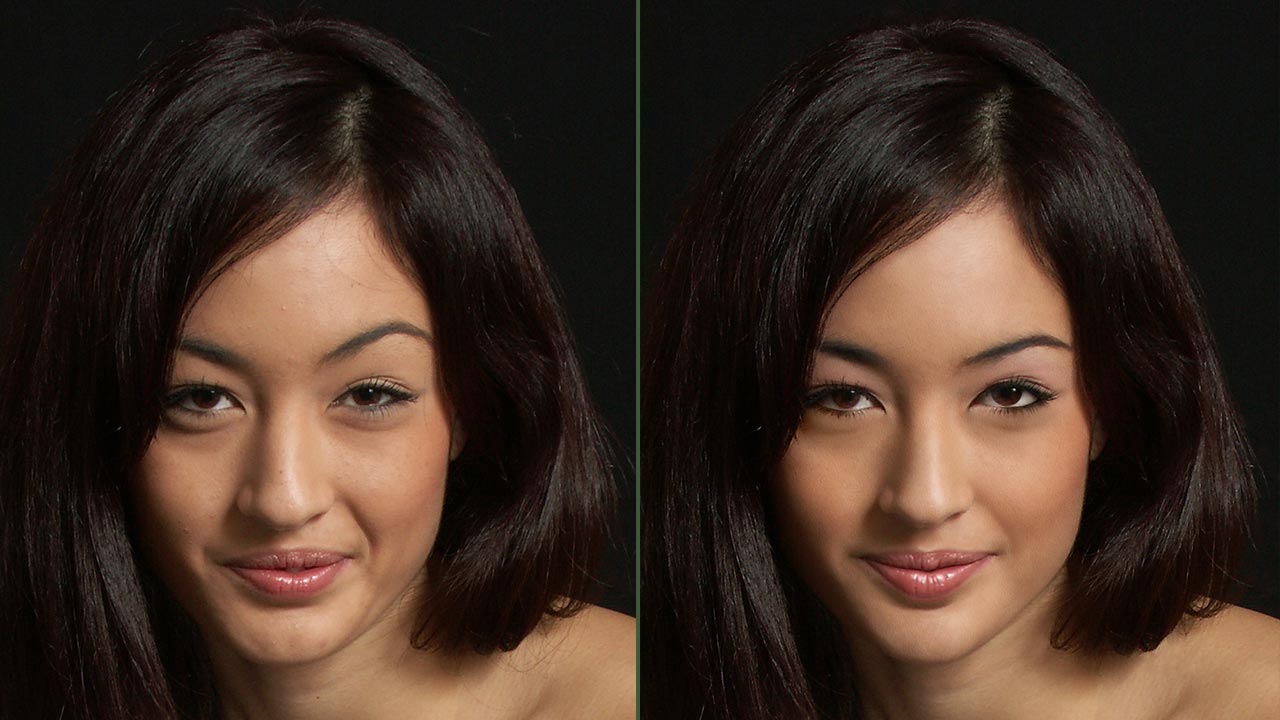
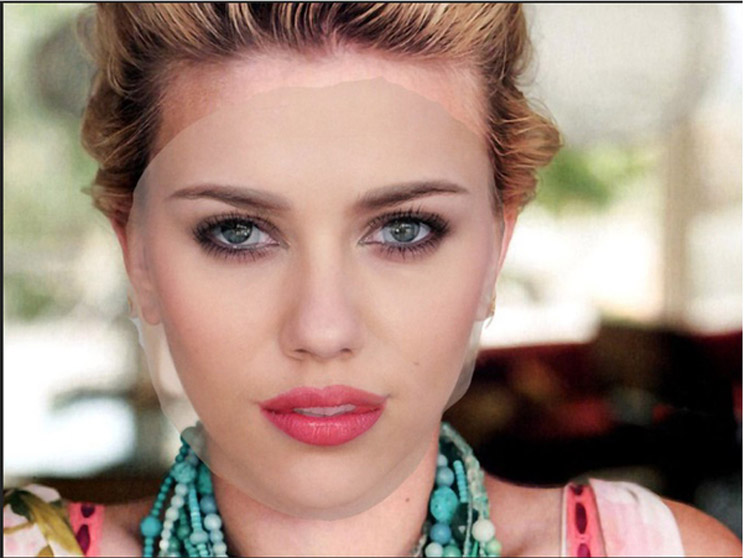
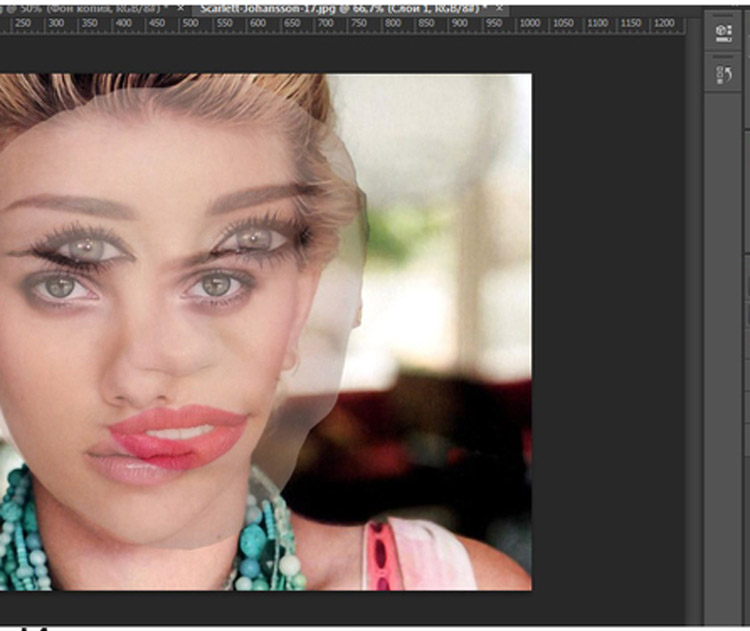
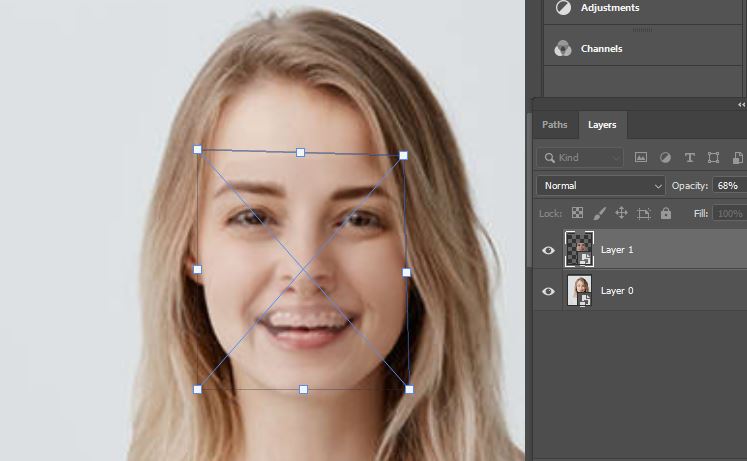
Give a person a new look by changing eyes, mouth, and other facial features with Face-Aware Liquify in Photoshop.
Use Face-Aware Liquify to change a person's face
Face-Aware Liquify in Photoshop automatically detects facial features and helps you adjust them to enhance a portrait or add creative character to a fun shot.
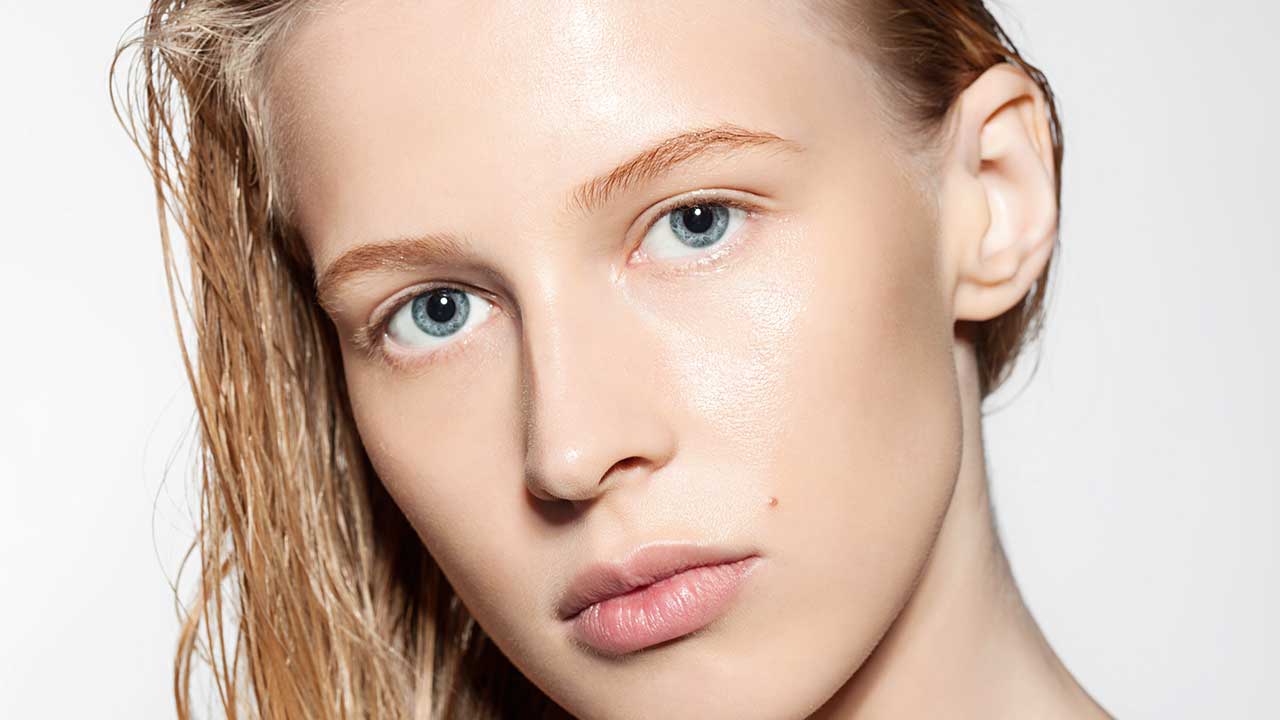
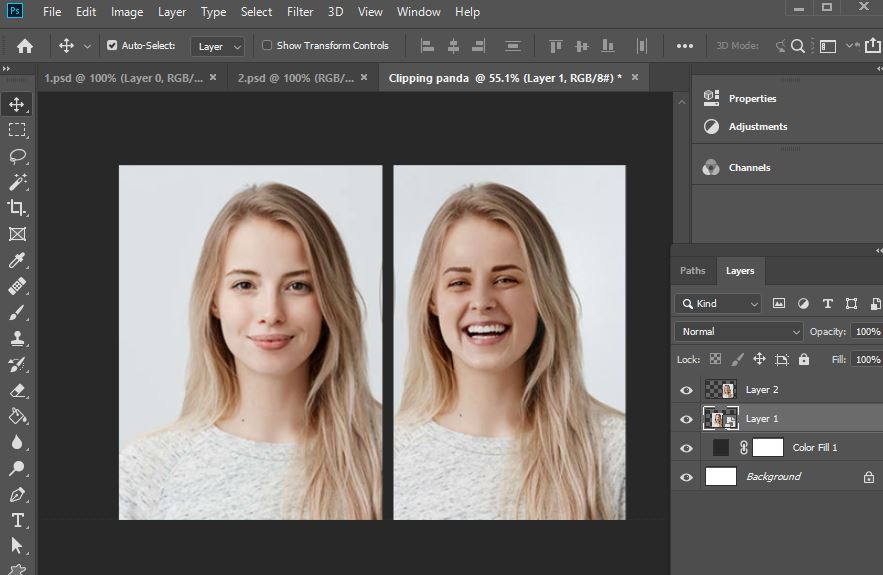
In the sample image, we'll exaggerate this man's surprised expression by adjusting his eyes, mouth, and other facial features.
Open an image in Photoshop, and select a layer that contains a photo of a face.
Optional: If you want the flexibility to re-open this face in Liquify later to make further adjustments, right-click or control-click the layer and choose Convert to Smart Object before opening it in Liquify this time.
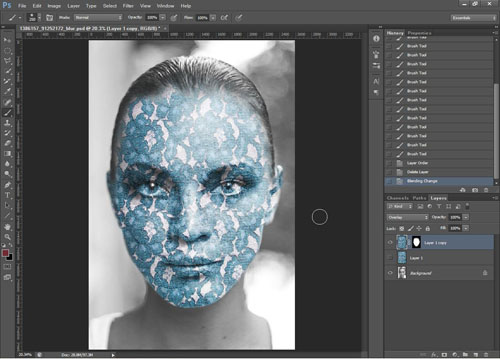
Go to Filter > Liquify... to open the photo in the Liquify window.
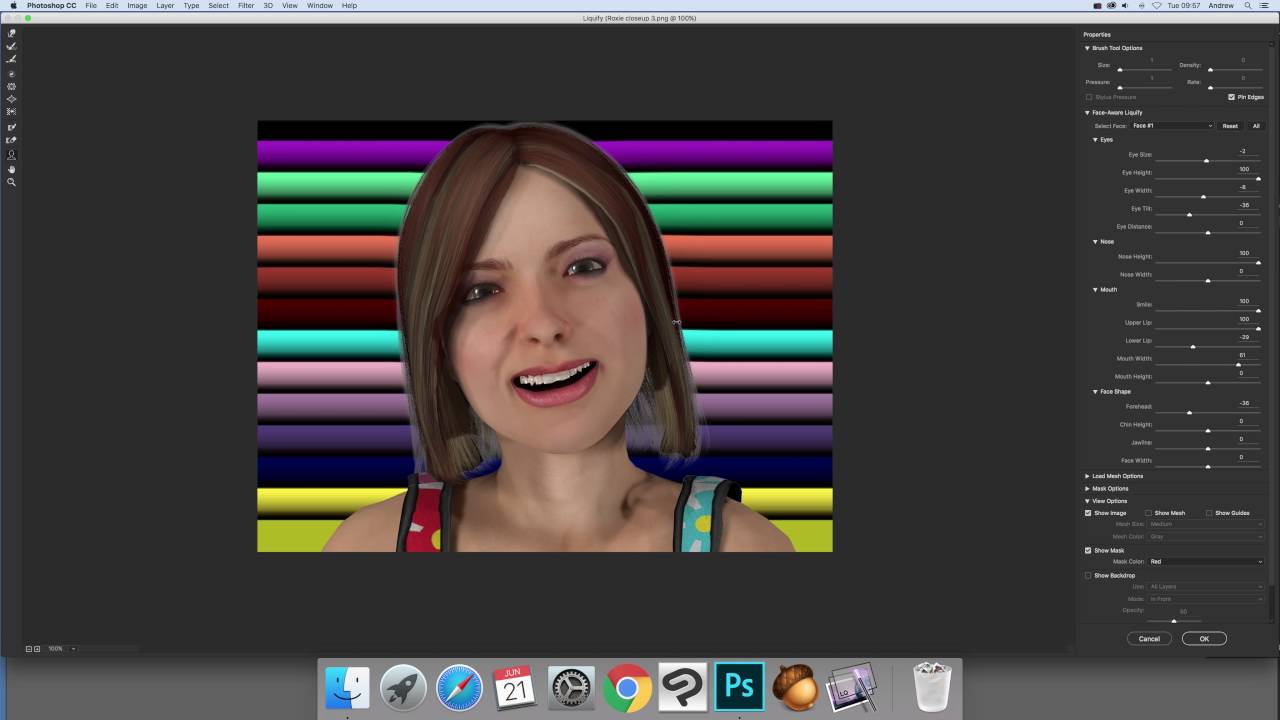
In the Liquify window, click the triangle to the left of Face-Aware Liquify .
Tip: If there is more than one face in a photo, go the the Select Face menu in Liquify and choose the face to adjust.
Click the triangle to the left of Eyes to reveal sliders that affect just the eyes. Drag those sliders to adjust the size, height, width, tilt and/or distance of the eyes until you get a look you like.
Alternatively, you can make adjustments by clicking and dragging directly on facial features in Face-Aware Liquify.
Select the Face Tool in the Toolbar on the left side of the Liquify window.
To adjust the size of the eyes, hover over one of the eyes in the photo until your cursor changes to a double-pointed diagonal arrow . Then click, hold, and drag outward to increase the size of both eyes.
Tip: As you hover over a facial feature, on-image icons and tool tips appear to let you know which feature and property will change.
Click the triangle to the left of Nose to view sliders you can use to change the shape of the nose.
Drag the Nose Height slider to the left to elongate the nose. Drag the Nose Width slider to the left to narrow the nose.
To access sliders for adjusting the mouth area, click the triangle to the left of Mouth .
Drag the Smile slider to the right to increase the man's smile.
Drag the Lower Lip slider to the left to make the lower lip thicker. Drag the Mouth Width slider to the right to expand the mouth horizontally. Drag the Mouth Height slider to the right to expand the mouth vertically.
To change the shape of the man's face, click the Face Shape triangle. Drag the Forehead Height slider to the right to make the forehead taller. Drag the Jawline slider to the right to expand the jaw. Drag the Face Width slider to the left to contract the width of the face.
To also change non-facial parts of the photo, like the man's shoulder in this photo, you can use other tools from the Toolbar on the left side of the Liquify window.
Click OK to close the Liquify window.
Chose File > Save to save the photo with the changes you made with Face-Aware Liquify.
Give Face-Aware Liquify a try to get creative with your fun shots and polish your more serious portraits.
Post questions and get answers from experts.
https://helpx.adobe.com/photoshop/how-to/face-aware-liquify.html
https://www.youtube.com/watch?v=dLplR4VILbE
Missionary Pov Porn Video
She Suck Dick
Pascalssubslut Kinuski Anal Porn Hd Full
Adjust and exaggerate facial features | Adobe Photoshop ...
Text on Face - Photoshop Tutorial - YouTube
Sperm Stock Photo Images. 13,489 Sperm royalty free images ...
Photoshop tutorials | Learn how to use Photoshop
Swap Faces In Photoshop (FAST & EASY!) - YouTube
Smooth selection edges in Photoshop Elements
Ultimate Face Retouching Guide For Beginners In Photoshop ...
Photoshop Tutorial : Swap Faces - YouTube
How to Cartoon Yourself in Photoshop - Envira Gallery
Swap Faces In Photoshop - Photoshop Hotspot
Sperm On Face Photoshop Guide