Some Known Incorrect Statements About DIY Cornice Ideas: Make Your Own Window Treatments
If you are appearing to include a contact of style and elegance to your residence, mounting a cornice may be an superb possibility. A cornice is a aesthetic aspect that is utilized to cover the joint between the ceiling and the wall structure. It not just enriches the appearance of your home but additionally conceals any type of infirmities in the sections.
Below's a step-by-step resource on how to set up a cornice:
Action 1: Assess the region
Prior to acquiring your cornice, measure the length of your room where you desire to set up it. Create certain you have enough product by including some additional inches to cover any kind of reducing inaccuracies or overlap.
Action 2: Compile components
To mount a cornice, you will require several resources and products including:
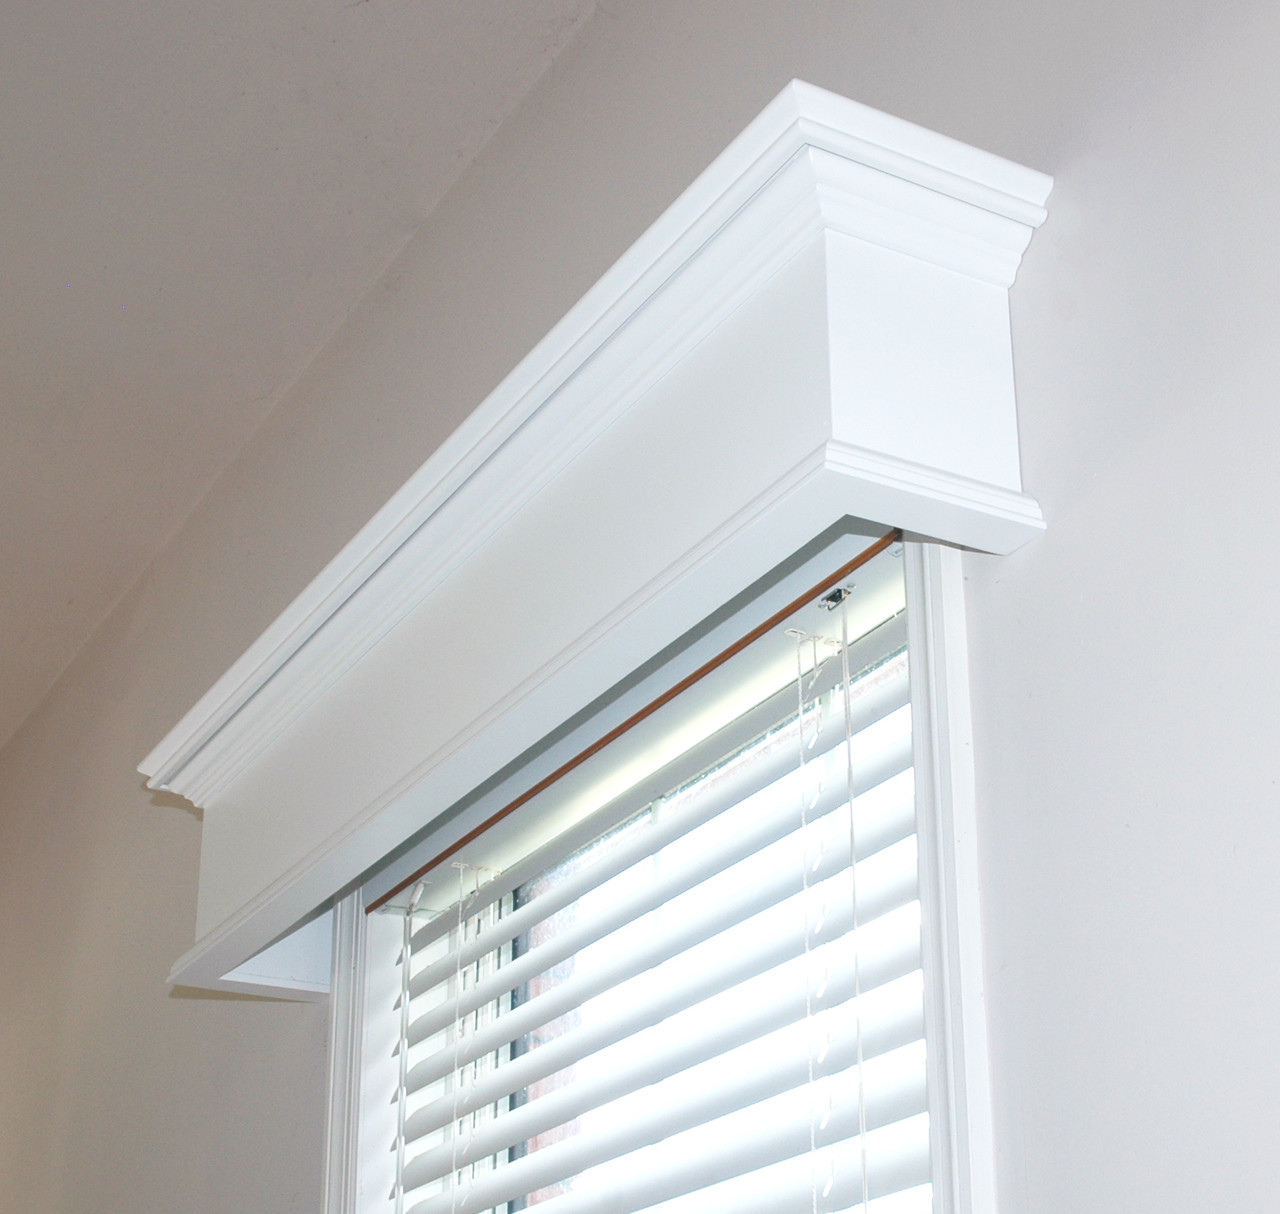
- Cornices
- Adhesive adhesive
- Measuring tape
- Saw (palm saw or power saw)
- Sandpaper (alright grit)
- Ladder or stool
Measure 3: Prepare your job region
Before starting installation, prepare your job location by clearing away any type of dirt or particles coming from around the roof.
Measure Check For Updates : Cut Cornices to Size
Using your measuring tape, note out where each part of cornice are going to go along with its required length. Using either a palm saw or electrical power saw, reduced each piece of cornice correctly. Be sure to produce well-maintained cuts as crooked cuts may result in an uneven appearance.
Step 5: Fining sand Cornices
After reducing each part of cornice, make use of fine-grit sand paper on all rugged side until they are soft and free coming from bits.
Action 6: Administer adhesive adhesive
Apply sticky adhesive equally around each sides at the rear edge of each piece of cornice using either an adhesive weapon or putty knife.
Take note: Create certain that you comply with protection guidelines when making use of adhesives as some products might send out damaging fumes.
Step 7: Put in Cornices
With help from a ladder or stool, spot each item of cornice in to position, beginning at one end of your space and working your means in the direction of the other. Push each part strongly into posture to make certain that it catches.
Action 8: Allow Adhesive to Dry
Permit the adhesive glue to dry out for at least 24 hours prior to trying any kind of further job around the cornices.
Measure 9: Paint Cornices
Once completely dry, you can easily after that coat your cornices with a color that matches or goes well with your existing decor.
In verdict, putting in a cornice is an very easy and cost-effective way to add worth and beauty to any type of area in your residence. With simply a few straightforward steps and some general resources, you can attain a professional-looking surface without having to hire a specialist. Therefore why not make an effort it out today?