Revive Your Hardwood: A No-Sanding Restoration Guide
Hardwood floors are a timeless addition to any home, offering warmth and elegance that can withstand the test of time. However, with years of foot traffic, spills, and daily wear and tear, even the most beloved hardwood floors can start to show signs of aging. Many homeowners assume that restoring their hardwood means committing to an extensive sanding process, which can be messy, time-consuming, and expensive. But what if there were a way to revive your hardwood floors without all the hassle?
In this guide, we will explore practical and effective methods to restore the beauty of your hardwood floors without the need for sanding. From cleaning techniques to the application of finishes and repairs, you can breathe new life into your floors and enhance their appearance. Whether you are dealing with minor scratches, dullness, or discoloration, you’ll discover how to bring back that original shine and warmth in a simple and straightforward manner. Get ready to transform your living space and fall in love with your hardwood floors all over again.
Assessing Your Hardwood Floor
Before starting any restoration project, it is essential to assess the condition of your hardwood floors. Begin by examining the surface for any noticeable scratches, dents, or discoloration. Take note of the areas that show the most wear, as these will require more attention during the restoration process. Look for signs of significant damage, such as deep gouges or water stains, as these may indicate the need for more extensive repairs.
Next, check the finish of your hardwood floors. If the protective coating is worn away, this can lead to further damage and deterioration over time. A simple test is to drop a small amount of water onto the surface; if it beads up, the finish is still intact. However, if the water quickly soaks into the wood, it's a sign that the finish needs to be restored. Assessing the finish will help you determine the appropriate products and methods to use during the restoration process.
Finally, consider the type of hardwood you have and its overall age. Different wood varieties may respond differently to restoration techniques. Older floors may have multiple layers of finish that can affect the restoration method. Additionally, take note of the floor's grain and color, as these factors will influence your choice of cleaning and restoring products. By thoroughly assessing your hardwood floor, you will be better equipped to choose the best no-sanding restoration approach.
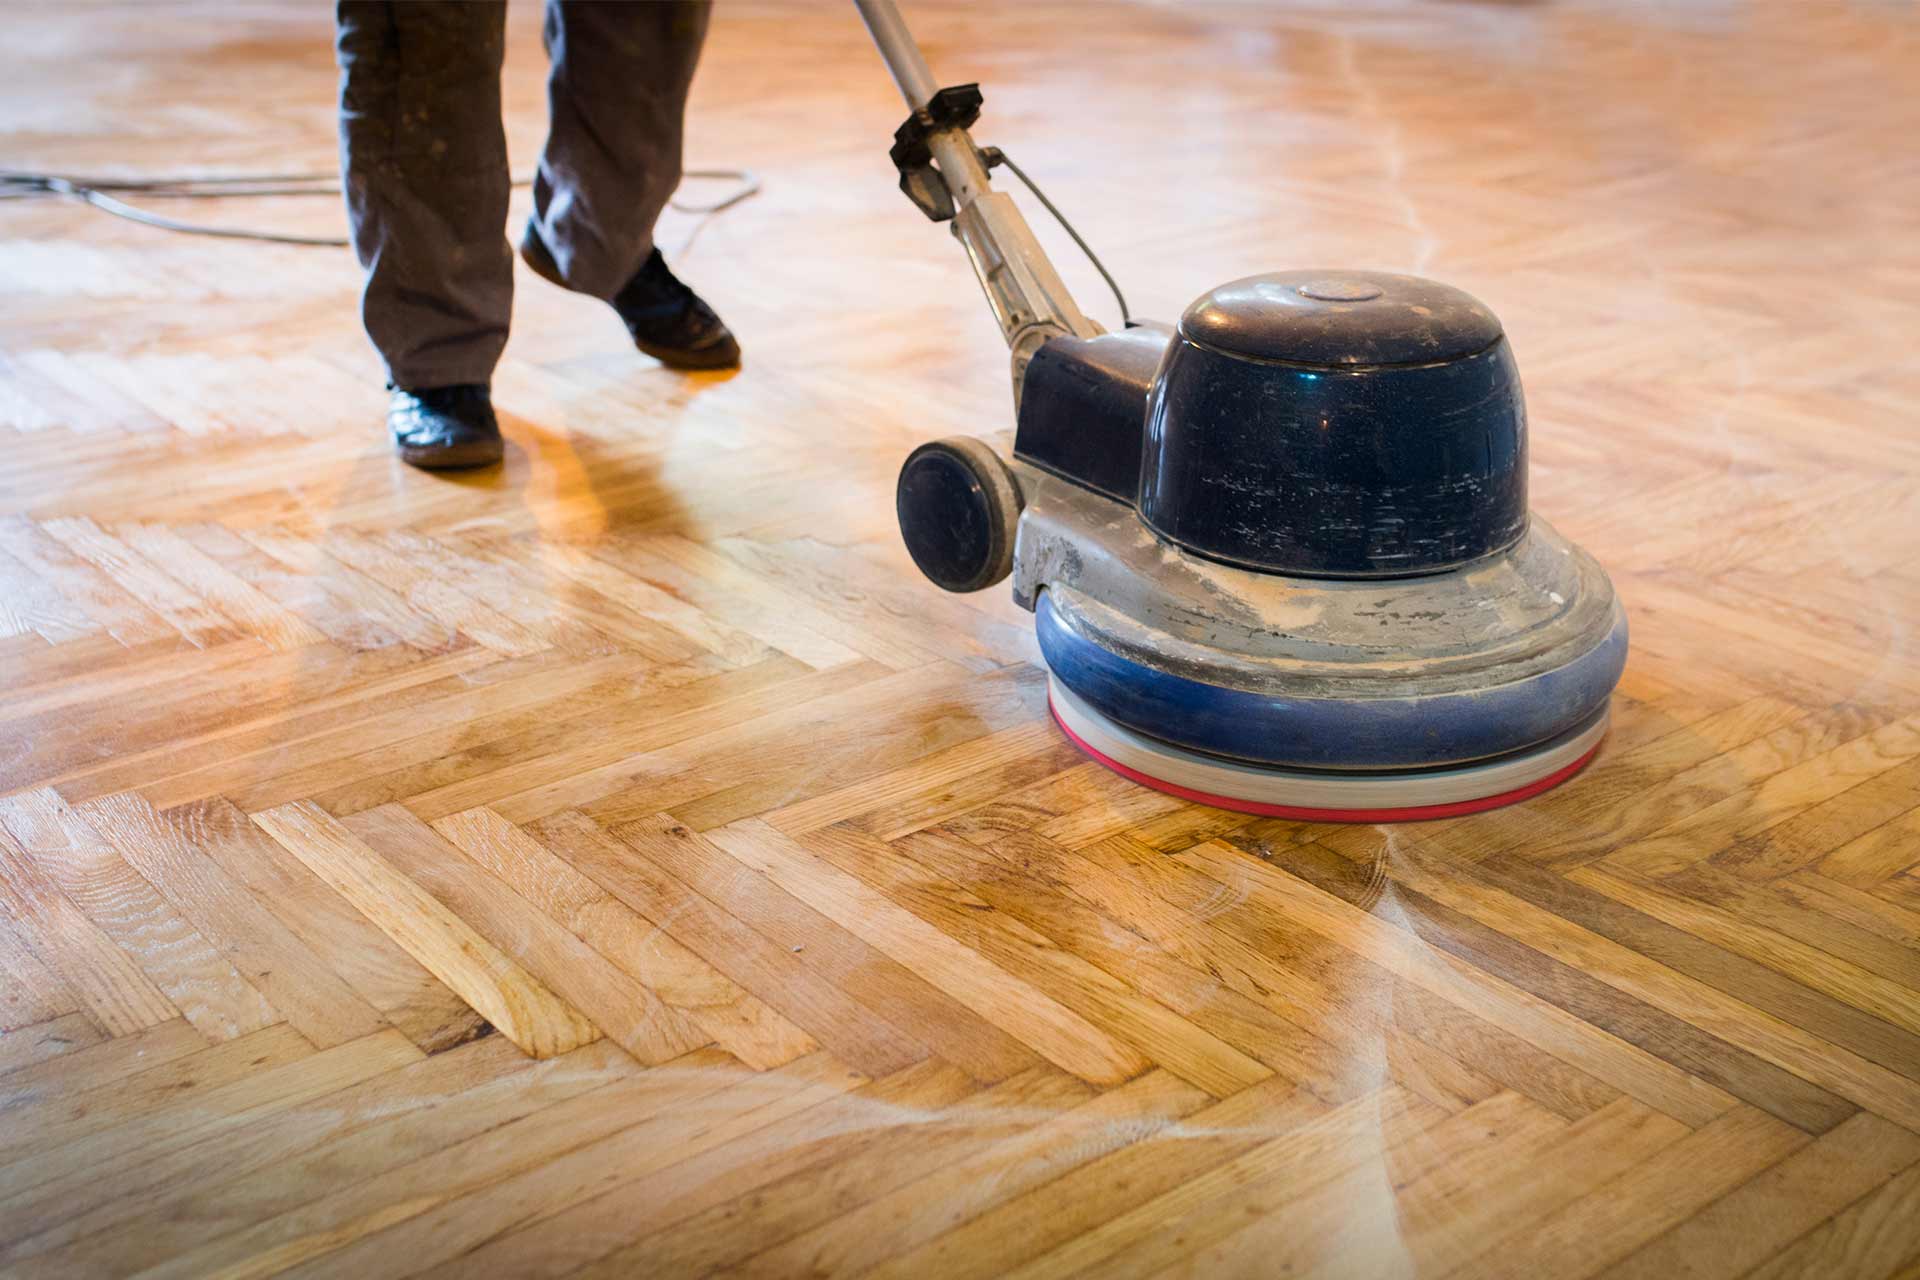
Cleaning and Preparation
Before embarking on any hardwood floor restoration project, thorough cleaning is essential. Begin by sweeping or vacuuming the floor to remove any dust and debris. Pay special attention to corners and crevices where dirt tends to accumulate. A clean surface ensures that the restoration products can adhere properly, resulting in a smoother finish.
Next, it is important to mop the floor using a damp cloth or a microfiber mop with a suitable hardwood floor cleaner. Avoid using excessive water, as it can damage the wood. Be sure the cleaner is appropriate for hardwood to prevent any chemical reactions that could affect the wood finish. Allow the floor to dry completely before proceeding with the next steps.
Once the floor is clean and dry, inspect it for any areas that may require extra attention. Look for scratches, scuffs, or stains that might affect the outcome of your restoration process. If necessary, use a soft cloth or a fine-grit sanding sponge to gently buff these areas. This step helps to prepare the wood for the application of restoration products, ensuring a uniform appearance across the entire surface.
Applying the Restoration Finish
Once you have cleaned the hardwood floor thoroughly and removed any discoloration or debris, it is time to apply the restoration finish. Choose a high-quality water-based or oil-based finish that is compatible with your existing floor type. Using a paint pad or a microfiber mop, apply the finish in even strokes along the grain of the wood. This approach helps achieve a smooth and uniform coating. how to restore hardwood floors without sanding to work in sections, ensuring that you don’t overlap wet areas to avoid visible lines or marks.
Allow the first coat of the restoration finish to dry completely, following the manufacturer's recommended drying time. After the first coat is dry, inspect the floor for any missed spots or imperfections. If necessary, lightly buff the surface with a fine-grit screen to improve adhesion of the next coat. Clean off any dust created by the buffing process before applying a second coat. For optimal results, two to three coats of finish are often recommended, especially for floors that have seen significant wear.
After applying the final coat, allow adequate curing time as specified by the finish manufacturer. During this period, minimize foot traffic on the floor to ensure the finish sets properly and achieves its full hardness. Once the floor has fully cured, you can enjoy your beautifully restored hardwood floors, bringing back their original charm and protecting them from future damage.