Real Estate Photo Shoot
REPEditingThe master bathroom
The approach here is being described by using the indoor elements such as furniture, room layout, and windows to create that visual flow. Generally, try avoiding composing something big in the foreground which prevents the eyes from flowing throughout the room. It is the initial trial shot you can take from the room and a foreground chair will block the flow throughout the room. By lowering the camera altitude slightly and through rotating the chair, the eye will stream through the room easily. The image has its vertical lines being corrected also.
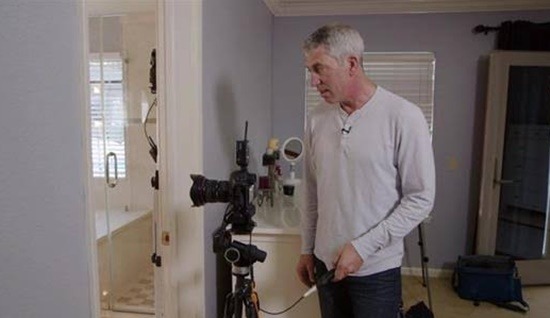
The Vertical Edges and Camera Heights
You can also shoot in the bedroom image in the same manner. It will appear good, but it is advised that the camera height can be a bit too low, since the furniture and the bed will get only around 1/3 of its frame and a window and the wall use about 2/3 of their frame.
And so what is an ideal camera height? There had been so many opinions. Some recommend chest height while the others suggested the door knob height and sometimes lower, all to shun diverging vertical lines. You can choose chest height or the correct and closing vertical lines by using the other methods such as tilt-shift lens and the Lens Correction device in the Photoshop or in the Lightroom.
In this image, it will show the application of the Lens Correcting Tool. The furniture and the bed consume 2/3 from the frame and give the full view of a room.
Getting the Best Exposure
The ideal interior exposure is really challenging when you are balancing the bright window light, and with darker interiors. Someone can deal with the scene contrast in many ways; one can be able to shoot when the outdoor light levels have been lower. The midday light can be much brighter from the outside rather than after or during sunset, or on the cloudy day. The turning on of every light inside raises the interior brightness, but if an outdoor brightness is lesser the RAW file may usually capture the scenes in the frame.
The room has the dark ceiling, window flare, hot spots and dark furniture and too much contrast to only a capture.
On the overcast day, the exposure of the interior is quite good as well as its window exposure. The flash has been bounced off a ceiling on to the right.
To be certain that you have all the disclosure for the best image, determines thru the ‘base exposure’, the imagery that had most of the information centered in the histogram. And then bracket widely in the + and - one stop addition of diverse exposures so that you can have varieties just in case you will need them. The Lightroom and the Photoshop and the define of the other programs will allow selective lightening and the darkening of shadows with the highlights of the solo image, however, if the contrast has been that much, you can be able to blend those bracketed imageries into the best final images.
This Adjustment Brush has been used to take down the brilliance of their left window. There has been the tiny flare around their window, but it can function that well for a real estate website.
Relevant Posts to Read
9 Peripheral Real Estate Photography Guidelines
Real estate resolutions: four tips to help your home sell in 2020
How to Sell More By Outsourcing Your Real Estate Photo Editing