Project Brutality Custom Build
shibuya
Setup Instructions
Windows
1) Download the custom build files from here.
2) Mount ProjectBrutality.iso by double clicking the file, it will now appear on your system as a new drive letter under This PC.
3) Extract ProjectBrutality.7z to C:\brutality. If your system does not recognise the file, an extraction tool can be downloaded from here.
3) Open ZDL.exe, it allows you to customise what is being loaded with Doom 1 or 2
4) In ZDL, you need to open the included saved configuration files to restore the setup
5) Click ZDL --> Load .zdl --> zdl-setup.zdl (inside the brutality folder)
6) Click ZDL --> Load .ini --> zdl-config.ini (inside the brutality folder)
7) Click ZDL --> Import Current Config (loaded configs are now default)
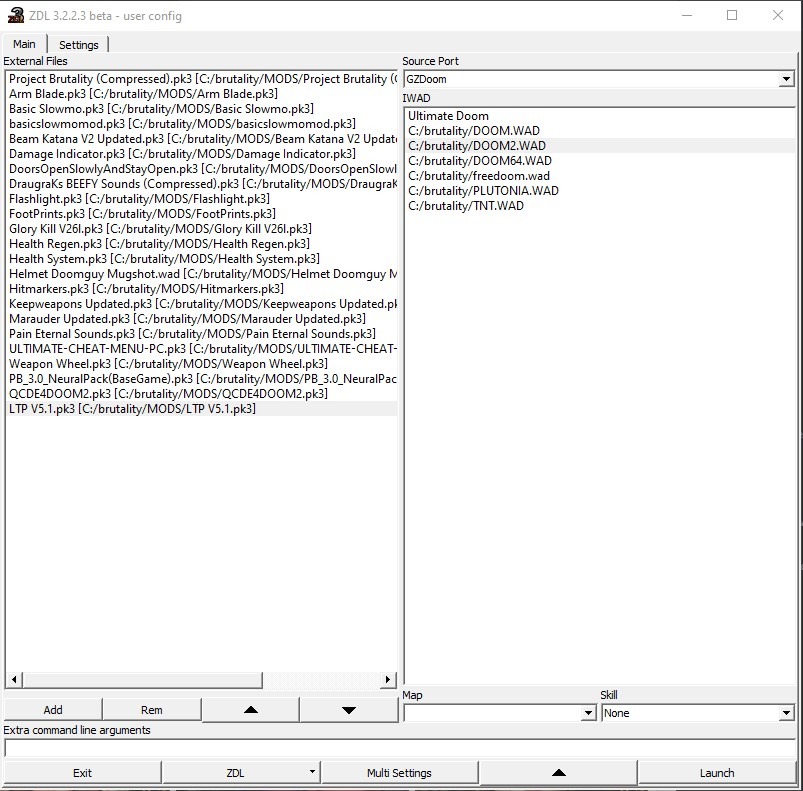
8) The ZDL Launcher window, take note of order that External Files are in:
9) You can now select a Doom WAD under the IWAD section and then click Launch to play the original doom levels, for custom maps, continue to the next step.
10) Custom maps are included in the MAPS folder
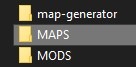
11) Only one custom map can be loaded at a time. You must select Doom 1 or 2 .WAD in IWAD section that the custom map is modding, most of the time Doom 2 is best to use.
12) Drag & drop a file from the custom map folder to the External Files section, then click Launch.
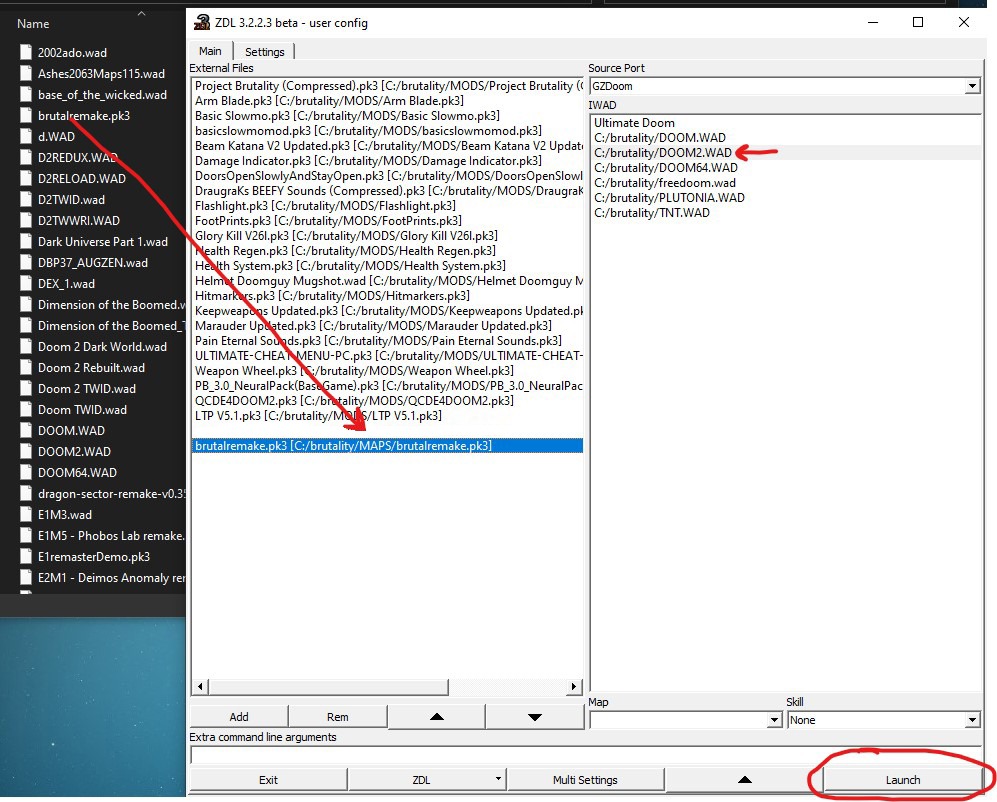
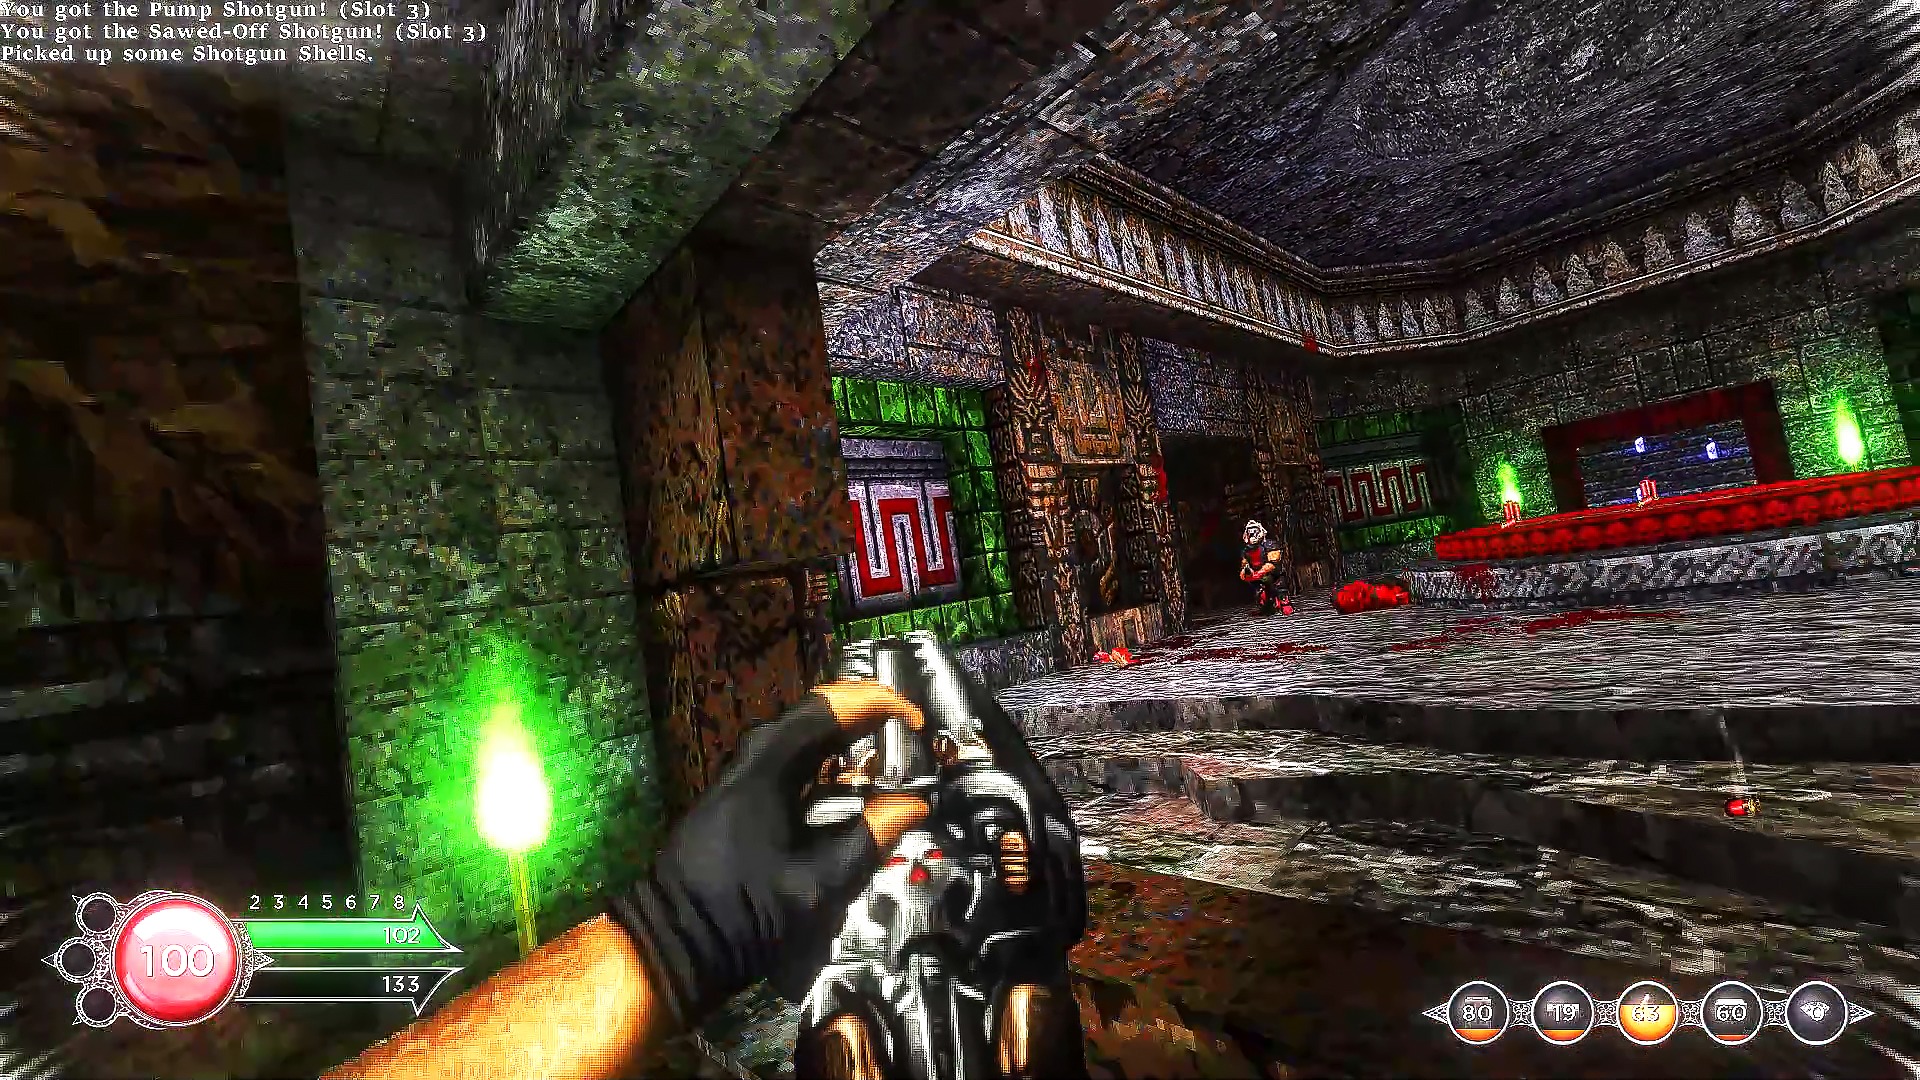
13) After launching, tweak GZDoom's settings to match your system and play preferences.
You should now have the build running on Windows.
Linux
Apply the above steps with Windows but using SSGL Launcher. You will need to install the Linux version of GZDoom and point SSGL to that.
Ensure that the mod load order matches the screenshot shown in step 8 of the Windows setup instructions.
macOS
The steps for macOS are the same as Linux, except using the Mac version of SSGL & GZDoom.
Android
Apply the above steps but with Delta Touch.

Find Doom 1 & 2 for purchase here:
https://isthereanydeal.com/game/doomclassiccomplete/info/

Update Project Brutality here:
https://github.com/pa1nki113r/Project_Brutality