Openvpn Pi Hole

🛑 👉🏻👉🏻👉🏻 INFORMATION AVAILABLE CLICK HERE👈🏻👈🏻👈🏻
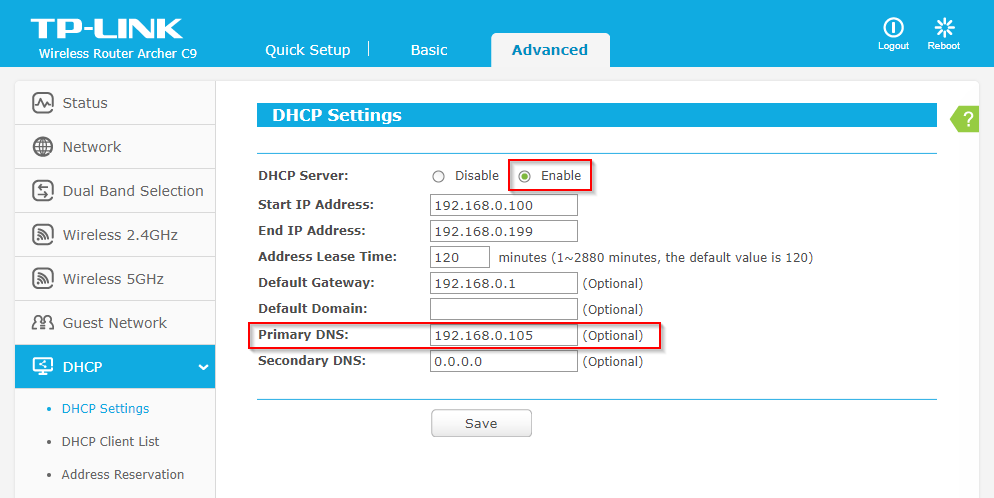
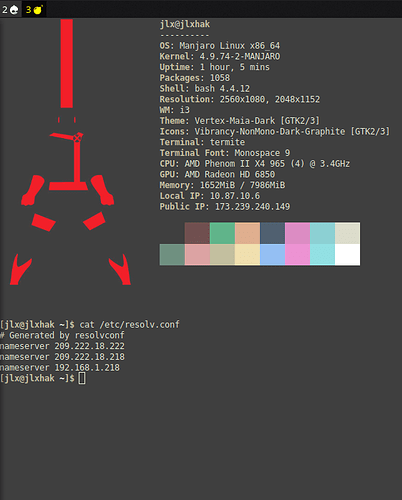
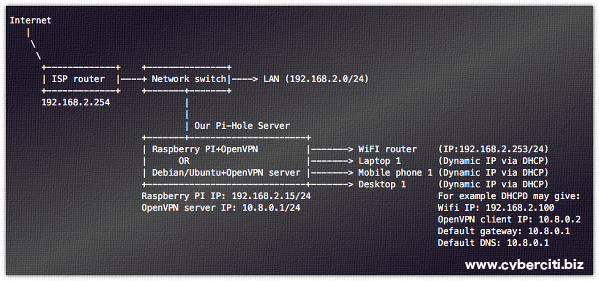
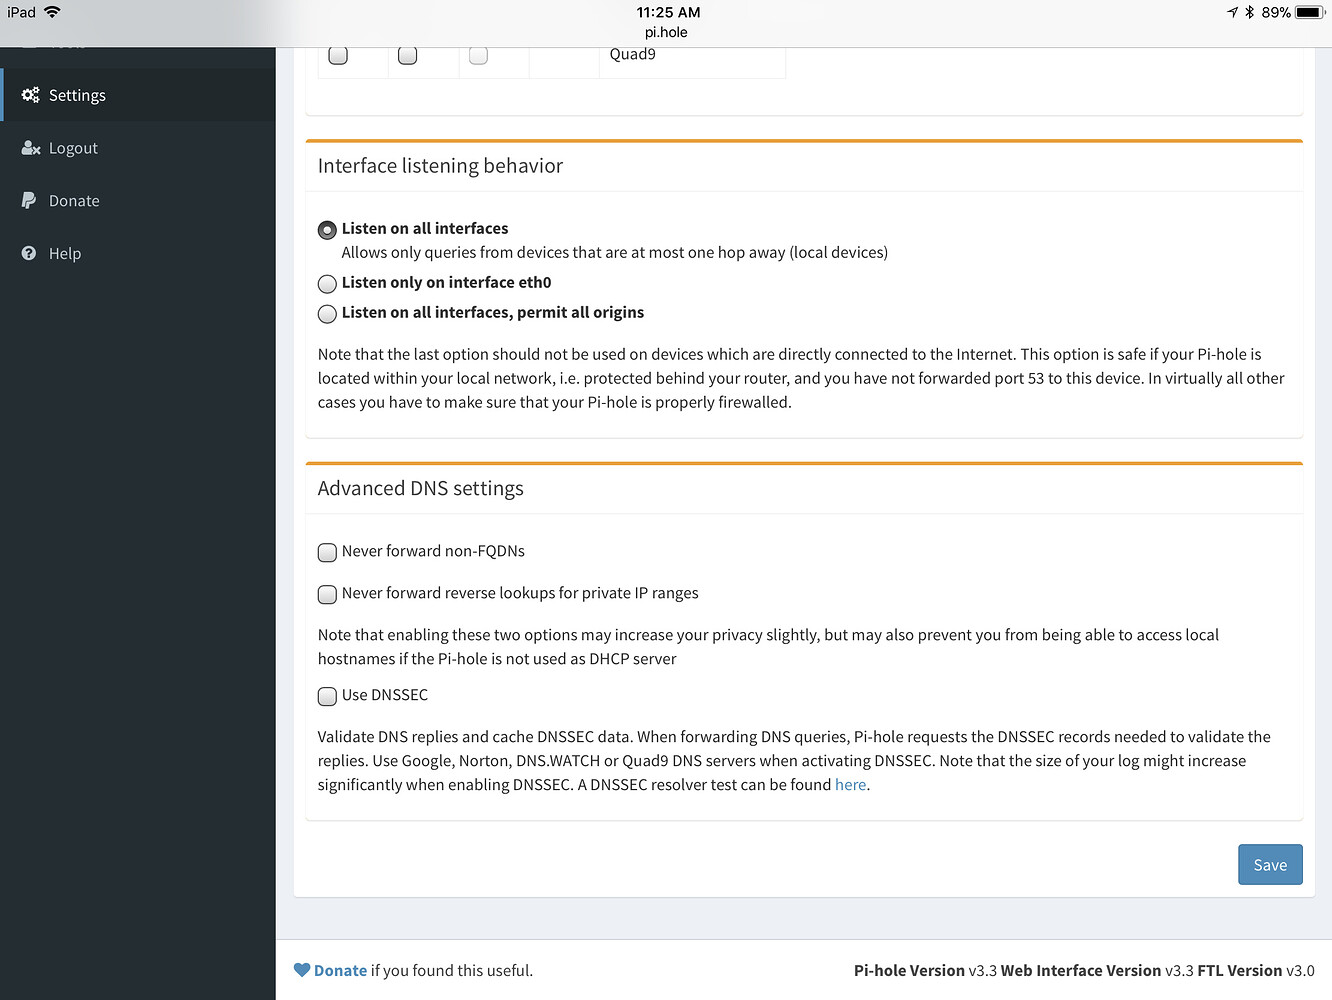
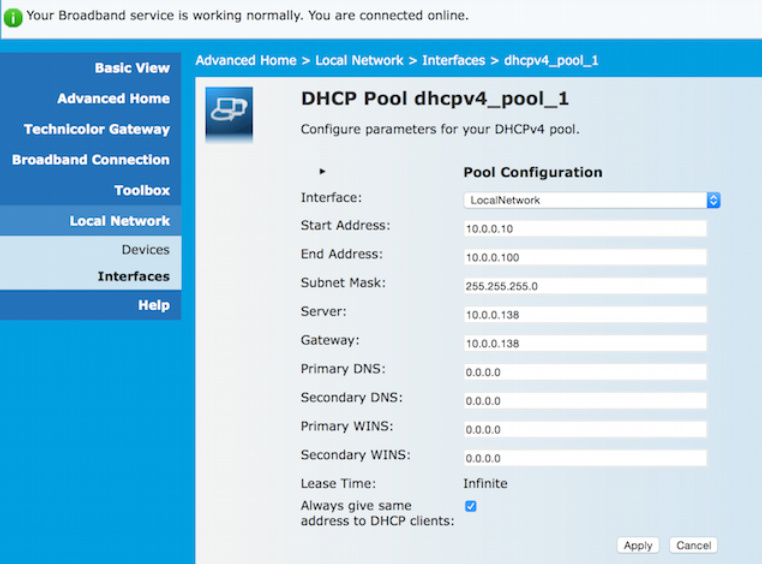
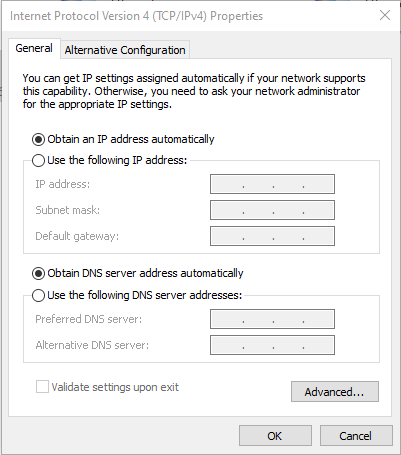
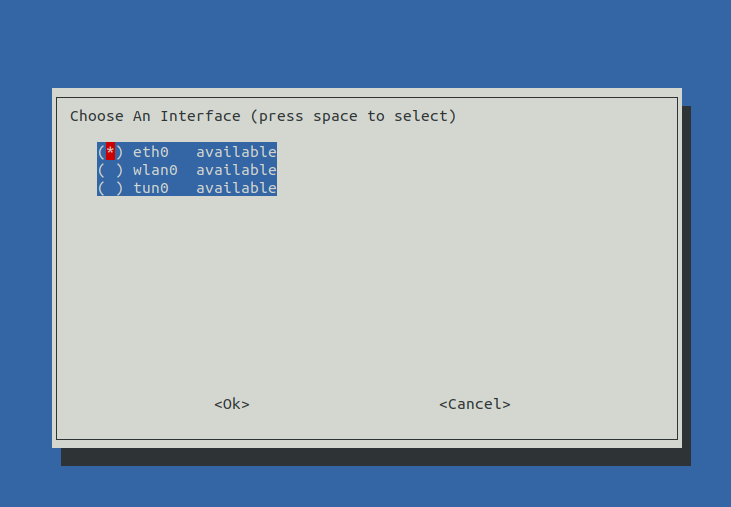
This tutorial is tailored for setting up OpenVPN on a cloud-hosted virtual server (such as Digital Ocean). If you wish to have this working on your home network, you will need to tailor Pi-hole to listen on eth0 (or similar), which we explain in this section of the tutorial.
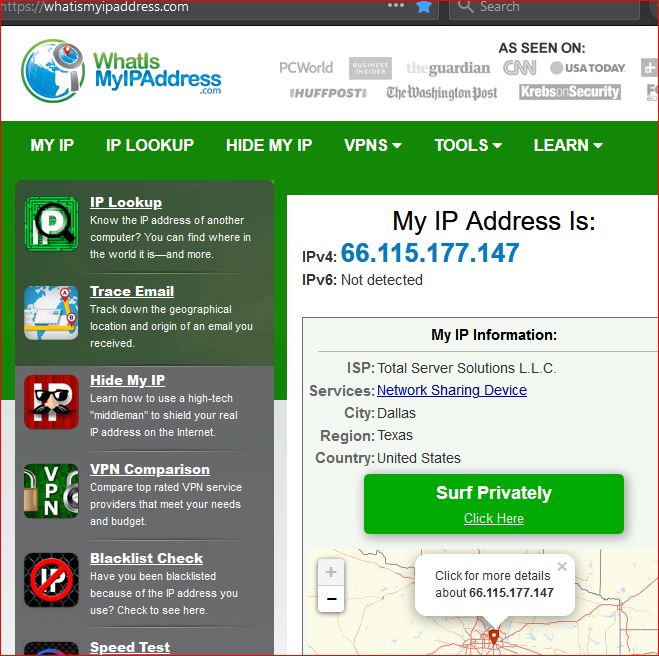
Using a VPN is a responsible, respectful, and safe way to access your Pi-hole's capabilities remotely. Setting up a DNS server has become a simple task with Pi-hole's automated installer, which has resulted in many people knowingly--or unknowingly--creating an open resolver, which aids in DNS Amplification Attacks.
We do not encourage open resolvers but there are always people wanting access to their ad-blocking capabilities outside of their home network, whether it's on their cellular network or on an unsecured wireless network. This article aims to provide a step-by-step walk-through on setting up a server running Pi-hole and OpenVPN so you can connect to your Pi-hole's DNS from anywhere. This guide should work for a private server installed on your private network, but it will also work for cloud servers, such as those created on Digital Ocean.
This tutorial walks you through the installation of Pi-hole combined with a VPN server for secure access from remote clients.
If you don't want a full-tunnel, we provide a page of how to set up your server to exclusively route DNS traffic, but nothing else via the VPN. On another optional page, we describe how to set up Pi-hole + VPN in such a way that it is usable both locally (no VPN) and from remote (through VPN) while preserving full functionality.
In the end, you will have access to a VPN that uses Pi-hole for DNS and tunnels some or all of your network traffic
This manual is partially based on this HowTo on Discourse.
By clicking or navigating this website site, you agree to allow our collection of information on Scaleway to offer you an optimal user experience and to keep track of statistics through cookies. Learn more about our Cookie Policy.
How to create an ad-blocking VPN using Pi-hole and OpenVPN
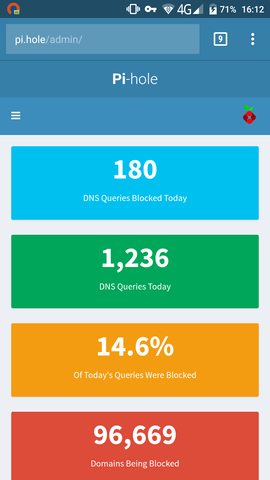
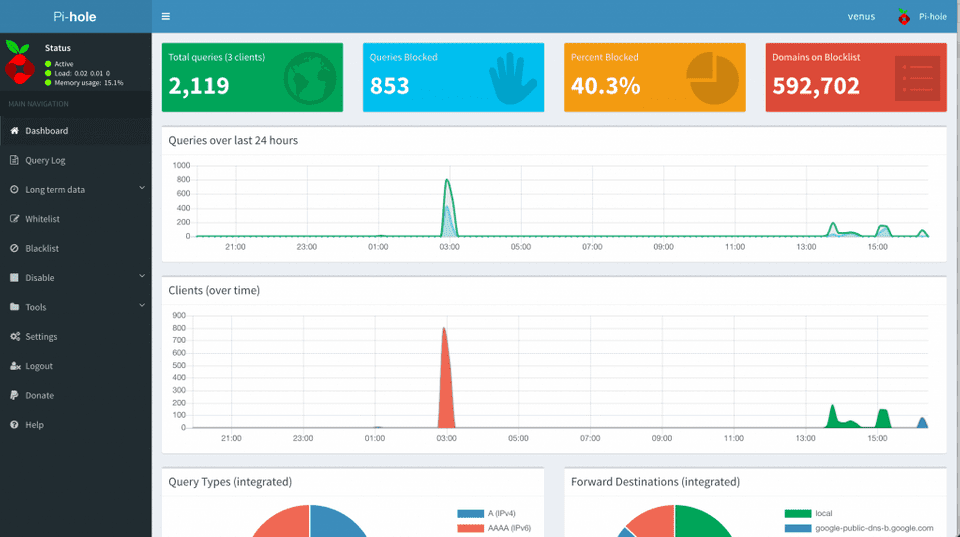
Pi-hole® is a DNS sinkhole that protects your devices from unwanted content, such as advertisements, without installing any client-side software. It comes with an easy-to-use interactive installer and is even able to block content in non-browser locations, such as mobile apps and smart TVs. This can help to reduce data consumption on mobile plans.
To secure the connection, we use the PiVPN tool to install an OpenVPN virtual private network that routes all traffic over a Scaleway Virtual Cloud Instance.
This tutorial consists of four steps:
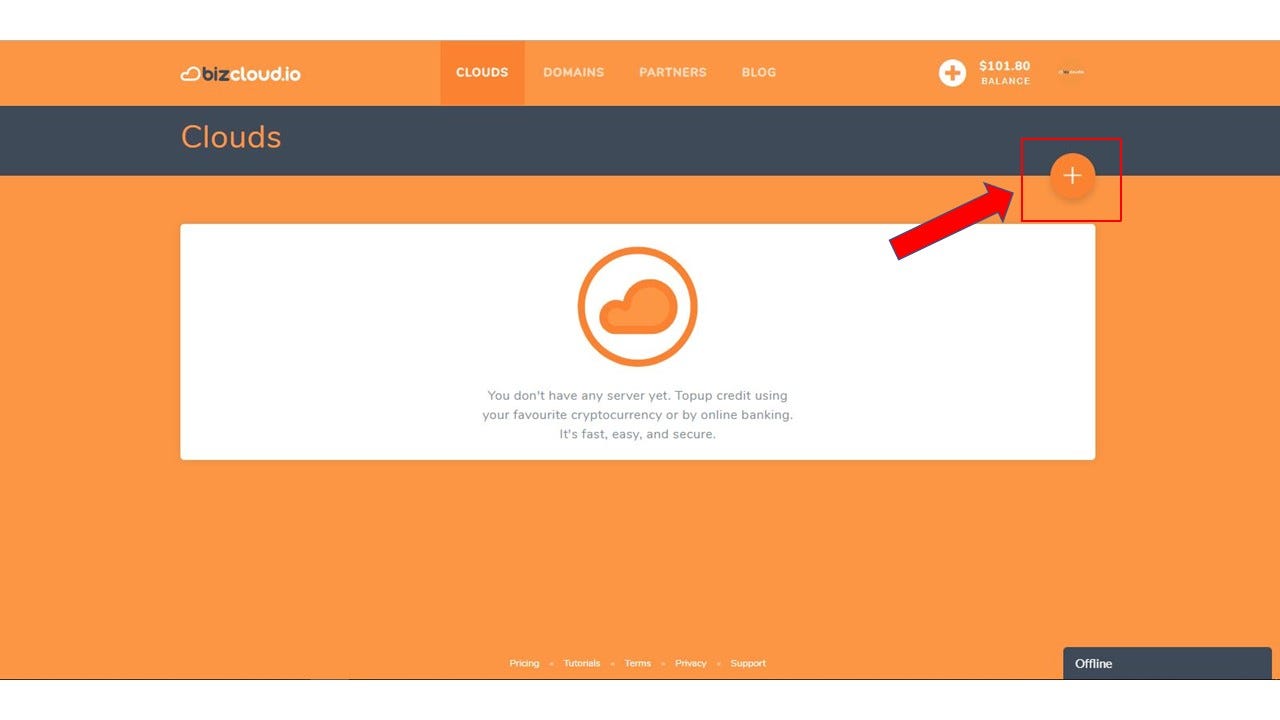
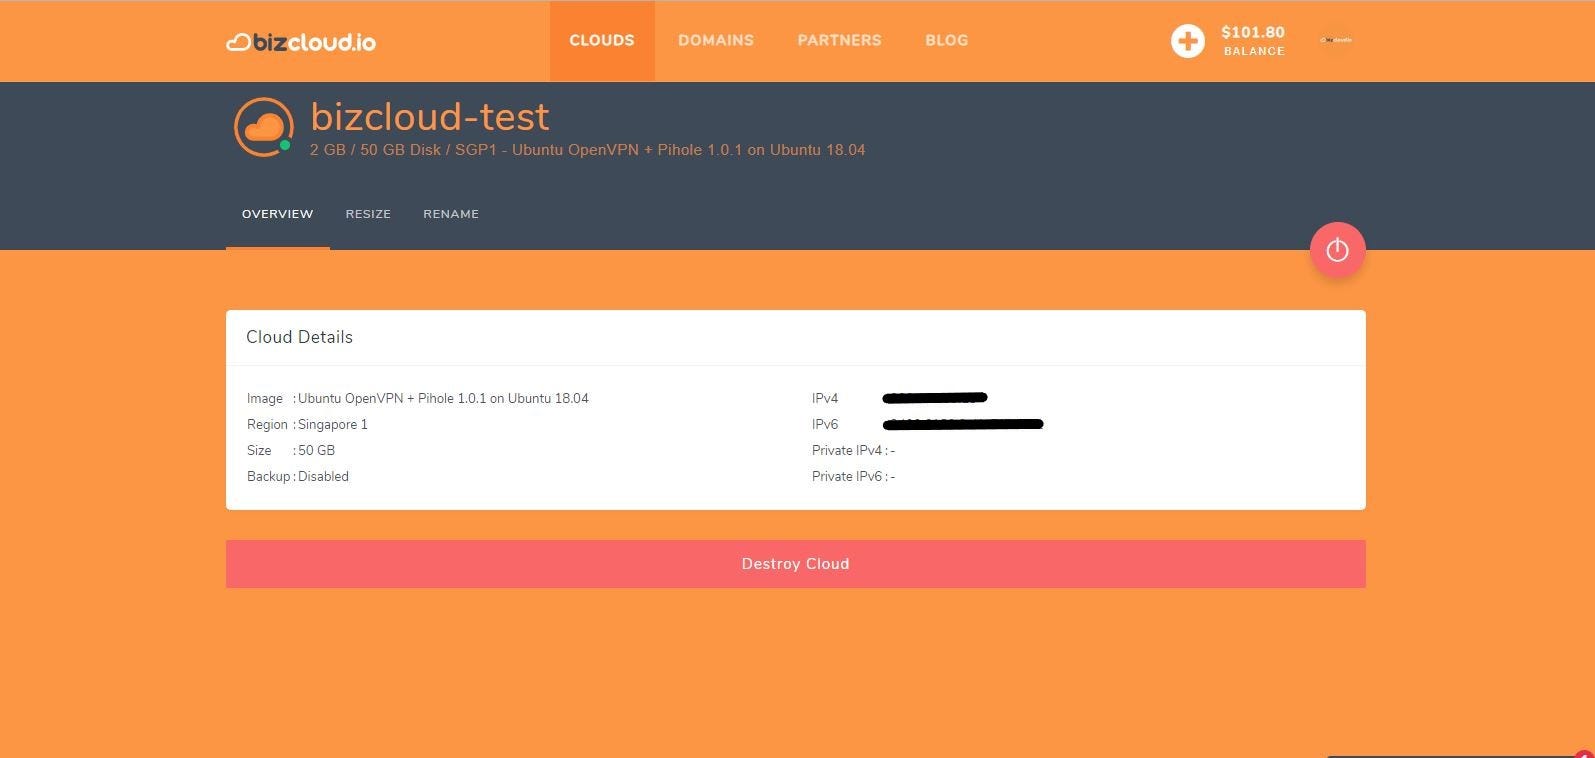
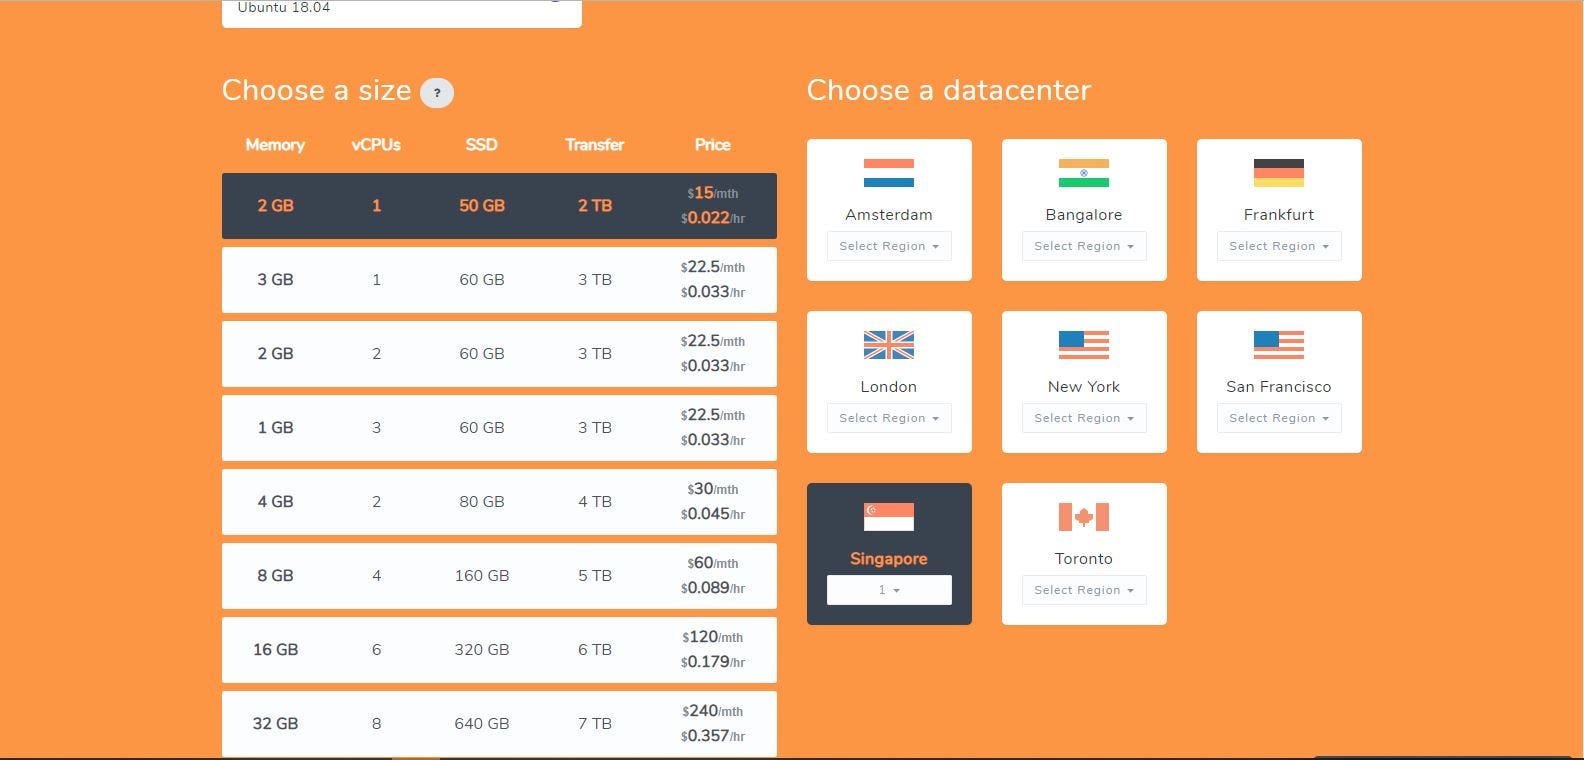
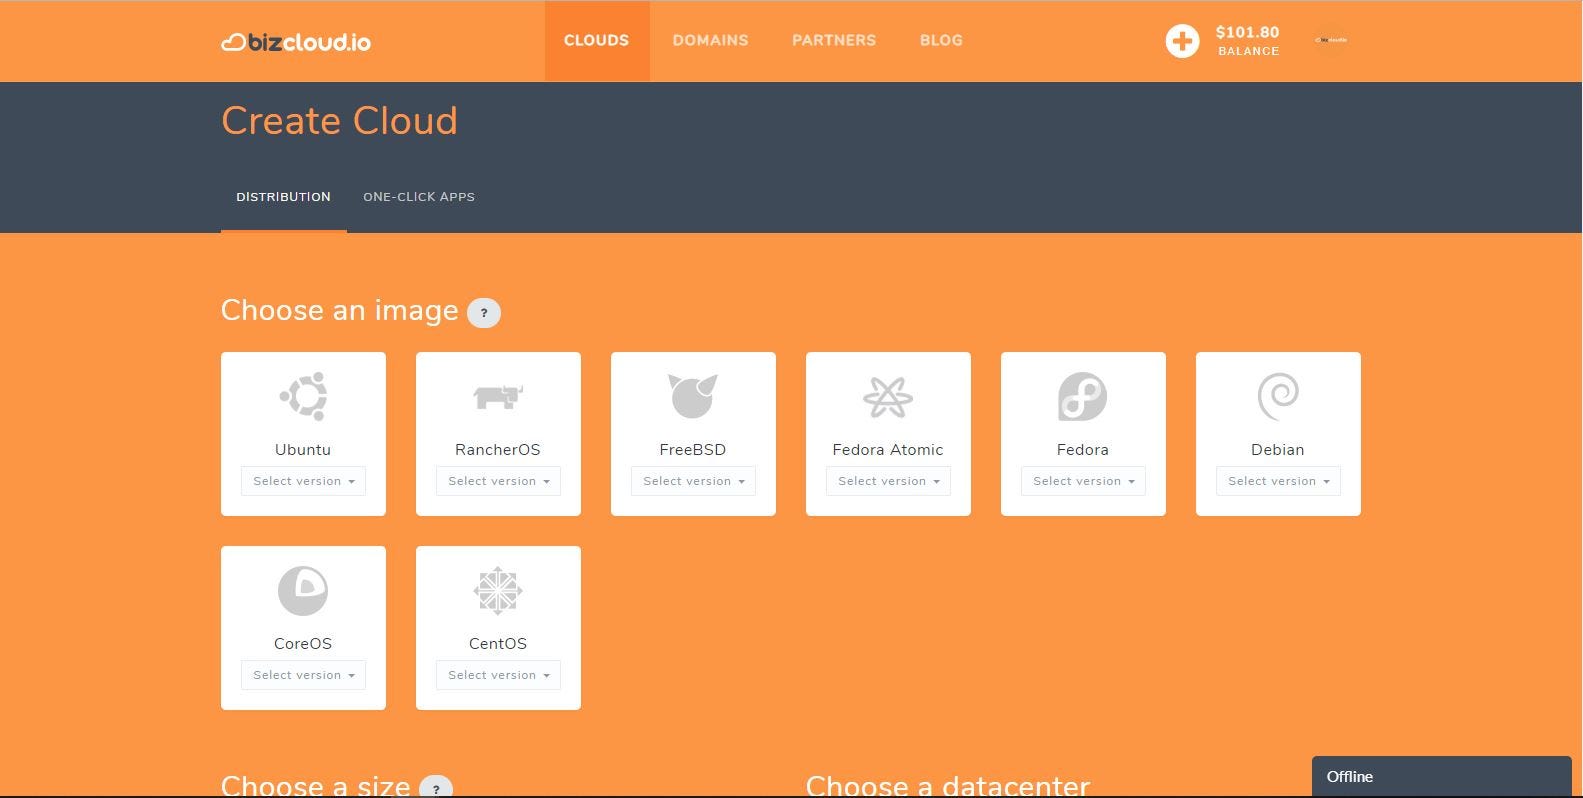
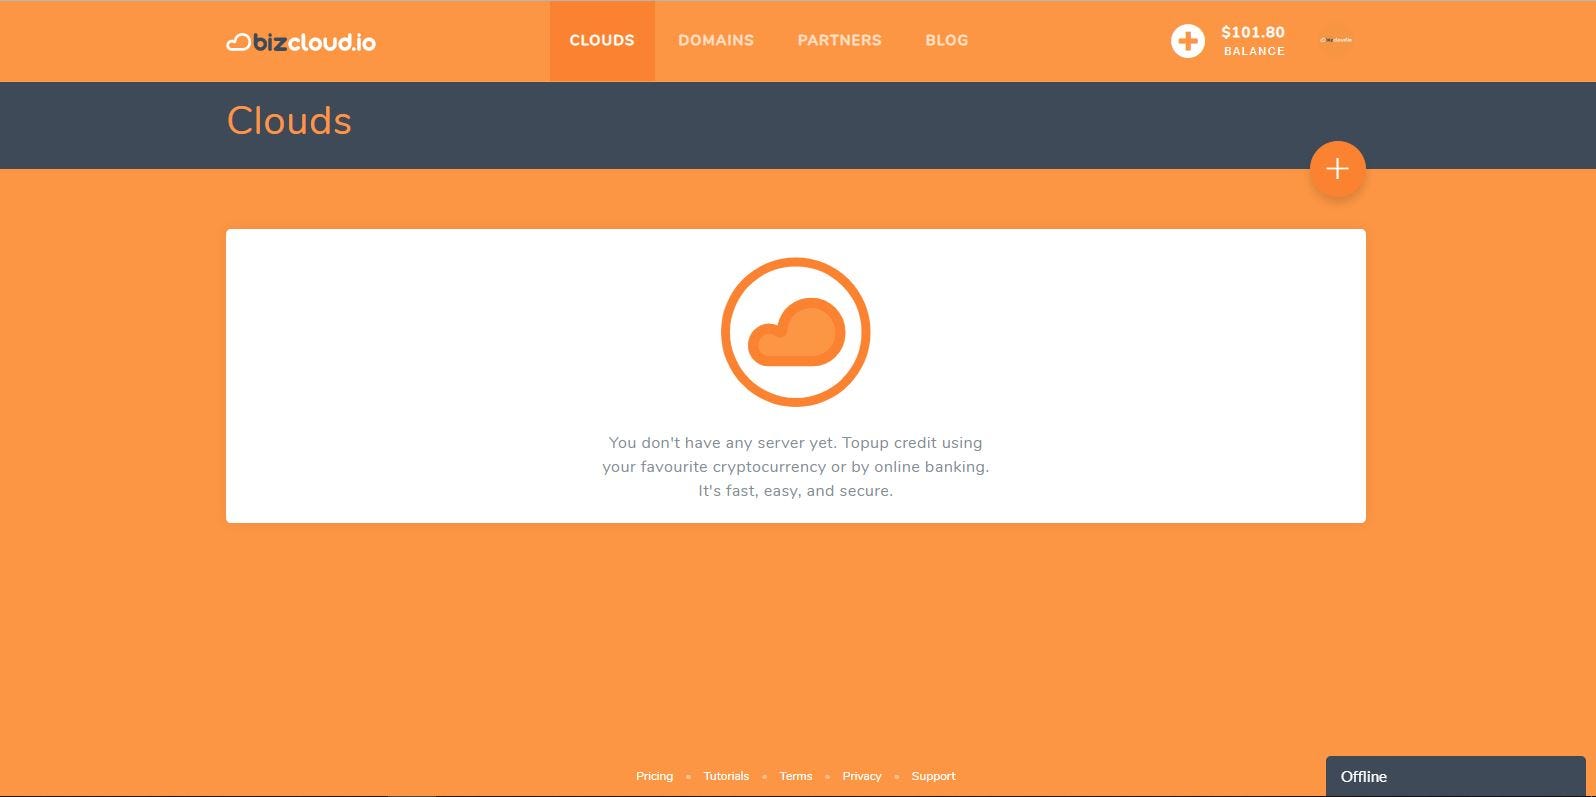
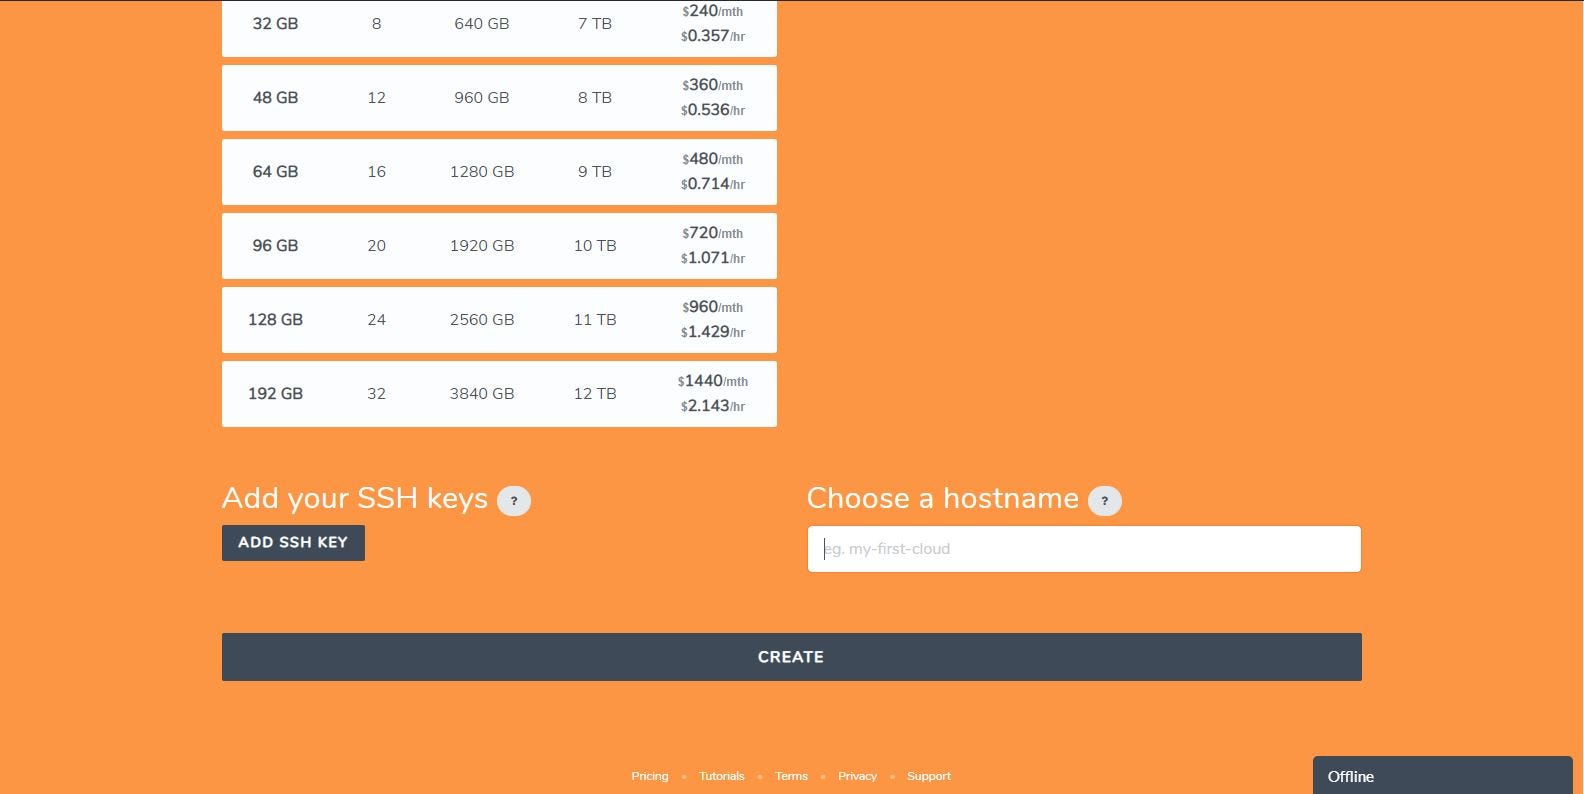
1 . Login to your Scaleway Console and create a new Virtual Instance. For this tutorial we use a DEV1-S instance running on Ubuntu Focal Fossa (20.04 LTS).
2 . Log into the newly created instance using SSH.
3 . Update the cache of the apt package manager and upgrade the software already installed on the server:
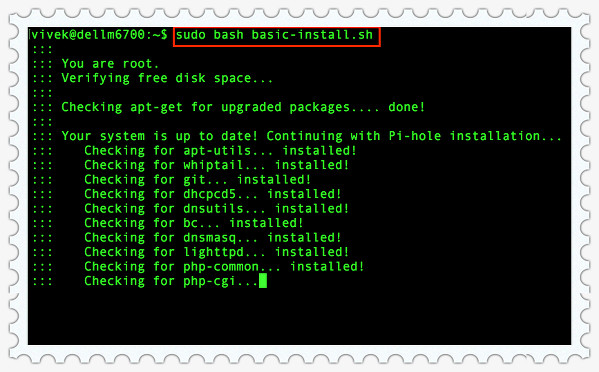
1 . Download the Pi-hole installer and run it:
curl -sSL https://install.pi-hole.net | bash
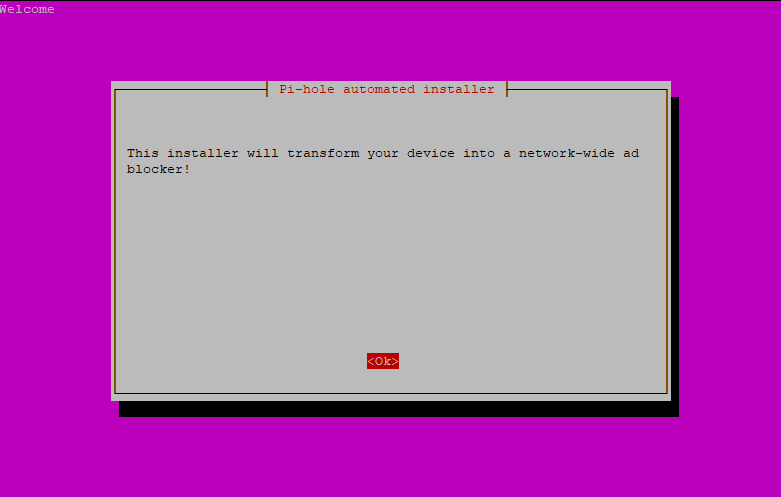
2 . The installer does some checks, and then gives you a series of prompt questions to answer. Choose OK or answer positively to all of them, until you are being asked choose an upstream DNS provider.
3 . Select one of the proposed upstream DNS servers from the list or specify a custom DNS server. Once selected, use the TAB key to move to the OK button and confirm by pressing ENTER.
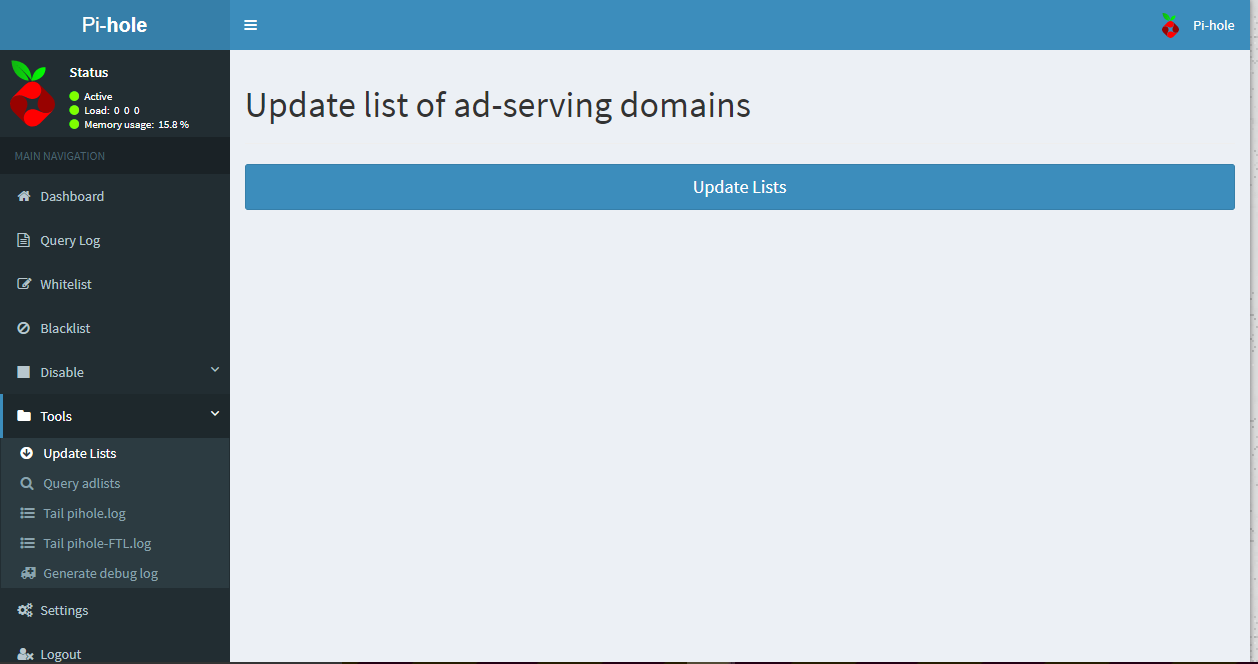
4 . Pi-hole uses third party filter lists. Select the list you want to use and confirm by pressing the OK button:
5 . Choose whether you want to filter both IPv6 and IPv4 traffic and confirm by pressing the OK button.
6 . Confirm the network settings by navigating to the YES button. You will be guided through two more network prompts. Confirm them by by pressing the OK button.
7 . Choose whether you want to enter the Pi-hole web interface and confirm by pressing the OK button:
8 . The Pi-hole installer proposes the automatic installation of a webserver and its dependencies. If you are not using another web server, select to install it and confirm by pressing the OK button:
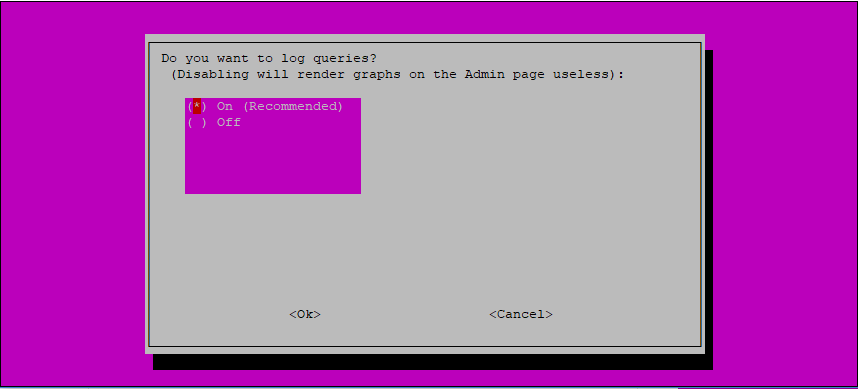
9 . Choose whether you want to log queries and confirm by pressing the OK button:
10 . Select a privacy mode for FTL and confirm by pressing the OK button:
11 . The Pi Hole installer proceeds with the automatic installation of the required software. Once the installation is complete, the URL to the admin interface and your password are displayed in a prompt. Take a note of the password and leave the prompt by pressing the OK button.
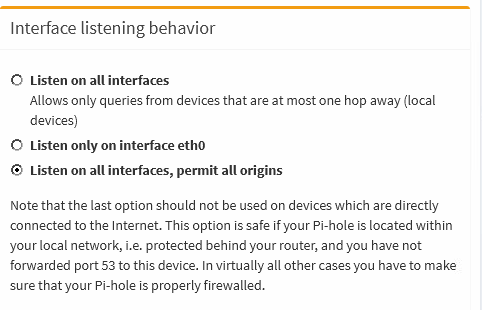
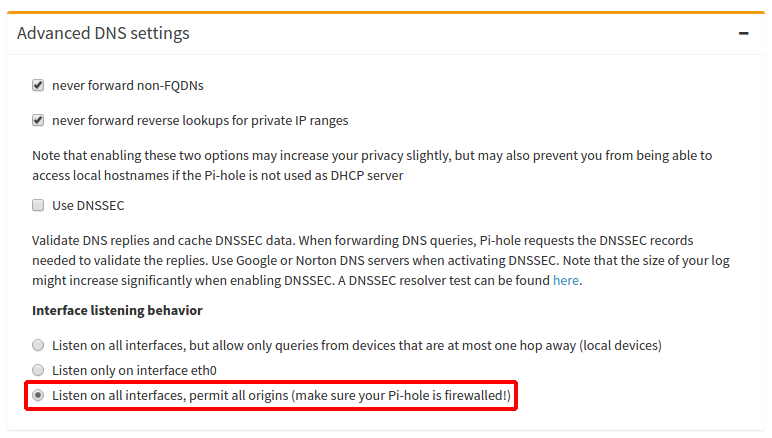
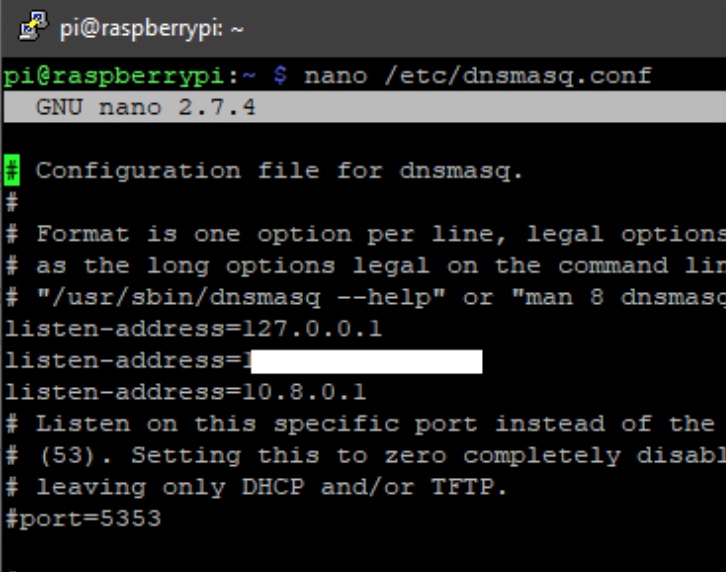
12 . Set the listener of the Pi-hole web interface to local to avoid it being accessible from the public Internet:
13 . Optionally, you can customize the password of your Pi-hole’s web interface, run the following command:
To direct Internet traffic via our Pi-hole instance, we install OpenVPN using the PiVPN project. It provides a very easy way to install OpenVPN and Wireguard on the instance. In this tutorial we are using OpenVPN.
1 . Create a new non-root user for OpenVPN:
2 . Run the following command from a SSH shell on your instance to download and launch the PiVPN installer:
curl -L https://install.pivpn.io | bash
3 . A series of prompts displays. Validate them by pressing the OK button until you are asked under which user the OpenVPN application should run. Select the previously created openvpn user and validate by pressing the OK button:
4 . Choose the OpenVPN protocol in the prompt and validate by pressing the OK button:
5 . PiVPN provides a default configuration, accept it by pressing Yes:
6 . Keep the value for the UDP transport protocol unless you have specific requirements and validate by pressing the OK button:
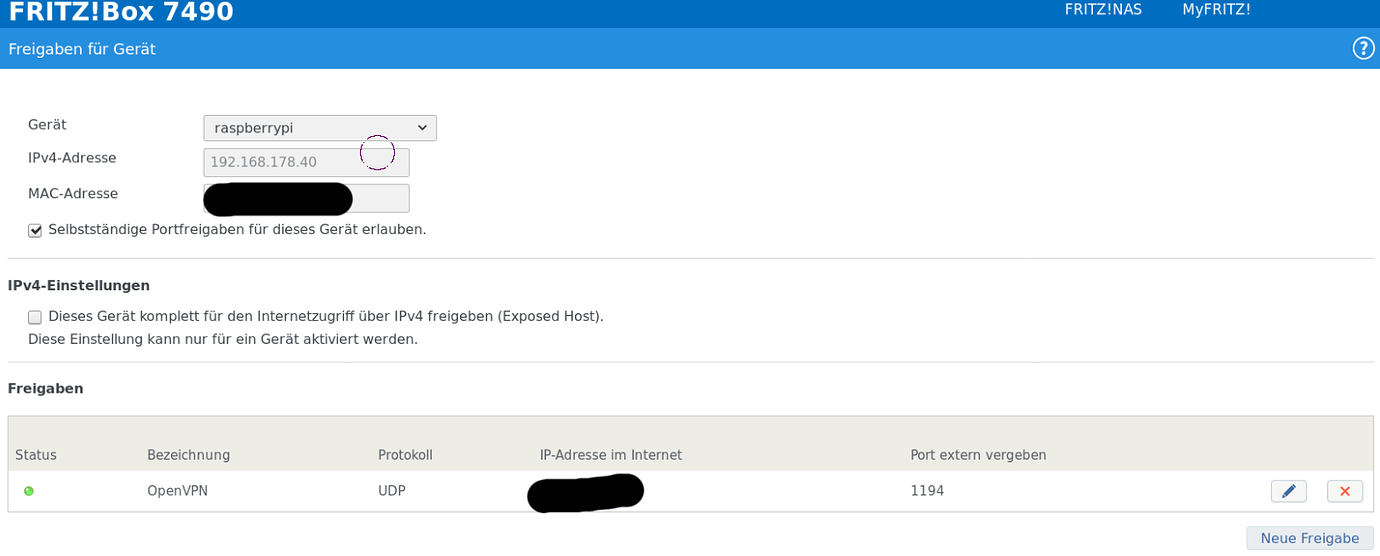
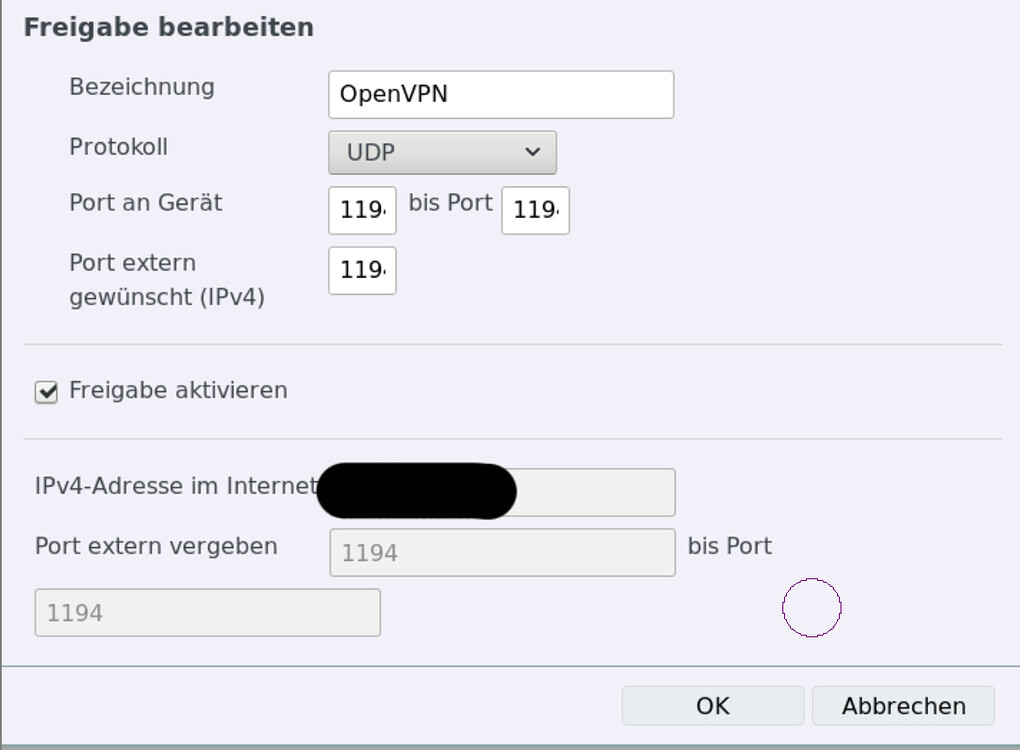
7 . You can leave the default OpenVPN port 1194 unless your network configuration requires another port. Confirm by pressing the OK button:
8 . The PiVPN installer automatically detects the presence of Pi-hole and asks to use it. Validate the prompt by confirming with the Yes button:
9 . The Pi-hole installer asks you if you want to use a custom search domain. Keep the default value and press the No button unless you have specific requirements:
10 . The following prompt asks you if you want to use the instance’s IP address or a custom domain name to connect to your VPN. Keep the default setting, using the public IP address of your instance and validate by pressing the OK button.
11 . During the installation, PiVPN prompts you if you want to use Elliptic Curves to provide higher connection speed and improved security over RSA. Confirm by pressing the Yes button. If you are using some devices using legacy OpenVPN clients not supporting this feature, select No.
12 . Select the desired key size for the certificate. In this tutorial we use the recommended size of 256 bit. Confirm by pressing the OK button:
13 . The following prompt informs you that the server key and HMAC key are now being generated. Confirm by pressing the OK button.
14 . The installer now prompts you to enable unattended upgrades, which allow to update the software on your server automatically to make sure it is using the latest version of the software available in the repository. Validate by pressing the Yes button.
15 . The installation of PiVPN is now complete. You can reboot your instance as suggested by the installer by pressing the Yes button.
You can now add users to your filtered VPN service. It is recommended to create a user profile for each device you want to connect to the VPN. Sharing profiles between devices is not recommended for security reasons.
1 . Run the pivpn add command to launch the interactive user creation wizard.
2 . Enter each parameter of the user and validate by pressing the Enter key on your keyboard:
Enter a Name for the Client: client <- the identifier of your user
How many days should the certificate last? 1080 <- the validity of the user's certificate. You can leave the default value
Enter the password for the client: <- a secret password for your user (Note: the password is not shown when you type for security reasons)
Enter the password again to verify: <- enter the password again to confirm it
The certificate and user profile is now generated and once it is ready, the following message displays:
========================================================
Done! client.ovpn successfully created!
client.ovpn was copied to:
/home/openvpn/ovpns
for easy transfer. Please use this profile only on one
device and create additional profiles for other devices.
========================================================
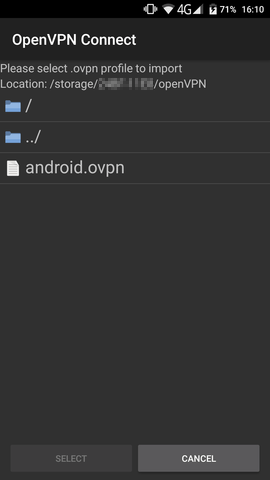
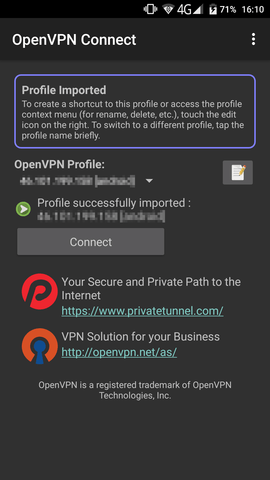
3 . Download the generated *.ovpn configration file on your device and import it into your OpenVPN client.
4 . Connect to your VPN to use your secure and filtered Internet connection.
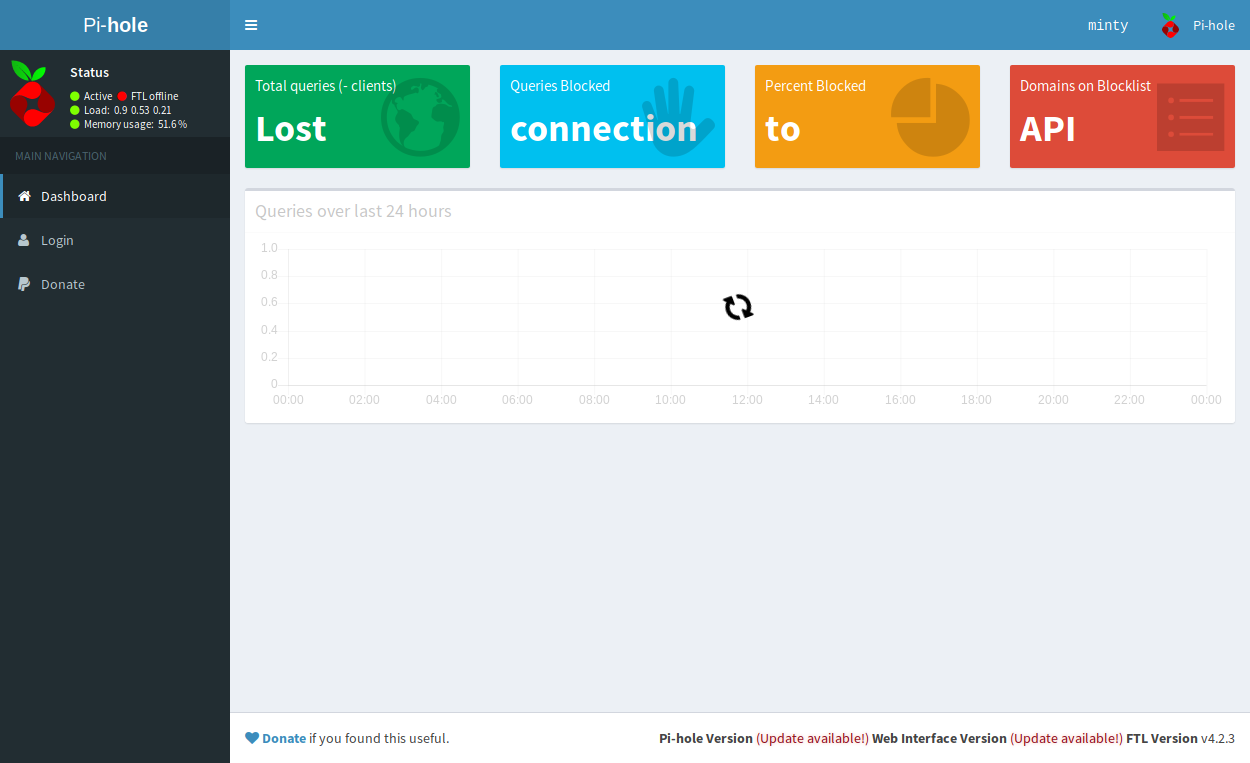
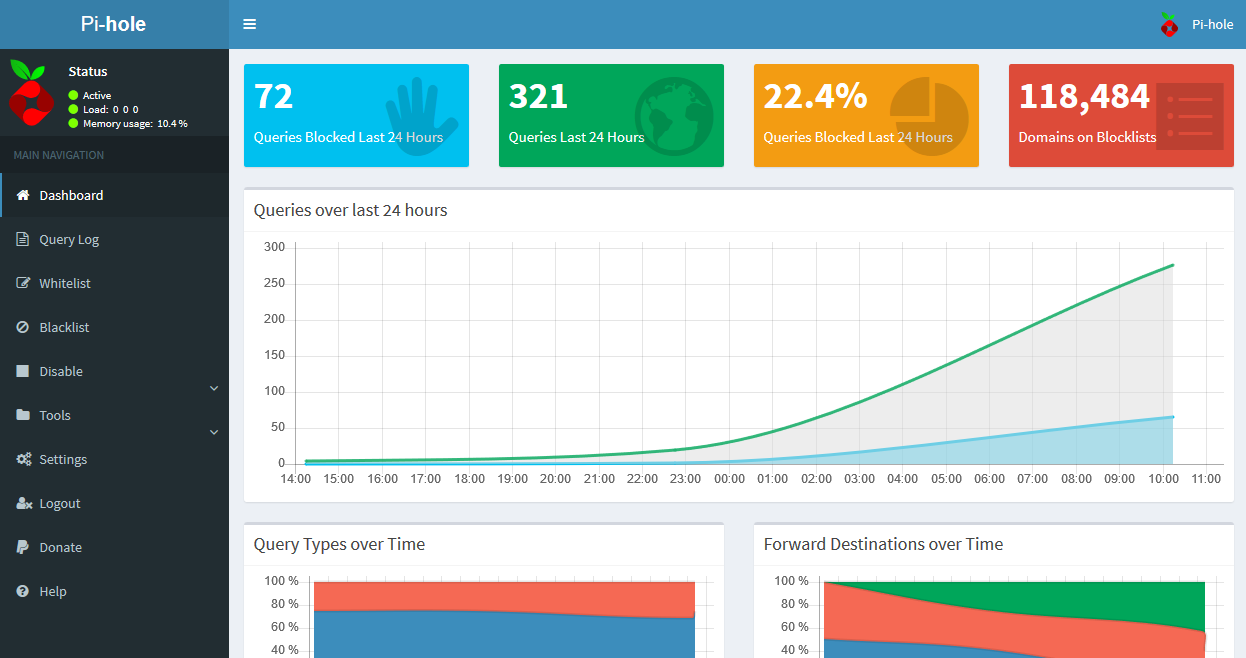
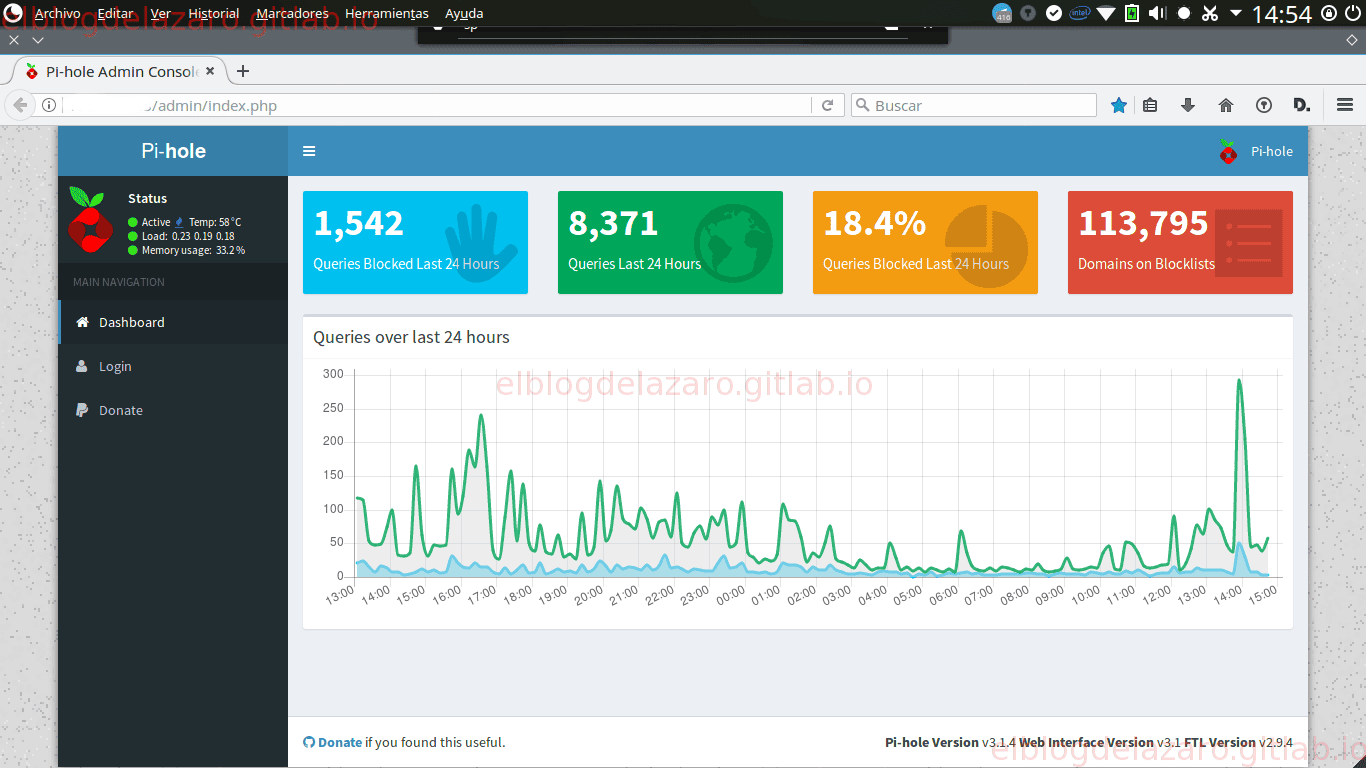
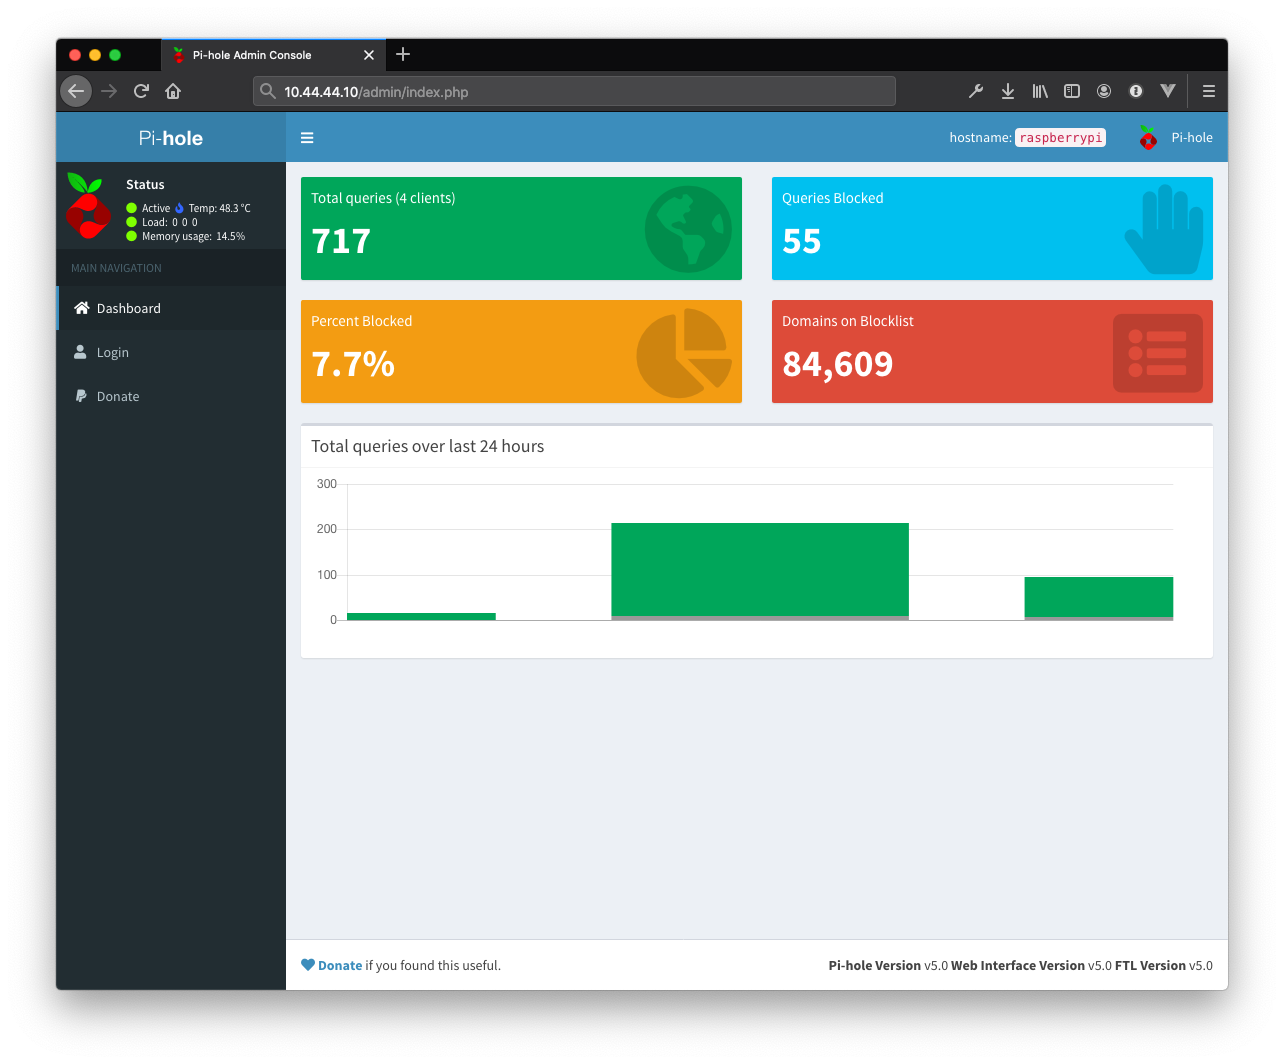
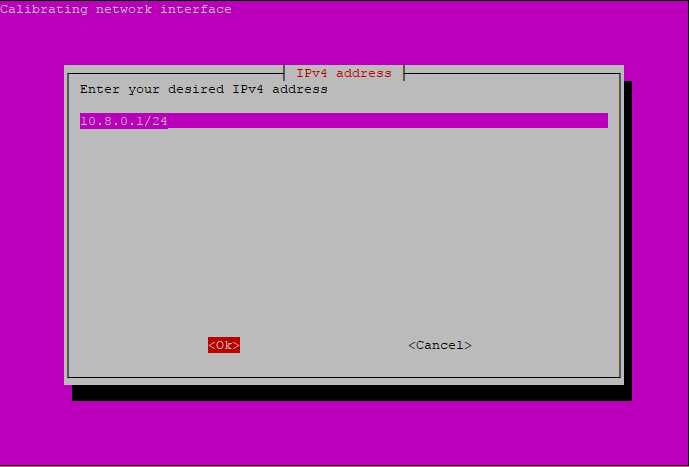
5 . Open the following URL in your web browser to connect to the Pi-hole webinterface: http://10.8.0.1/admin/. The web interface allows you to further configure Pi-hole and to view statistics about your DNS requests:
To avoid keeping an open DNS resolver on the Intenet, we restrict the requests from outside of our infrastructure. This is very important, as unprotected DNS servers can be abused and participate in DNS Amplification attacks.
1 . From your Scaleway console, click on Instances in the Compute section of the side menu.
2 . Click on the Security Groups tab. A list of your existing security groups displays.
3 . Click Create a security group to go the Security Group creation page:
4 . Enter the details for your new Security Group:
Your configuration should look like the following example:
You instance is now protected against requests to the DNS server running on it from external hosts. For more information about Security Groups, refer to our dedicated documentation.
You now have configured a secure and filtered OpenVPN connection to the Internet. Pi-hole automatically filters unwanted advertisings and and helps to save bandwidth on metered plans. The web interface allows you to view detailed statistics about the DNS requests made and you can white or blacklist additional entries.
Discover the Cloud That Makes Sense
SCALEWAY SAS, a simplified stock corporation (Société par actions simplifiée) with a working capital of €214.410,50, subsidiary of the Iliad group, registered with the Paris Corporate and Trade Register number RCS PARIS B 433 115 904, VAT number FR 35 433115904, represented by : Cyril Poidatz, Arnaud de Brindejonc de Bermingham.
Contact: SCALEWAY SAS, BP 438, 75366 PARIS CEDEX 08, FRANCE – Fax: +33 (0)899 173 788 (€1.35 per call then €0.34/min) – Phone: +33 (0)1 84 13 00 00
© 1999-2020 – Scaleway SAS
The Nylon Leg Fetish Store Lurina
Camboys Tube Net
Nice Ass Show
Compilation Cuckold Fuck
Naked Kids 18
Setup OpenVPN Server - Pi-hole documentation
Overview - Pi-hole documentation
How to create an ad-blocking VPN using Pi-hole and OpenVPN ...
Pi-hole and OpenVPN for More Privacy and Security ...
How to pair Pi-hole with an OpenVPN to block ads and ...
How to pair Pi-hole with an OpenVPN Server to block ads ...
Using OpenVPN with Pi-hole on a VPS - draco's blog
Как связать Pi-hole с OpenVPN, чтобы заблокировать рекламу ...
Installing Pi-Hole, an OpenVPN server and an IPsec VPN ...
Openvpn Pi Hole