OWN OVPN WITH RESIDENTIAL IP
InfoHub - маршруты для картингаBefore you start, many people will say that to solve such a task, oVPN config sellers come to the rescue. Expensive, of course, but for a long time and with pleasure. But here there are two nuances:
- OVPN config can die with the ends. And there is nothing you can do about it.
- OVPN config can be disabled anytime you use it and there is nothing you can do about this randomness.
Classic method
We will use VPS/VDS.
This method is not suitable for all offices, and after the recent changes, many of them are being scammed as public/host addresses. But what may not be suitable for account registration, is quite suitable for its permanent use. And this is an important nuance!
First, google "us virtual private server", aka vds, vps, or any similar combination. You can use a state-specific search. Unfortunately, most states are very bad at hosting the services we need, so the list of available services is usually very small.
We need a service that offers virtual servers with the ability to choose the location. For example, Vultr, cloudzy, ultahost and others. Each service has its own registration rules, often gives trial and other pluses. Payment methods from btc to cc/paypal.
Select the desired service and register. Then choose the service, location, and OS. If you're afraid of the command line, then don't hesitate. We need Ubuntu. Version 18 through 22.
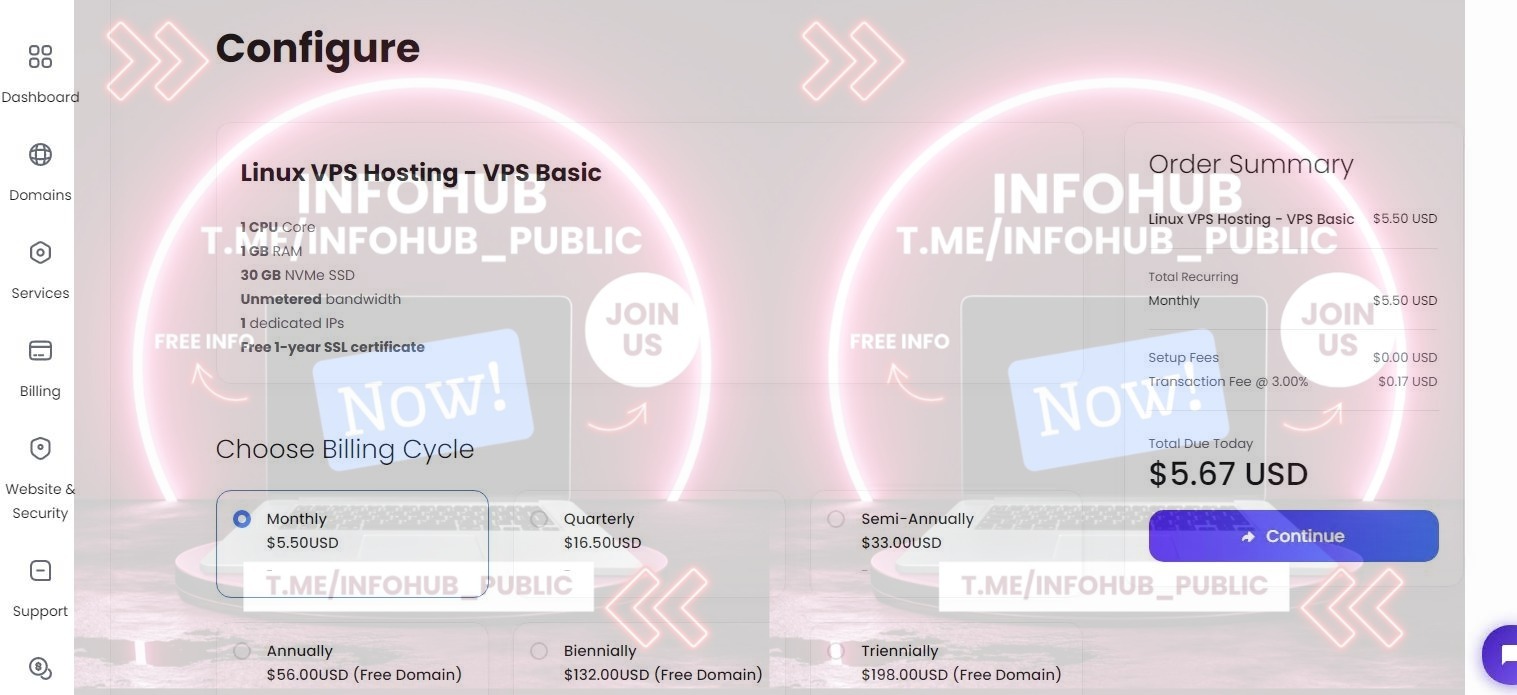

We buy this VDS and wait for an email with login details.
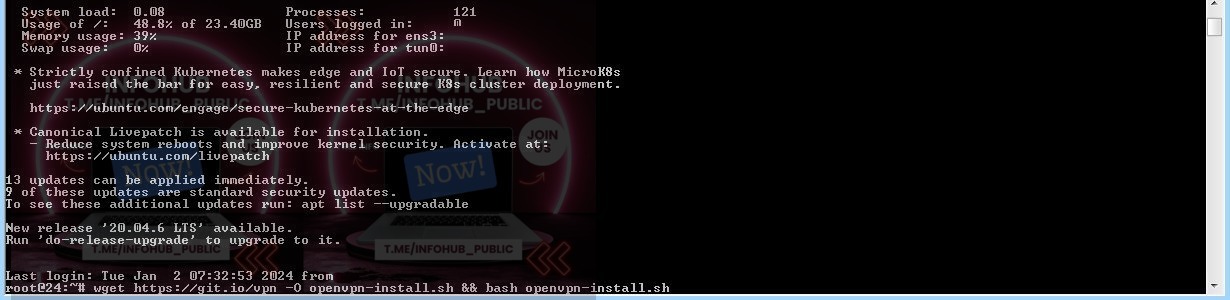
Usually, it takes from 5 minutes to a day (in bad services), and we get something like this:
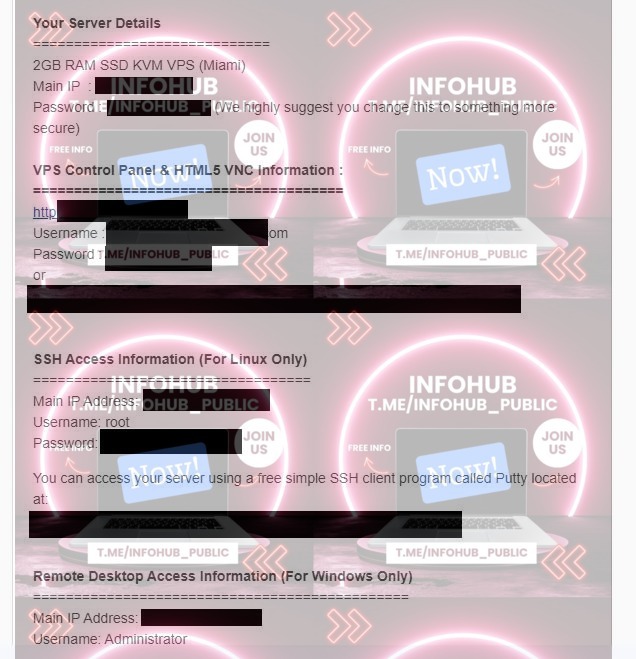
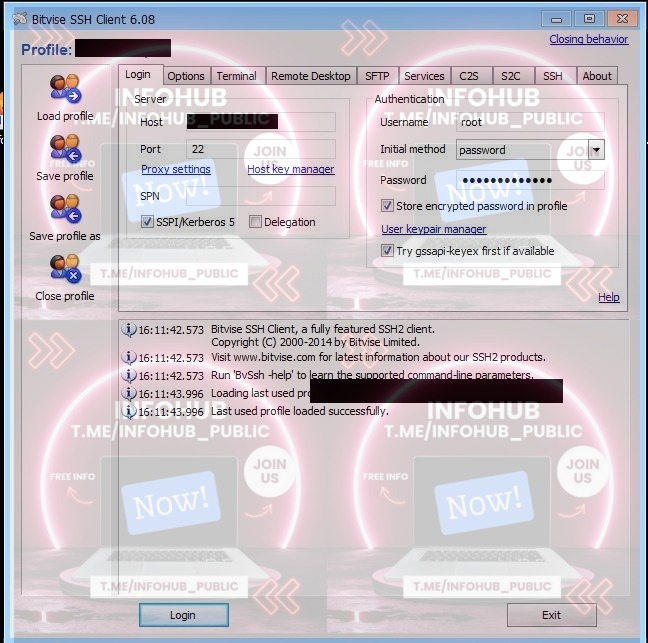
Next, we need some additional software to access our new server. You can use any one you like, we have Bitvise SSH client. Install it and connect to our VDS. Where to shove IP/user/pass we hope it is clear. The terminal may not open right away, so click the button "New terminal console".
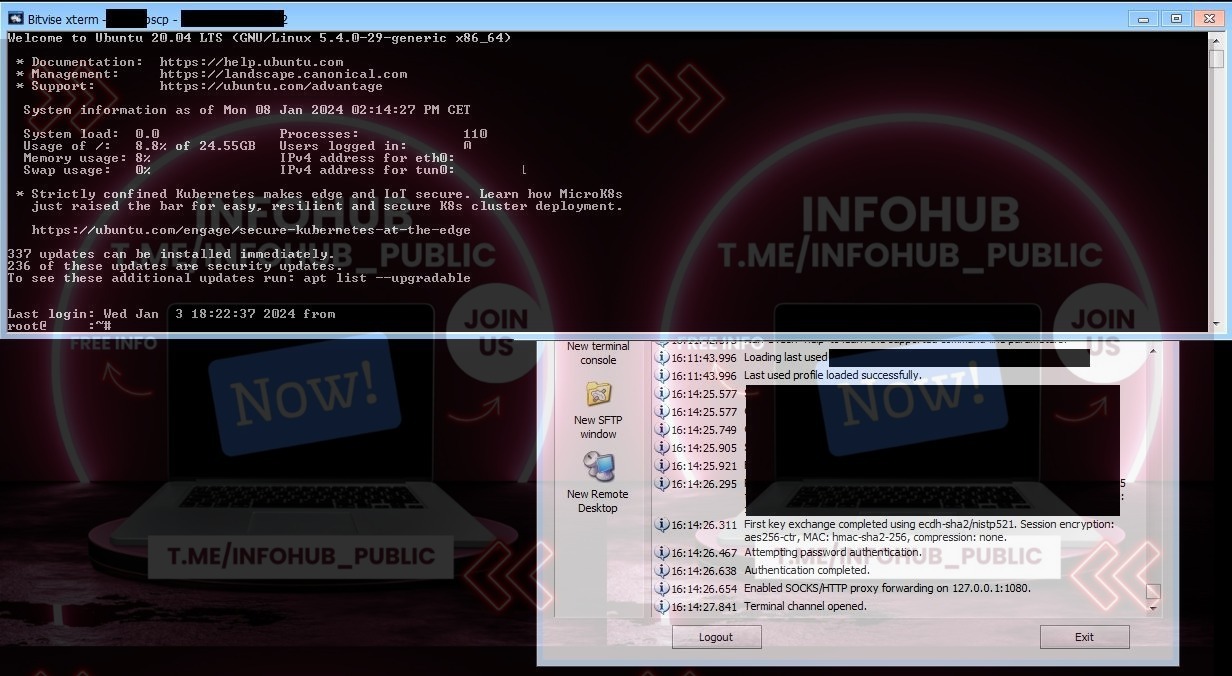
And now the magic begins.
We could write long and hard about vpn, how and where to put and direct what... Or you can take this line and just paste it into an open terminal. Not forgetting to hit Enter (return for macs).
wget https://git.io/vpn -O openvpn-install.sh && bash openvpn-install.sh
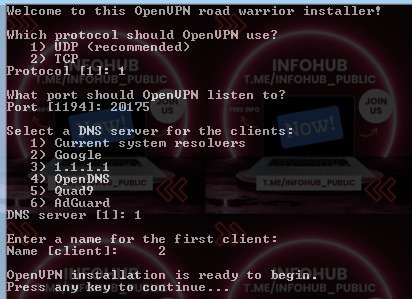
Next select protocol, port (not standard), dns and name of our client.
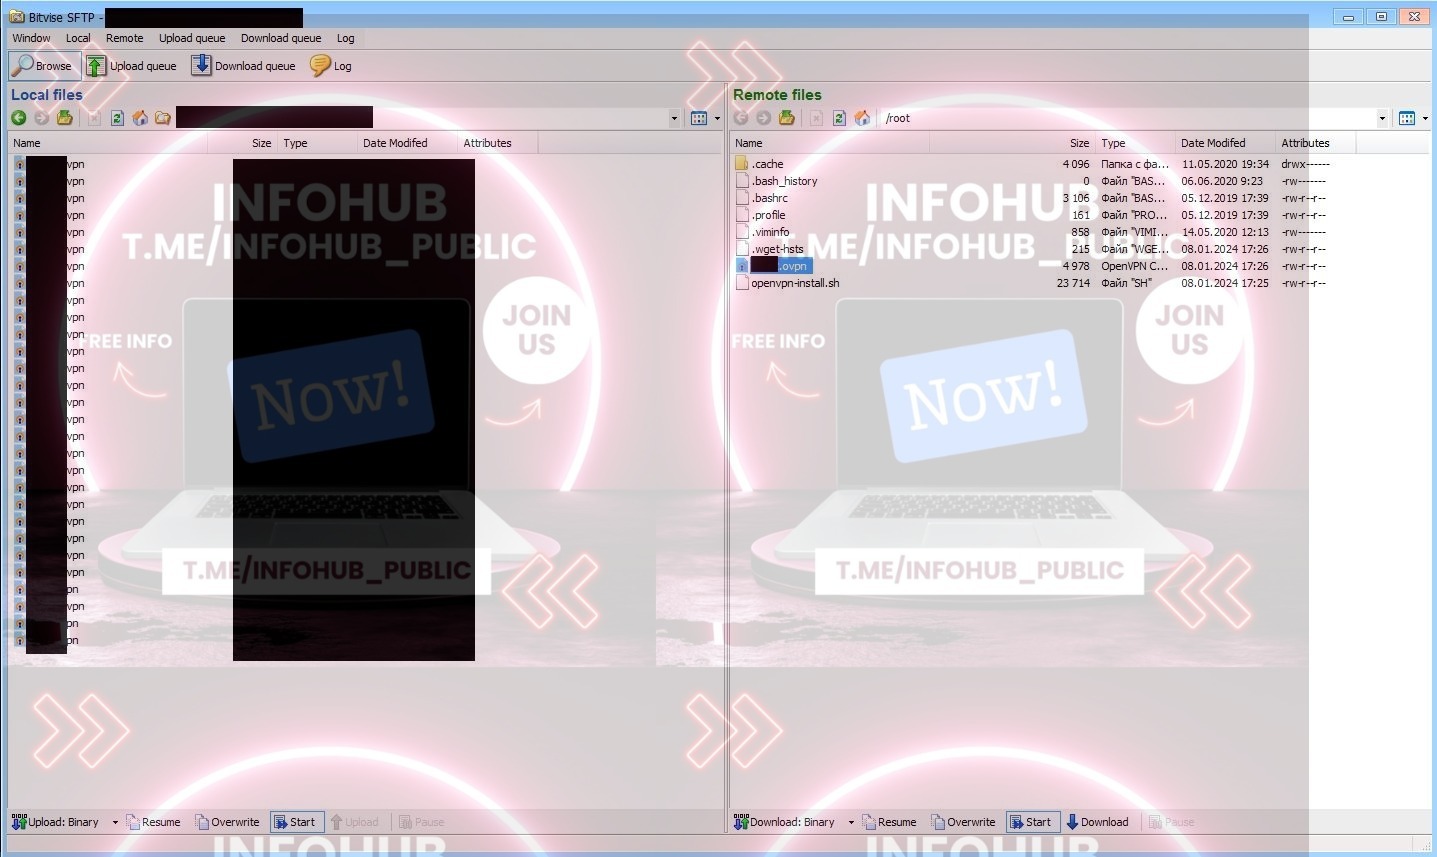
When everything is installed, click "New SFTP window" and see our new oVPN config in the right pane. Download it and shove it wherever you want. Raspberry, router, and other ready-made devices.
Of course, you can use the manual way to create a VPN in Ubuntu or other OS. You can also use other similar lines to automate the process, other OS. But now we have considered the most simple and accessible option.
And now the very fat minus we talked about:
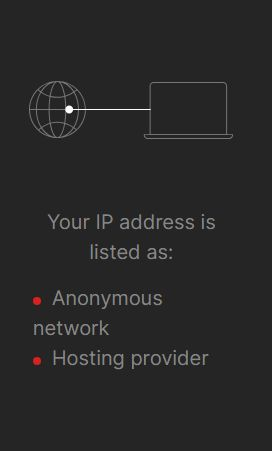
P.S. IP addresses of this quality are suitable for working with many services without any problems. Therefore, sometimes it is an excellent and extremely cheap substitute for purchased configs.
Advanced method
There are providers that provide similar services but have a pool of residential IP addresses! This is a very unusual thing that not very many people know about.
Here you can also try to search through different search engines for "usa vds with residential IP" or similar queries.
But it is much more effective to ask about it directly from the hosting providers that suit you. In fact, many provide similar services, just do not popularize it. And the price tag will differ will not be very significant.
As an example, consider this service: Residential IP VPS - SolaDrive
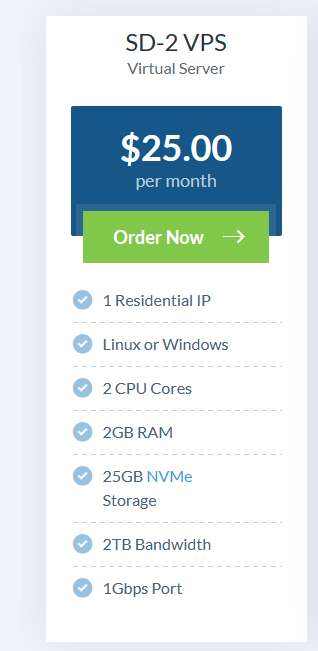
For 25 dollars monthly we get a good vpn vds. The quality of Ip address is also pleasing:
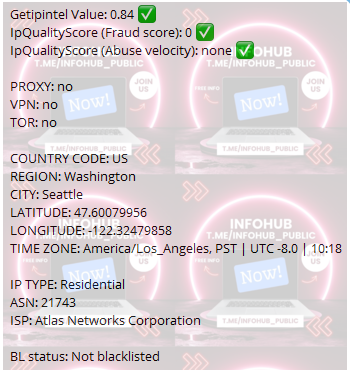
This is a very interesting method of problem solving. Yes, it will require a certain amount of time, but it guarantees maximum stability and survivability at the proper level of quality and financial costs.
P.S. This point is not a 100% replacement for purchased ovpn configs. It also has a number of disadvantages. But it is needed for certain purposes, when there are no better analogs. At least we have not found them.