OS DESIGNING BY KALINGRAAJ
🇰ꪖꪶỉ᭢ᦋꪹꪖꪖ🇯™ 🧡✺💚So, hello friends thanks for being here!!!
Today we are going to learn can we build our own modified operating system !!
So lets start,

Following are some of important functions of an operating System.
- Memory Management
- Processor Management
- Device Management
- File Management
- Security
- Control over system performance
- Job accounting
- Error detecting aids
- Coordination between other software and users
🍎TO BUILD YOUR OWN MODIFIED🍎
1.)Download oracle virtual box from below link
https://download.virtualbox.org/virtualbox/6.1.18/VirtualBox-6.1.18-142142-Win.exe
2.)Open it and install !!
4.)Now giving you some sites where you get premium cracked OS
https://ubuntu.com/download/desktop
5.)Open VirtualBox and click on the New button and then Next and then enter a name for your virtual machine.
Then select the correct Operating System type and the Version from the respective drop down menus and then Next.
Select the amount of memory that will be allocated to the guest OS.
Give according to your ram!!!
6.) Now give icon , install softwares and tools whatever you to install !!
7.)Now after modification and building your user profile and pass!! Download bleach bit software from here https://www.bleachbit.org/download
which will clean your disk and unwanted files!!!
8.)Now after cleaning you can export your ova file of your OS, which you can use anytime!!
🍊Another simplest method for building your os given below ::
MINI GUIDE ABOUT Some Operating Systems!!
Some tools to build your own distros =!
1. Linux Respin
Linux Respin is a fork of the now discontinued Remastersys. Years ago, Remastersys was one of the most popular tools to create your own Linux distro and/or a backup of your OS. Linux Respin doesn’t offer as much as Remastersys used to, but still it does a great job if you are using a distro it’s available for. Linux Respin is available for Debian, Mint and Trisquel only, which kind of limits its popularity. What I don’t like about this tool is its almost nonexistent documentation.
2. Linux Live Kit
Linux Live Kit is a tool you can use to create your own distro or back up your system. It prefers Debian but fortunately can be run on other distros as well, provided it supports aufs and squashfs kernel modules. Linux Live Kit has a very short and sweet wizard on how to build a distro – just follow the steps and you are done.
3. Ubuntu Imager
Ubuntu Imager is a good tool to create your own Ubuntu-based distro. It’s not the only such app for Ubuntu, but since it’s a good one, I chose to mention it on this list. I am not going to review it in detail because we already have a very detailed with instructions for installation and operation.
4. Linux from Scratch
If you want to have absolute control on what is included in your distro and have lots of free time, you can have a look at the Linux from Scratch project. LFS has very extensive documentation and is a great learning resource about Linux in general, not just how to create your own distro. Linux from Scratch allows you to build your own customized Linux system entirely from source code. LFS is not exactly a tool like others on this list, but you can still use it for the same purpose – to create your own Linux distro (and to learn a lot about Linux as a whole).
5. Slax Modules Tool
If you are looking for an easy-to-use tool and like Slax – a lightweight distro based on Slackware, you are lucky because they have an online tool to pick the modules you would like included in your distro. I’ve used this tool in the past numerous times when I wanted to create a lightweight live system for friends of mine, and it works like a charm. Browse through the categories of software, pick the apps you want and add them to the build. Don’t worry if you miss a thing or two, as you can always add more apps after you build and run it.
Note, though, that this approach is considered old and deprecated, and for newer versions of Slax it’s suggested you use apt to install software instead of relying on modules.
6. Live Magic
Live Magic is one more Debian tool for distro creation. It can create CDs, USBs, and netboot images. It’s much simpler to use than some of the other apps on this list, such as Remastersys, but it does not use your running system to build the image. Instead, follow a wizard and choose your configuration options as you go. The program will pull the packages from your repositories and install them into your image.
7. Revisor
Another great tool with which you can create your own distribution, Revisor allows you to put your own spin on Fedora. It was initially intended as a GUI to release build tools but evolved to enable users to create customized distributions.
Revisor allows the creation of Installation Media for permanent installation of the distribution on a computer, live media, from which you can boot and use the distribution without making permanent changes to the computer, virtualization media, for use in virtual guests in Xen or KVM, and utility media, that can incorporate programs to help recover data or deal with problems in the operating system.
8. Customizer
Customizer isn’t under active development anymore, but that, according to its developer, is because it is considered stable. It is another tool with which you can remix Ubuntu, but it also supports its different flavors, like Xubuntu and Kubuntu. A critical restriction, though, is that the host system under which you are using it should share the same release number and architecture as the guest system you are remixing.
These tools for creating your own custom Linux distro should help you
🍈Another trick to build distros with suse studio🍈
Go to SUSE Studio by clicking on the following link.
The SUSE Studio home page will look like below. Create an account or simply sign-in using your other existing accounts such as Yahoo, Facebook, Novell, Twitter etc.

In the next page, you’ll be presented with various options such OS base Template (Desktop or Server), OS architecture, appliance name, Desktop environment etc. Then, Click Create appliance button.

Then, Click Create appliance button.
Next you need to configure your appliance.

Software
First, go to Software section and add applications that you wanted to include in your appliance.
Not only software from the SUSE repositories, you are allowed to upload packages from your local g=hard drive too. Also, you can add repositories of your own choice.

Let us add some software, for example VLC media player. Type VLC in the search box. You’ll be presented with a list of matches. Note that the matches will be sorted by popularity. The popular match will found on the top. Simply, click the Add button to include it in your application.

Similarly, you can select as many as applications you want.
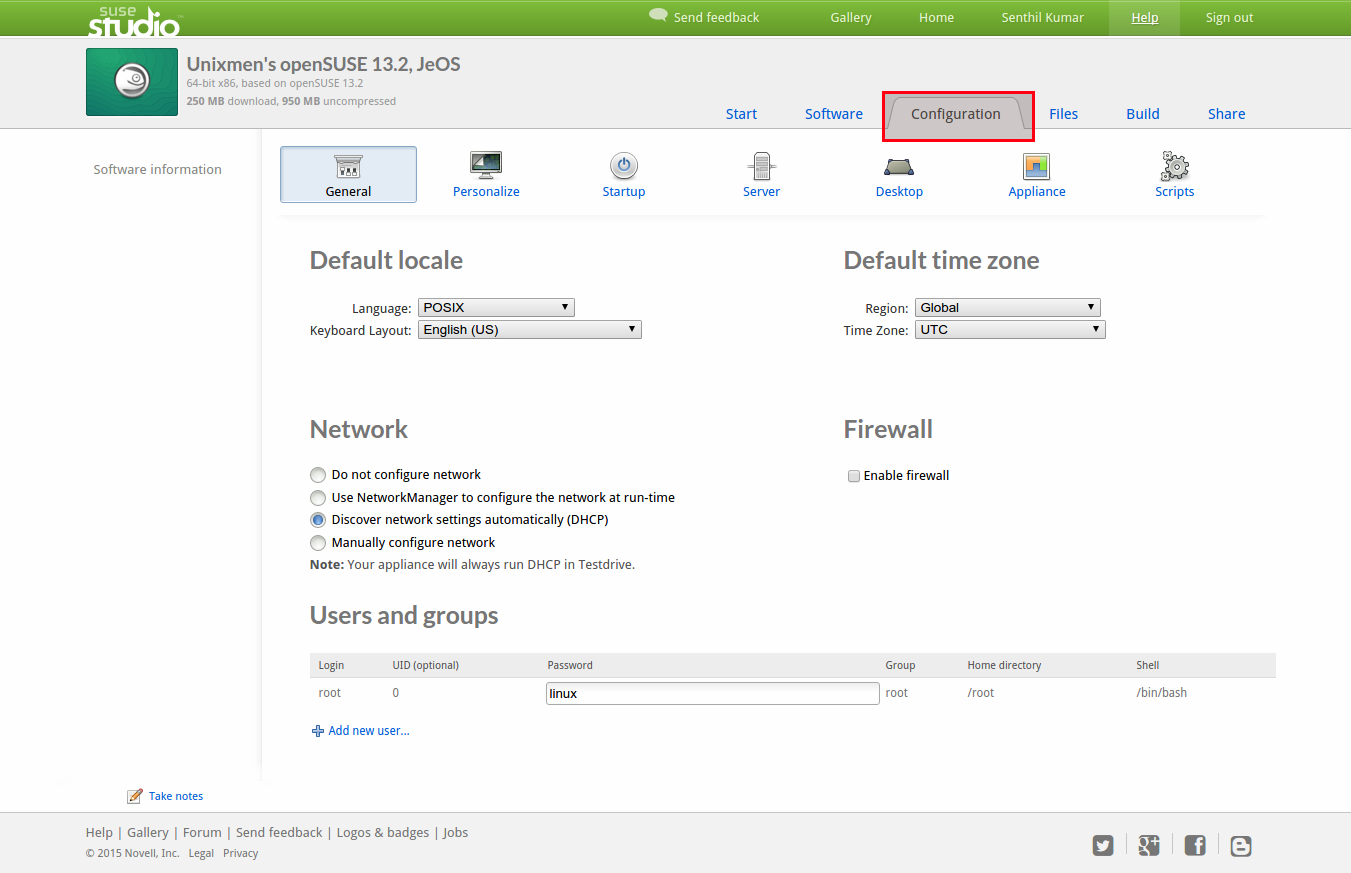
Configuration
Next, move to Configuration section. This section is important. In this section you can tweak your appliance as your own liking. The Configuration section has 7 sub-tabs namely:
- General
- Personalize
- Startup
- Server
- Desktop
- Appliance
- Scripts
Let us see one by one.
General:
In this tab, you can define some configuration options, such as your Language, Timezone, Region, Firewall configuration, Network configuration, User creation etc.
Personalize:
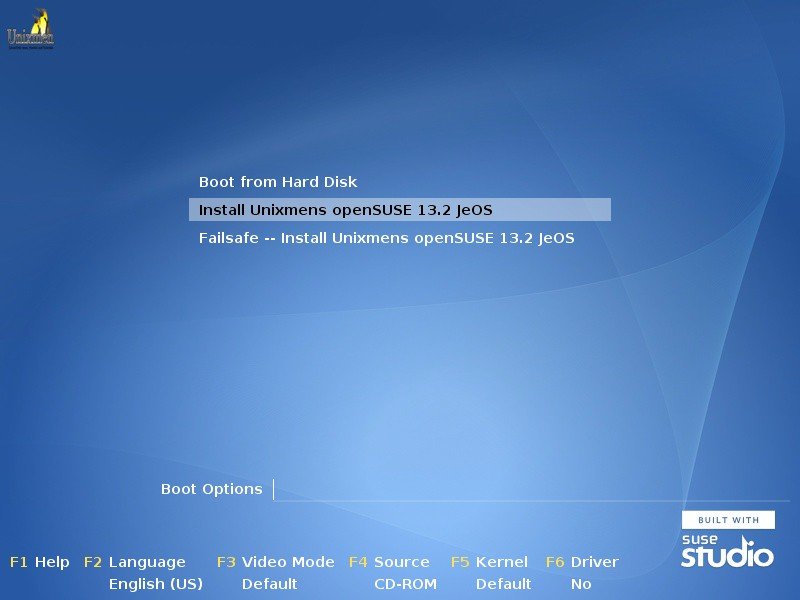
Like I said, you can replace the SUSE brand and add your own logo, background images etc. To add a logo, click on the Upload new logo button and select your logo. Then, select your appliance background image as well.

You can preview how your appliance boot screen will look like after uploading your logo.
Startup:
In this section, you can select your appliance run level. I selected run level 5 (Graphical login).

Server:
Want to add some Database configuration in your appliance? It’s also possible. Please note that you should add the installation packages for the database as shown Software section (top menu).

Desktop:
In this tab, you can define automatic login and autostart programs while logging in to your appliance. I don’t need auto login, so I left it blank.

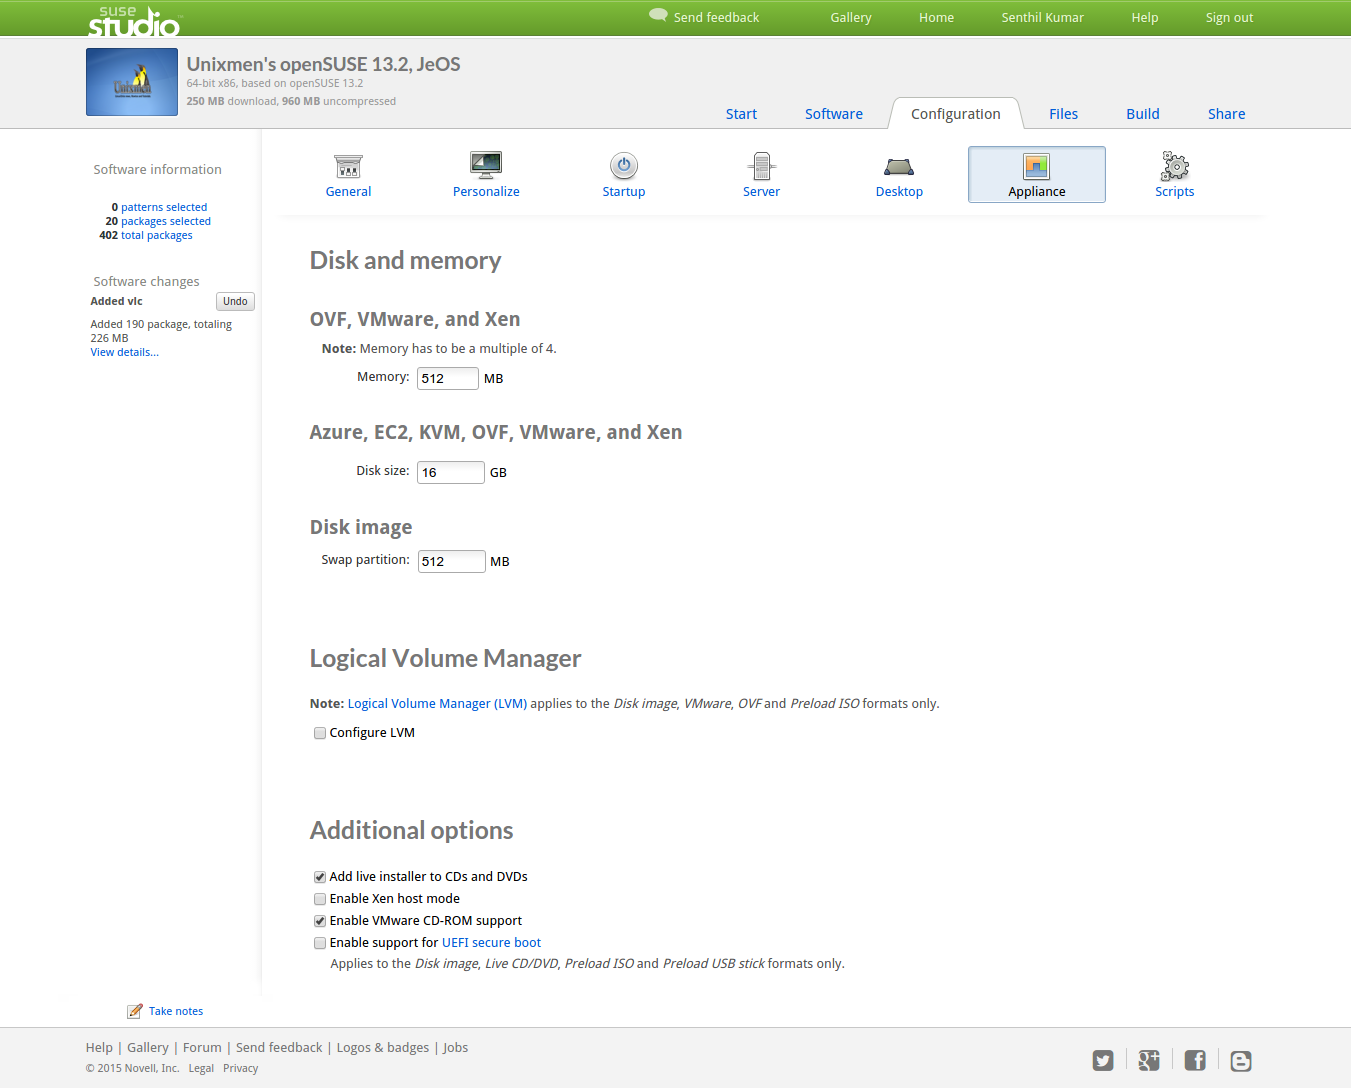
Appliance:
Here, you can define various parameters to your appliance such as Memory size, Disk size, Swap partition size etc. Additionally, you can define LVM configuration and other options such as:
- Add live installer to CDs and DVDs
- Enable Xen host mode
- Enable VMware CD-ROM support
- Enable support for UEFI secure boot
Scripts:
In this tab, add scripts to run commands specific to your appliance, at the end of build, or at boot time.

Files
The next section is Files. Files added here will be copied into the appliance after packages are installed. Adding files is optional.

Build
Here comes the juicy part. Enter your appliance version number and select the format of your appliance such as:
- USB Stick / Hard disk Image
- Live CD / DVD (.iso)
- Preload ISO (.iso)
- VMware Workstation / VirtualBox (.vmdk)
- OVF Virtual Machine / ESXi (.ovf)
- Xen guest (.img)
- Hyper-V Virtual Hard Disk (.vhd)
- SUSE Cloud / OpenStack / KVM (.qcow2)
I am going to select Preload ISO format.
Click Build button to start building your custom distribution.

Now, Image creation process will start. This may take few minutes to several hours depending upon the size of your appliance. Be patient and grab a cup of coffee.

Congratulations! You customized distro is ready to use.

Now, you can test your image from the browser itself by clicking on the Testdrive button. Make sure you have enabled Flash player browser and allowed the ports 843 and 5900 – 5908 in your Firewall/Router. Or simply download the ISO and play it in your local system using Vmware or Oracle VirtualBox.
Do you want to create an exact clone of your current custom distro? It’s simple too. Just click on the Clone button to create another appliance in the same configuration. You can also verify the configuration of your image by clicking on the Configuration button near Clone button.

Share
Once you built your appliance, you can share your image to other SUSE studio users if you want. Go to the Share section.
Enter the description or release notes, website and hit Publish. Your image will shared on the SUSE gallery.

Be mindful that builds older than seven days may be deleted to free up space on the SUSE servers. So, it is recommended to download your images and keep them in your own servers. But don’t worry, you can rebuild them at any time.
Here is my newly created distribution in action in Oracle VirtualBox:

Now Done you can export your distros and use in any virtual platform like vmware, virtual box, sandbox etc.
🍇Regards=KALINGRAAJ
Hope you all like my post!! Please join me on telegram @kalingraajworld