Make Homemade

🛑 ALL INFORMATION CLICK HERE 👈🏻👈🏻👈🏻
Make Homemade
Поделки Из Крышек Банок Для Консервирования
Homemade and handmade craft ideas and tutorials. Whether you are looking for inspiration on something to make for home, to sell, or for gifts to those you love, these DIY ideas are perfect. Get unique craft ideas that are fun to make but still simple enough to enjoy yourself. Lots of ideas for kids as well.
DIY Easy Knit Hooded Scarf with Free Pattern
Sew your own foraging apron from a drop cloth for pockets to gather all your wild edible harvests while keeping your hands free to work.
Upcycle a flannel shirt into wonderful hankies! This simple DIY sewing project makes a wonderful, frugal resource around your home. Included is a step-by-step tutorial and pictures for cutting the shirt to get the most handkerchiefs possible! After cutting, the only thing left is to sew a few lines and you will have your very own handmade hankies. #sewing #diy #frugal #homemade #project #upcycle #tutorial
Learn how to make your own fun envelopes by upcycling old photo calendars. Get a template and learn how to use them for mailing letters and bills on our blog. #diyideas #snailmail #simpleliving
Make your own DIY kneeling pad! This spring, make and use this wonderful kneeling pad to use in your garden. Use this step-by-step sewing tutorial to help you make one for yourself! #tutorial #diy #sewing #project #garden #spring
Full tutorial on how to make these unique map burlap pillows that look like luggage tags.
Pounding Flowers on Paper for DIY Botanical Prints l How to smash flowers for kids crafts l Homestead Lady.com #botanicalprints #smashflowers #poundedflowers #foragingwithkids
Here is a handy clothespin bag you can use this spring and summer. This easy sewing tutorial with pictures shows you just how to make this bag. This project only uses straight lines, making it easy even for the beginning sewer! Get the step-by-step guide to help you make this DIY clothespin bag. #tutorial #sewing #stepbystep #howto #diy
Rustic DIY holiday porch signs from barn or pallet wood l Make farmhouse porch signs for indoor/outdoor use l Save money for fall, winter, spring, Halloween, Christmas, Fourth of July and every day! l Homestead Lady.com #homesteadholidays #porchsigns #porchdecor #DIY #barnwood #christmas #easter #halloween
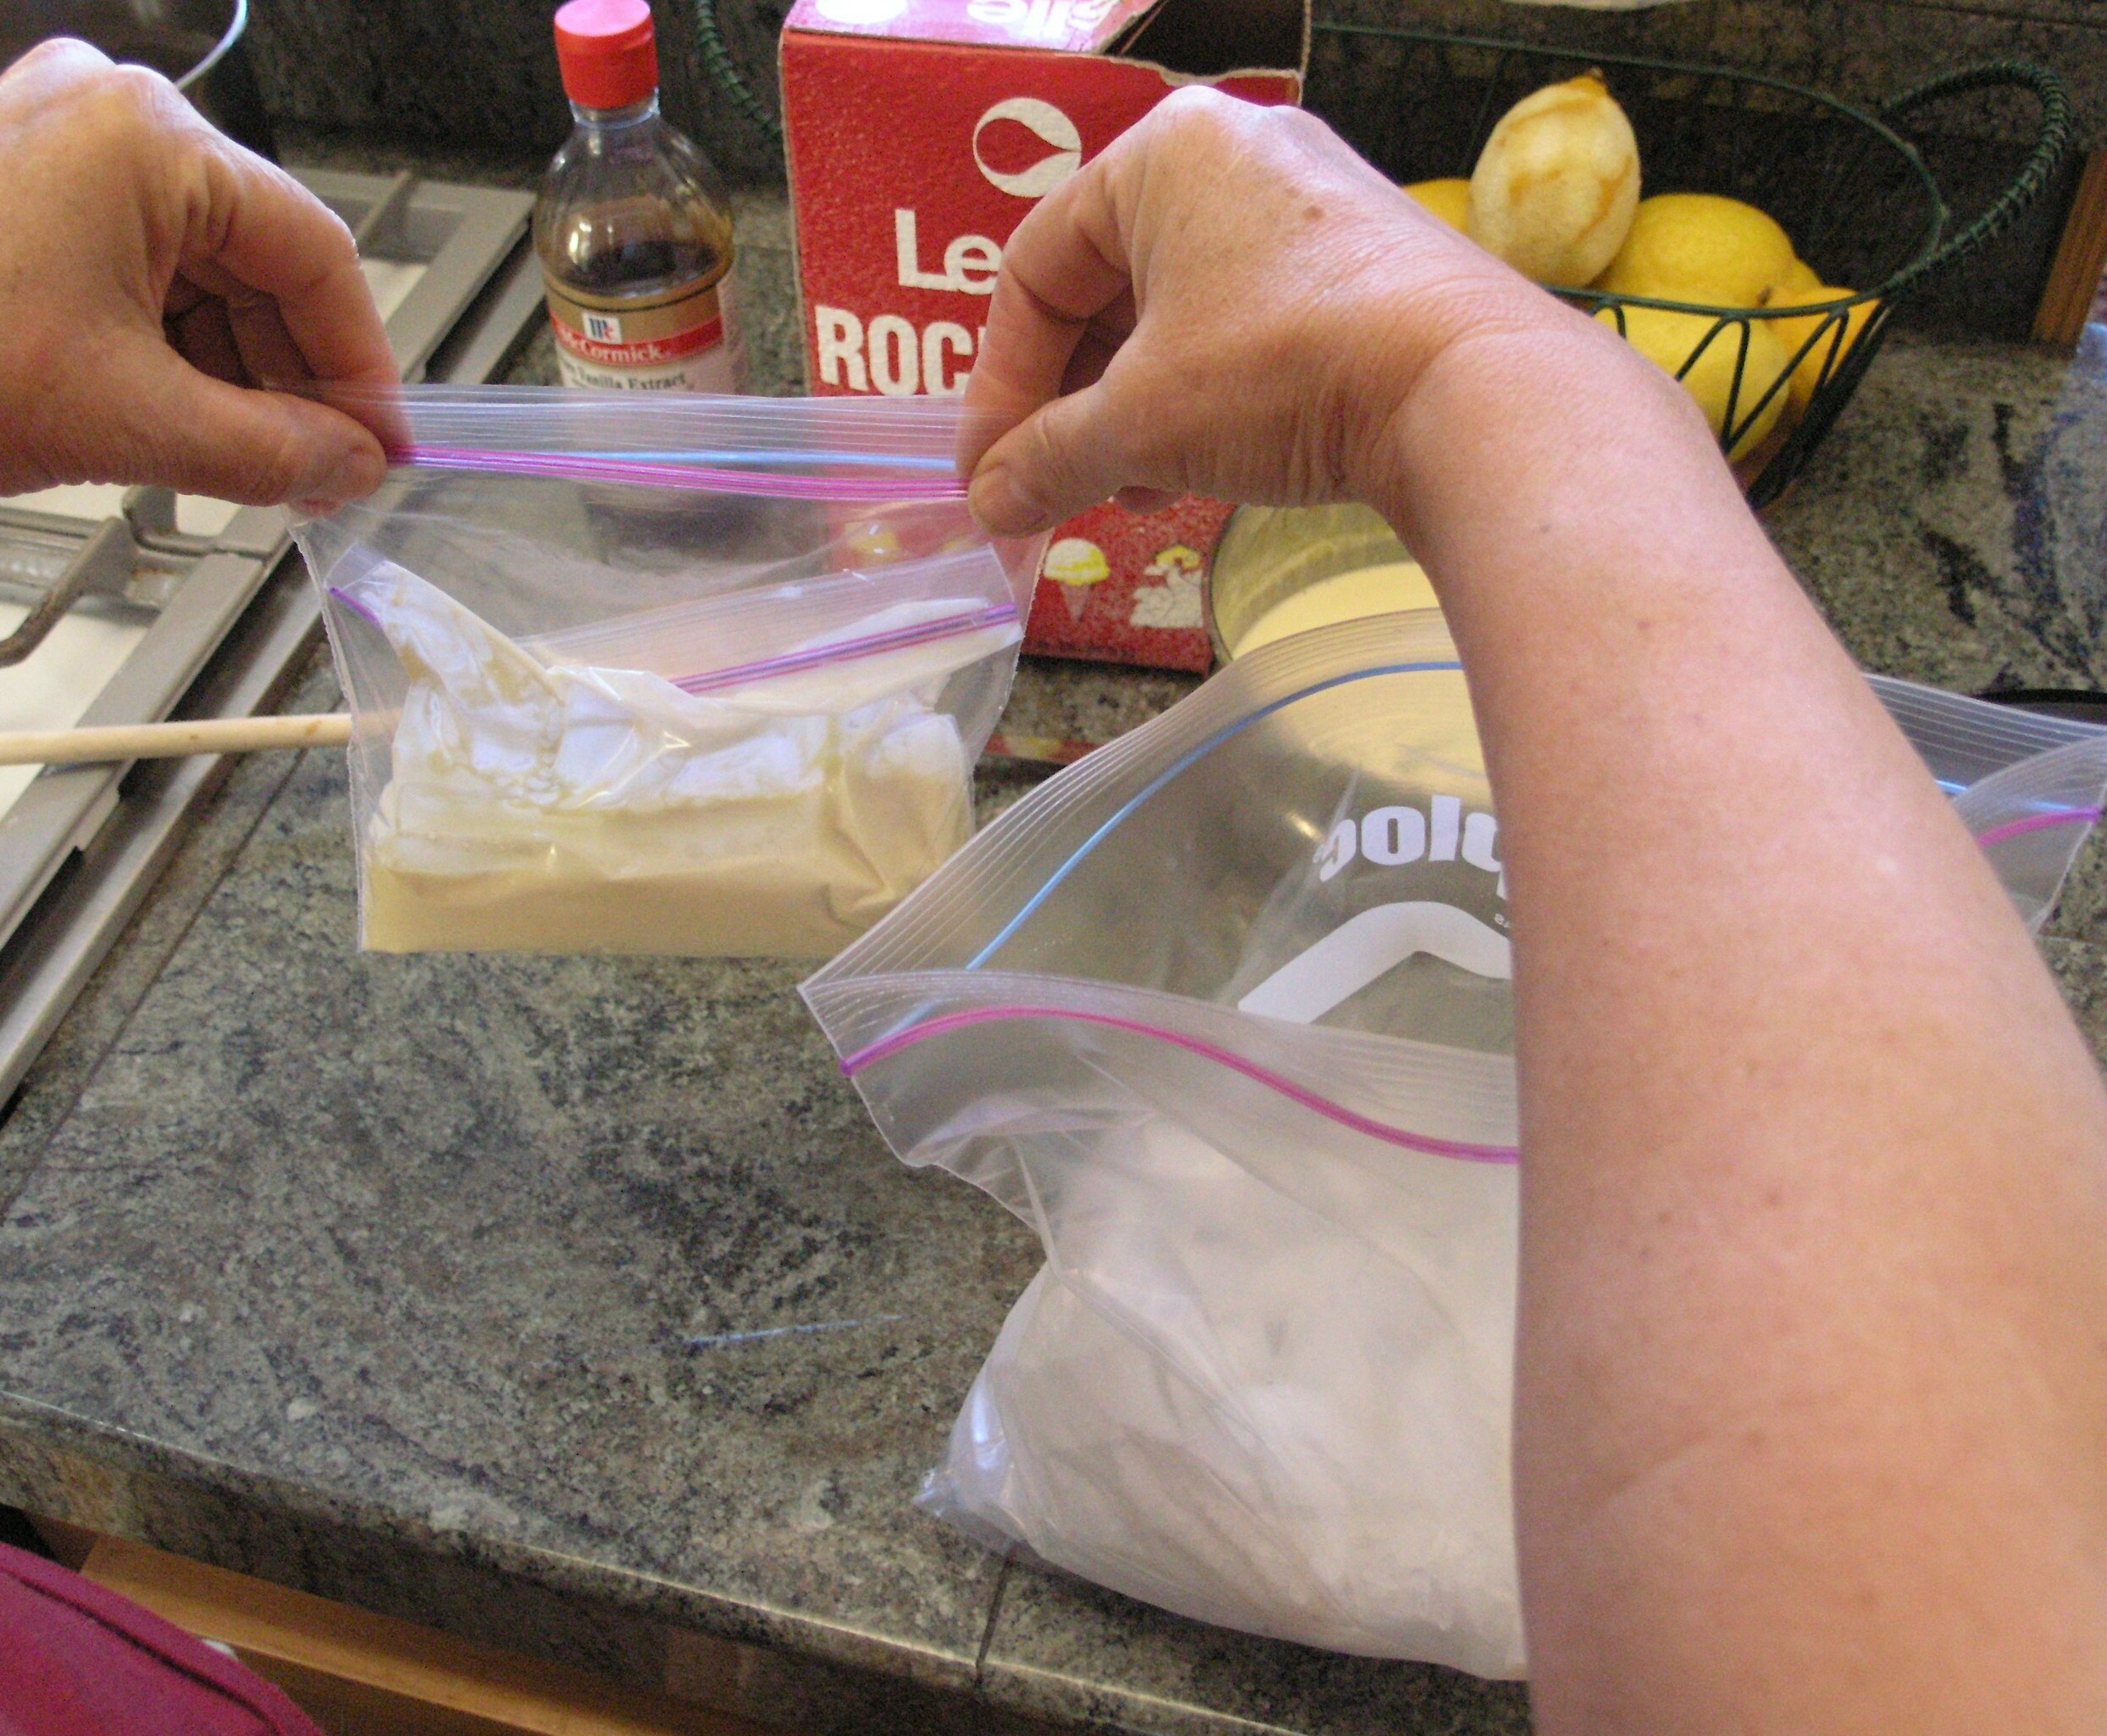
Reuse canning lids in this easy DIY project. Get prepped and ready for your garden by making these simple upcycled plant markers. Don't throw away those canning lids! Reuse them in this wonderful do it yourself idea. This is a great home project to do in the winter to help you get ready for your spring planting. #garden #diy #projects #homeproject #upcycle #spring
A DIY boot rack is necessary for all farms and homesteads worldwide. This easy to construct DIY boot hanger will keep footwear dry and organized.
Learn to make your own reusable grocery bags from upcycled fused plastic grocery bags with these instructions. #upcycle #homemade #grocerybag #recycle #zerowaste #ecofriendly
Make the most of the gorgeous blooms of spring with these flower craft ideas sure to please both kids and adults like in a wide range of skill levels.
Do your knees hurt from being on them so much working in your garden? If so, try making a DIY garden kneeler for some extra cushion and support. Find out exactly how to sew your garden kneeler using recycled material with this tutorial. #tutorial #sewing #diy #garden #upcycled
Do your knees hurt from being on them so much working in your garden? If so, try making a DIY garden kneeler for some extra cushion and support. Find out exactly how to sew your garden kneeler using recycled material with this tutorial. #tutorial #sewing #diy #garden #recycled
Check out this great IKEA hack and make a DIY concrete clock. If you want to create a truly unique piece for your home, you have to check out how we pulled this clock together using an IKEA picture frame, concrete clay, and a vintage doily. Through trial and error, we devised a way to create this great clock using an antique doily. Follow our step by step tutorial to see how easy it is to make your own cement clock. Make a unique home decor item today. #diy #clock #hack #homedecor #tutorial
Easy HomeMade Projects - YouTube
make a homemade - Перевод на русский - примеры английский | Reverso Context
Homemade Hygge Gifts to Make
5 Ways to Make Homemade Food - wikiHow
50 Homemade Products to Save Money (and Be Healthier)
Horny Teen Couple🔞 (@HomemadeLovers) | Твиттер
Homemade – перевод с английского на русский – Яндекс.Переводчик
homemade на русский - Английский-Русский | Glosbe
How To Make Homemade Croutons | Gimme Some Oven
Can i make home made drugs?? PLEASE HELP?!? | Yahoo Answers
How to Make Homemade Butter in a Mason Jar
How to Make Homemade Mayonnaise | Allrecipes
How to Make Homemade Mayonnaise (easy!) | The Endless Meal
Homemade Porn on Vimeo
How to Make Homemade Vinegar
We use cookies to make wikiHow great. By using our site, you agree to our cookie policy . Cookie Settings
Work on your basic skills to improve your cooking. Every home chef needs to know some basic skills, like how to chop vegetables , zest fruit , brown meat, boil an egg or pasta , and cook rice . Cooking eggs is also a basic skill that comes in handy. These skills will take you far if you spend some time learning them now before tackling more complicated recipes. [1]
X
Research source
Try watching videos to learn basics like chopping or grating. They will often go through the process step-by-step, and you can follow along at home.
Learn kitchen safety to protect yourself and others. Kitchen safety is about the obvious dangers, such as cutting yourself with a knife or burning yourself on the stove . However, it's also about the less obvious dangers, such as not cooking foods like raw meat to the proper temperature so it's safe to eat. [2]
X
Research source
Explore videos or cooking tutorials about kitchen safety to help you learn things like avoiding cross-contamination and keeping meat at safe temperatures.
Stock your kitchen with basic ingredients. It's hard to improvise and make your own recipes if you don't have ingredients on hand. Of course, you'll usually need to shop for perishables for each recipe, but there's plenty of things you can keep on hand to improvise recipes. [3]
X
Research source
For instance, keep canned goods like tomato paste, tomato sauce, canned tomatoes, coconut milk, and canned beans in your pantry. You can use coconut milk and tomato sauce for a curry or add the beans to a dish for quick and easy protein.
In dried foods, keep things like pasta, rice, lentils, barley, and quinoa on hand. These foods can provide a foundation for a dish. It also helps to have flour and cornstarch on hand to thicken foods and make gravies.
Stock up your seasonings with spices and herbs like Italian seasoning, garlic powder, onion powder, paprika, chili powder, cumin, curry powder, dill, and rosemary.
Keep proteins in your freezer, such as chicken breasts, ground beef, and pork chops. In the refrigerator, keep ingredients you can add to dishes, such as bouillon paste, Worcestershire sauce, soy sauce, sesame oil, mustard, and olive oil.
Find recipes online and through cooking apps. When you're just starting out, a recipe is a good place to begin. Look for simple recipes that you'd like to try, or even watch videos that go step-by-step through a recipe. It can be a great way to get started cooking when you don't have much experience.
Cooking apps put recipes at the tips of your fingers, and you can save your favorite recipes for later.
Be creative! It's okay with deviating from the recipe. A recipe is just a guide, and you have to develop the knowledge to know when you need to follow that guide and when not to. For instance, a recipe may call for a casserole to bake for 30 minutes, but if it's not bubbling and brown on top, you may need to bake it another 10 minutes. [4]
X
Research source
Start mixing up recipes with your favorite flavors. As you start to recognize flavors you like, try playing around with recipes. Don't completely change a recipe. Instead, start with 1 or 2 ingredients, and swap them out for similar ingredients that you like better. [5]
X
Research source
For instance, if a recipe calls for yellow mustard, try swapping in Dijon.
If you find you don't care for a particular herb, like oregano, try swapping another one in, like rosemary.
Improvise when you don't have an ingredient. It can be tempting to run to the store when you're out of an ingredient a recipe calls for. Sometimes, that's necessary. Other times, you can find an ingredient in your pantry or refrigerator that will be a perfect substitution. [6]
X
Research source
Think about the nature of the ingredient and what it does for the recipe. For instance, if a recipe calls for lemon juice, it's likely adding sourness and flavor to the dish. You may be able to swap in red wine vinegar, for instance, or balsamic vinegar.
It's important to think about the dish. Balsamic vinegar wouldn't work in a dish like chicken piccata, as the heavy flavor would completely change it. You could try it, but you have to keep in mind you're going to end up with a very different dish.
Try making your own recipe. Once you've learned to improvise a bit, it's time to set out on your own! You can look at recipes online to get an idea of what you want to do, but then step away from them and try to figure out a recipe just by yourself. It may not be perfect, but it will be a valuable learning experience for next time. [7]
X
Research source
Try going to the farmer's market and picking up a few fresh ingredients for inspiration. Then, use what you've learned from other recipes to create your own concoction.
Be prepared for mistakes, but don't sweat them. Mistakes are going to happen in the kitchen. You're going to burn the bread sometimes, or accidentally put in too much salt. Try to salvage it if you can. After all, no one else knows exactly what you're going for, and it may still be delicious. [8]
X
Research source
If you can't salvage it, laugh it off and learn from your mistake!
If you want to try a new recipe, practice when you have the time, such as on the weekend. Don't try it out when you're going to be feeding a crowd. [9]
X
Research source
Crack the eggs into a bowl and beat them. Knock the egg gently on a flat surface to crack it. Use your thumbs to pry it open over a small bowl. Repeat for the other 2 eggs. Add in a couple of dashes of salt and pepper, and beat the eggs together with a fork. [10]
X
Research source
To beat the eggs, gently break up the yolks with the fork by piercing them. Then, whip the eggs in a circular motion to mix them up.
If eggshells drop in the bowl, use another piece of eggshell to fish them out.
Grate 1–2 ounces (28–57 g) of cheddar cheese and chop the ham. Use a small grater to shred the cheese. Run the cheese up and down on the grater until it's all shredded, and set it aside for the moment. Be careful to keep your fingers out of the way so you don't cut yourself. [11]
X
Research source
You can buy pre-shredded cheese if you prefer.
If you're using the ham, cut it into small pieces with a sharp knife. If the ham is cold, heat in the microwave for 15-30 seconds.
Heat a couple of pats of butter in a medium frying pan. Place a frying pan on the stove over medium to medium-high heat. Add the butter to the pan, and let it cook until it's foaming. Spread it out over the pan with a spatula. [12]
X
Research source
Add the eggs to the pan and spread them out. Pour your egg mixture into the pan, and move the pan around so the eggs go all the way to the edge of the pan. You can also use a fork or a spatula to help spread them out. [13]
X
Research source
Let the eggs cook as is for a few minutes.
Sprinkle the cheese in after the eggs are mostly cooked. Watch the eggs. As they cook, they should start to firm up on the bottom. Once they do, they shouldn't jiggle too much if you move the skillet. However, they should still look a little wet on top. Sprinkle the cheese over the omelette. [14]
X
Research source
Add the ham now, too, if you're using ham.
Fold the omelette over. Run your spatula under the edges of the omelette all the way around, though be gentle. Fold one side of the omelette over the other side, like a taco. [15]
X
Research source
Remove the omelette when it starts to brown. The bottom of the omelette will start to turn light brown. When it does, tilt the pan slightly over a plate, and use your spatula to guide it down onto the plate. [16]
X
Research source
Sprinkle a bit of fresh parsley over the omelette if you'd like.
If your omelette happens to come out a little underdone, never fear. You can either stick it back in the pan for a few minutes on the other side, or you can even place it in the microwave for 30 seconds or so. However, the middle should be fairly soft.
Brown 1 pound (0.45 kg) of beef in a pot or large saucepan. Heat a pan over medium heat. Break up the beef in the pan, and add a sprinkling of salt and pepper. Cook the beef until it's not pink anymore, and continue to break up the chunks as you go. [17]
X
Research source
If your beef is especially lean, you may need to add a little olive oil to the pan first.
If you don't want to use ground beef, just skip this step. You can also use ground pork, turkey, or chicken in place of the ground beef.
Dice the onion and garlic. Set a garlic clove on a cutting board, and smash the flat side of a large knife against the garlic clove with your fist. Peel the skin off the garlic, then chop it into small pieces. Repeat for all the cloves. [18]
X
Research source
Use 4 cloves if you like garlic a lot or 2 if you want your sauce to be less potent. A single garlic clove is 1 piece out of the large head of garlic.
If you prefer, you can use the garlic that comes chopped in a jar. It will tell you how much to measure out for 1 clove. You can even use garlic powder, but wait until you start cooking the tomatoes before you add it.
Peel and dice the onion. Cut the ends off the onion, and then slice it down the middle the other way. Peel off the skin. Place the onions flat-side down on the surface of the cutting board. Slice along the onion so that you create half rings of onion. Turn the onion the other way, and make cuts to create diced pieces. [19]
X
Research source
Onion is not absolutely necessary, but it adds a lot of flavor.
Take the beef out of the pan and cook the onion and garlic. Place the beef in a separate dish for the moment. Pour a couple of spoonfuls of olive oil into the pan, and then add the onions. Cook them for 4-5 minutes, stirring occasionally, then add the garlic. Cook the onions and garlic for another 2-3 minutes. The onions should look translucent. [20]
X
Research source
Add the tomatoes and beef back into the pan. Stir the tomatoes and beef into the onions and garlic. If you're using whole canned tomatoes, use the spoon to break them up in the pan a bit. [21]
X
Research source
You can add about 1 cup (240 mL) of beef stock at this point if you'd like. Otherwise, rinse out the tomato can with a bit of water, and pour it into the pan.
Add the basil and let the sauce simmer for about 20 minutes. Tear up the fresh basil with your hands, and stir it into the sauce. While stirring, turn up the sauce to medium-high, and let it simmer. [22]
X
Research source
You can use a couple of spoonfuls of dried basil or Italian seasoning if you don't have fresh basil.
Simmering is light bubbling. Stir the sauce often as it simmers and thickens.
Cook the spaghetti noodles. Bring salted water to boil in a separate pot over high heat. Once the water is boiling, add the spaghetti noodles to the pot. As the noodles soften, stir them with a slotted pasta spoon, the kind that has small fingers extending from it. [23]
X
Research source
Stirring the noodles after you put them in helps stop them from sticking to one another.
The noodles should take about 9-11 minutes, but check the back of the package.
Test the noodles and serve your dish. Pull a noodle out, and run it under cold water. Taste it to see if it's done. It should be easy to chew with a slight bite, not crunchy. If it's done, drain the noodles in a colander. Ladle some onto a plate, and pour some of your sauce on top. [24]
X
Research source
Top your spaghetti with some fresh Parmesan.
Store leftovers in the fridge in an airtight container. Eat them within 3 or 4 days.
Chop the carrots into bite-sized pieces. Use a cutting board and a large chef's knife. Slice the carrots in half first, and then lay the flat side down on the cutting board. Cut off half rounds, going down the length of the carrot.
Scrub your vegetables thoroughly under running water before chopping them.
Heat the 2 tablespoons (30 mL) of olive oil over moderate heat. Set a pot that holds 3 ⁄ 4 to 1 gallon (2.8 to 3.8 L) of liquid on the stove and turn the burner on medium heat. Pour in the oil, and let it start heating up slowly. [25]
X
Research source
Add the carrots to the pot and start chopping the celery. The carrots need to go in first because they take longer to cook. While they're cooking, begin chopping the celery. Slice it in rounds, cutting across the rib of the celery. If the pieces get too large, chop them in half. [26]
X
Research source
The celery needs longer to cook than the onion.
Add the celery to the pot and chop the onion. Pour the celery in the pot, and stir it around. Cut the ends off the onion, and slice down the middle the other way. Peel off the outer skin. Place the halves with the flat side down on the cutting board to dice them.
Cut parallel along the rings, creating 3 or 4 cuts across the onion half. Turn the onion, and cut across the onion the other way, creating small, bite-sized pieces.
Add the onions to the pot and cook them until they soften. Stir the onions into the other vegetables so they can start cooking. Cook them over medium heat until the onion begins to turn translucent, and continue to stir the vegetables as they cook. [27]
X
Research source
Pour in the 6 cups (1,400 mL) of chicken stock and the seasonings. Add the bay leaves and 1 teaspoon (4.9 mL) poultry seasoning to the stock. However, you should save the fresh parsley for the end. [28]
X
Research source
Bring the pot up to a boil and add the chicken. Turn the heat up so the pot comes to a boil. A boil is when you see it bubbling violently at the top. When it boils, drop in the chicken pieces. [29]
X
Research source
If you prefer, you can cut the chicken into bite-sized chunks before adding it to the pot, which will reduce your cooking time. Clean kitchen shears work well for cutting meat.
You can also use cooked chicken, but you don't need to cook it as long.
Let the pot simmer for 20 minutes or so for whole pieces. Cover the pot with a lid. Turn it down to medium-to-low heat. You want it to just be lightly bubbling on top while it cooks the chicken and incorporates the flavor of the spices. [30]
X
Research source
You can also start with frozen chicken pieces, but you'll need to cook it in the pot about 40 minutes instead.
If you diced your chicken, you'll only need to cook it a couple of minutes before adding the noodles.
Cook the egg noodles. Pour the egg noodles into the pot when the chicken is done or almost done. Stir them in, and let them boil for about 6 minutes, until they are tender. [31]
X
Research source
To check for doneness, pull a noodle out and run it under cold water. Then taste it to see if it is done.
Shred the whole pieces of chicken while the noodles are finishing up. If you used whole pieces of chicken, use a ladle to spoon them out on a plate. With a knife and fork, shred the chicken into bite-sized chunks, making sure they aren't pink in the middle. The chicken should fall apart fairly easily.
If the chicken is still pink in the middle, put it back in the pot to cook for longer or heat it in the microwave. Get out a new plate for shredding the chicken if you put the chicken back in the pot.
If you want to use cooked chicken, add it a few minutes before the noodles are done cooking so it can heat up.
Finish up the soup with parsley. Throw the shredded chicken back into the pot, and add the fresh parsley. Fish out the bay leaves, and throw them in the trash, as they're not very edible. [32]
X
Research source
You can also add some fresh dill at the end if you'd like.
What recipes just contain flour, water, and some other things like eggs or yeast?
With flour, water, and yeast, you can make lots of different kinds of breads. With flour, water, and eggs, you can make homemade pasta.
How do I make a simple sugar free smoothie?
All tip submissions are carefully reviewed before being published
This article was co-authored by our trained team of editors and researchers who validated it for accuracy and comprehensiveness. wikiHow's Content Management Team carefully monitors the work from our editorial staff to ensure that each article is backed by trusted research and meets our high quality standards. This article has been viewed 123,680 times.
Helpful how-tos delivered to your inbox every week!
By signing up you are agreeing to receive emails according to our privacy policy.
Last Updated: January 3, 2021
References
Tested
Making homemade food is a great way to save money and eat well. It can be a little time-consuming when you're first getting started, but once you get the hang of it, you can bang out a delicious meal in under 30 minutes. Start with a few basic recipes, such as a cheese omelette, spaghetti, or chicken noodle soup, and work your way up from there to get more creative in the kitchen!
Xhamster Com 8600801 Beach 3some 2 Avi
Black Man Fucking Hard
Big Black Cocks Hard Fucking White Pussy
Unblock Xhamster
Selfie Xhamster


:max_bytes(150000):strip_icc()/garlicknots6-5a877b80fa6bcc003748333b.jpg)