Key Principles of Securing a Linux Server: How to Protect Your VDS
Dmitrii KriukovNowadays, owning a personal Linux-based server - especially a virtual dedicated server (VDS) - opens up a wide range of possibilities for hosting projects, managing data, and running various tasks. However, like any device connected to the internet, your VDS is at risk of cyberattacks and unauthorized access. A personal server, even if not owned by a company, still requires thorough protection to ensure data security and stable operation.
In this article, I’ll walk you through step-by-step how to secure a Linux server. This is a minimal but effective set of settings that I personally apply to all my machines - both at home and on remote VDS setups.

1. Regular System and Software Updates
Updating is the first and most crucial step. Developers quickly patch vulnerabilities, but without regular updates, your server remains at risk. Updates often include critical security fixes.
• Manual update - updates the list of packages and installs available updates
sudo apt update && sudo apt upgrade -y


2. Restricting Access Rights
One of the first steps after installing the server and connecting via SSH should be to create a separate user with limited privileges and disable direct access for the root user.
• Creating a user - creates a new system user
sudo adduser example

In Linux, access rights often depend on group membership.
• Adding user to the sudo group - gives the new user administrative privileges
sudo usermod -aG sudo example

This grants the new user administrative rights equivalent to root.
The next step is to disable root login. This is crucial for security: if an attacker knows that "root" definitely exists on the server, they only need to guess the password or key. But if root login is disabled, then even with the correct IP and username, they won’t be able to log in directly.
This eliminates an obvious attack target and forces attackers to guess actual usernames, which is far more difficult.
• Disable root login - open SSH configuration file
sudo nano /etc/ssh/sshd_config

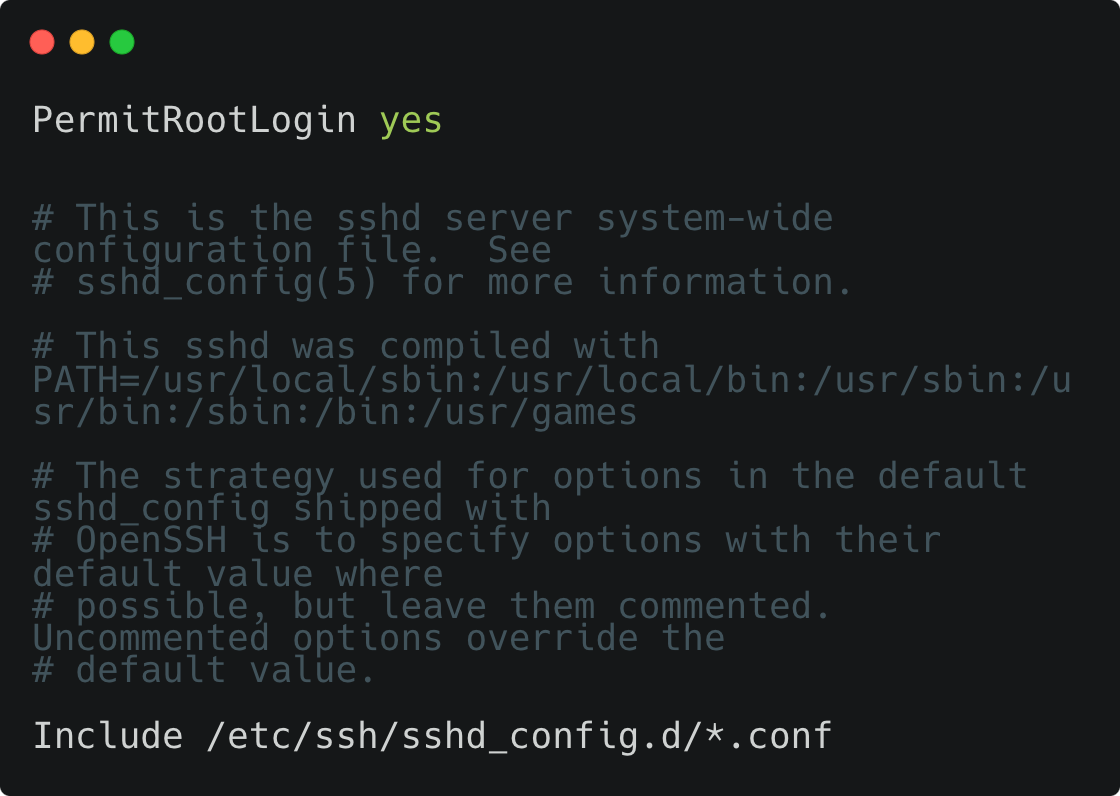
• Find the line indicating root login permission
PermitRootLogin yes
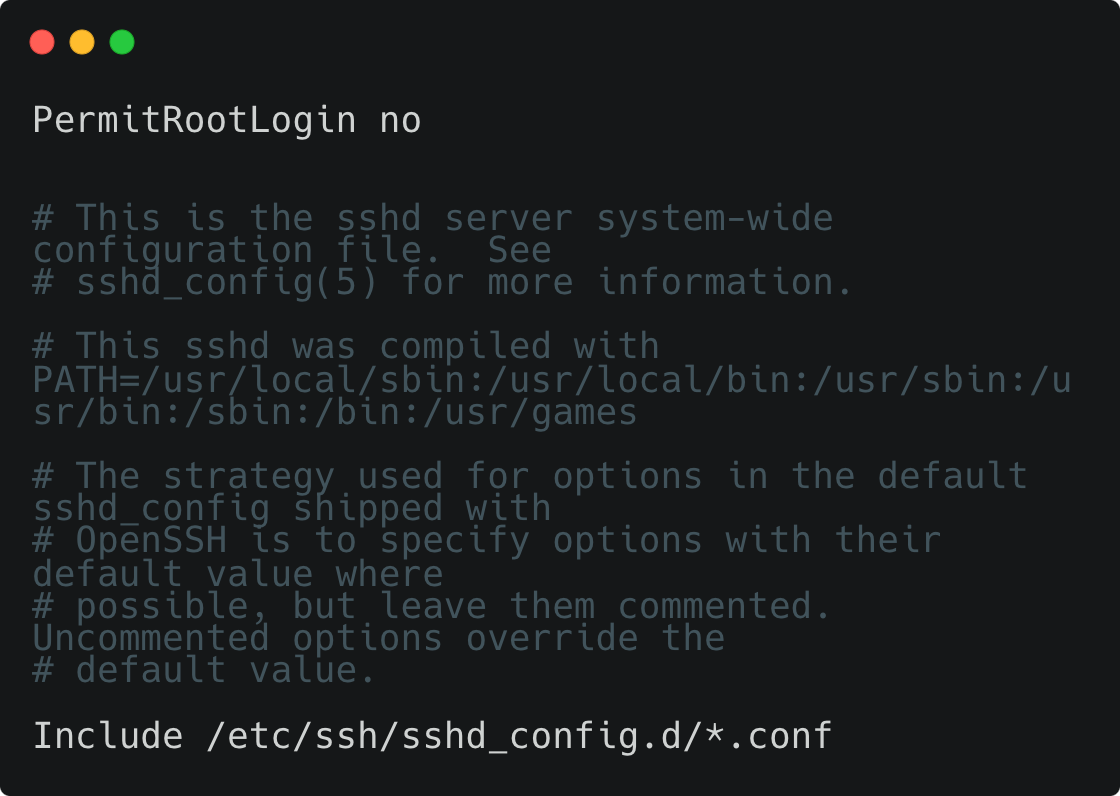
• Change it to deny root login
PermitRootLogin no
• Restart SSH service to apply changes
sudo systemctl restart sshd

Now, SSH access will only be possible through the new user, and root will be protected from direct login.
⚠️ Important: After restarting the SSH service, don’t exit your current session! ⚠️
First, open a new terminal tab and try connecting to the server using the new user. Make sure it works and that the user has the necessary permissions.
3. Using SSH Keys
One of the most important steps in securing a Linux server is to disable password-based login and switch to SSH key authentication. This not only boosts security but also eliminates the need to enter a password every time - unless you're using a passphrase.
SSH keys come as a pair of files:
- Public key (id_ed25519.pub) — can be shared and placed on servers.
- Private key (id_ed25519) — must be kept secret and stored locally.
The private key protects access to the server. Even if someone knows the IP and username, they can’t log in without the key.
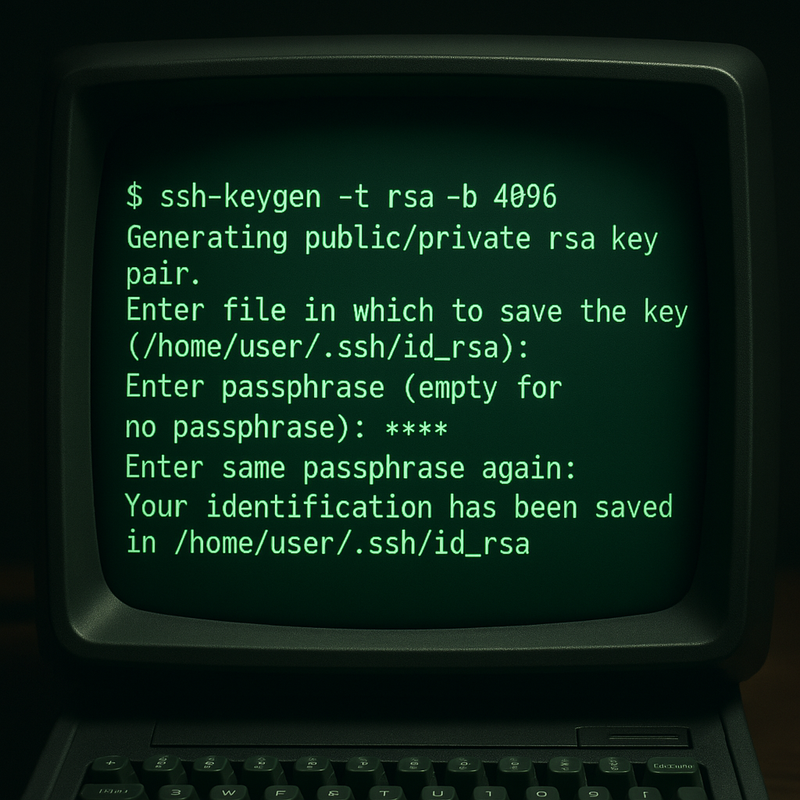
SSH keys are generated on your local machine (the one you use to connect to the server)
ssh-keygen -t ed25519 -C "your_email@example.com"

• -t ed25519 - specifies the key type. Ed25519 is modern and secure, recommended for most uses.
• -C "your_email@example.com" - adds a comment so you can easily identify what the key is for or who created it (e.g., email or device name).
During the generation process, you’ll be prompted to answer two questions:
• Enter file in which to save the key - press Enter to save to ~/.ssh/id_ed25519.
• Enter passphrase - create a passphrase to further protect the private key. You can leave this field empty if you want to use the key without a password - but this is insecure: if your device is compromised, an attacker will be able to connect to the server without restrictions.
You can add your SSH key to the server in two ways:
• Automatic method using one command
ssh-copy-id username@your_server_ip

This command will copy the contents of your public key to the server and place it in the ~/.ssh/authorized_keys file.
• If ssh-copy-id isn’t available (e.g., on minimal systems), you can do it manually
cat ~/.ssh/id_ed25519.pub

Copy the output — it’s a long line starting with ssh-ed25519.
• Then
ssh username@your_server_ip

• On the server, create the .ssh directory if it doesn’t already exist:
mkdir -p ~/.ssh && chmod 700 ~/.ssh

• mkdir -p - creates the directory if it doesn’t exist.
• chmod 700 - sets the permissions (accessible only to the user).
• Now add the copied public key to the ~/.ssh/authorized_keys file. Paste it as a single line, save, and exit
nano ~/.ssh/authorized_keys

• Set the correct permissions
chmod 600 ~/.ssh/authorized_keys

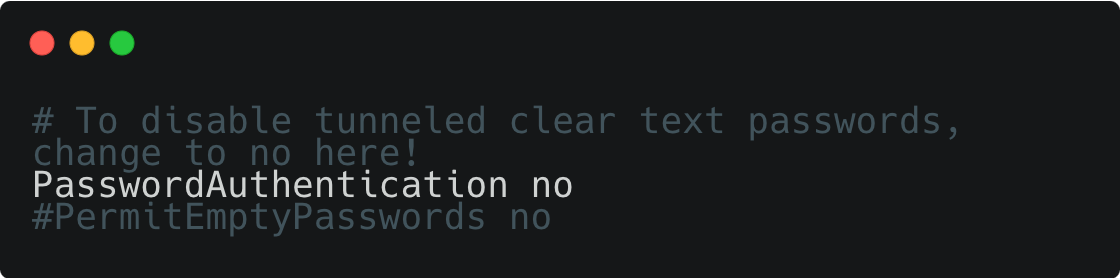
The final step is to disable password authentication altogether, so attackers can’t even attempt to guess your password
• Open the SSH configuration file
sudo nano /etc/ssh/sshd_config
• Find the line
PasswordAuthentication yes
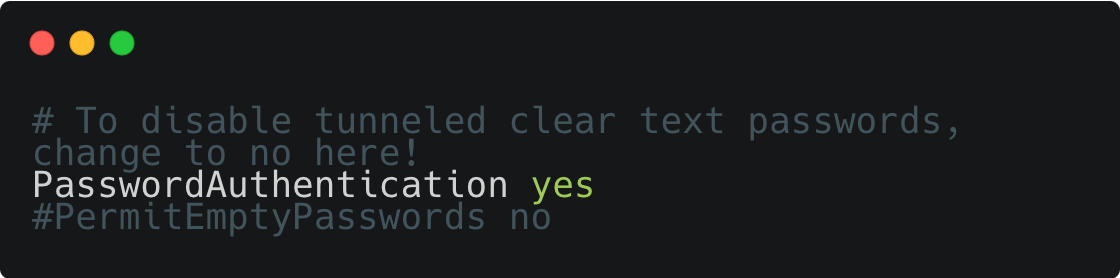
• And change it to
PasswordAuthentication no
• Then restart the SSH service
sudo systemctl restart sshd
⚠️ Important: Before disabling password authentication, make sure your SSH key works! Otherwise, you might lose access to the server. ⚠️
4. Two-Factor Authentication (OTP)
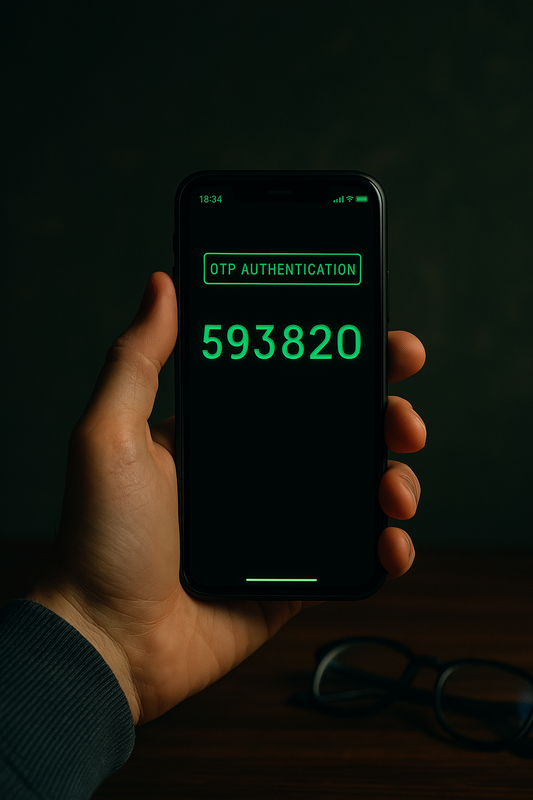
For additional protection of SSH access to your server, you can set up two-factor authentication using One-Time Passwords (OTP). This means that even if an attacker has your password or SSH key, they still won’t be able to log in without the code generated on your phone.
• Update package lists
sudo apt update

This command should be run before installing any new packages to refresh the list of available packages from the repositories (in our case, Ubuntu).
• Install the libpam-google-authenticator package
sudo apt install libpam-google-authenticator

• Launch the Google Authenticator setup
google-authenticator

• The setup process will include several questions:
Do you want authentication tokens to be time-based (y/n) y

Tokens will be refreshed every 30 seconds, just like in the Google Authenticator app. This is the most secure and standard option.
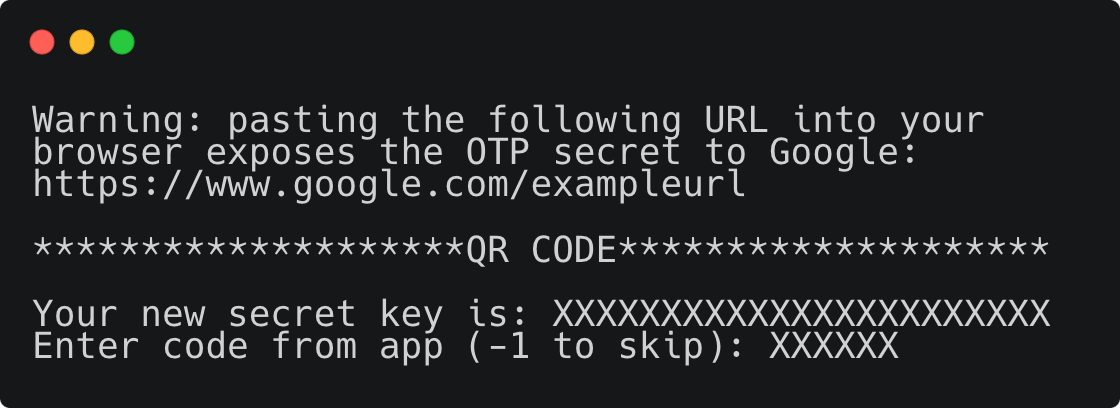
Next, the terminal will display a link/QR code and your Secret Key. After scanning the QR code or entering the Secret Key manually in the Google Authenticator app on your phone, you will see a six-digit code that changes every 30 seconds. During this window, you need to enter this code in the prompt:
Warning: pasting the following URL into your browser exposes the OTP secret to Google: https://www.google.com/exampleurl Your new secret key is: XXXXXXXXXXXXXXXXXXXXXXXXX Enter code from app (-1 to skip): XXXXXX
After entering a valid code, you will see a message
Code confirmed Your emergency scratch codes are: 12345678 87654321 47329483 76532923 45678345
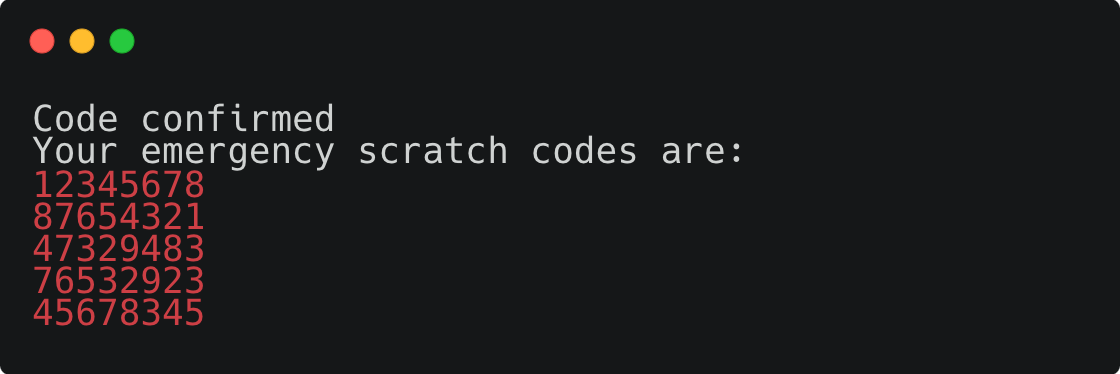
Emergency codes - these are backup codes. Use them if you lose access to your phone. Save them in a safe place! I recommend storing them in tools like KeePassXC.
The next question will be:
Do you want me to update your "/home/exampleUser/.google_authenticator" file? (y/n) y
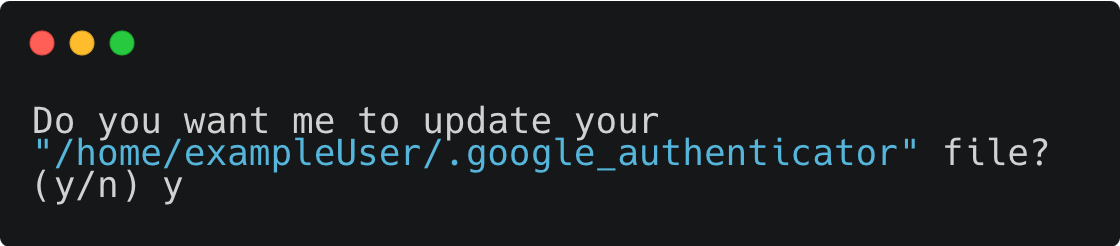
This saves the settings to a file so that the system knows you are now using 2FA for login.
Then you’ll be asked about disallowing reuse of the same code:
Do you want to disallow multiple uses of the same authentication token? This restricts you to one login about every 30s, but it increases your chances to notice or even prevent man-in-the-middle attacks (y/n) y
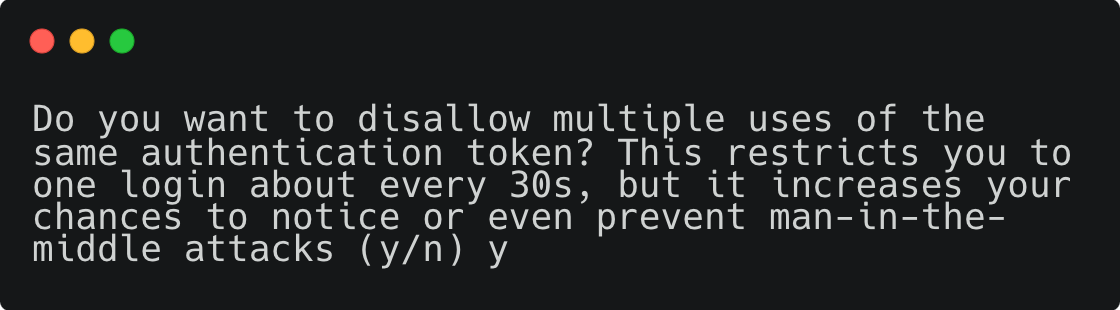
This prevents reuse of the same code. It enhances protection from attacks but imposes a minor restriction — one login every 30 seconds.
Next, you’ll see a question about increasing the time delay window
By default, a new token is generated every 30 seconds by the mobile app. In order to compensate for possible time-skew between the client and the server, we allow an extra token before and after the current time. This allows for a time skew of up to 30 seconds between authentication server and client. If you experience problems with poor time synchronization, you can increase the window from its default size of 3 permitted codes (one previous code, the current code, the next code) to 17 permitted codes (the 8 previous codes, the current code, and the 8 next codes). This will permit for a time skew of up to 4 minutes between client and server. Do you want to do so? (y/n) n
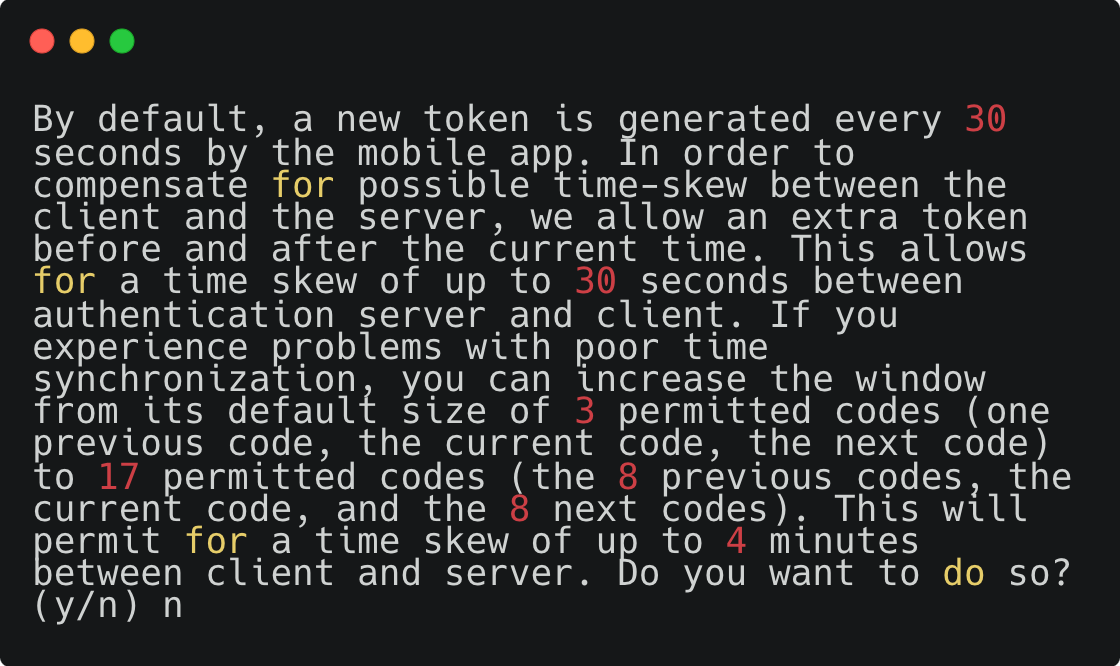
This extends the allowed time skew between server and client (up to ±4 minutes instead of ±30 seconds). Use this if your time is not properly synchronized.
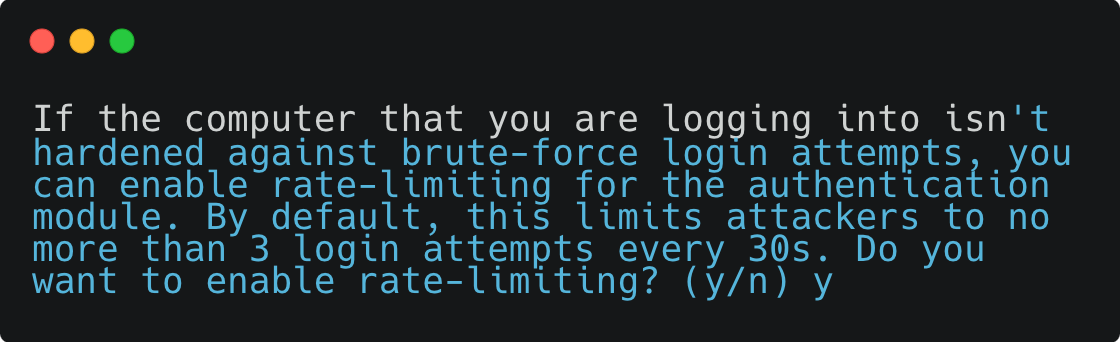
The final question is about enabling brute-force protection
If the computer that you are logging into isn't hardened against brute-force login attempts, you can enable rate-limiting for the authentication module. By default, this limits attackers to no more than 3 login attempts every 30s. Do you want to enable rate-limiting? (y/n) y
Final Step: Enabling 2FA for SSH
Once you’ve configured Google Authenticator for your user, you need to enable OTP code checking during SSH login
Enable the PAM module for Google Authenticator
• Open the PAM configuration for SSH
sudo nano /etc/pam.d/sshd

• Add the following line at the top of the file (if it doesn’t already exist)
auth required pam_google_authenticator.so
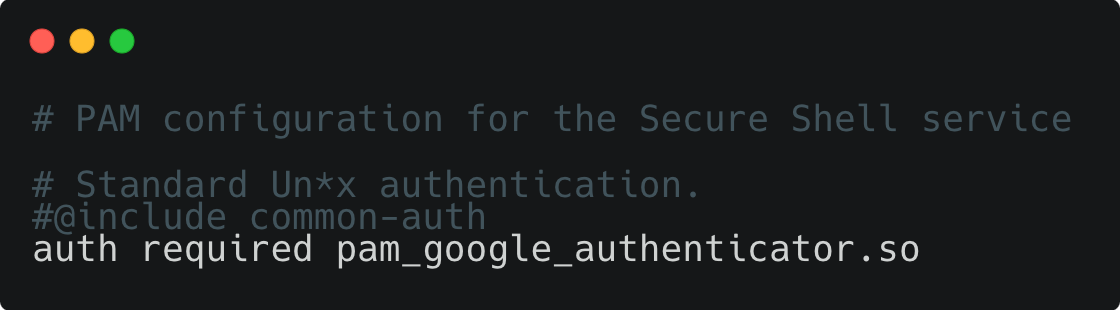
This line enables 2FA when logging in via SSH
Enable challenge-based authentication
• Open the main SSH configuration file
sudo nano /etc/ssh/sshd_config
Make sure the following parameters are set
PasswordAuthentication no KbdInteractiveAuthentication yes UsePAM yes AuthenticationMethods publickey,keyboard-interactive
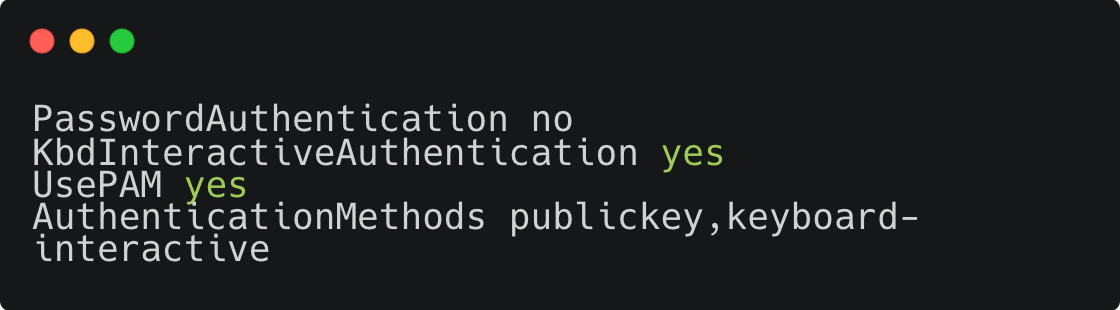
If any of the parameters are missing — add them manually
• Note: On Ubuntu, all configs from the sshd_config.d folder are also included in the main SSH configuration file
Include /etc/ssh/sshd_config.d/*.conf

⚠️ This means any line in these files can override your main SSH config. ⚠️
• Go through the files in /etc/ssh/sshd_config.d/ and make sure they match your main SSH config, especially these lines:
PasswordAuthentication no KbdInteractiveAuthentication yes UsePAM yes
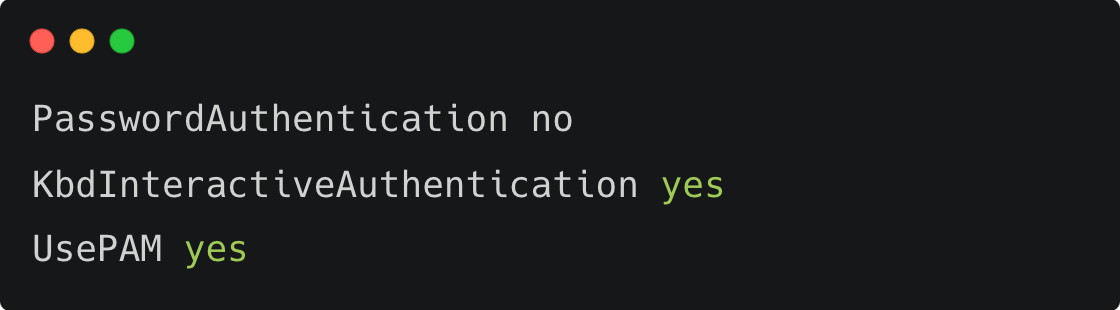
• Validate the config before restarting
sudo sshd -t

• If nothing is printed - the syntax is valid and you can restart the service:
sudo systemctl restart sshd

5. Fail2Ban – Protection from SSH Brute Force Attacks
Fail2Ban is a service that monitors logs (for example, /var/log/auth.log) and automatically blocks IP addresses that attempt to guess the SSH password too frequently.
It’s ideal for protecting your server against random scanners and bots - they often begin probing port 22 just a few minutes after your machine goes online.
• Run package update and install Fail2Ban
sudo apt update && sudo apt install fail2ban -y

• Then enable and start the service
sudo systemctl enable fail2ban sudo systemctl start fail2ban
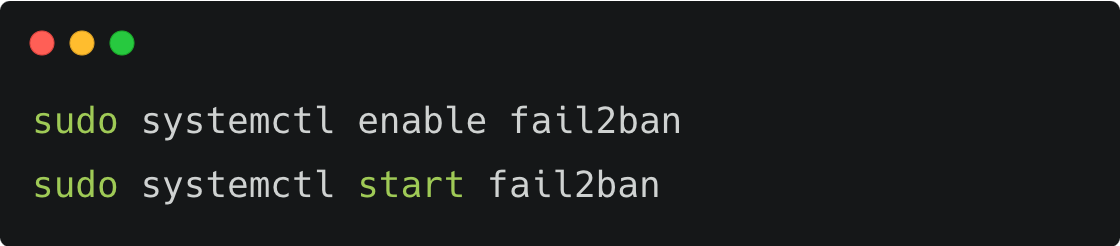
Fail2Ban will now automatically start on boot and, by default, already monitors /var/log/auth.log.
• Check the service status
sudo systemctl status fail2ban

To configure Fail2Ban flexibly (define which services to protect, how many attempts are considered suspicious, how long to ban an IP, etc.) — we create a configuration file jail.local.
Important: Do not edit jail.conf directly — it may be overwritten when the package is updated. All custom settings should be placed in jail.local, which has priority.
• Create the file
sudo nano /etc/fail2ban/jail.local

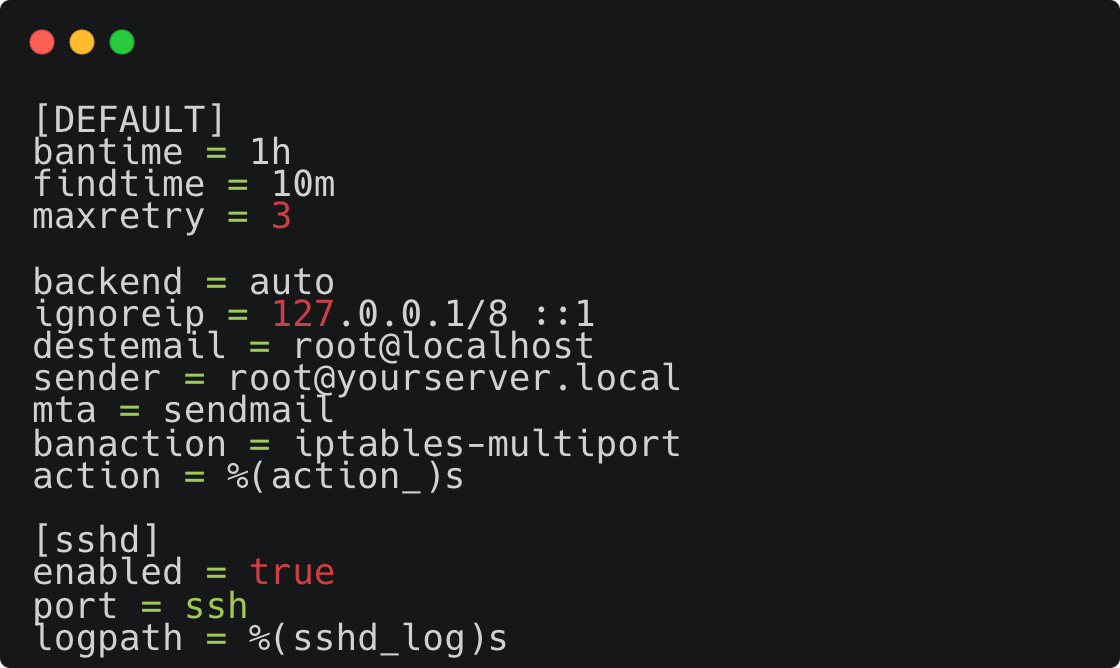
• Example of a minimal SSH configuration
[DEFAULT] # IP ban duration bantime = 1h # Time window to count failed attempts findtime = 10m # Number of allowed failed attempts. maxretry = 3
backend = auto ignoreip = 127.0.0.1/8 ::1 destemail = root@localhost sender = root@yourserver.local mta = sendmail banaction = iptables-multiport action = %(action_)s
[sshd] enabled = true port = ssh logpath = %(sshd_log)s
• After saving the configuration — restart the services
sudo systemctl restart sshd sudo systemctl restart fail2ban

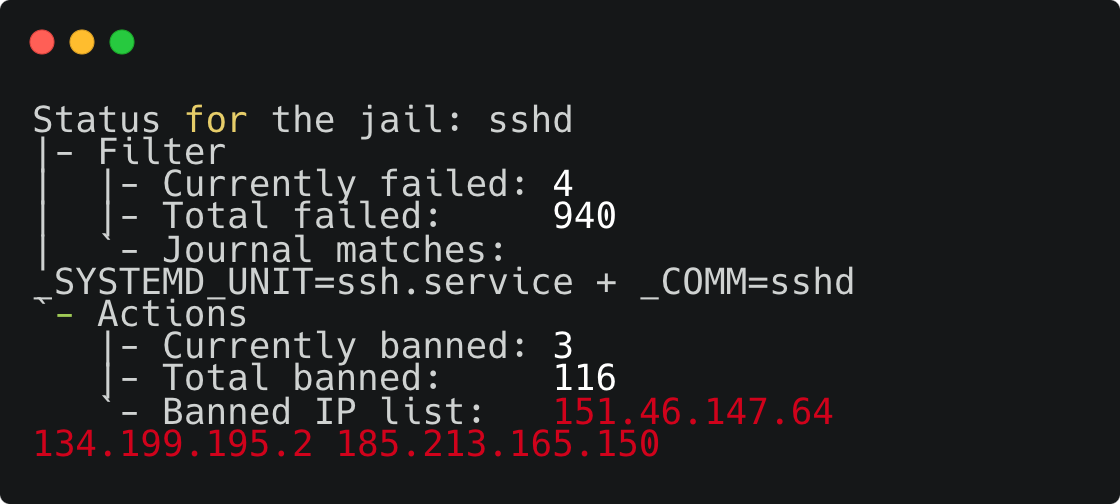
• To check how many IPs are currently banned
sudo fail2ban-client status sshd

• Example output of this command

6. UFW – Basic Firewall Setup
UFW (Uncomplicated Firewall) is a user-friendly wrapper over iptables that allows you to manage incoming connections to your server. With it, you can easily allow or block access by port, limiting potential attack surfaces.
On most servers, at least SSH (port 22) is open, and sometimes other services like HTTP, HTTPS, FTP, etc. Leaving everything open is a bad idea. Even if you don’t host a website, bots and scanners will still try to connect to your machine.
In most modern Ubuntu and Debian distributions, UFW comes pre-installed by default, so you don’t need to install it manually.
• Check if UFW is active
sudo ufw status

• If the command output shows
Status: inactive

This means UFW is installed, but not enabled.
UFW works on the principle of “deny everything, allow what you need”, and that’s exactly how it should be configured.
# Deny all incoming connections sudo ufw default deny incoming

# Allow all outgoing connections (e.g., for updates and pings) sudo ufw default allow outgoing

# Allow SSH access. sudo ufw allow 22/tcp
# Allow HTTPS access (if you host a website). sudo ufw allow 443/tcp

# Enable the firewall sudo ufw enable

⚠️ After enabling UFW, do not close your current SSH session. Instead, open a new one and verify that you can still connect to the server. This helps avoid accidentally locking yourself out. ⚠️
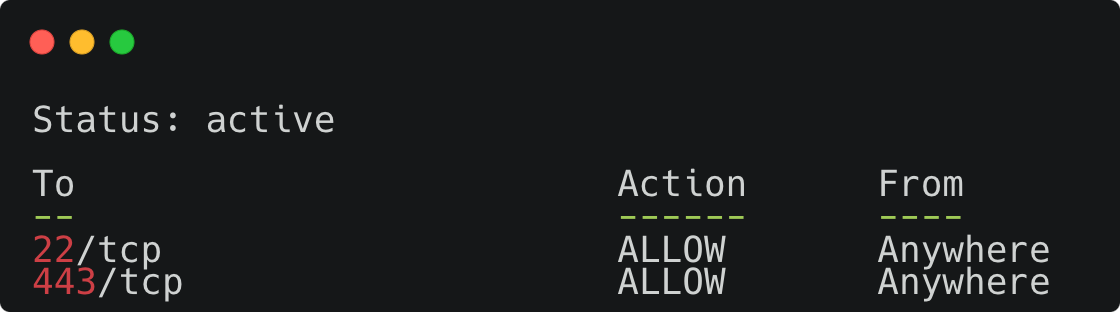
• Check current rules
sudo ufw status verbose

• Example output of this command
• To deny a specific port
sudo ufw deny 21/tcp # FTP (if not used)

• To deny a specific IP address
sudo ufw deny from 1.2.3.4

• To allow access to a port only from your IP
sudo ufw allow from 1.2.3.4 to any port 22 proto tcp

• If you added something by mistake, show a numbered list of rules
sudo ufw status numbered

• Select the rule to delete and remove it with
sudo ufw delete 1

UFW can also be configured via files in /etc/ufw, but for basic protection, the CLI is sufficient. Under the hood, UFW uses iptables, and just makes managing it easier.