Installing One UI 5.1+ in Korean S10 series.
Ravindu DeshanYou must read and follow everything I mentioned, and I'll not be responsible for bricked devices.
- We can't actually install ported One UI ROMs like Ivan's ROM and Apricity ROM on the Korean S10 series because of the tiny 80MB product partition.
- In this beginner-friendly article, I'll guide you on how to install any custom ported ROM on your Korean S10 by repartitioning the device.
Requirements : PC, USB Cable, TWRP, SDK Platform tools, Parted
1. Boot the phone into TWRP Recovery and connect your phone to PC with USB cable.
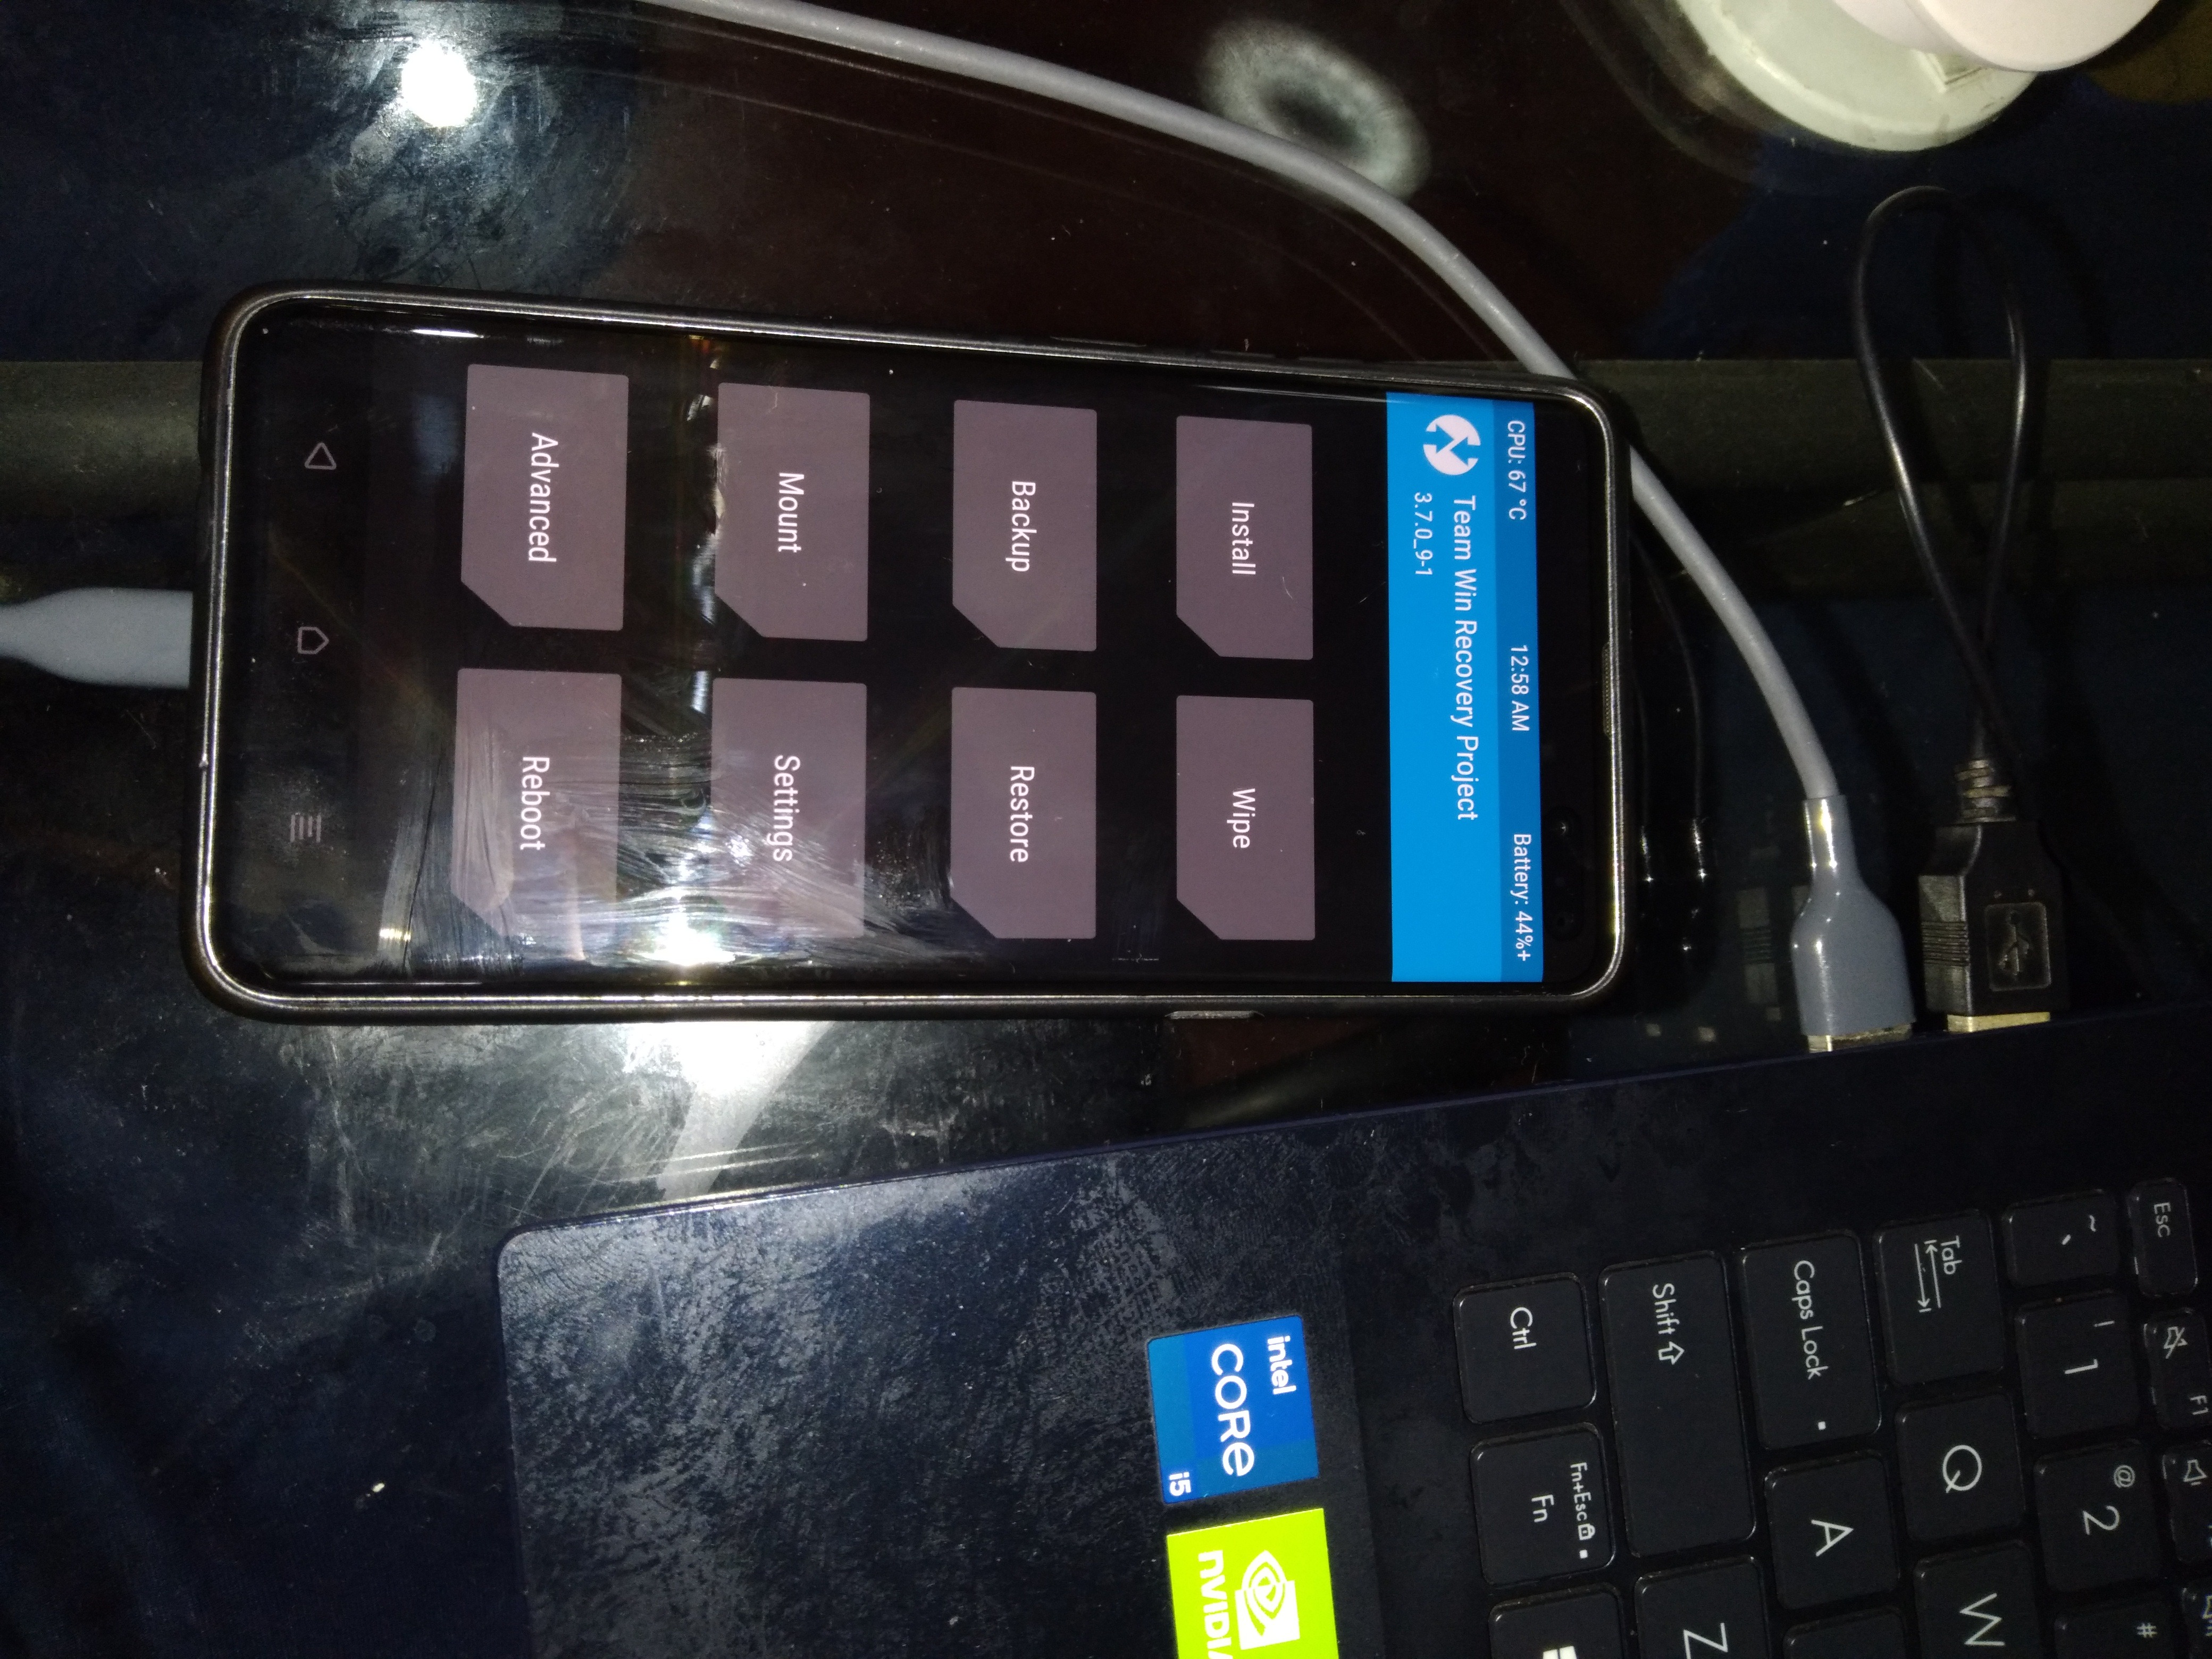
Make sure to "unmount" all the partitions from TWRP by going to the "Mount" menu.
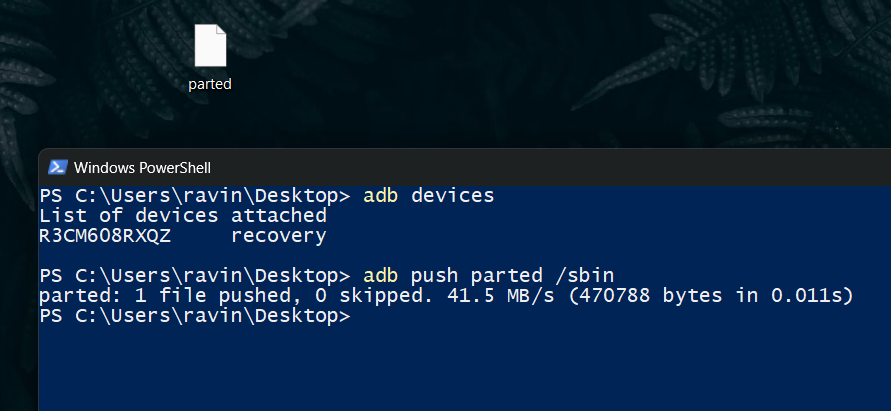
2. Push the "parted" binary to "/sbin" using this command:
adb push parted /sbin
3. Now, type "adb shell" to access Android's shell interface.
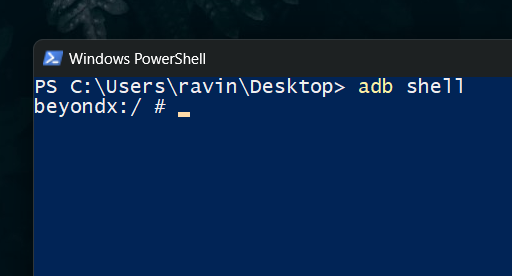
Now, give "parted" executable permissions using this command in the Android's shell interface:
chmod +x /sbin/parted
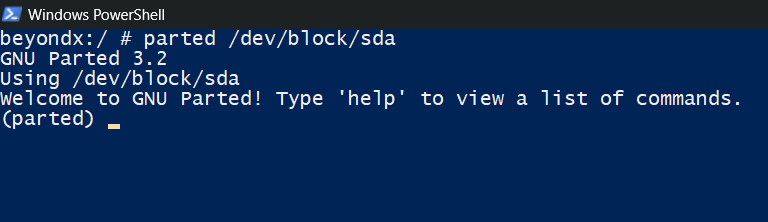
4. Now, type below command to get started :
parted /dev/block/sda
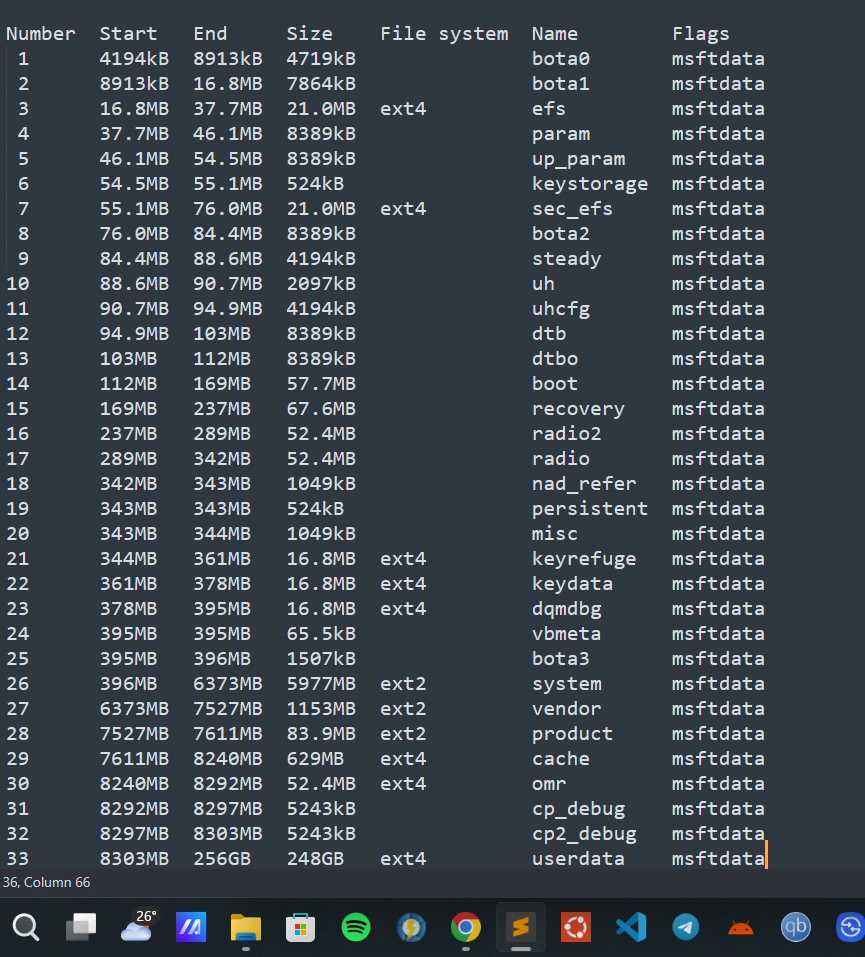
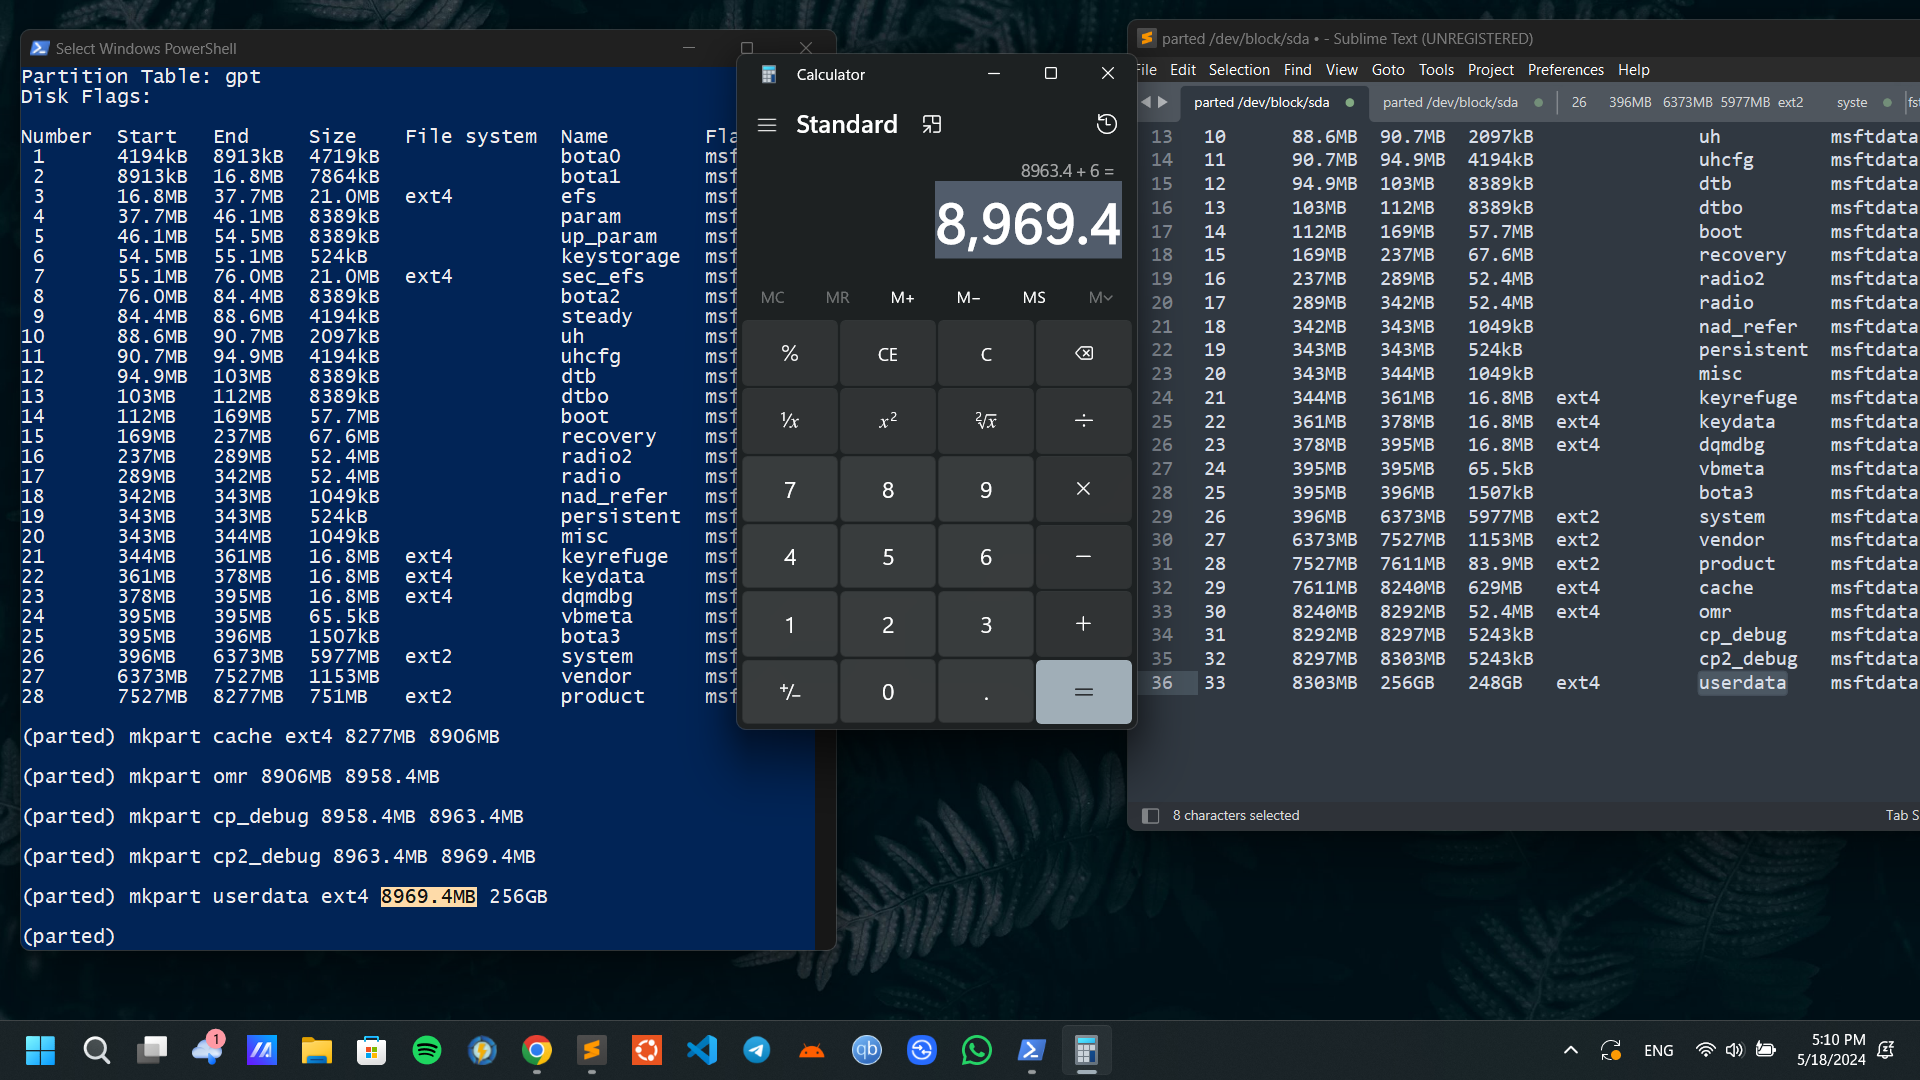
5. Now, enter "p" to list the partition table :
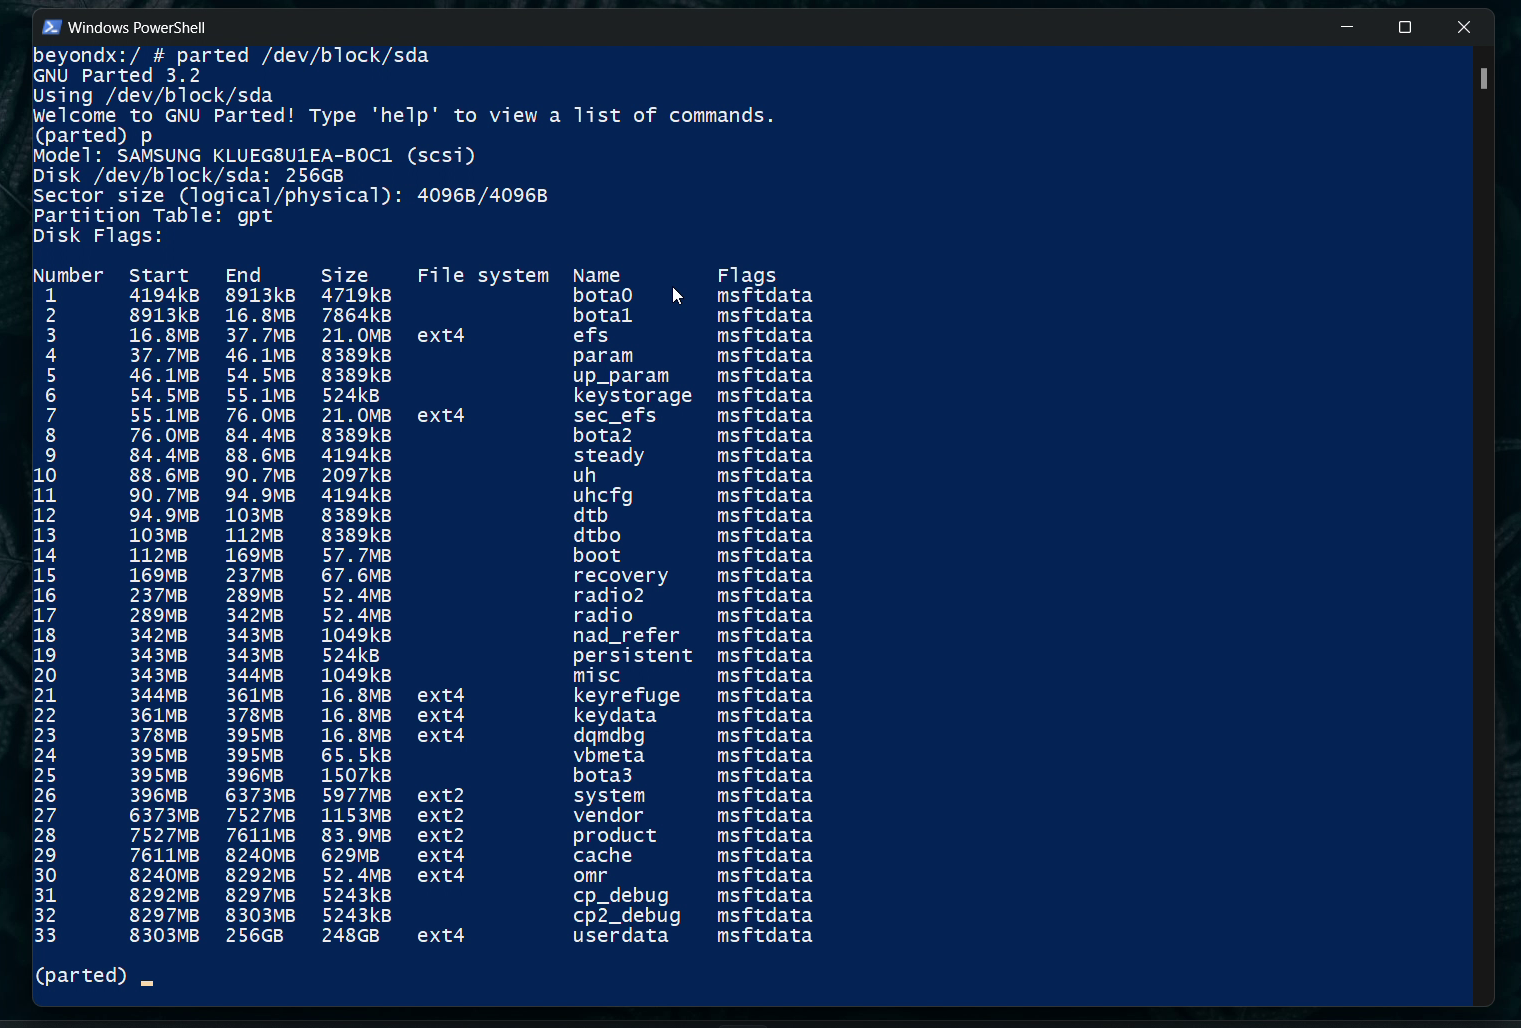
Then, copy the entire text and paste it in a note editor :
Now, all we have to do is slice a piece from our "userdata" partition and merge that sliced piece into our "product" partition, just like a cake!
- You can see that the partition number for "product" is 28 in the above screenshots of the partition table.
- To increase the product's size, we have to delete all the partitions below it (including product). This means we have to delete all the partitions starting from "product" to "userdata".
- To delete a partition, you can use this command in the "parted" menu:
rm {partition number}
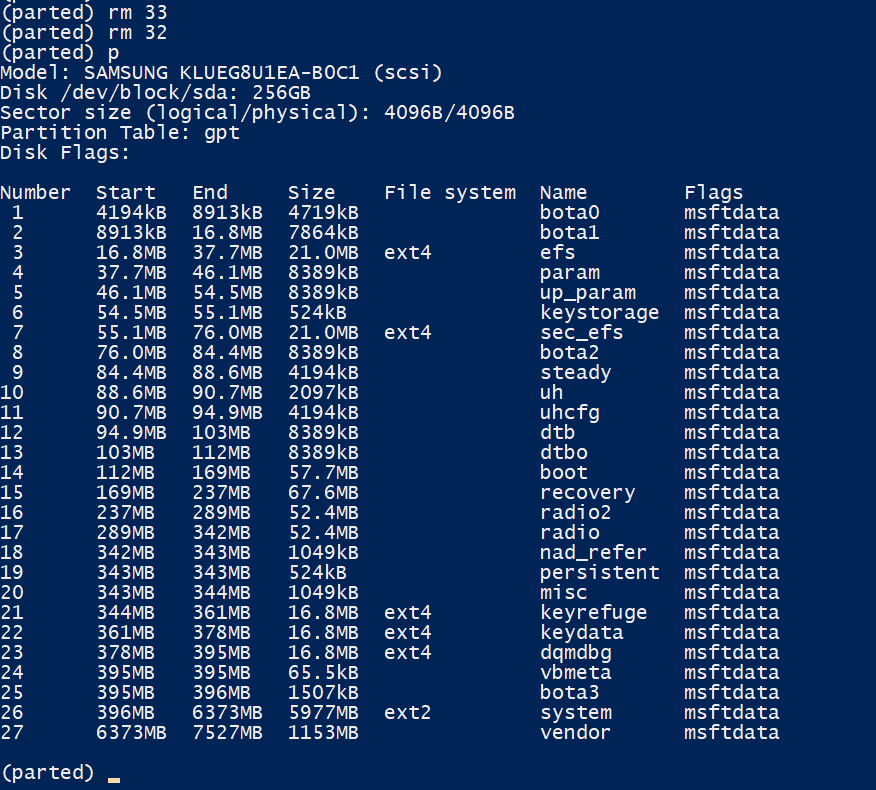
In this case, we have to delete the partitions from 28 to 33. To do that, we can simply use these commands one by one:
rm 28
rm 29
rm 30
rm 31
rm 32
rm 33
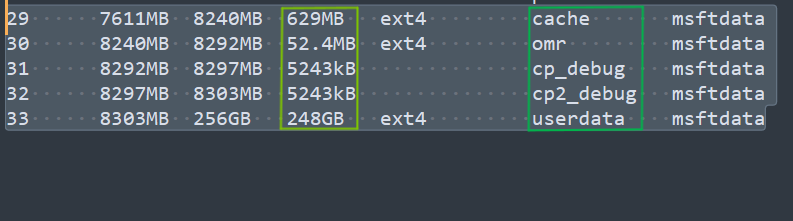
After deleting all the selected partitions, the partition table should look like this:
Now, we have to recreate all the deleted partitions (respectively) one by one. Since our main goal is increasing the size of "product", we will also be adding more space to "product" too.
6. Now, we are going to create a new "product" partition with a new size for the partition number 28.
This is the line for my current partition (vendor) which is at the bottom of the table:
Number Start End Size File system Name Flags
27 6373MB 7527MB 1153MB vendor msftdata
- In my case, the "End" value for my 27th partition (vendor) is "7527MB".
- It must be the "Start" value for partition 28, which is supposed to be "product" and which we are also going to create.
✔️ So, our "Start" value for the "product" is 7527MB
- Now, we should choose an "End" value for our partition.
- I suggest you to make a "product" partition at least "750MB".
- To calculate the "End" value, just use this equation :
{Start value} + {Partition size} = "End" value
In my case, I can calculate it like this :
7527MB + 750MB = 8277MB
✔️ Finally, our "End" for the "product" is "8277MB"
Since we have both the "Start" and "End" values for our product partition that we're going to create, you can use this command to create the new product partition:
mkpart {partition name} {file system} {Start value} {End value}
Example:
mkpart product ext2 7527MB 8277MB

Result :

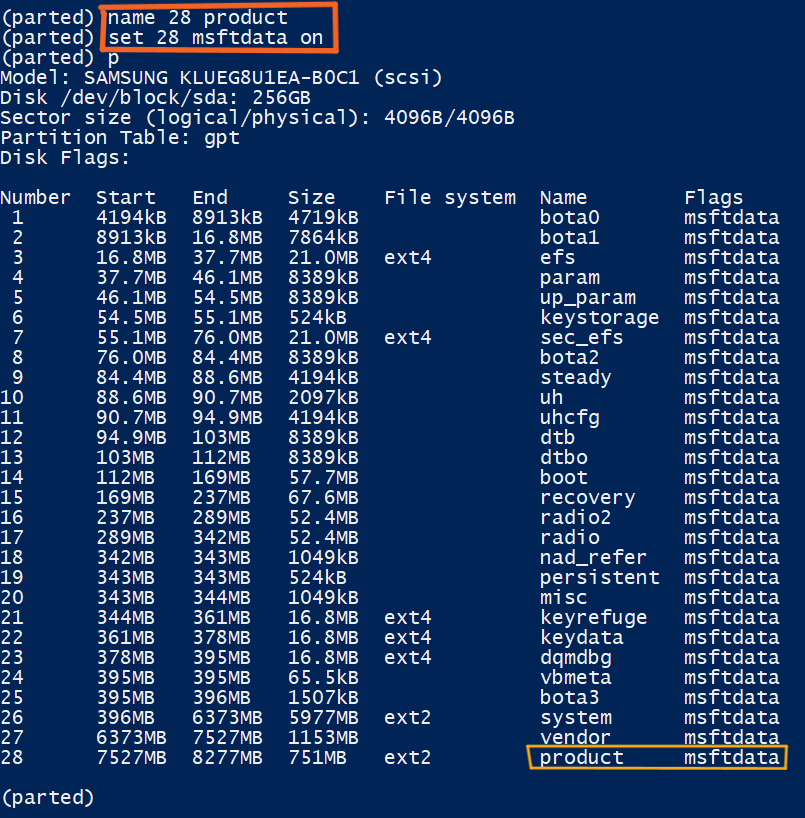
- Now, we should name that created partition as "product".
You can use this command to assign a name to any desired partition:
name {Number} {Any name}
Example:
name 28 product
Also, we need to set the msftdata flag as well.
Examples :
set 28 msftdata on
Final result:
- Since we created the "product" partition (which is our main goal), the next step is creating the other deleted partitions with their original sizes.
7. Do the same procedure to create the rest of the partitions.
- You can refer to the "partition size" from the previous partition table, which is in our text editor, and "add" it to the "Start" value to calculate the "End" values for each of the partitions.
Creating rest of the partitions using the calculator and 🧠:
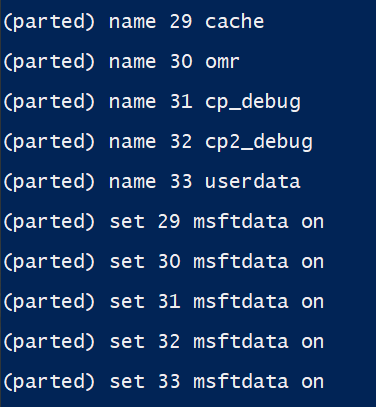
Naming them and applying their flags:
Final Result:

Important :
- You can leave a space for the partitions which don't have a mentioned file system.
- Since cp_debug partitions are sized in kilobytes, I calculated their values by subtracting the "Start" value from the "End" value to calculate their sizes (which gave me the sizes of 5MB and 6MB respectively).
- If you encounter any warnings, just type "ignore" and they won't brick your device, so just chill.
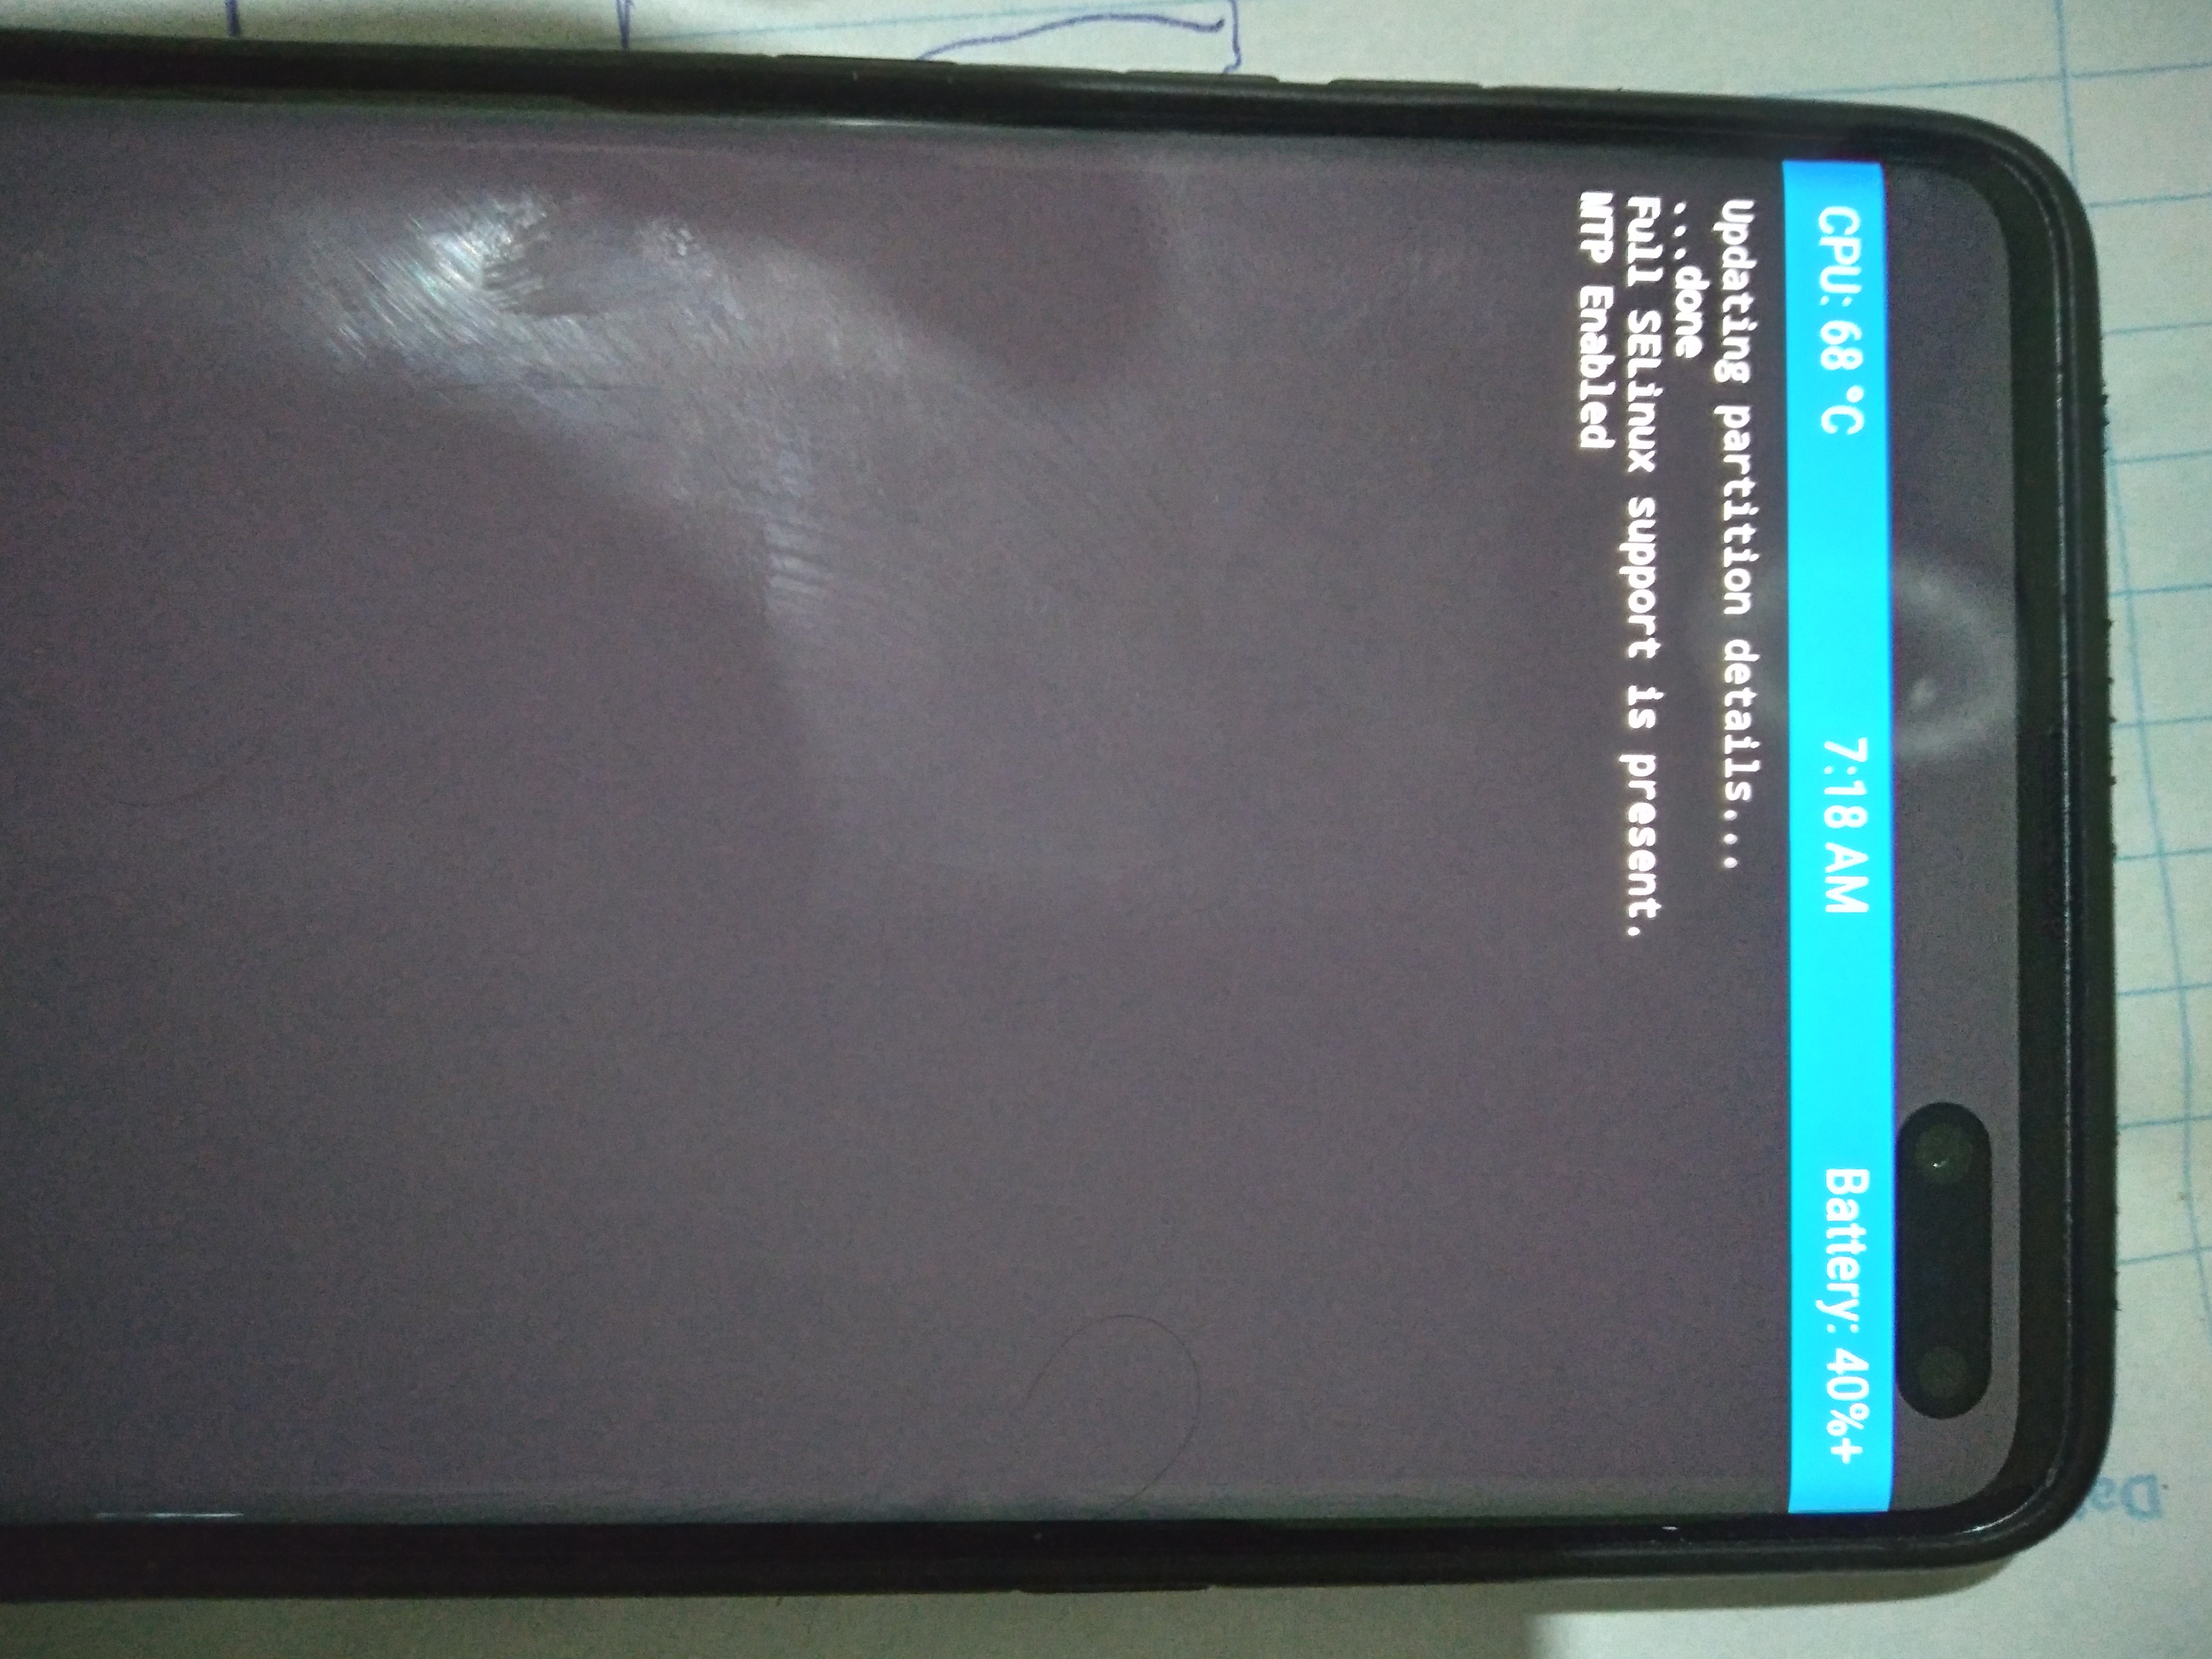
8. Now go to "Reboot > Recovery" in your TWRP.
- Once you boot again into TWRP, you'll see infinite mount errors like this:
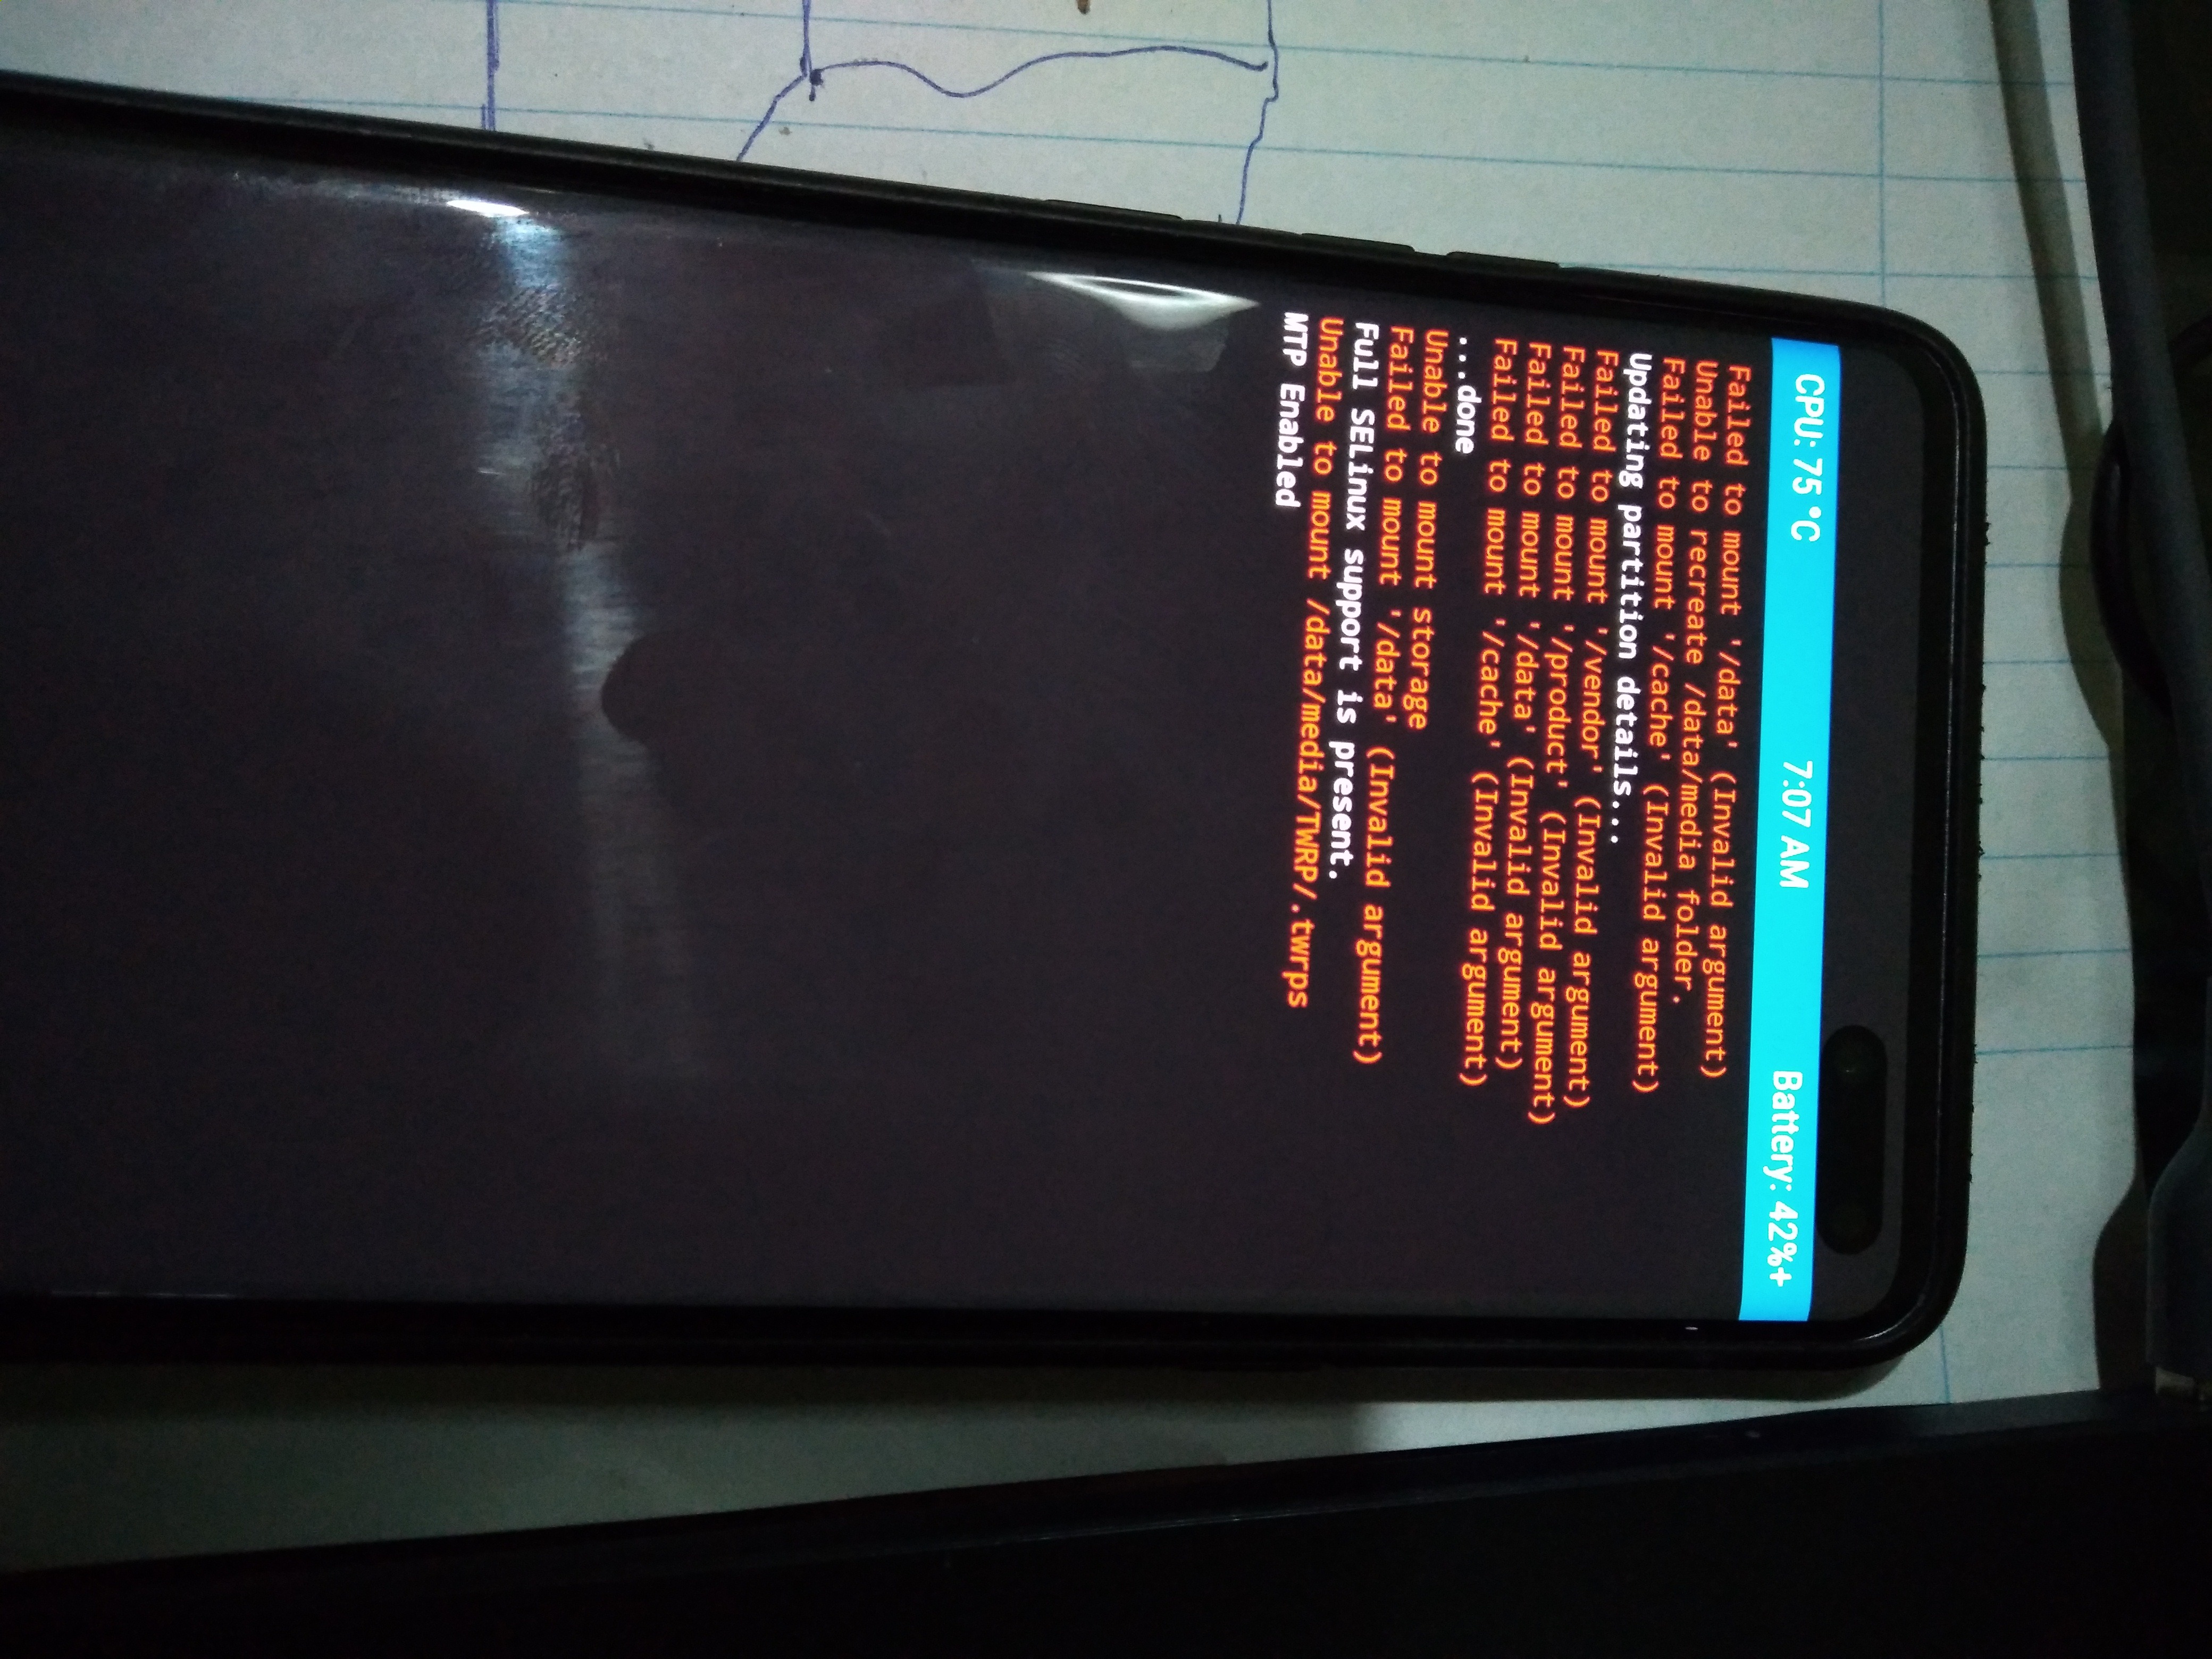
(Sorry for the mounting error for vendor because my previous ROM's vendor is EROFS).
Let's fix these errors, One by One:
- Go to "Wipe" > "Format Data" > "Yes" in TWRP. Then go to TWRP's home screen and select "Reboot" > "Recovery" to reboot again to TWRP and apply the changes.
- Then, go to "Wipe" > "Advanced Wipe" > select "Product" and "Cache" and drag the slider to wipe these partitions. After that, reboot to TWRP again.
Now, you can see all the errors are gone..!
🗿 This is it, folks! Now you can install any One UI ported ROMs.
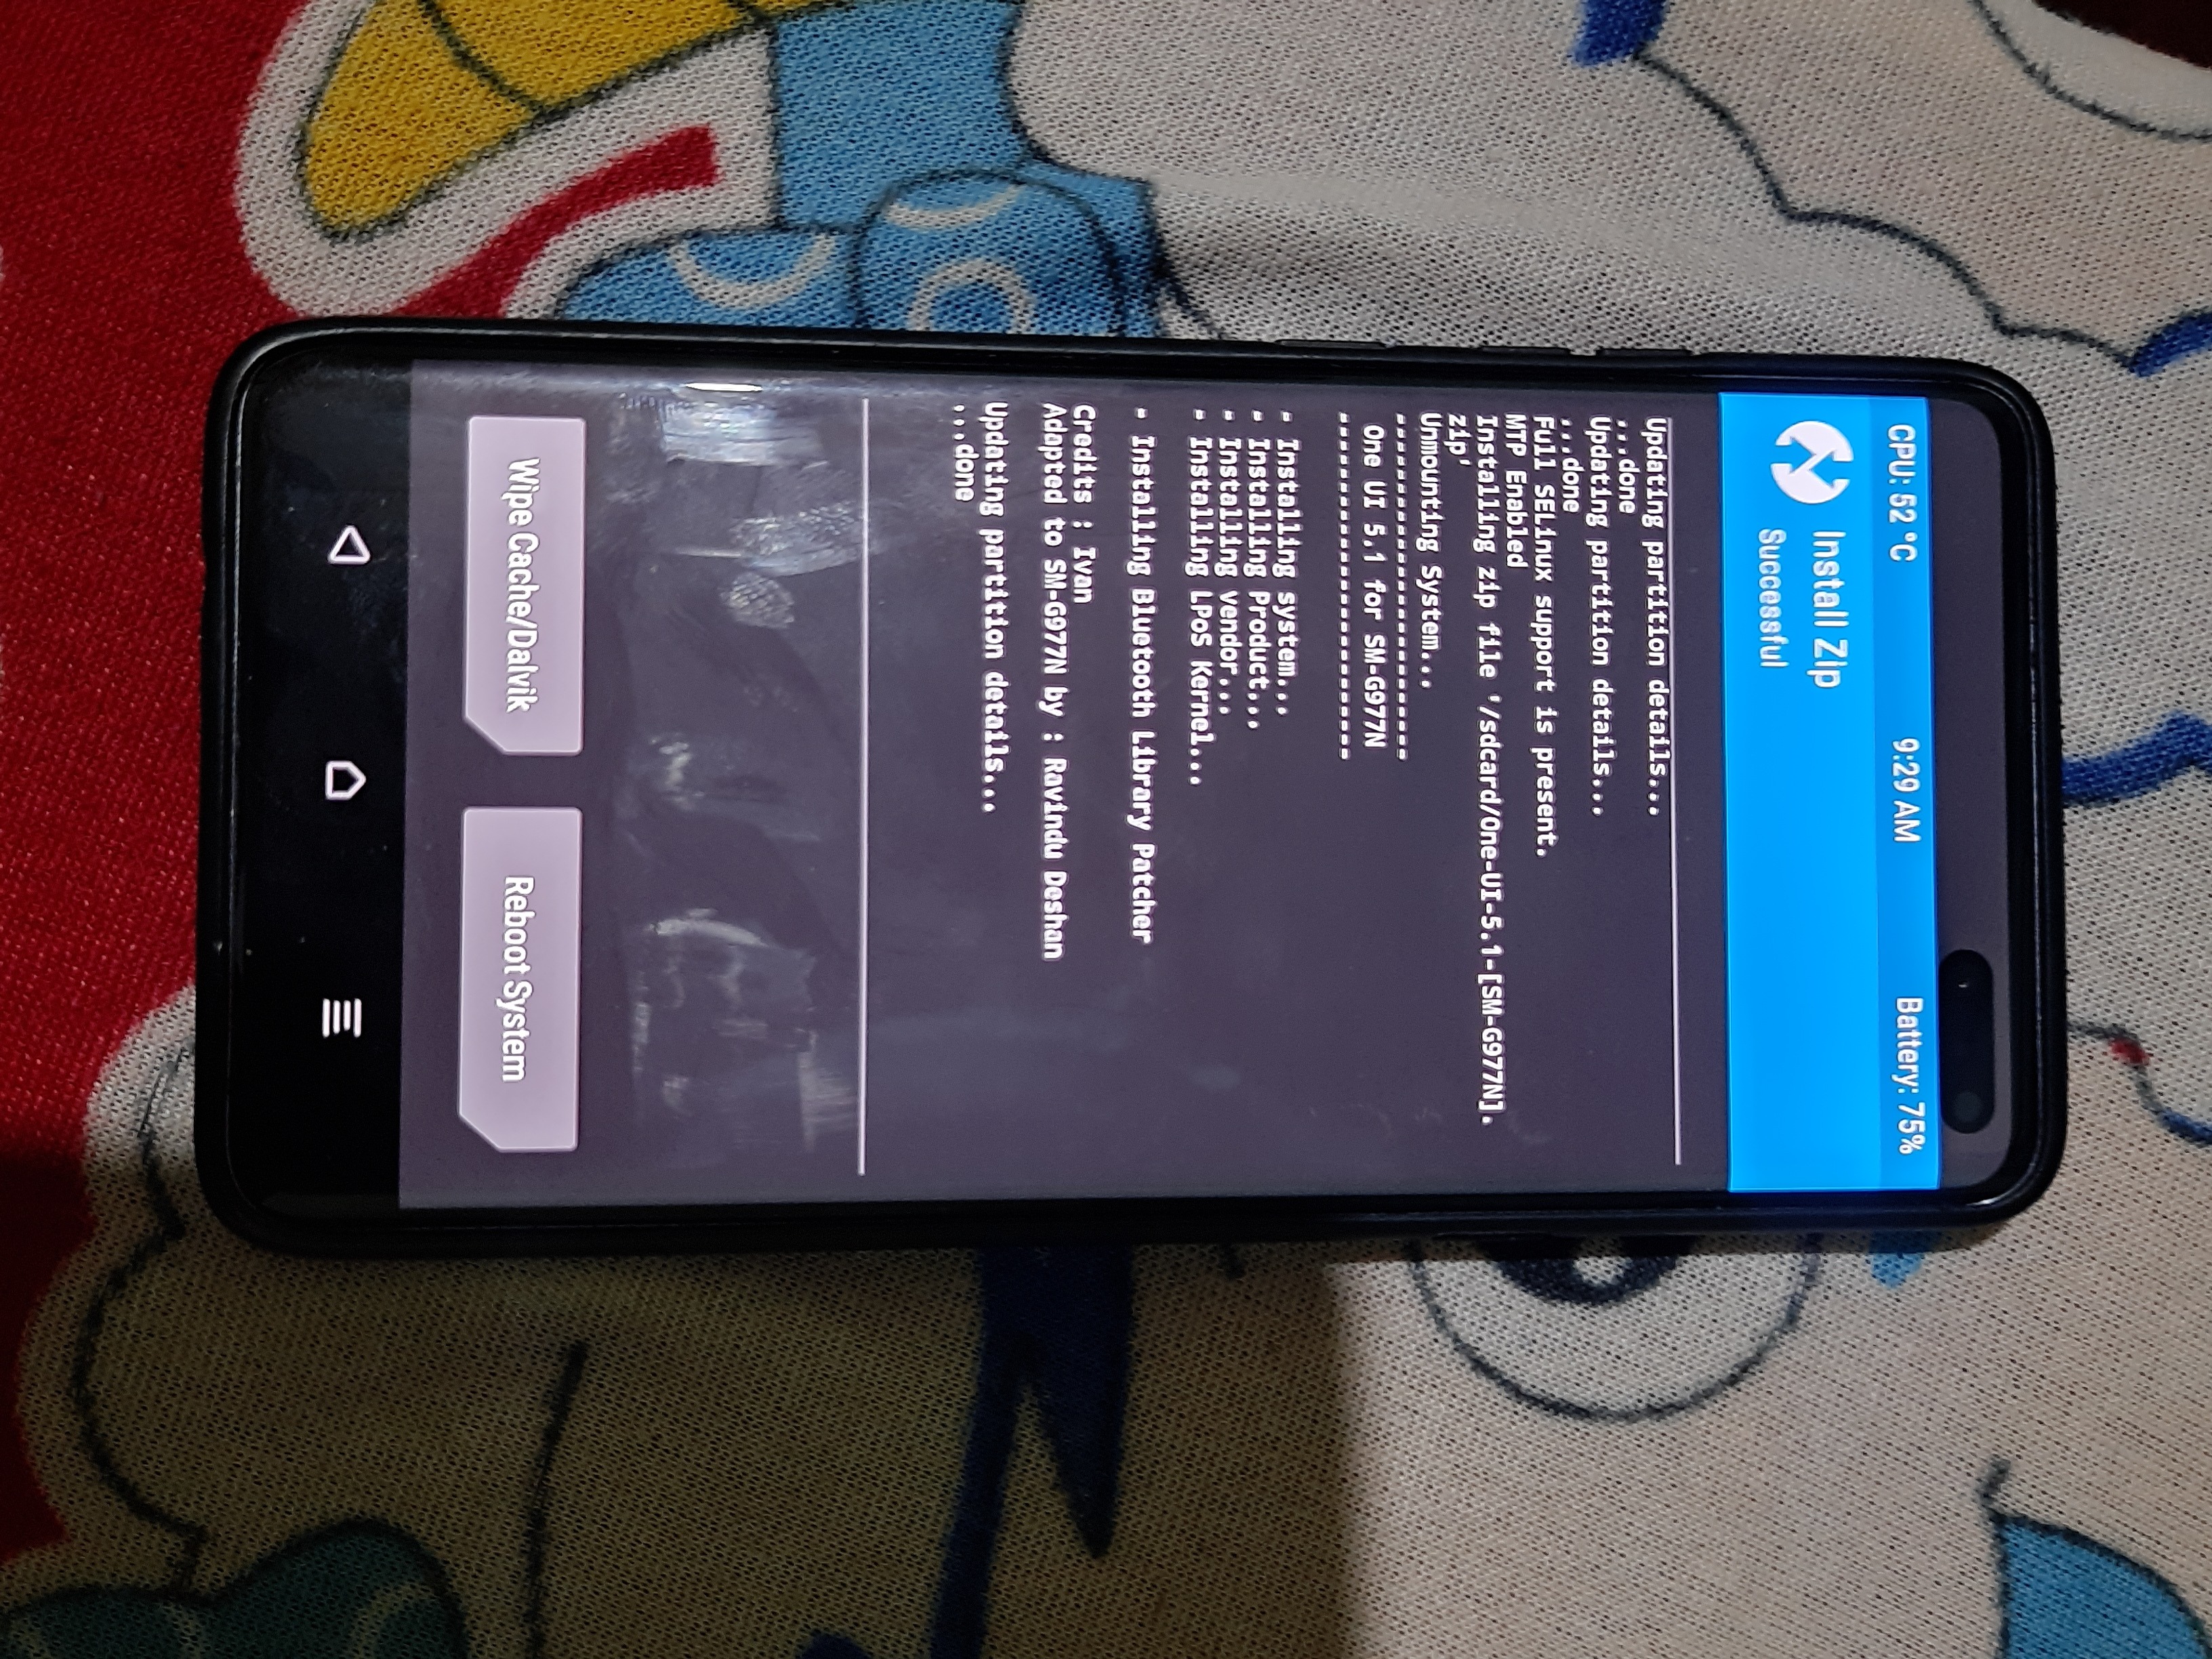
- You must use Ivan's TWRP to install Ivan's One UI 5.1 or Apricity.
- You will encounter issues when flashing images to the partitions created in this guide using ODIN. Therefore, you should use TWRP instead.
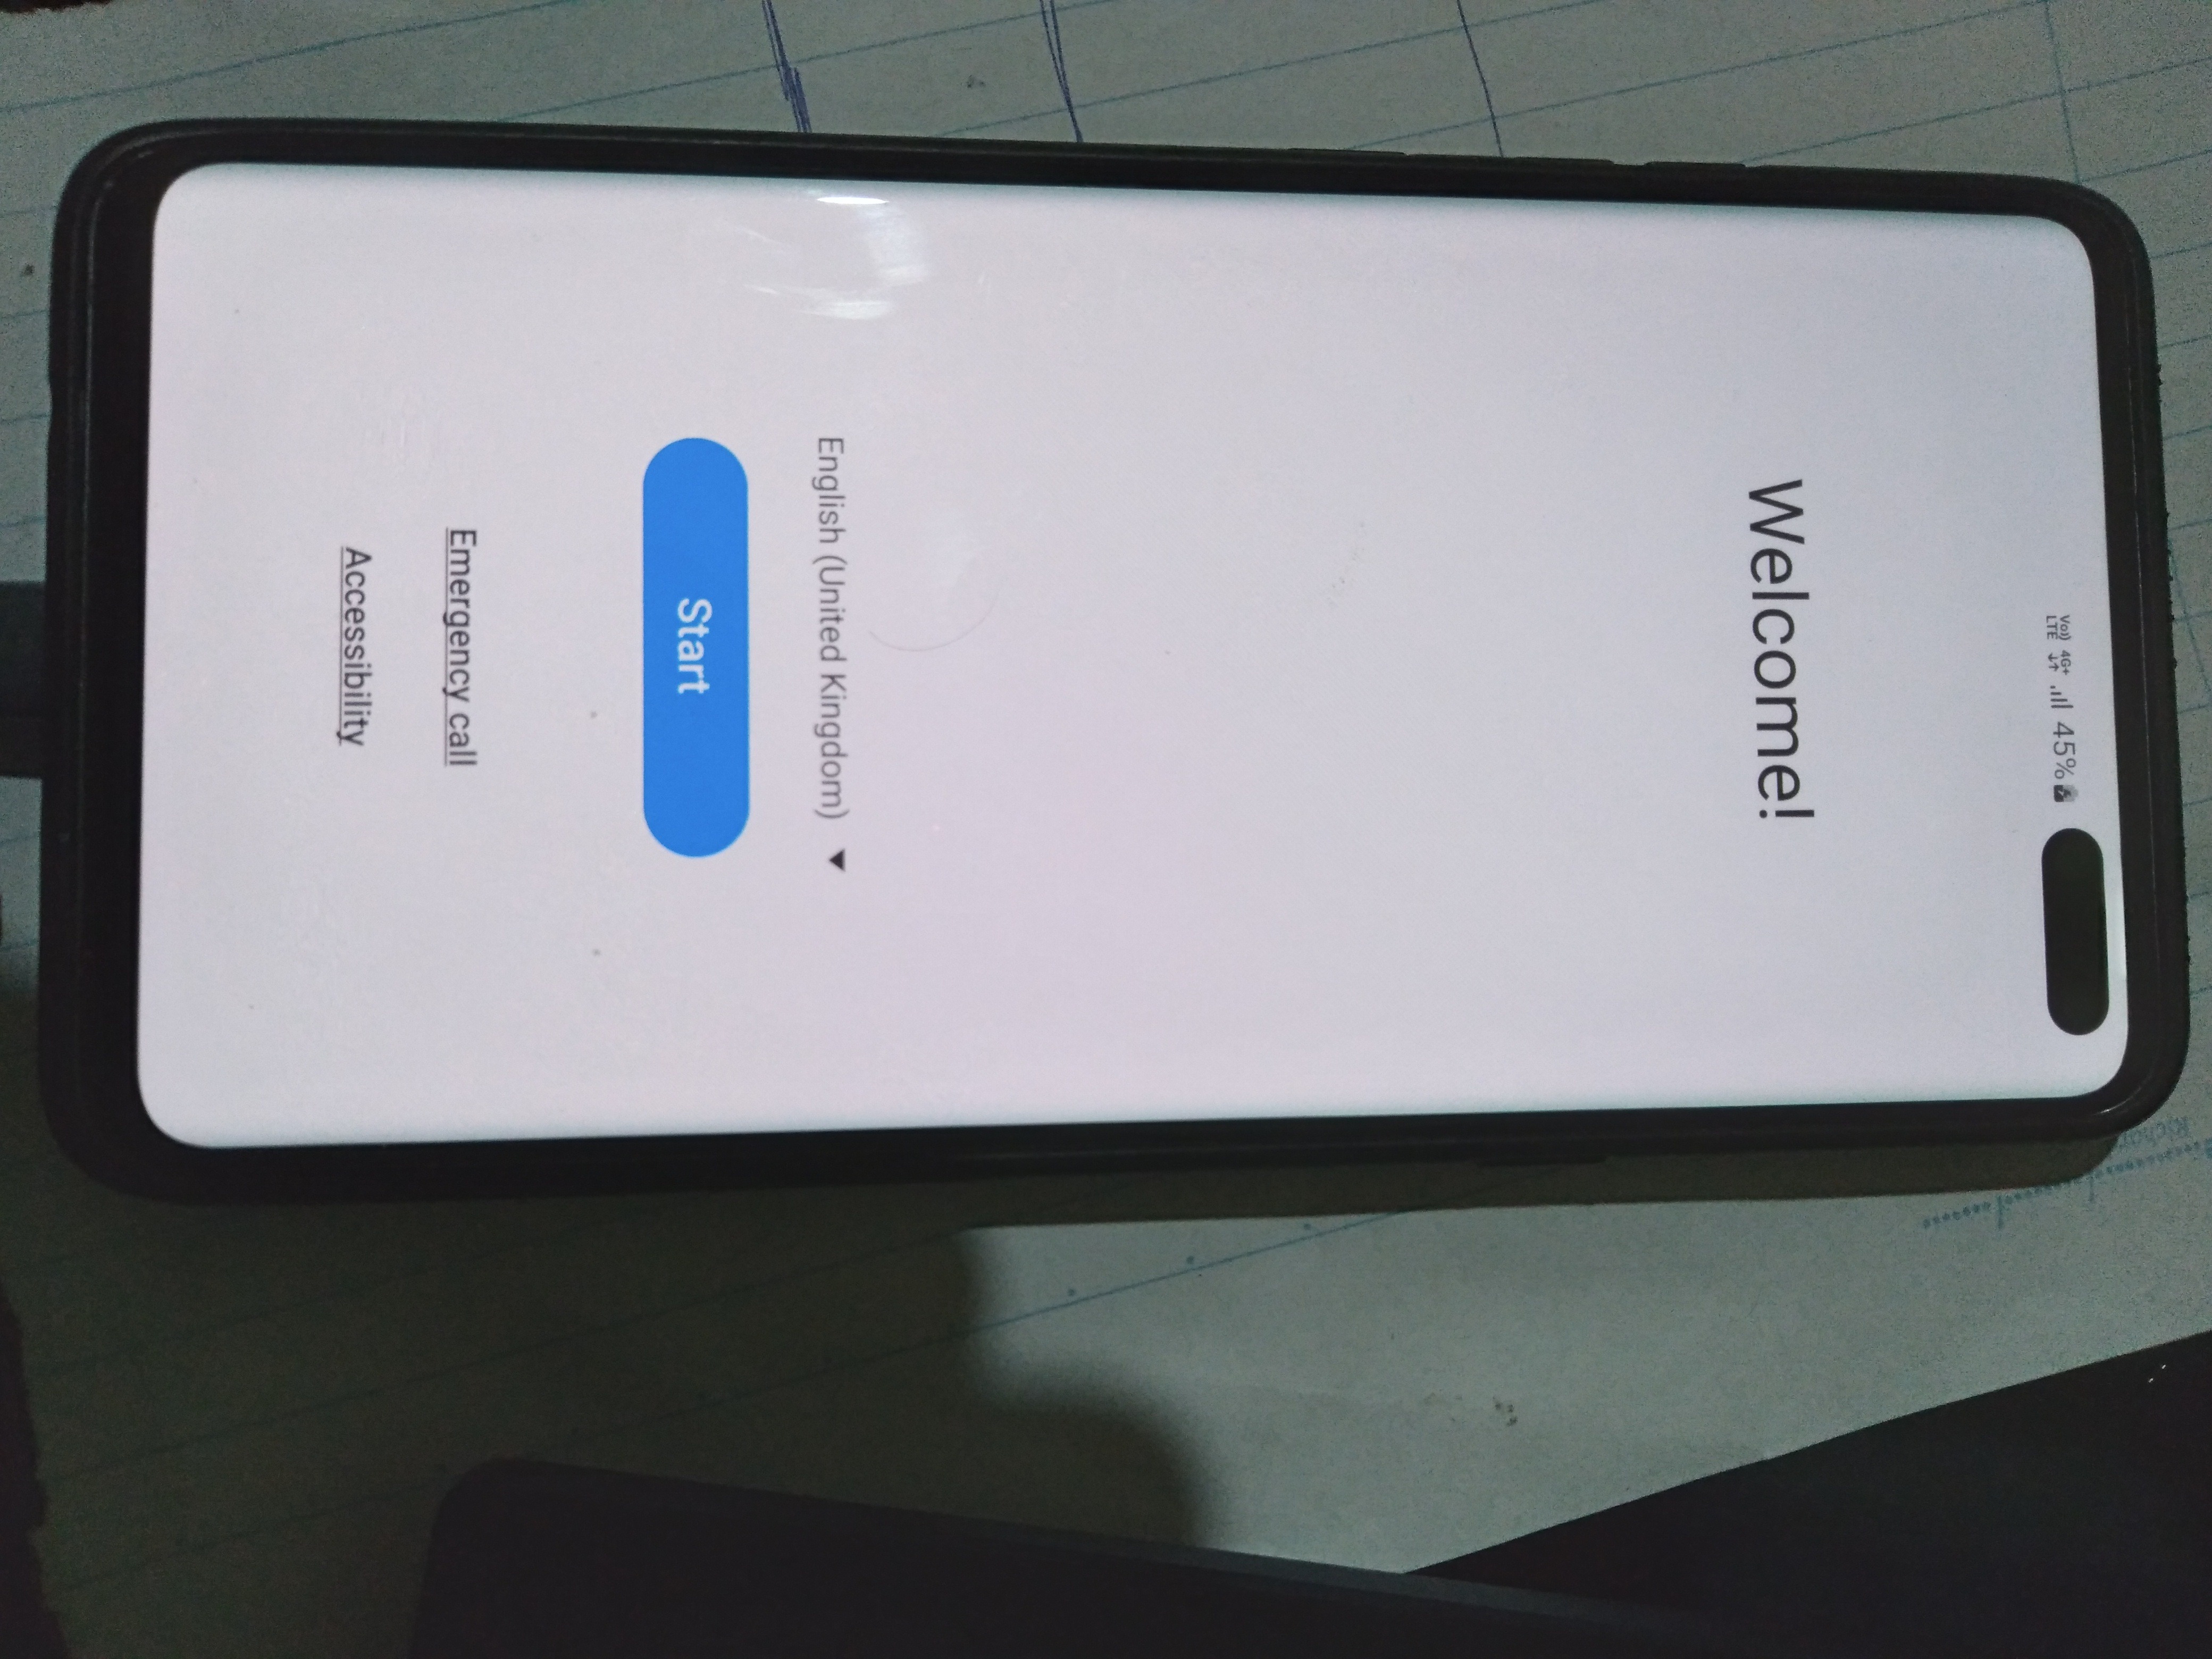
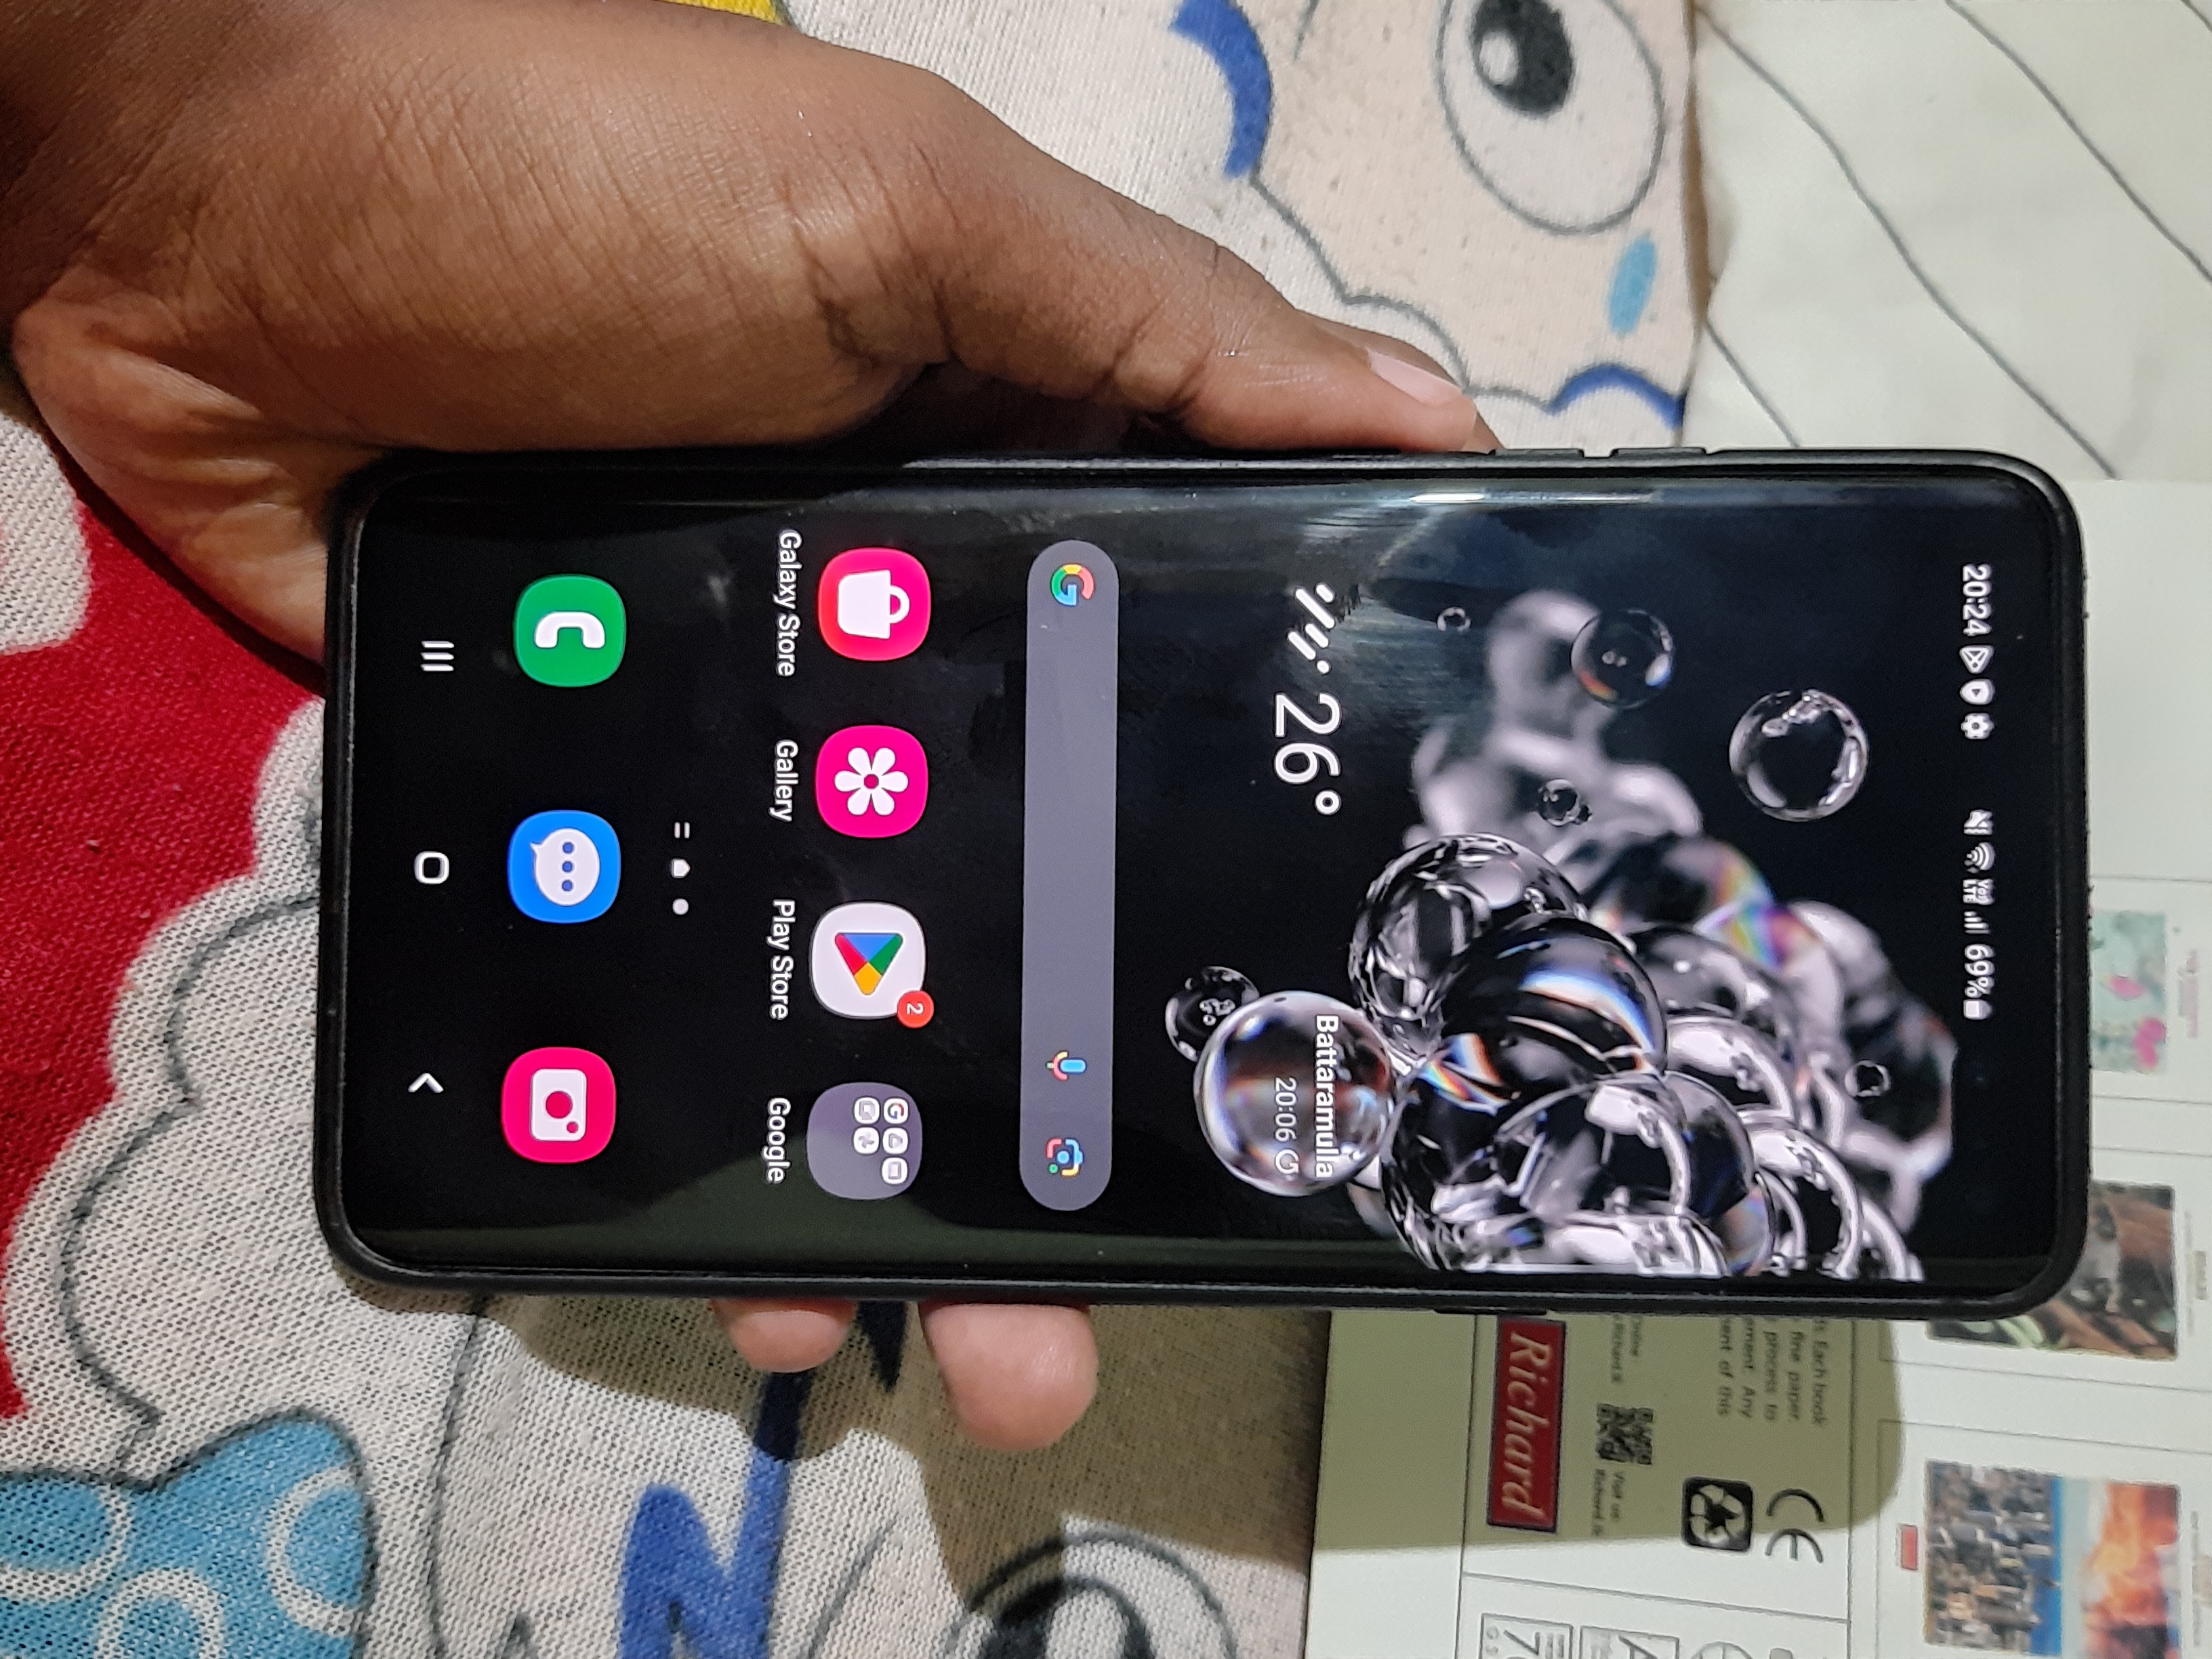
Results:

How to Go back to the stock ROM..?
- Since we repartitioned the device manually, it is impossible to flash the stock ROM using Odin without reverting the partition scheme to its original state.
- To repartition the entire device to its original state, you can simply follow this video :