How to work with your accounting table ☝️🤓
- Every accounting table has its' unique number and name + surname of the teacher, to whom it belongs.

Why do you need it? You all know that in order to get a salary, you need to fill out a special form, and there you have a field where it is necessary to indicate "The number of the accounting table Excel". Here is your number. In this table, it is "1186" without name + surname.
2. Let's take a look at the whole first page that you see and find out, how you should fill it out with your lessons.
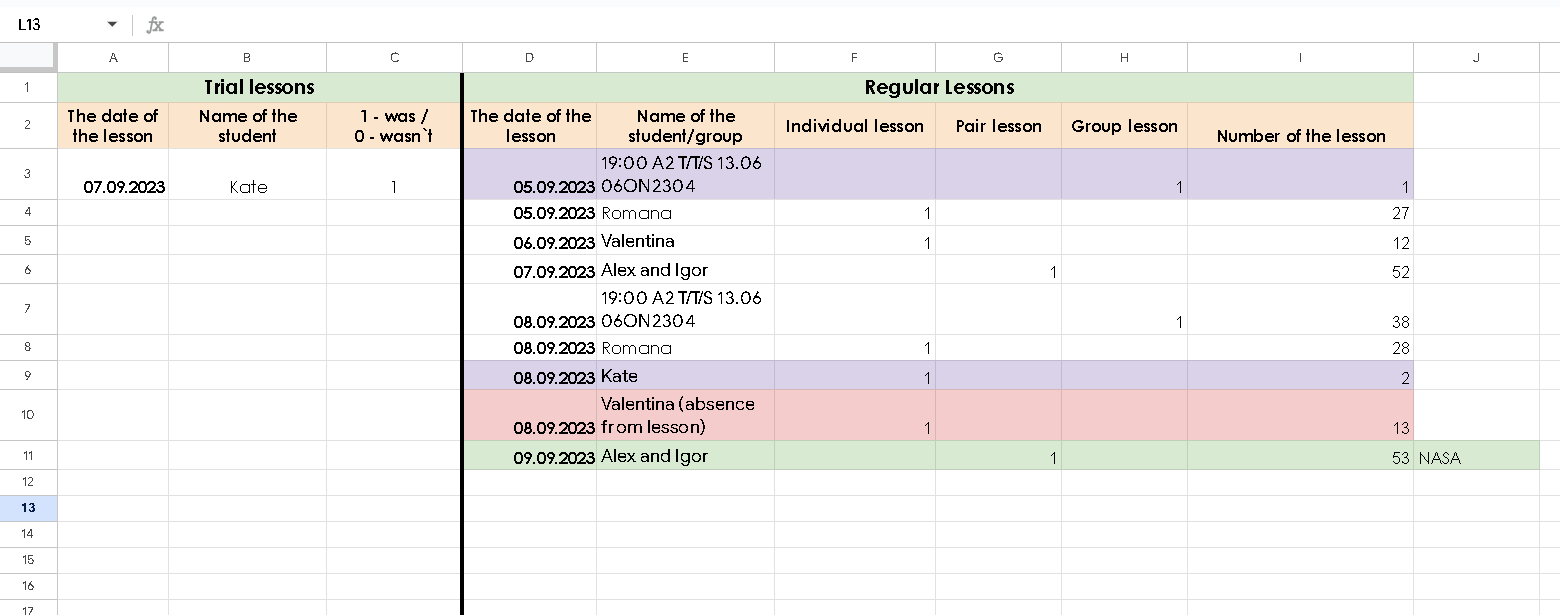
On the left, you can see the "Trial lessons" columns. There should be put only the trial lessons info. If this student purchases a package and becomes a student of the Antischool, then next time you have a lesson you need to put it on the right in the "Regular lessons" columns.
Now let's dive into the "Regular lessons" columns.
Everything there is as simple as it is:
The date of the lesson - put the date when you had the lesson with your student/the date on which this lesson is indicated on the platform in your schedule.
Name of the student/group - write down the name of the student/group/pair as it is indicated on the platform. If the lesson was burnt, near the name of the student in brackets indicate the reason.
Depending on the type of the lesson, you need to put "1" in one of three columns "Individual lesson/Pair lesson/Group lesson" to indicate what type of lesson it was. If the lesson was burnt, you still need to put 1 in one of these columns.
Number of the lesson - write down the number of the lesson that you had with your student.
Note that this number is not only the number of lessons that you personally had with the student. If for example, the student had 11 lessons with some other teacher, then once you have a lesson with this student, it is his/her 12th lesson so in this column you put 12 and so on. The trial lesson also counts there as you can see in the picture with the student "Kate".
If the lesson was burnt, the counting goes on. In the picture you can see that the student Valentina had 12 lessons, the next lesson was burnt and it is her 13th lesson so we put in the last column number 13.
As you have noticed, there are some colours too. It is not obligatory, but it is advised to indicate with different colours the first lessons with your new student, burnt lessons, NASA/SPACE lessons. It is necessary to make it for both you and the company easier to understand and indicate different types of lessons. What colours to choose it is your own choice.
Additionally, in the next column to the "Number of the lesson" column, it is necessary to indicate if it is NASA or SPACE one already. Student becomes NASA starting from 53d lesson, SPACE - 103d lesson. Once it happens you should also fill out a special form, which you can find in our Notion.
3. In your accounting table you can also see different tabs. The first ones are:

These are the tabs where you write down the conducted lessons. Note that for each month there is a separate tab. Also, when you are given the accounting table for the first time, there you can already find the tabs for the first three months of work. For each next month, you need to create this tab yourself. To do it just right-click on one of the tabs and make a copy of it. Then change the name of the copy to the needed month name and delete the info about conducted lessons in this copy. And here you have a new tab for a new month.
The next tab is:
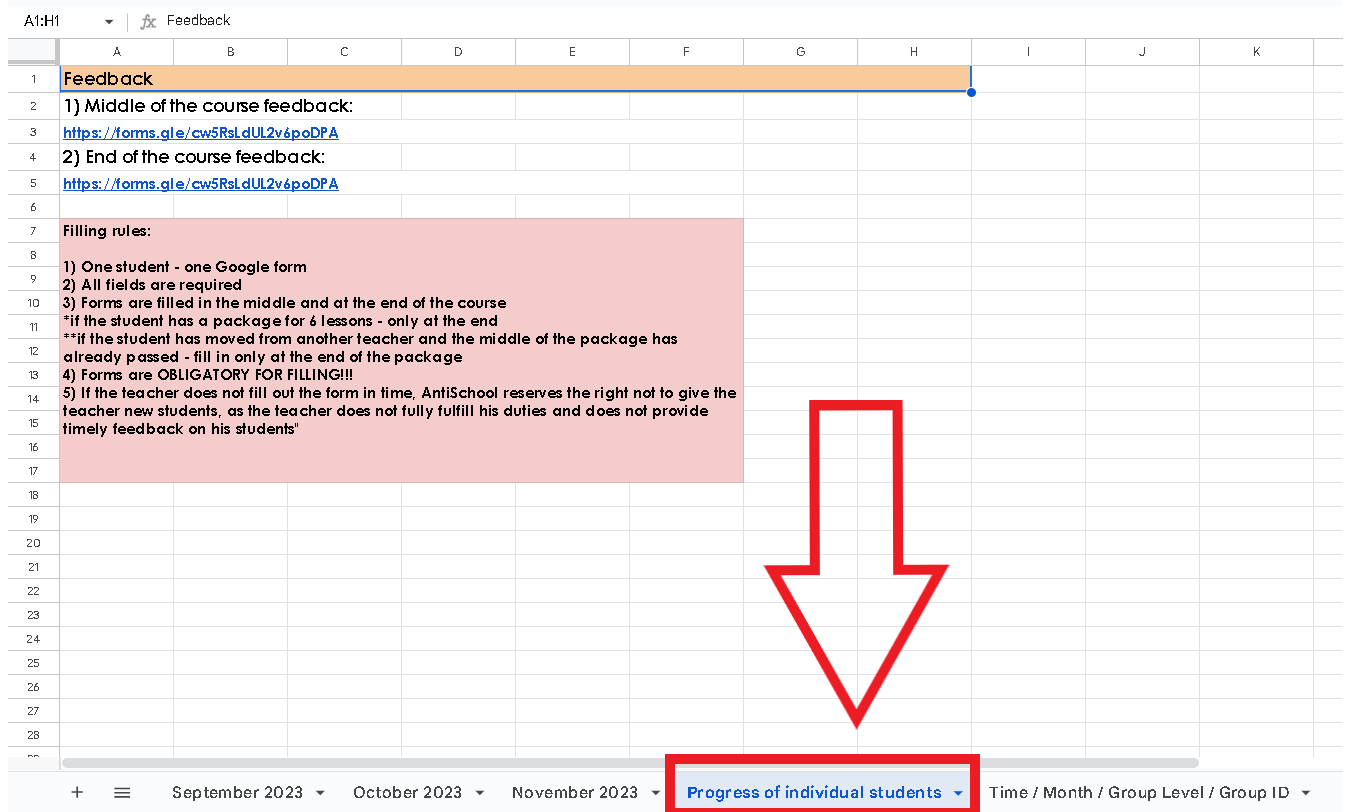
In this tab, you can find two links. The first one you should fill out in the middle of the students' package (for example the student purchased the package with 48 lessons, this form should be filled out after 24th lesson).
The second link is the same as the first one, but you need to use it to give feedback at the end of the course too. Just indicate in the comments that it is feedback for the end of the course.
The last tab is:

This tab is for groups only. For each group, it is necessary to create a new tab (for it just make its' copy) and name it with the name of your group. For example:

Also, as you can see in the picture, you need to name each column with each student's name and mark it with "1" if the student was present. If the student was absent, you may not put anything or put "0". If the student leaves the group at one point, you can mark this student's column with red colour.
The feedback about each student can be filled out either in Ukrainian or in English only.
4. A bonus for you!
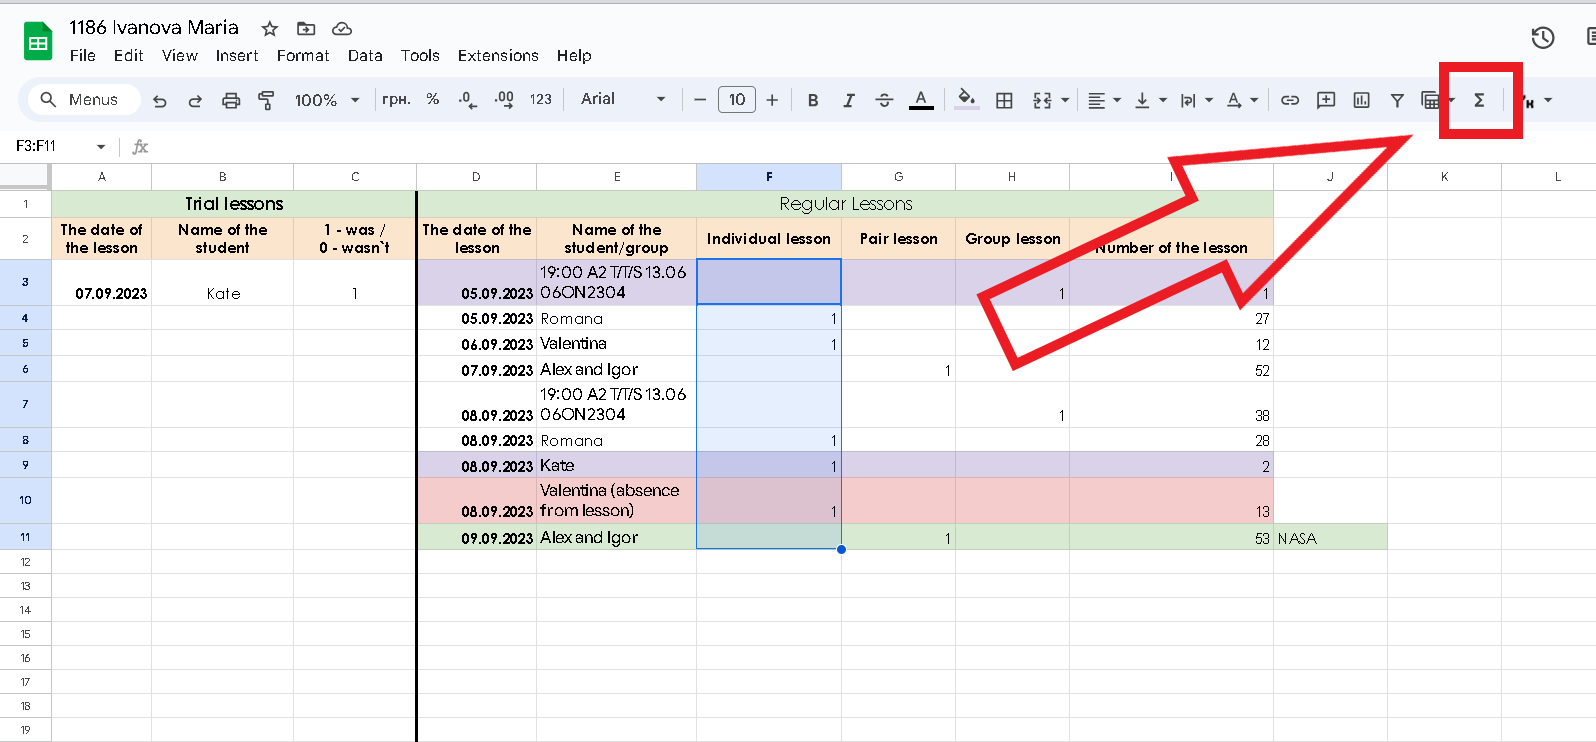
If you want to quickly calculate how many individual/pair/group lessons you conducted in one month, all you need to do is the following:
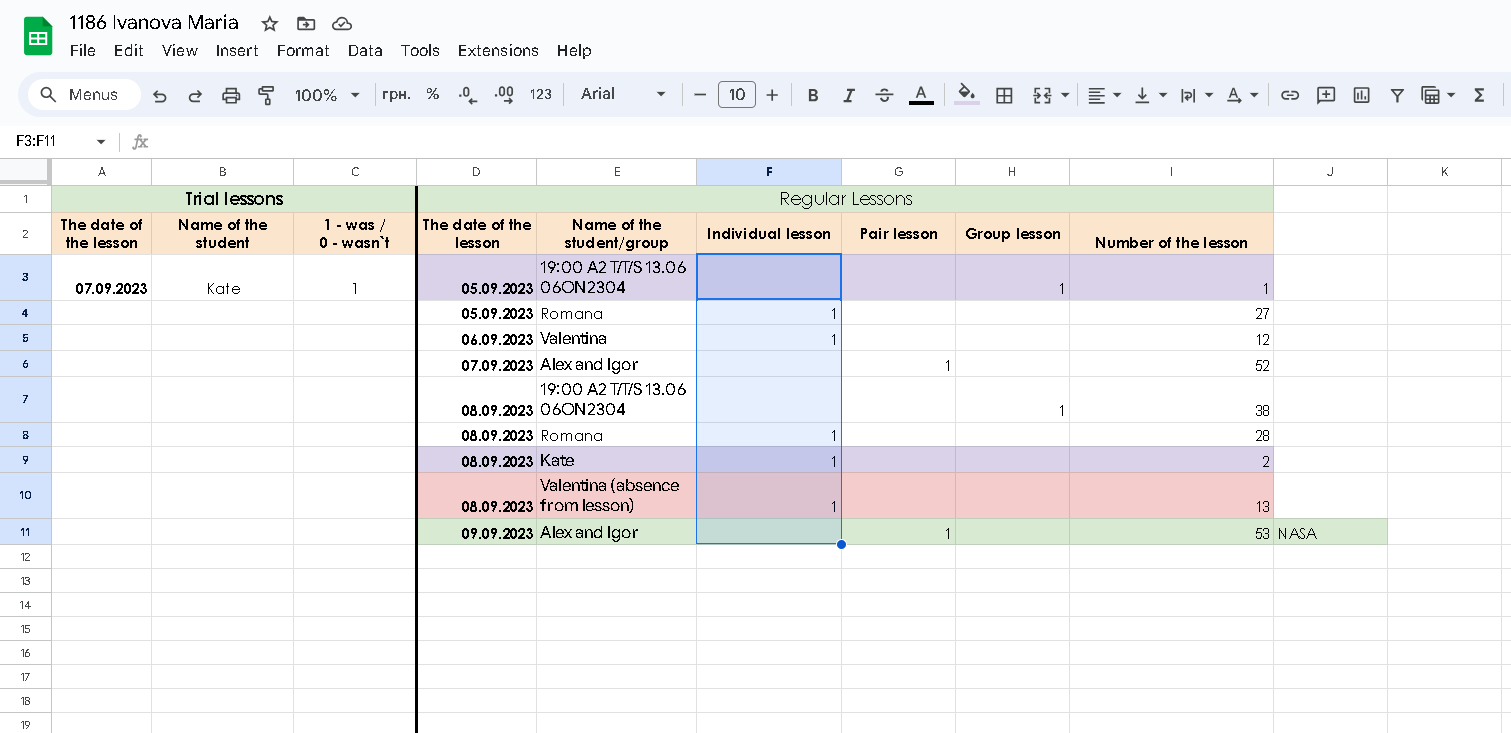
Select the needed column (or two/three of them together) like this (select manually):
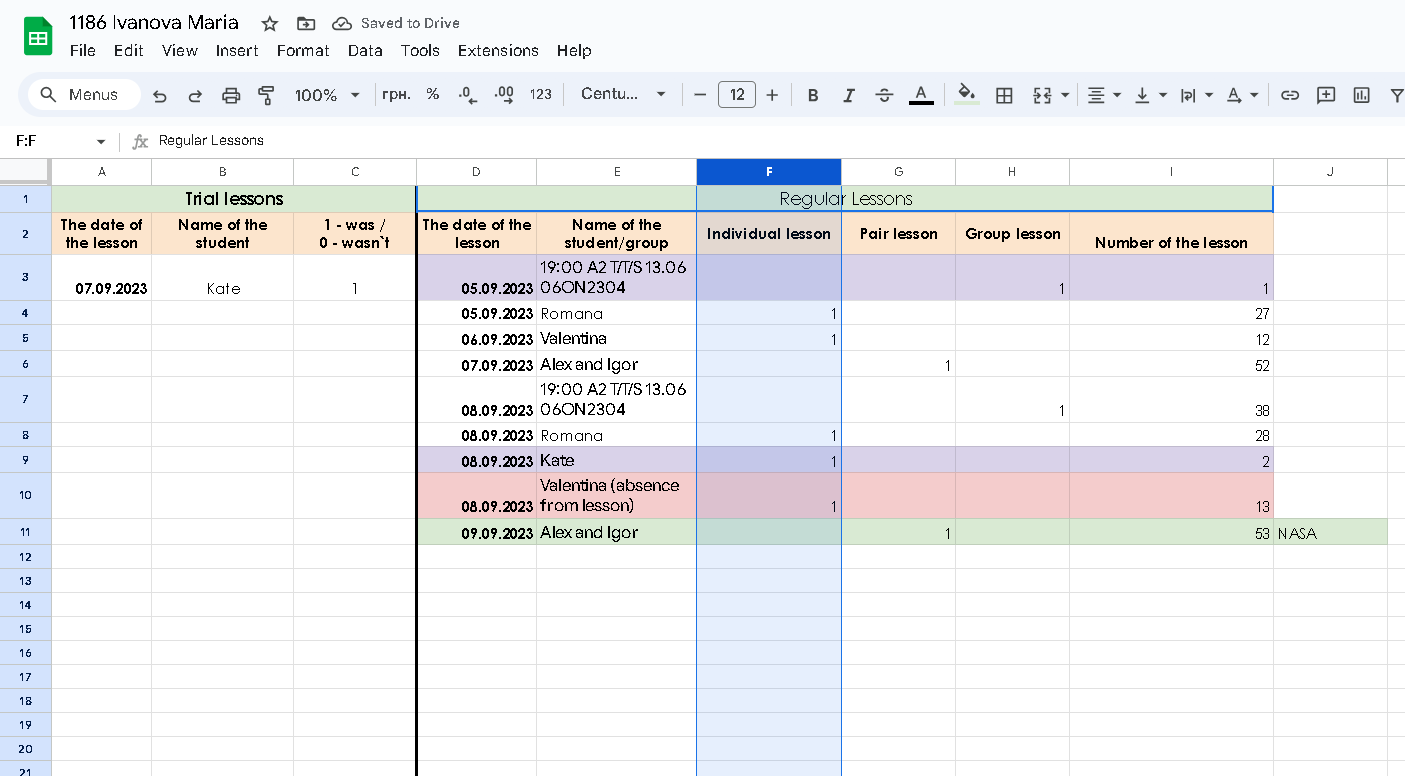
or like this (just click on the upper letter of this column (in this case it is F))
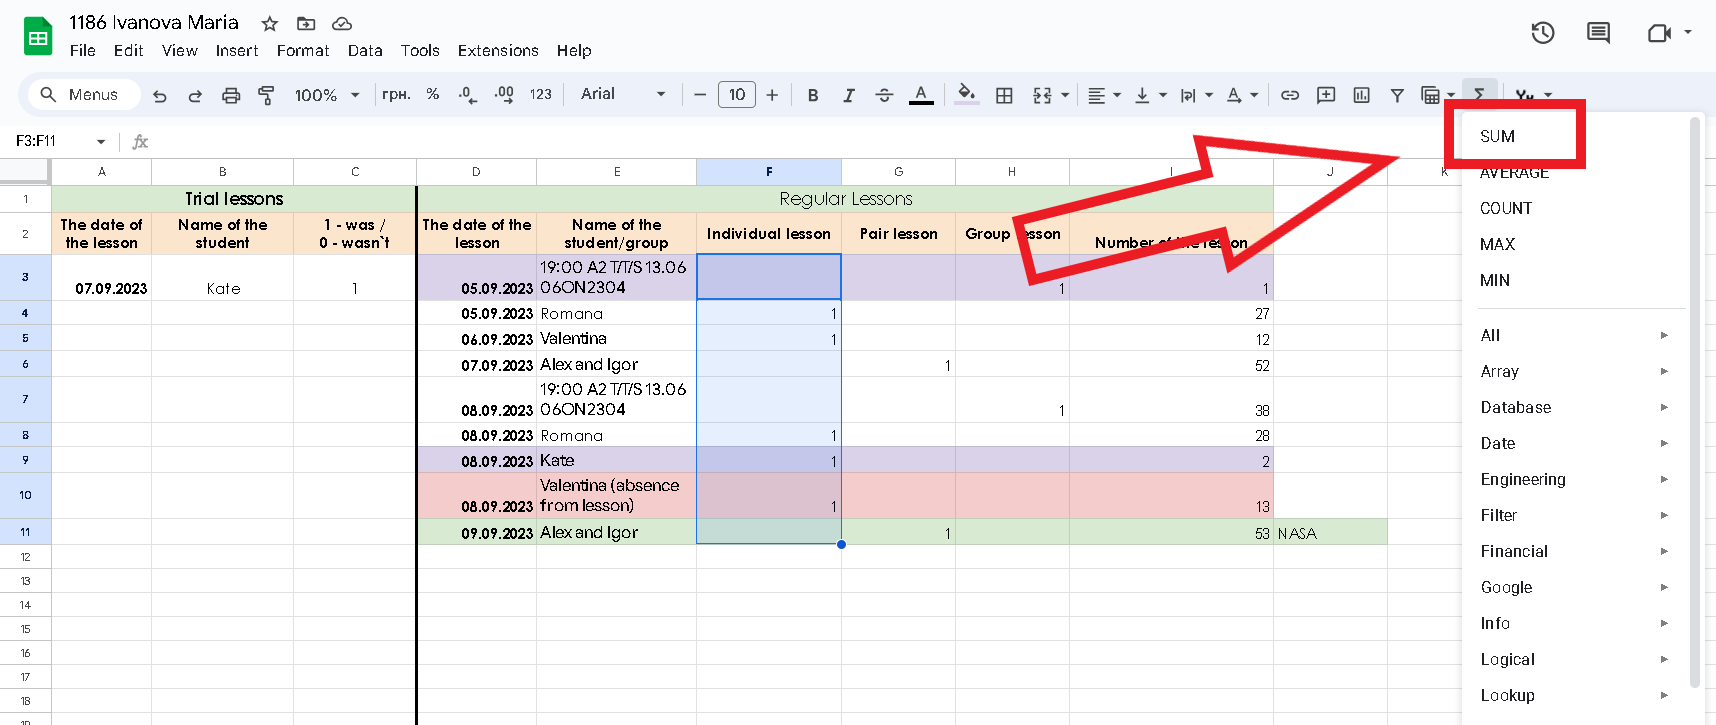
Then click on the "functions" icon
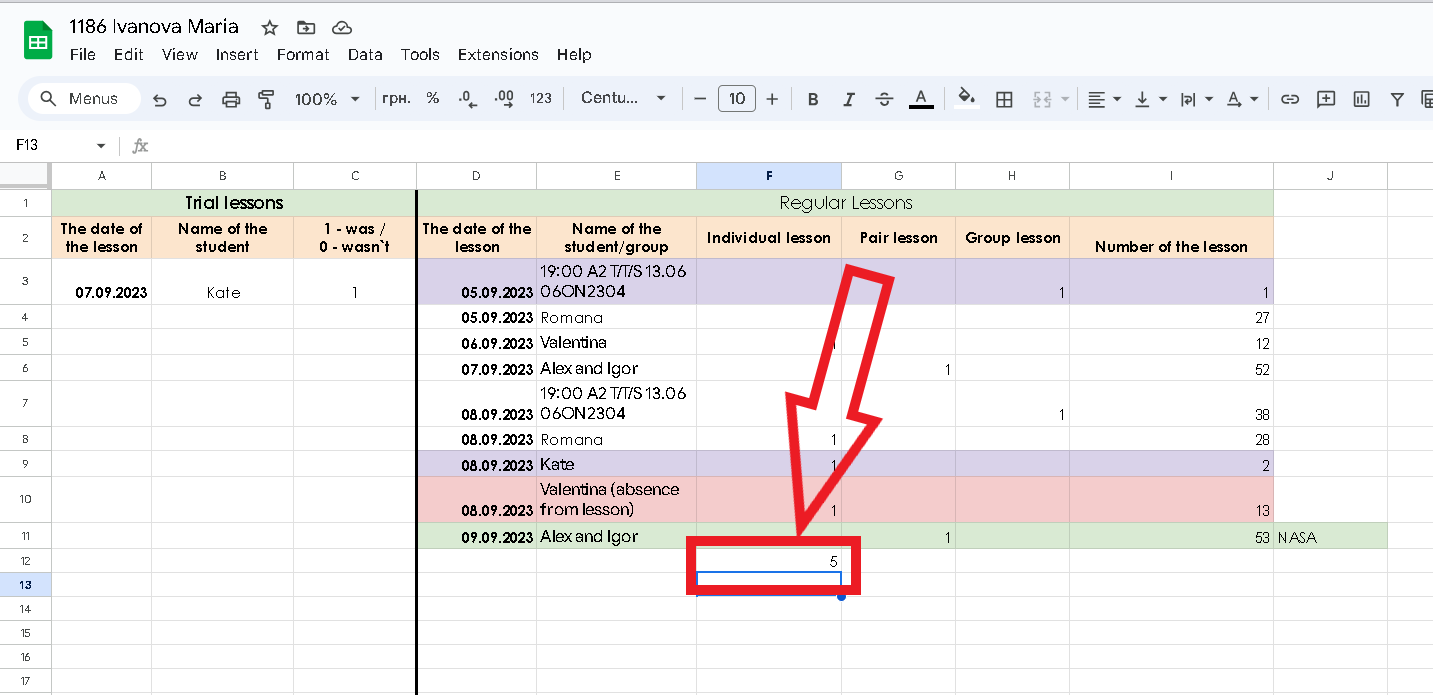
Choose "SUM" and click enter
After this, you will see the number of lessons calculated together.
Hopefully, this was helpful enough for you. Thank you for your attention!