How to integrate SEObot with my Shopify blog?
Vitalik MayIntroduction
Integrating SEObot (aka "SEO Bot" or "SEObotAI") with your Shopify blog can help improve your store's search engine visibility and content strategy. SEObotAI is an AI agent built to produce high-quality, human-like articles and content for your website blog.
This guide will walk you through the process of connecting SEO Bot to your Shopify blog, enabling you to leverage its features for better search performance.
Log in to the SEO Bot App
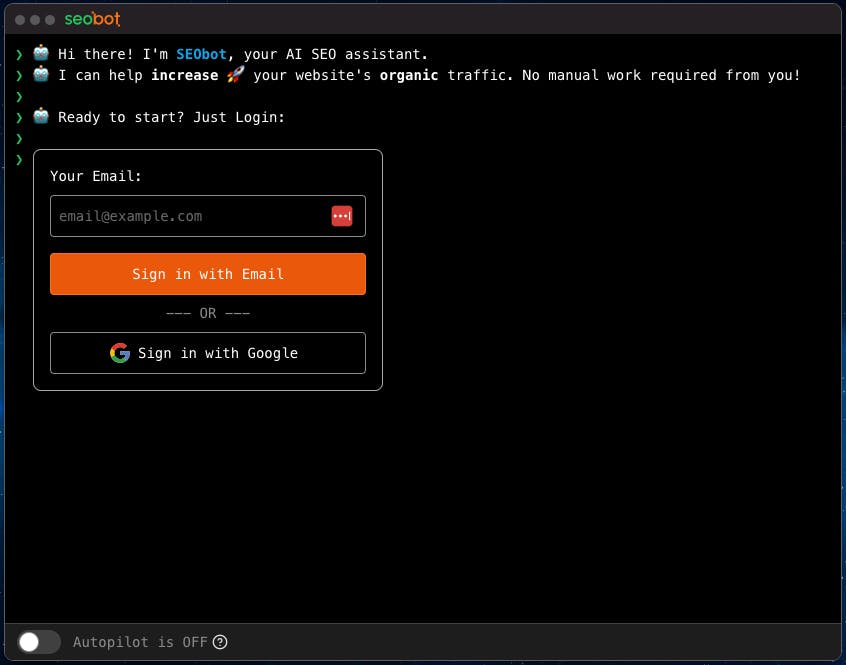
Navigate to the SEObot Application and log in with your email or Google account.

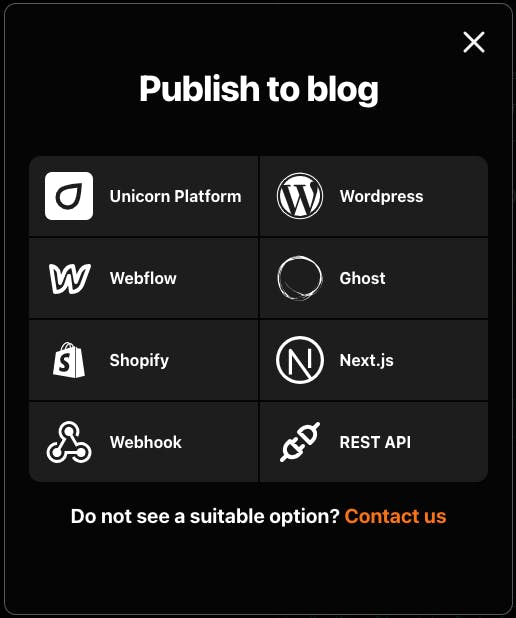
Open the list of the SEO Bot CMS integrations
Open Menu -> Publish to Blog and choose Shopify

Get Shopify Admin API token
- Navigate to your Shopify admin panel -> Apps, then scroll down the page and click "Develop apps for your store". Click "Create an app" button and enter your app name.
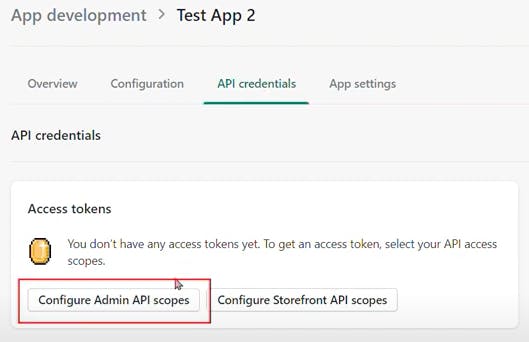
- Go to "API credentials" tab, in the "Access tokens" area click "Configure Admin API scopes", choose read_content and write_content permission scopes. Click "Save".
- Choose "API credentials" tab again, click "Install app" to get your admin API token.

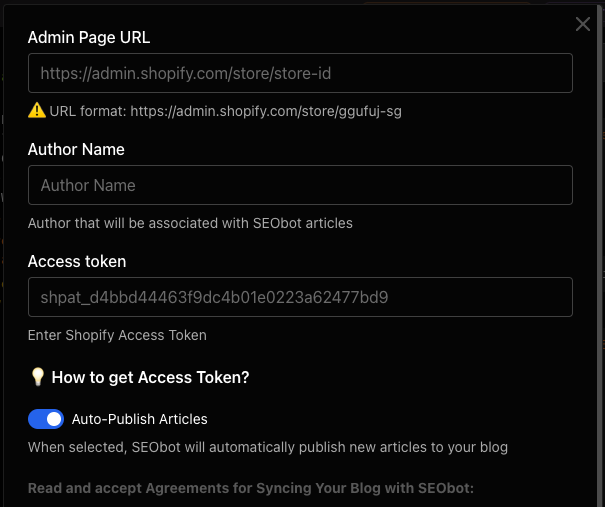
Fill Out the SEObot Shopify Connection Form

- Enter your shop Admin dashboard URL in the following format: https://admin.shopify.com/store/store-id
- Enter your Shopify Access Token, make sure that it starts with "shpat_".
- Click "Connect" button.
Support
Still have questions or experiencing issues with the Shopify blog connection? Feel free to reach out to me on Twitter or through the support chat on the SEO Bot website.