HOW TO INSTALL A QRAX WALLET

Today we will consider the issue of installing and activating the QRAX wallet. To do this, we will need: download, install, launch, and activate your wallet.
Downloading a wallet
You can download the appropriate wallet on the GitHub
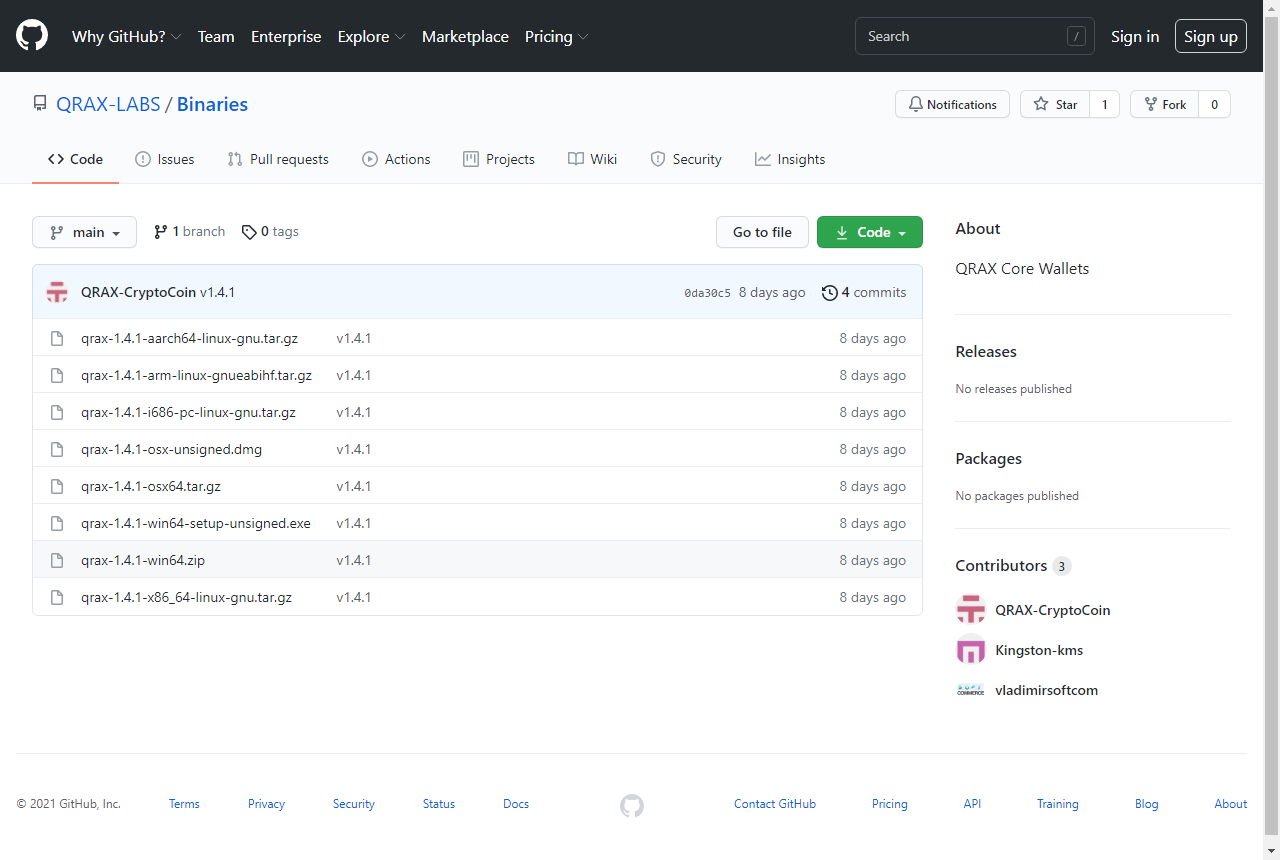
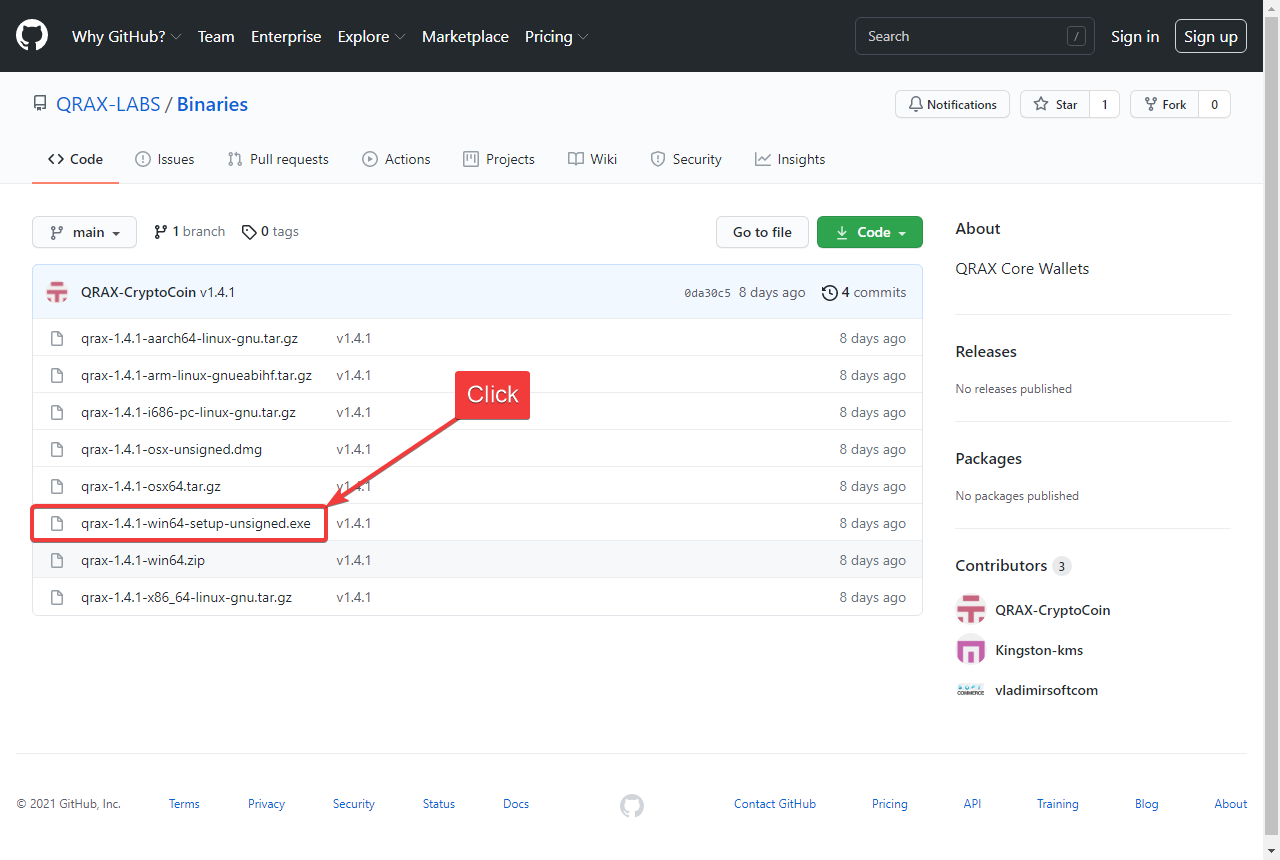
After choosing a suitable option, click on its name to start the download process.
Note:
Next, the download and installation process will take place on the example of the package qrax-1.4.1-win64-setup-unsigned.exe using the Google Chrome browser and the Microsoft Windows 10 64-bits operating system.
And we moved to the page of the selected package.
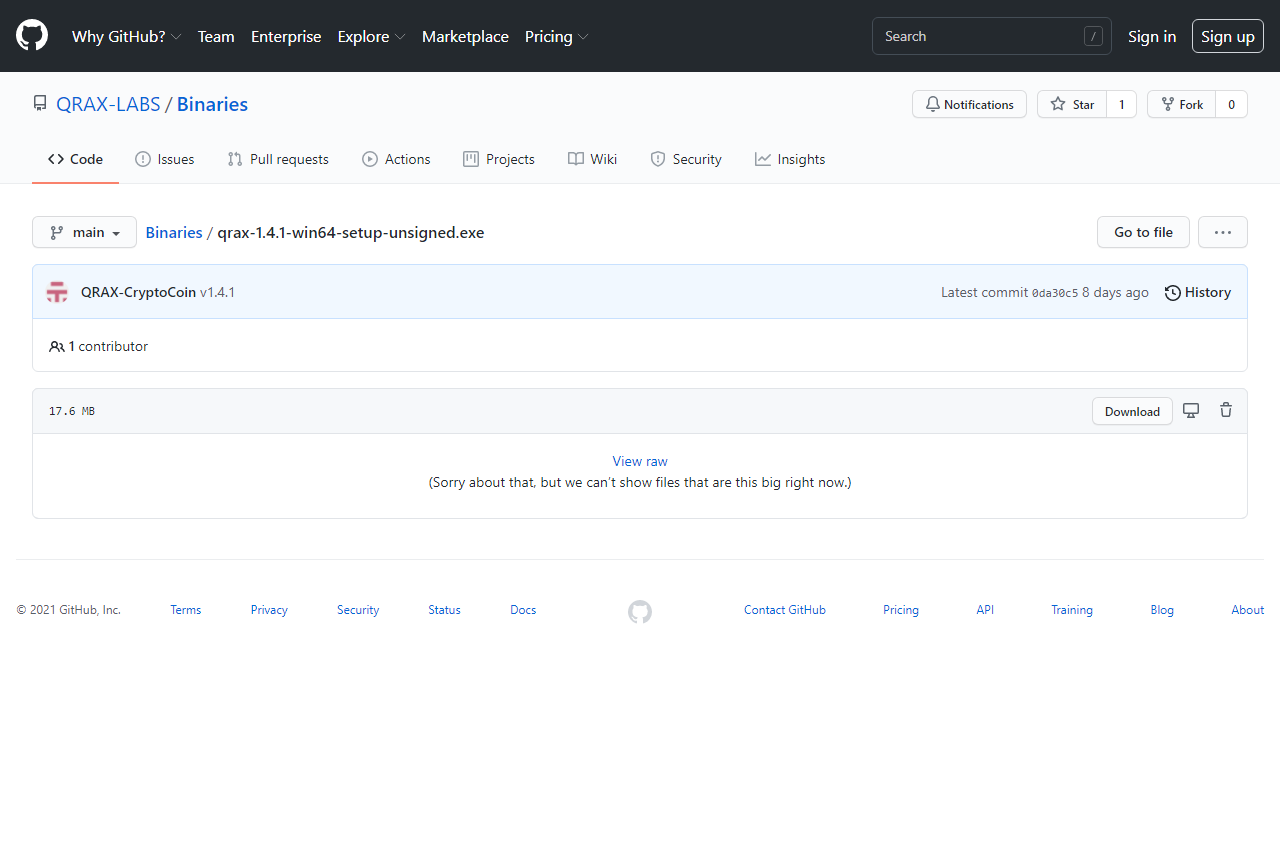
Click the download button of the file you like and search for.
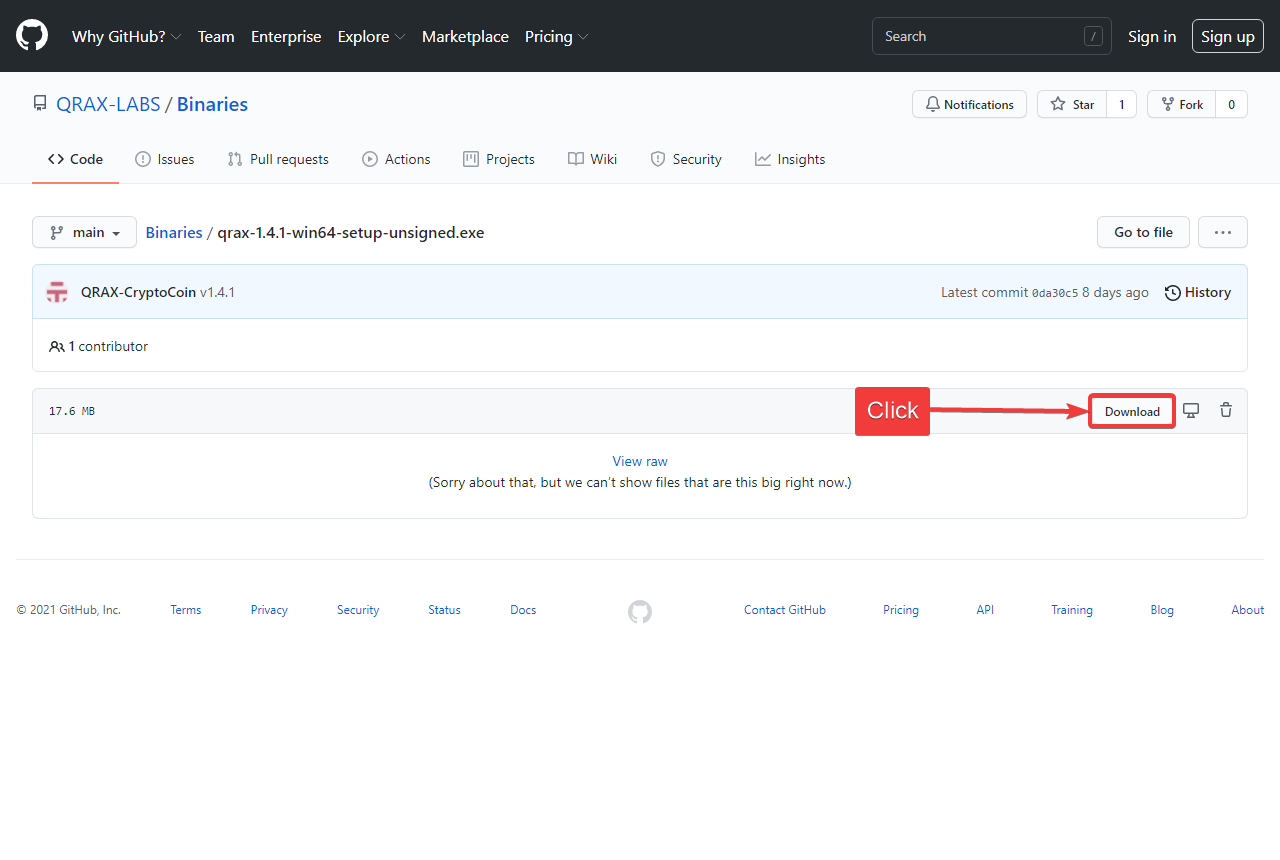
Wait for the file downloading.
Installing a wallet
Go to the folder specified during the download and / or used by default in your browser. Or, run it directly from the browser. You may see a message from the Microsoft SmartScreen program, which is quite common, because we downloaded the file without a digital signature, which the developer warned us about, in the file name.
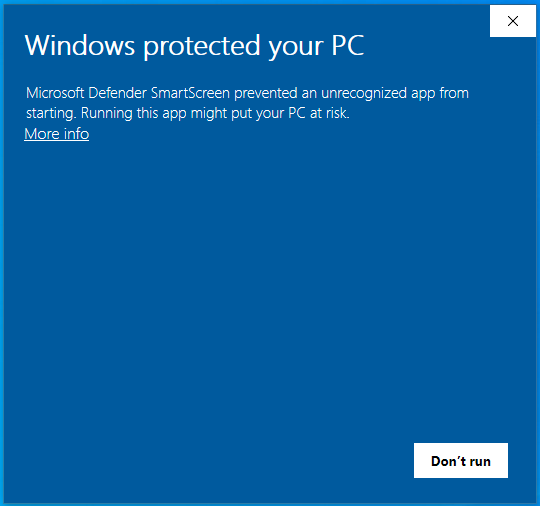
Click on the label "More info".

Additional information about the package being launched is displayed. File name and digital signature.
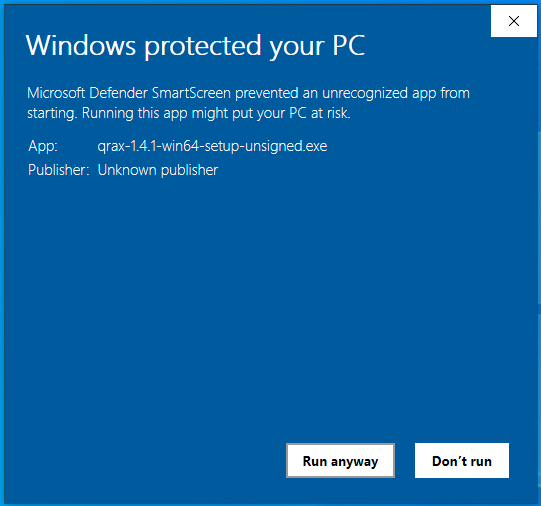
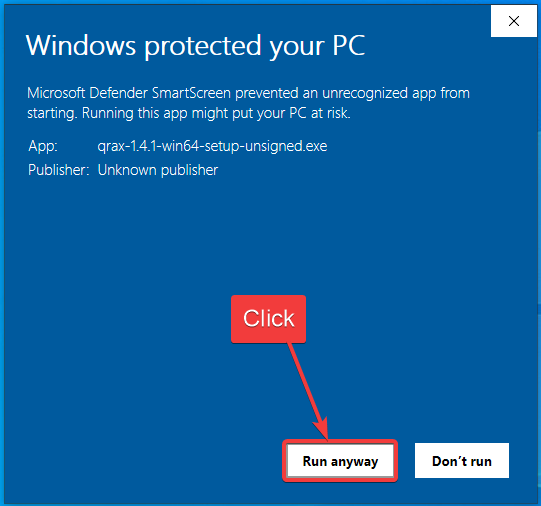
After making sure that this is really the file we downloaded, we continue the installation by clicking on the "Run anyway" button, which will mean that we agree to install this package, despite the warning of the defender, that reacted to the lack of a digital signature on the file.
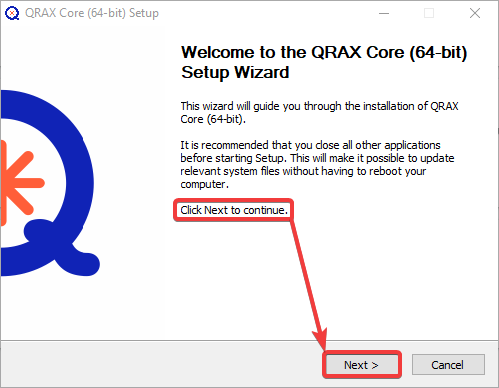
The launch process takes place and we are presented with a standard window with a step-by-step installation.
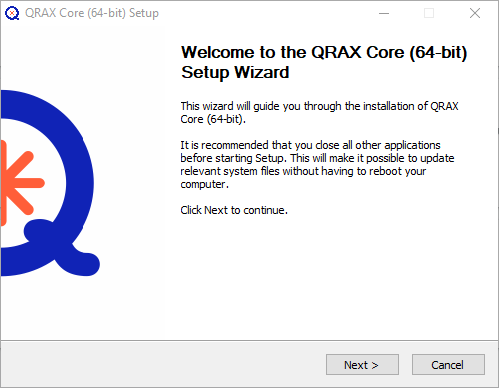
Following the instructions of the installer, click "Next >"
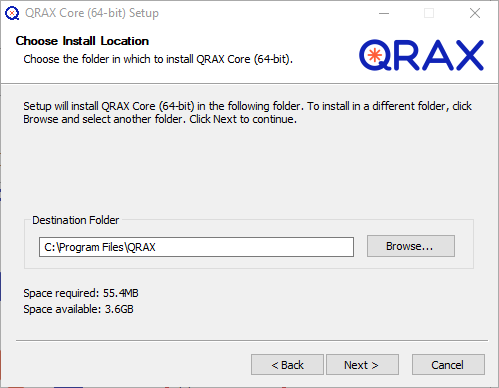
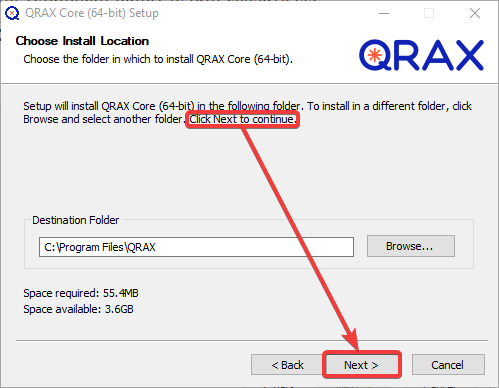
The next step asks us to choose a destination to unpack all the files necessary for the program to work.
Note:
The destination for storing the blockchain data can be specified when setting up the wallet, i.e. at this stage we need to decide only on the storage location of the program.
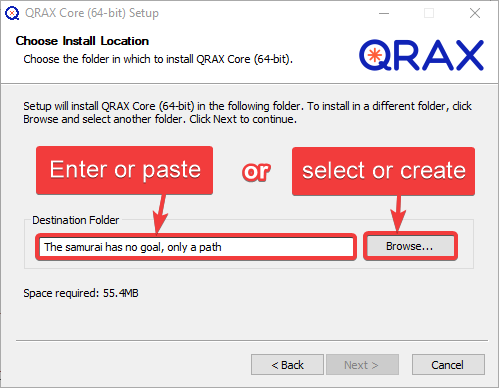
Having decided on the location where our wallet will be stored, enter the recommended path manually (you can insert the copied one), or
click on the "Browse..." button to open Windows Explorer and there go to the desired folder for installation and / or create it.
Note:
The default directory "C:\Program Files\QRAX"
To complete this step, click " Next >".
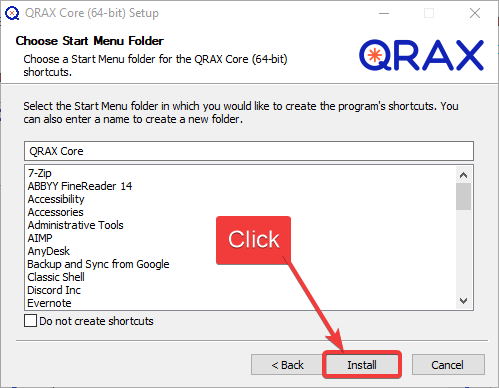
The installation program takes us to the next stage, where we are asked to create a folder or subfolder with shortcuts to launch our wallet in the start menu.
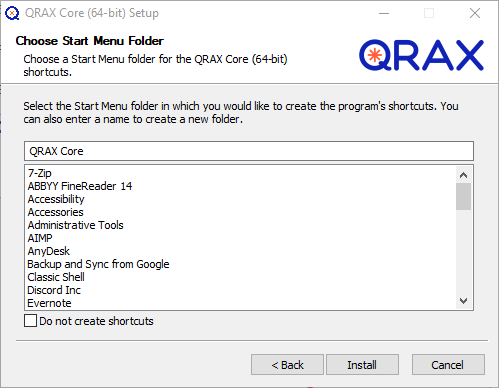
You can enter the name of the folder. If you need to select the parent directory to create a folder with wallet shortcuts. You can opt out of creating a directory in the "Start" menu.

After completing all the necessary manipulations, click the "Install" button.
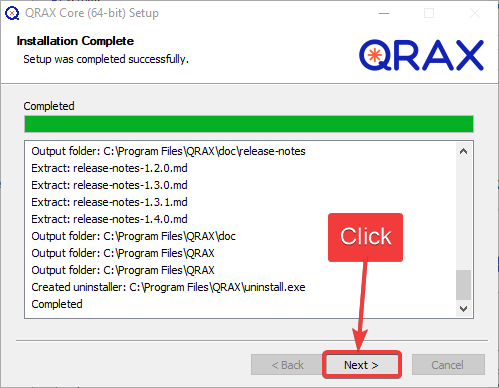
The installer will unpack all the files according to the paths you specified, displaying the entire process in the provided frame.

Explore the information if you consider it necessary and click "Next >"
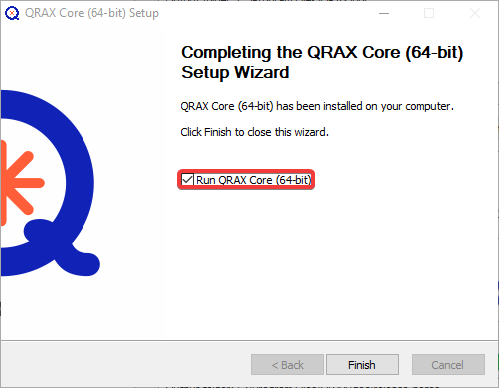
At the final stage of the installation, you are prompted to choose what to do after the installation is complete.
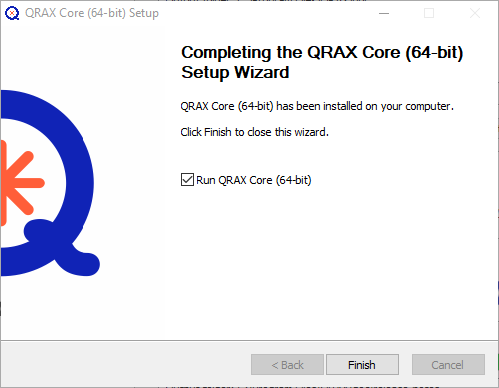
There is only one option to choose from: "launch wallet" after exiting the installation program.
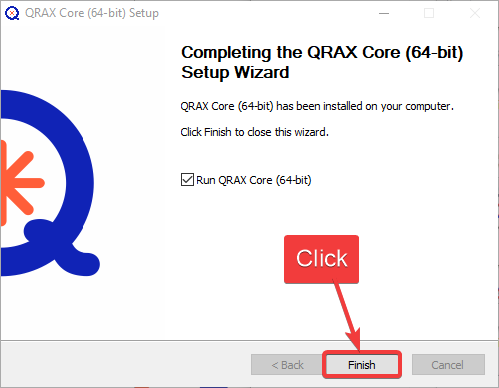
Having decided on the choice, click the "Finish" button to exit the installation program.
First launch
If you selected the launch option at the final installation step, the wallet will start automatically. And if you removed it, then go to the installation directory and run "qrax-qt.exe".
Note:
The default directory "C:\Program Files\QRAX"
Or use the "Start" menu and the shortcuts that are automatically created there. At the first launch, you will immediately be asked to choose a directory for storing blockchain data.
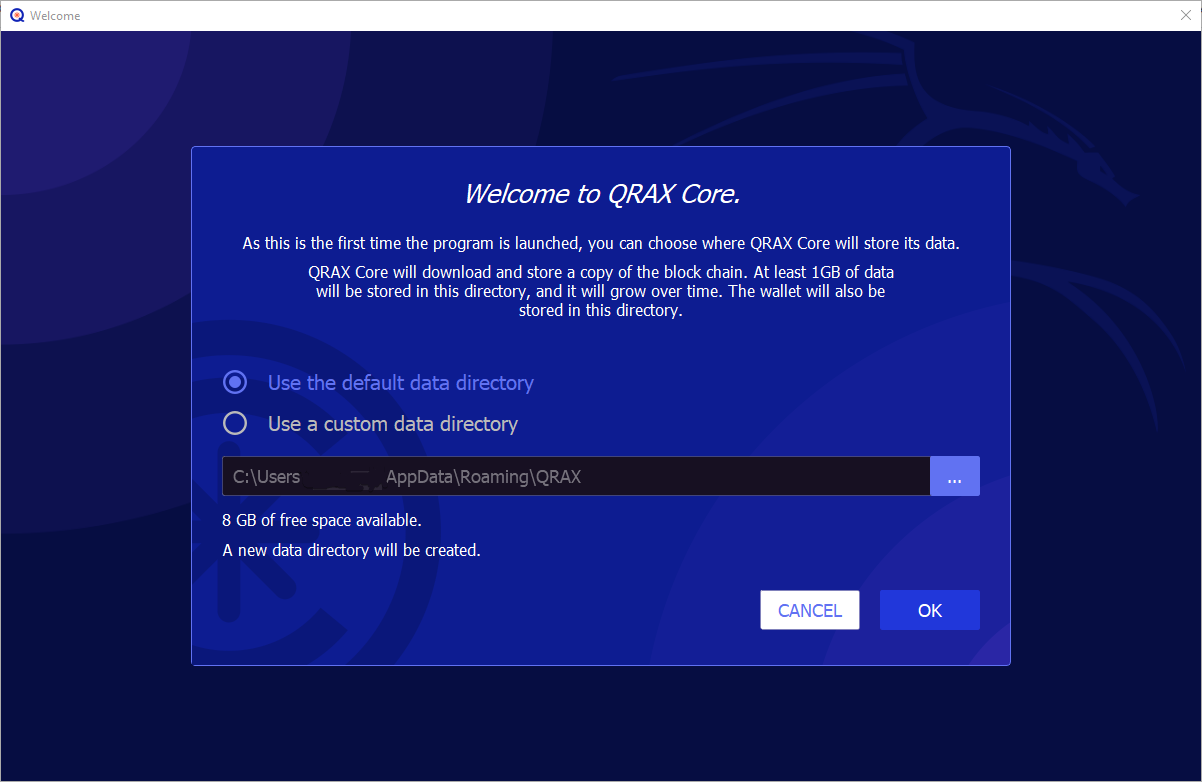
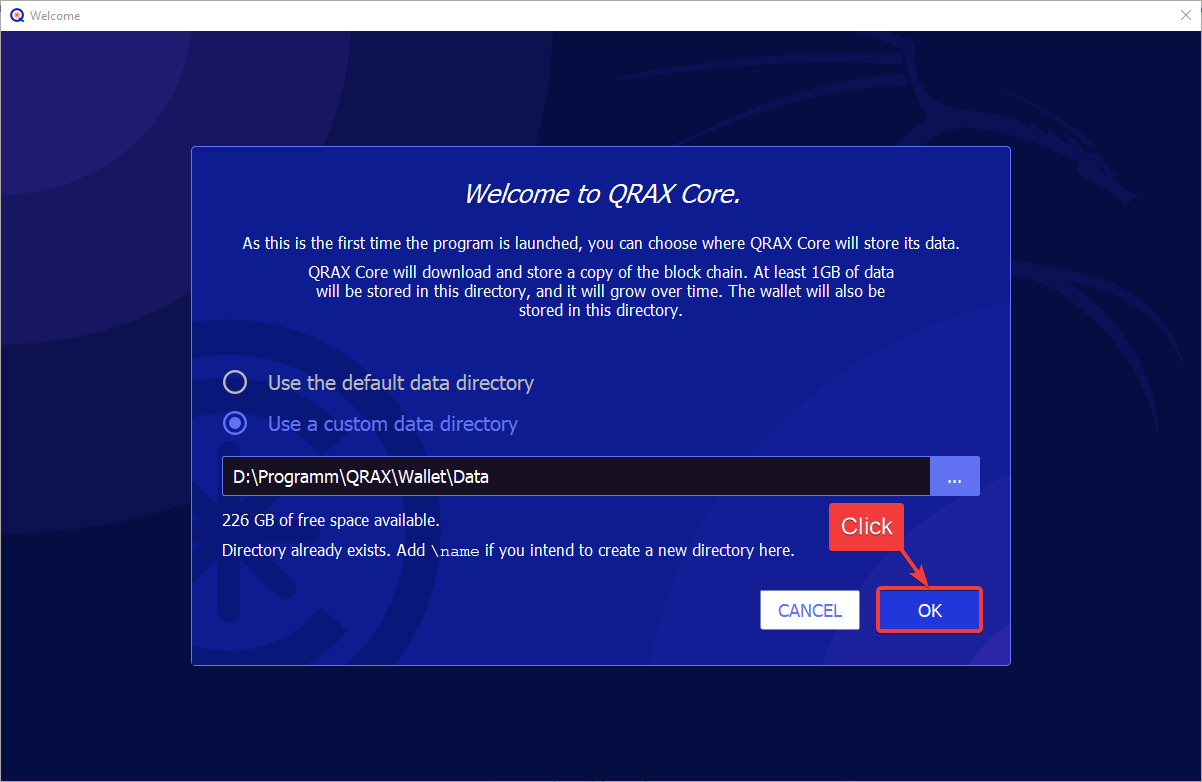
You can use the default directory, or specify your own by switching the checkbox to the appropriate position and entering the path manually (you can insert a previously copied one) or use the file explorer after clicking the "•••" button.
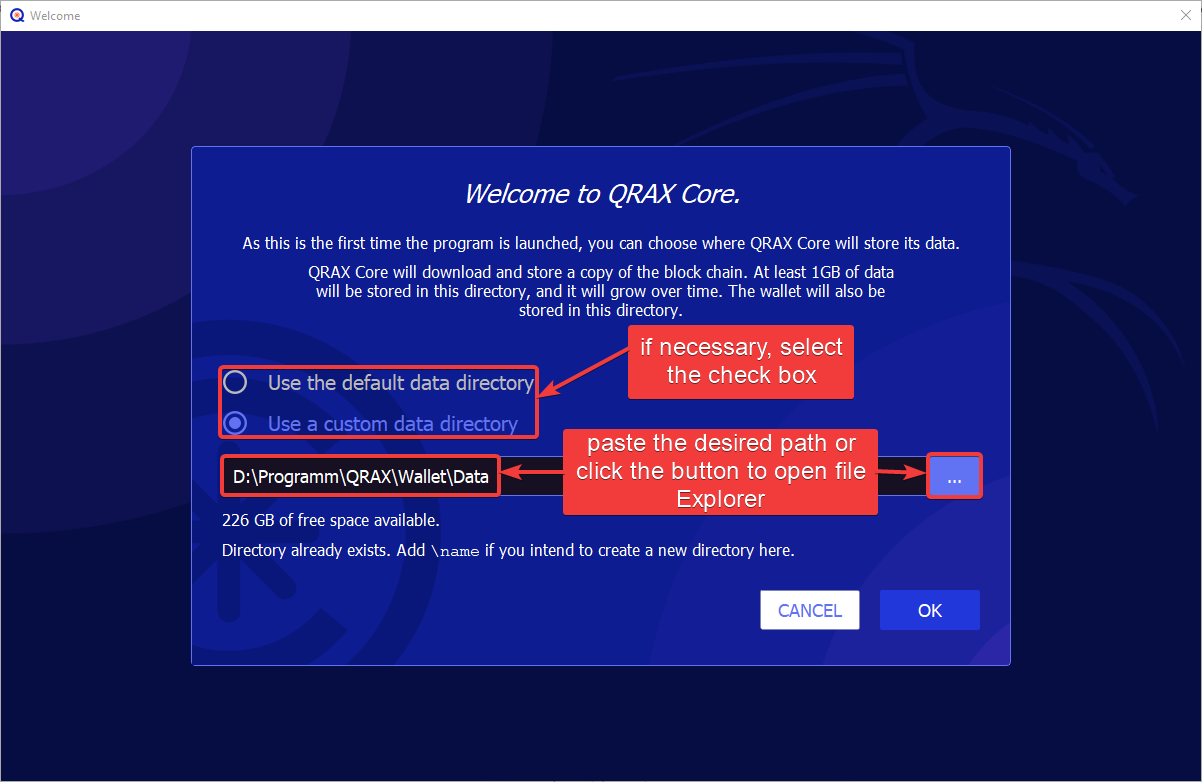
After completing your selection, click "OK".
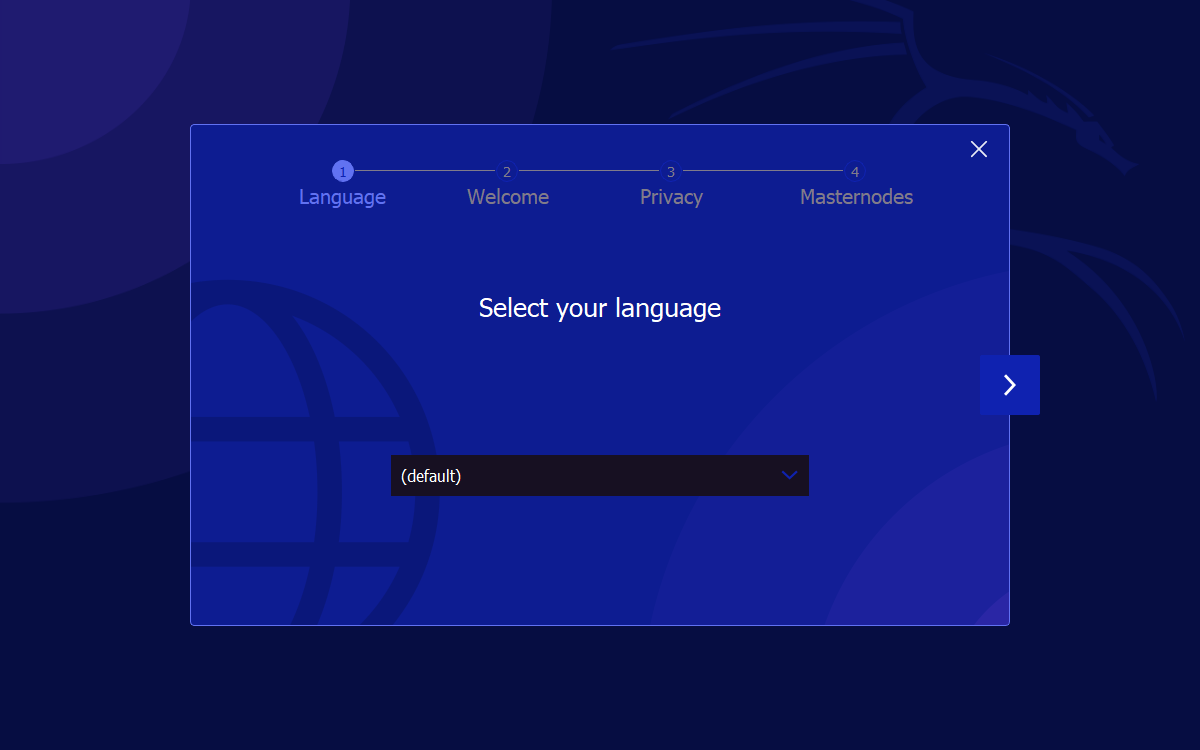
In the next step, you are asked to choose the language that will be used for the wallet interface.
Note:
The Windows interface language is used by default. In cases when this is not possible - English.
The choice is made by simply clicking on the field with the name of the language, and then on the option that interests us.
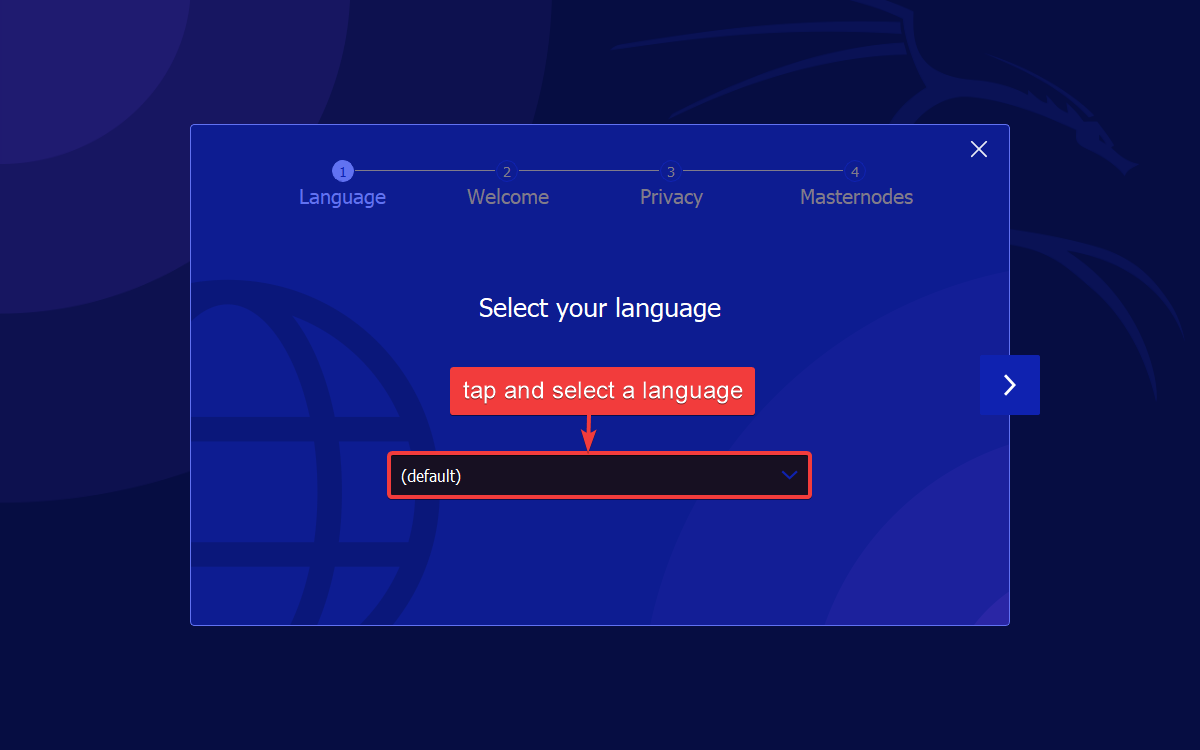
After completing your choice, click on the ">" button.
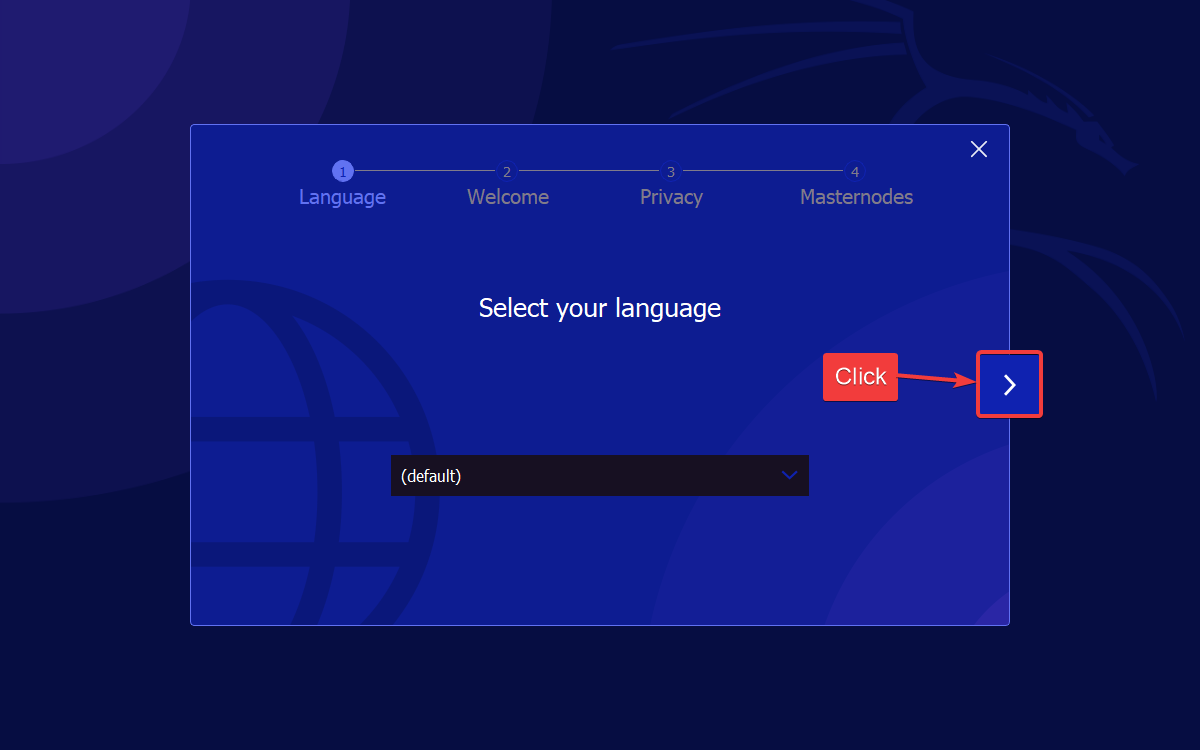
This will take us to the second step with a welcome message.
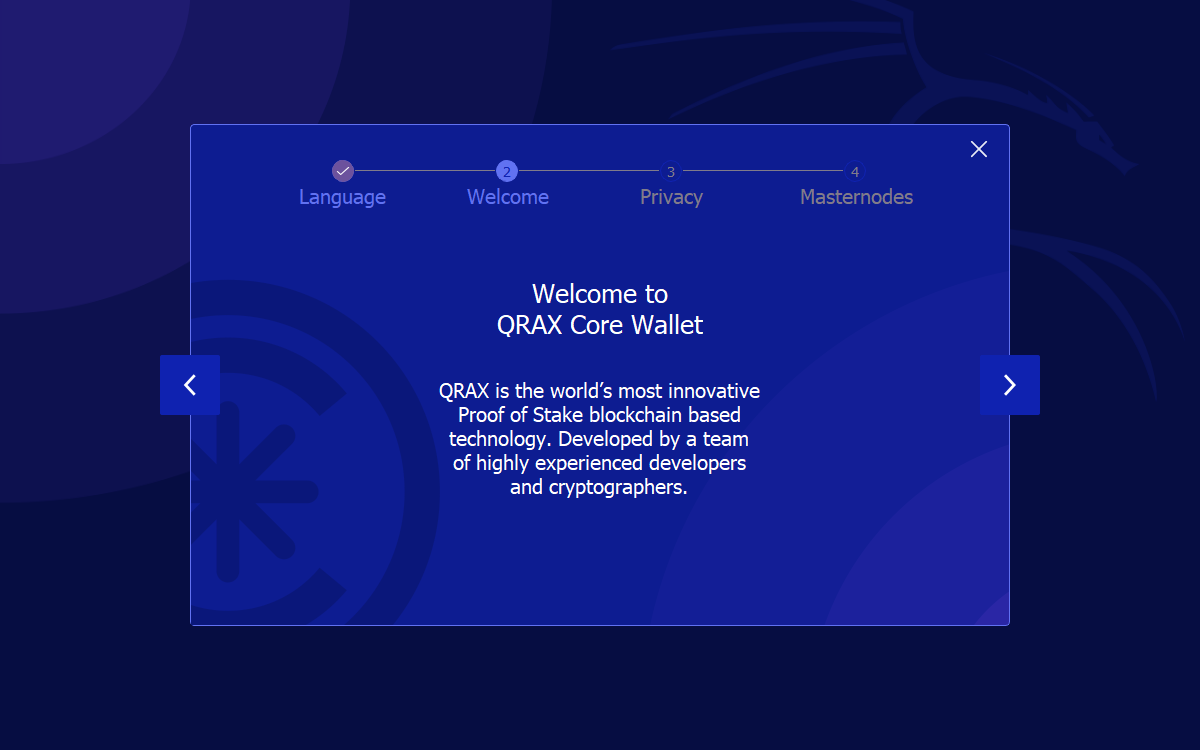
After reading the information from the developers, click ">".

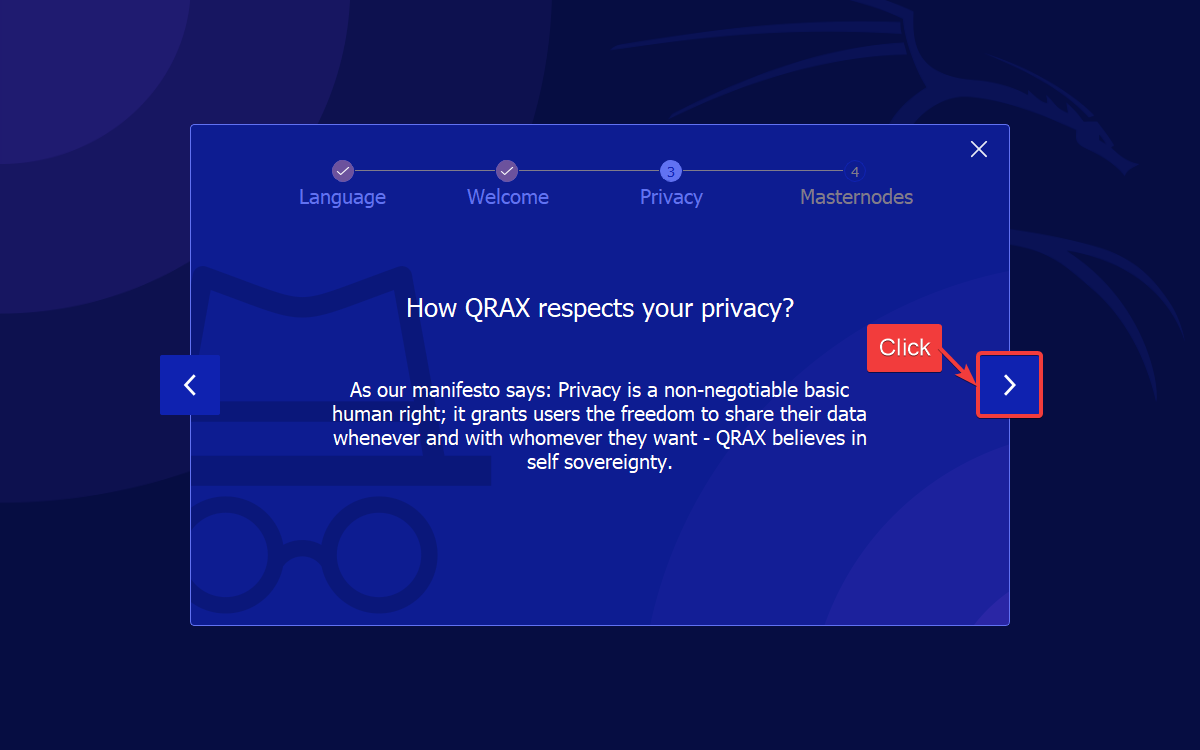
Now we are on the third step. And here you can find additional information from the developers.
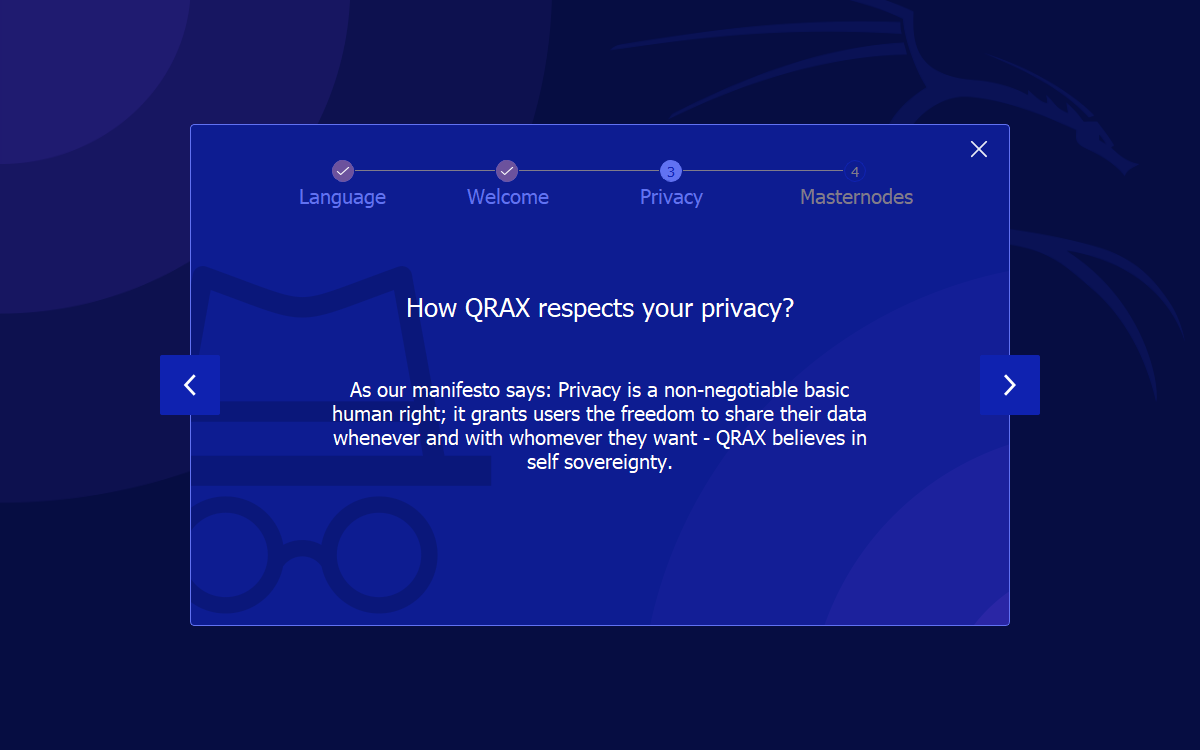
After reading and noting the important things, you proceed to the final step by clicking the ">" button.
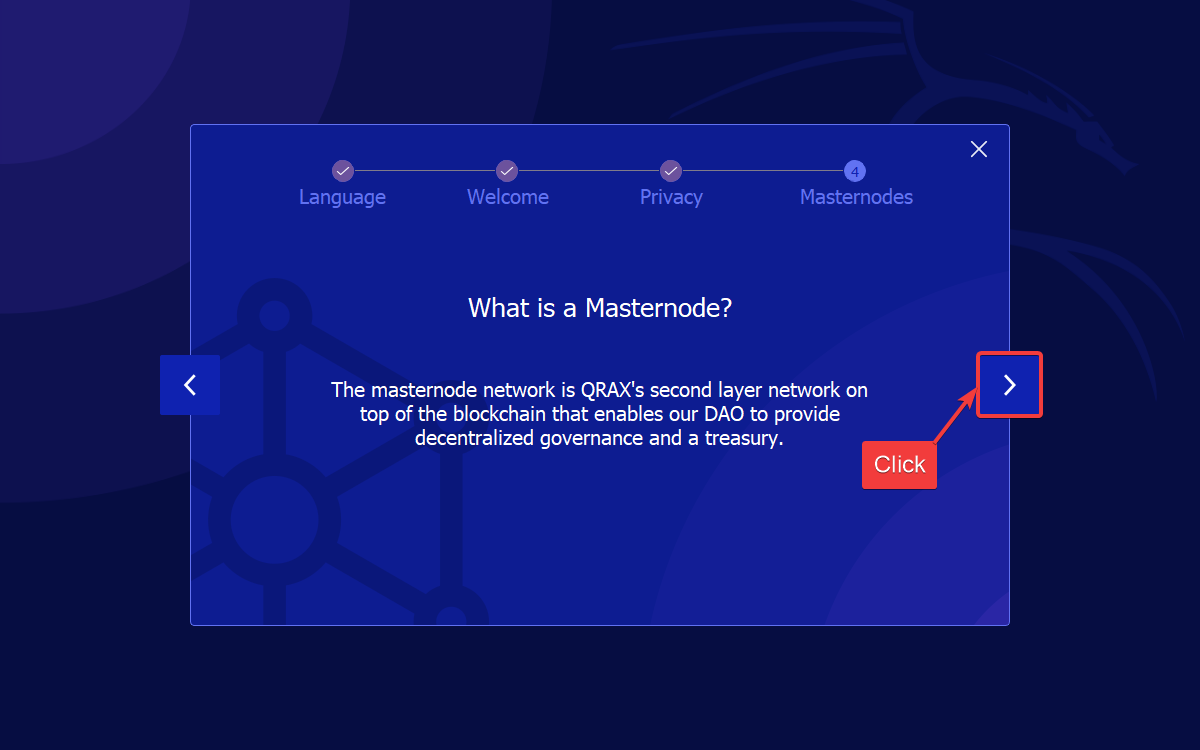
At the last stage, the developers posted information about the Masternodes.

After exploring, you complete the introduction by clicking the ">" button.
After the introduction stage is completed, the wallet application itself is loading.
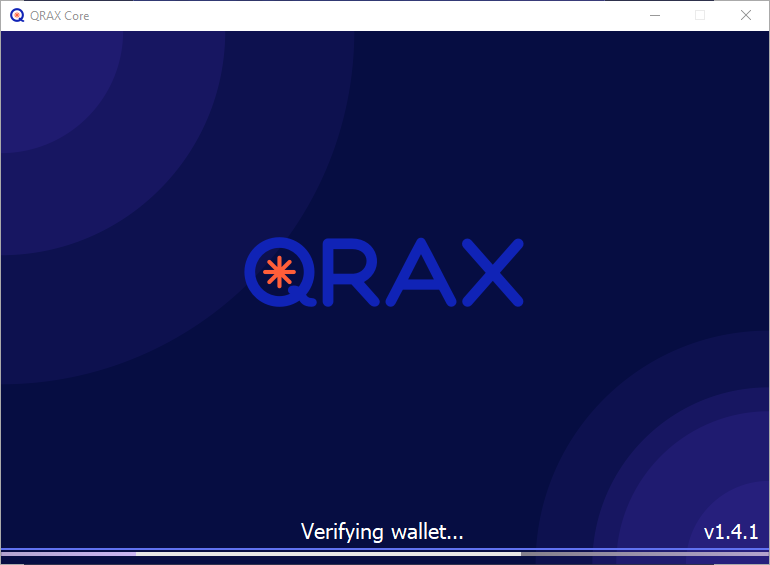
The wallet is launched after downloading all the necessary components of the application.
For the complete operation, you have to activate the wallet with any incoming transaction.
Activating your wallet
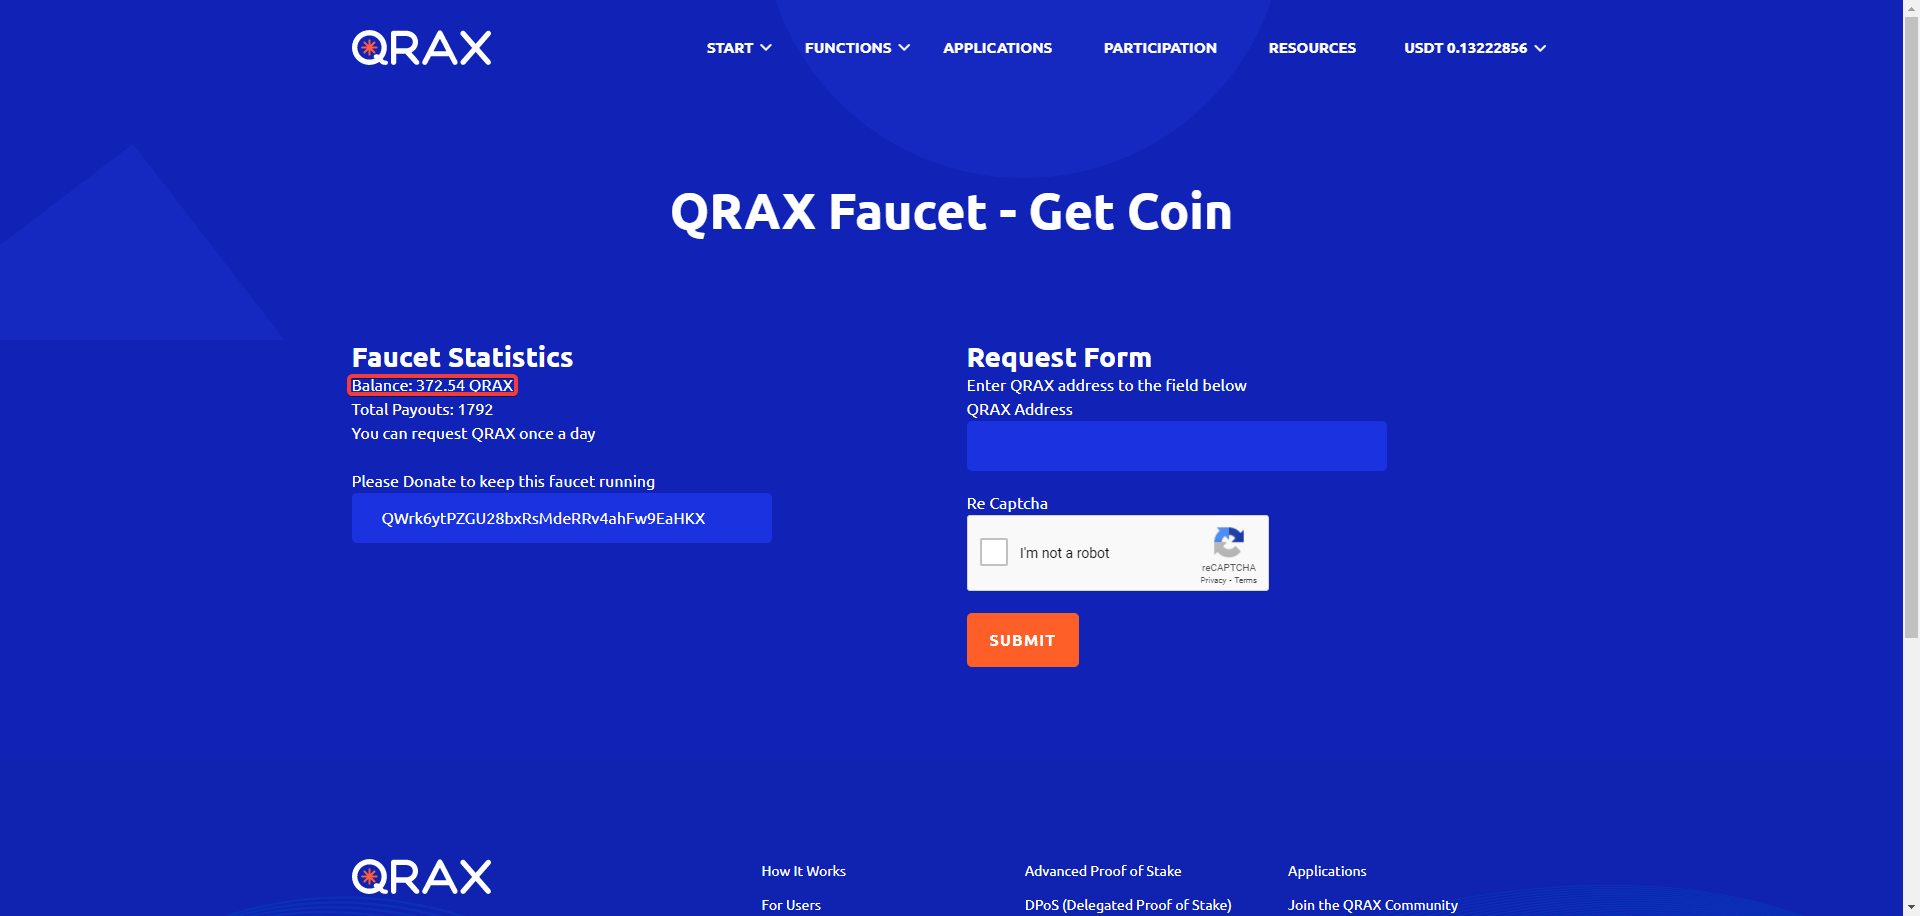
To activate the wallet, you can use a special service on the project website in a particular section.
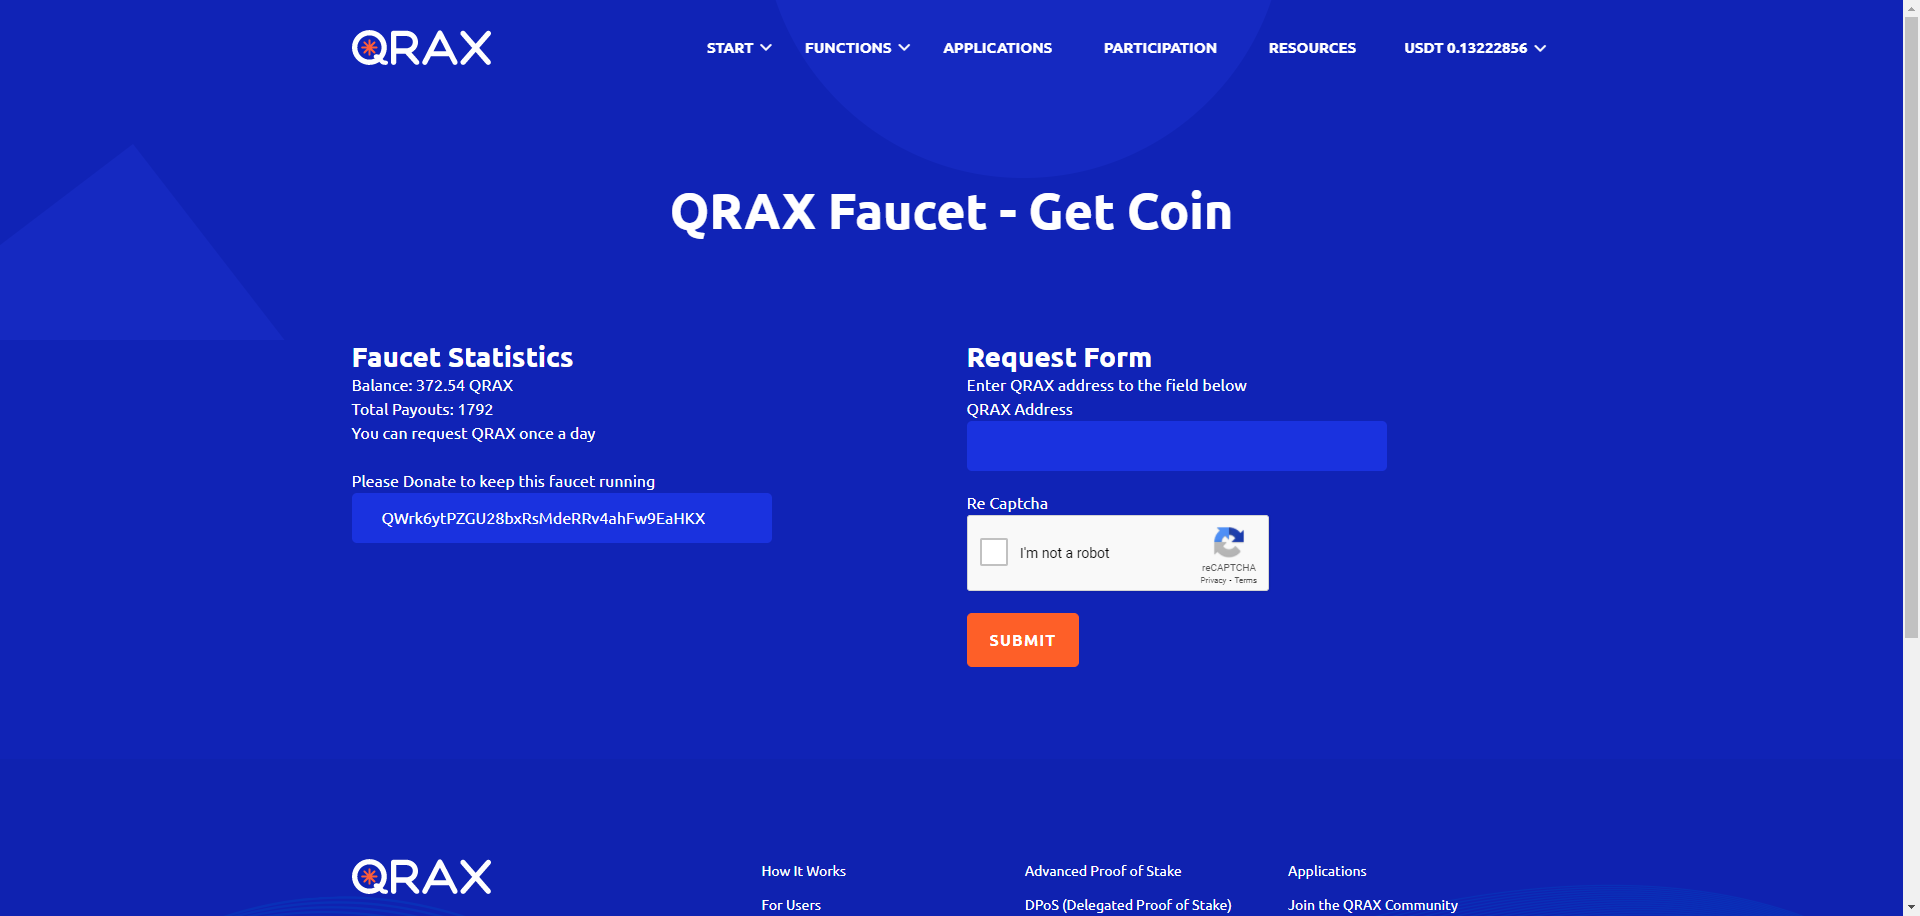
If you have enough QRAX coins in your tap wallet, you can request one coin once a day to transfer to your wallet.
Now move to your downloaded and installed local wallet to find out your address
Note:
Do not close the browser or tab with the faucet open until the end of the operation.
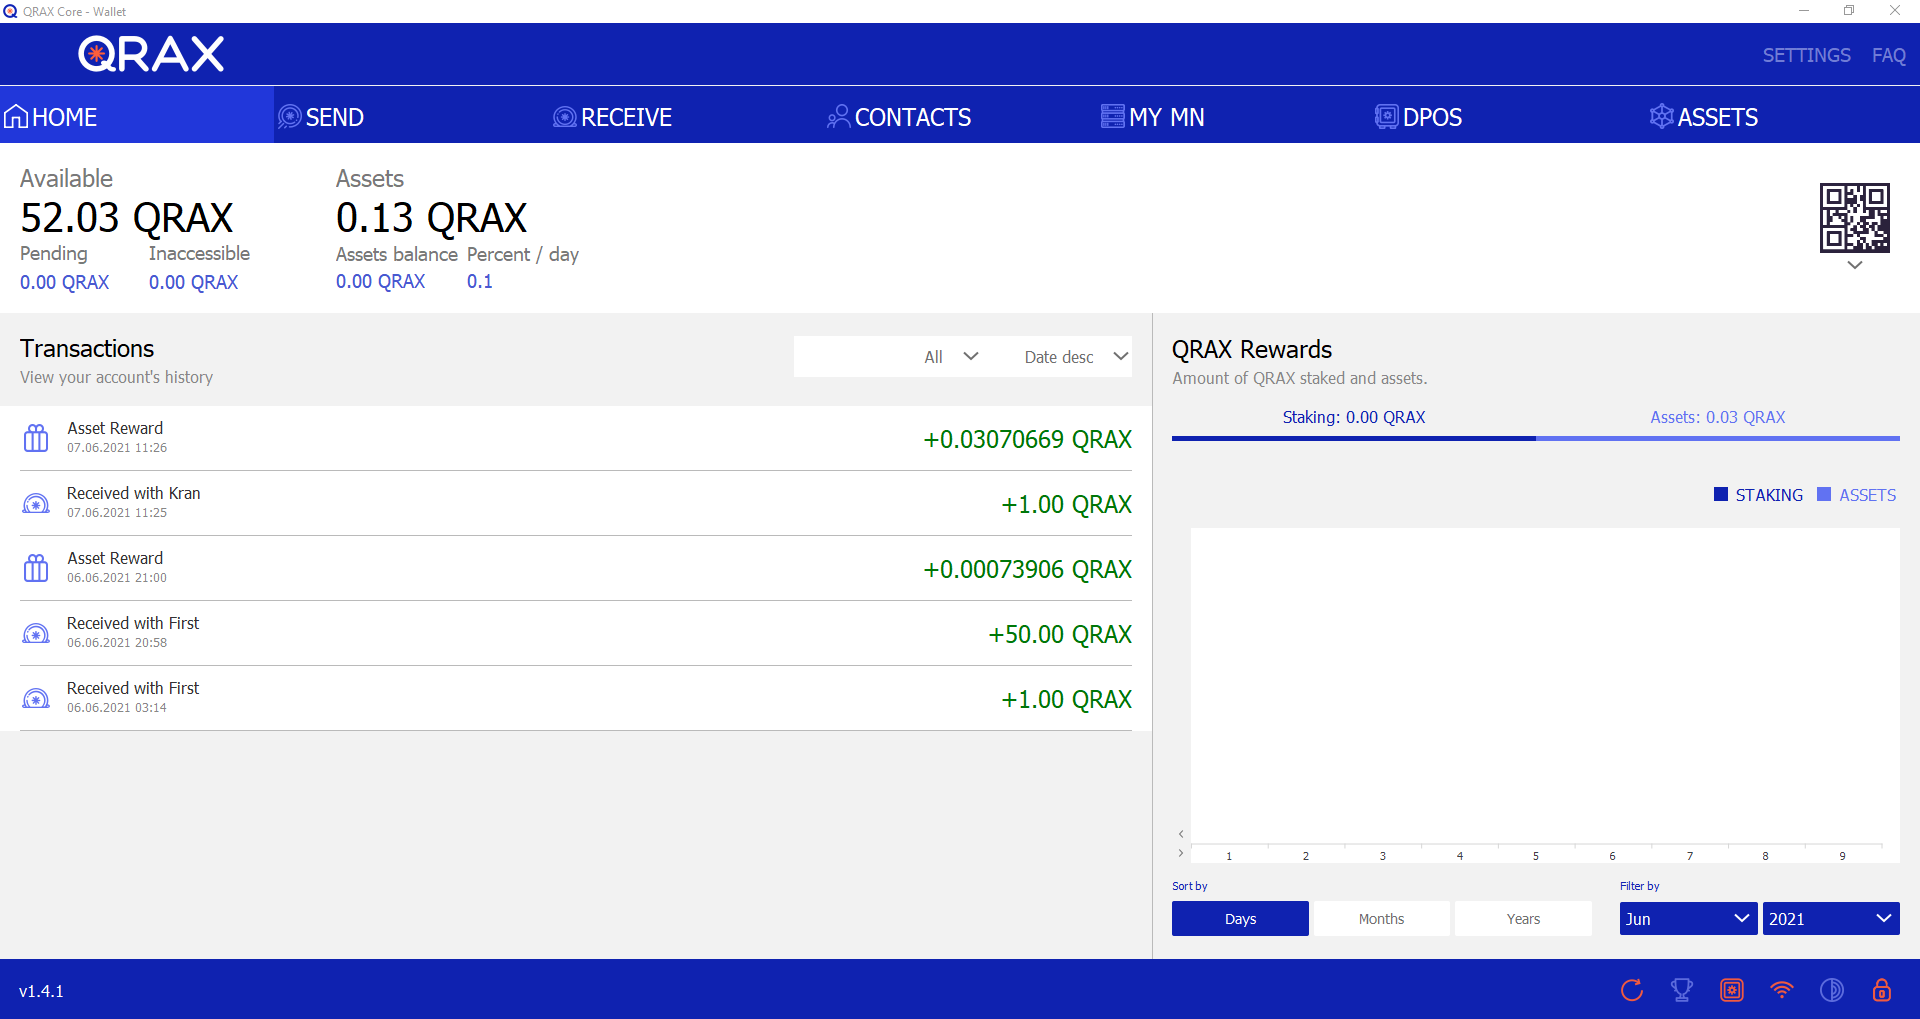
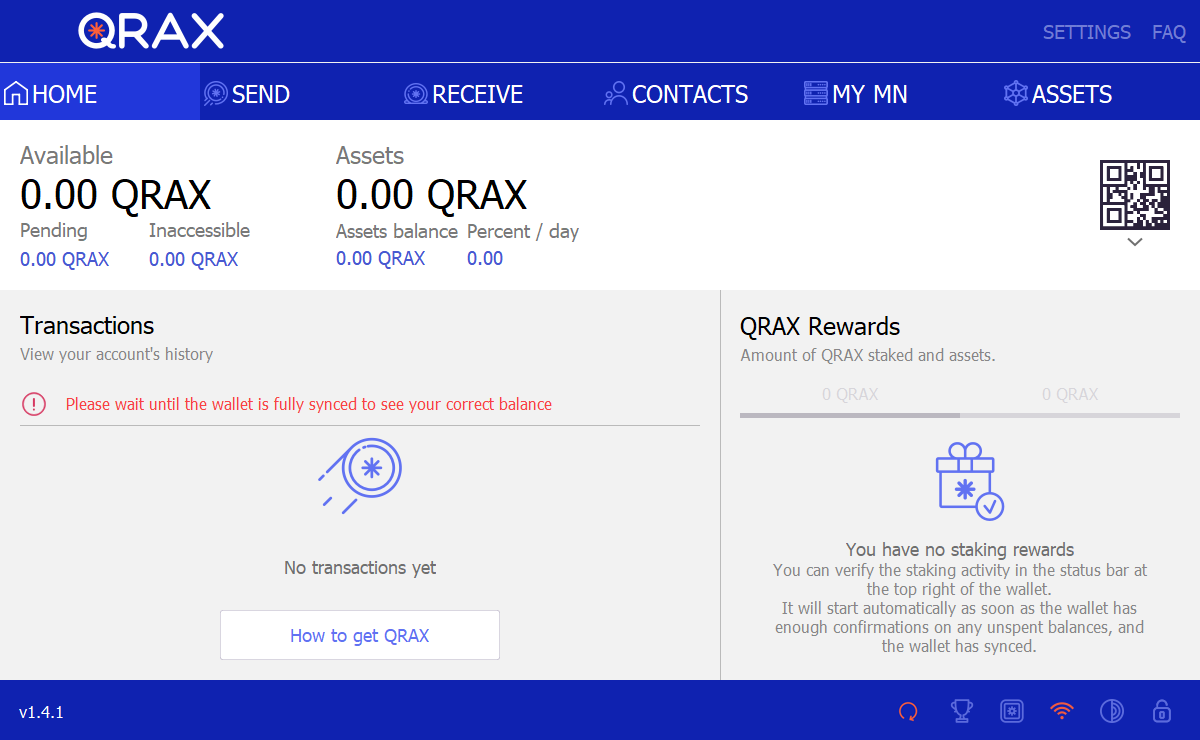
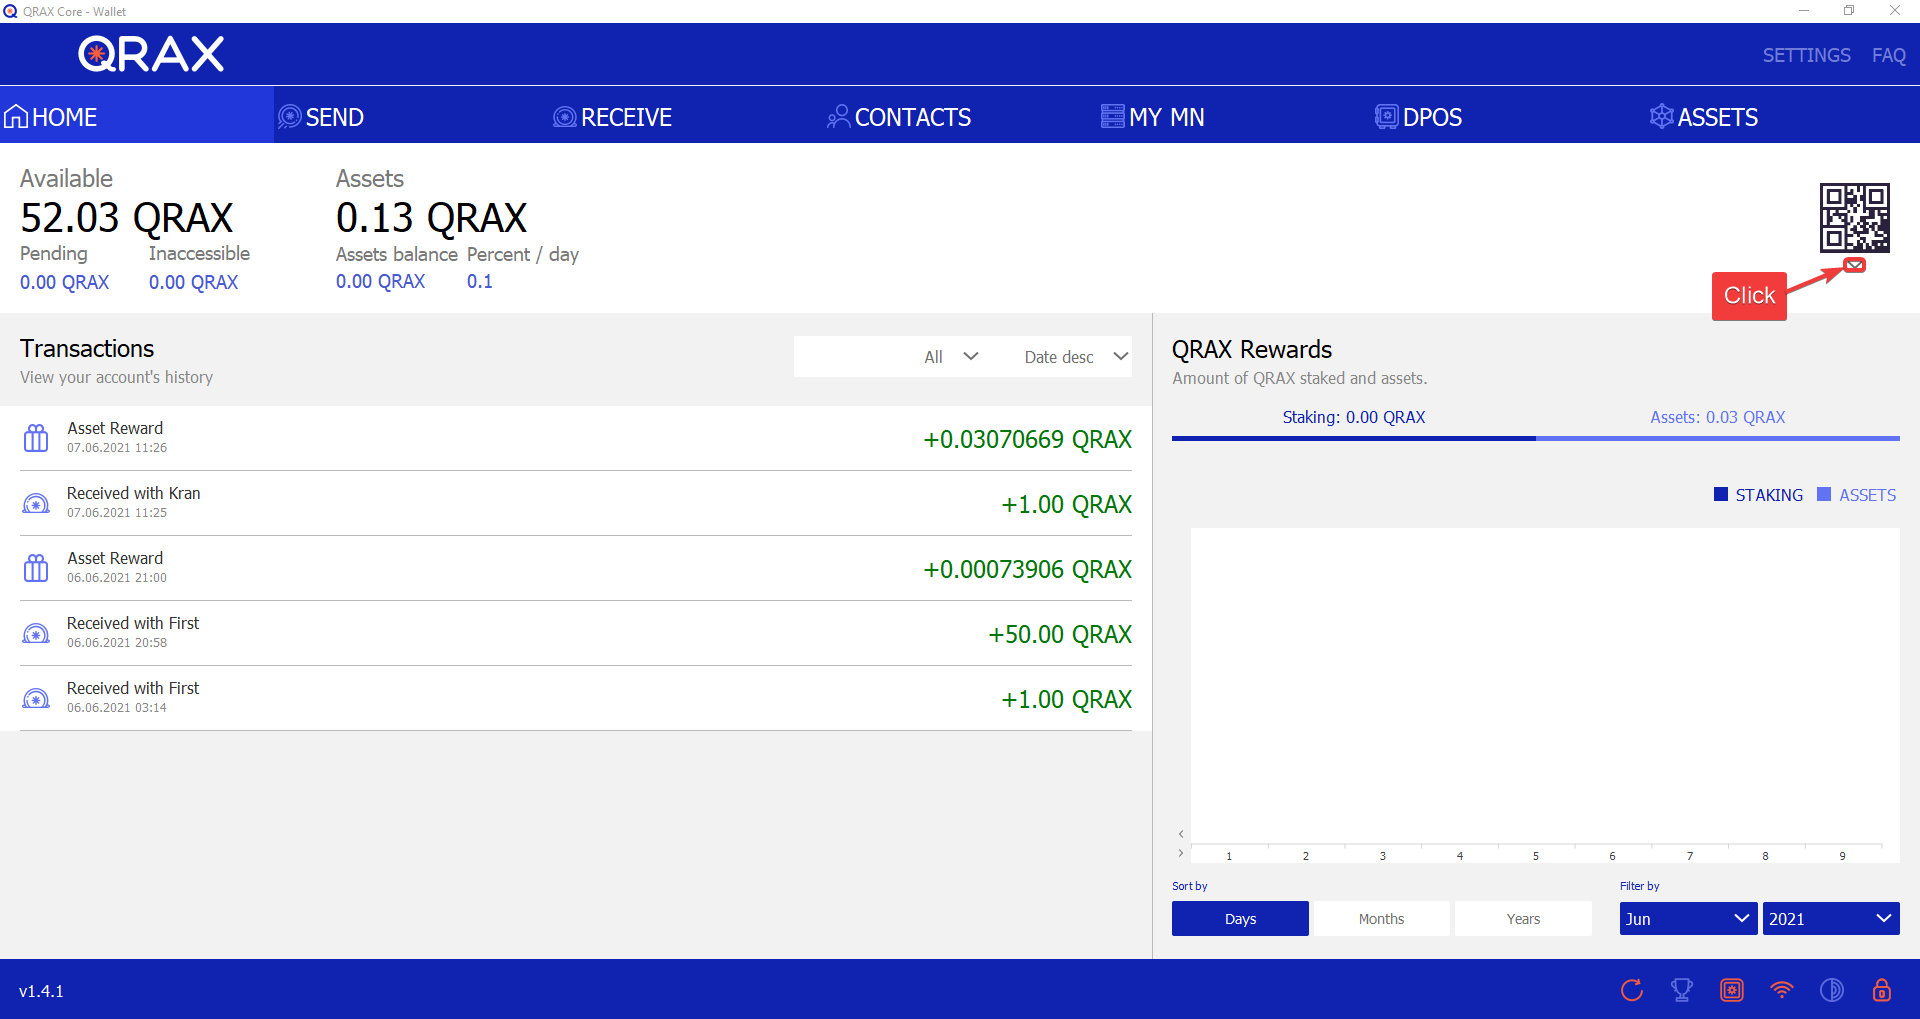
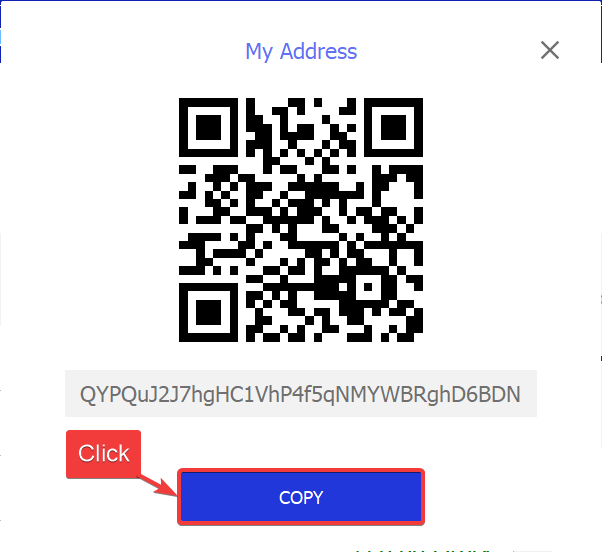
On the very first tab "HOME" you should find the QR code and click the "⌄" button under it.
A QR code with the address of our wallet is displayed on top of the window, as well as the address itself.
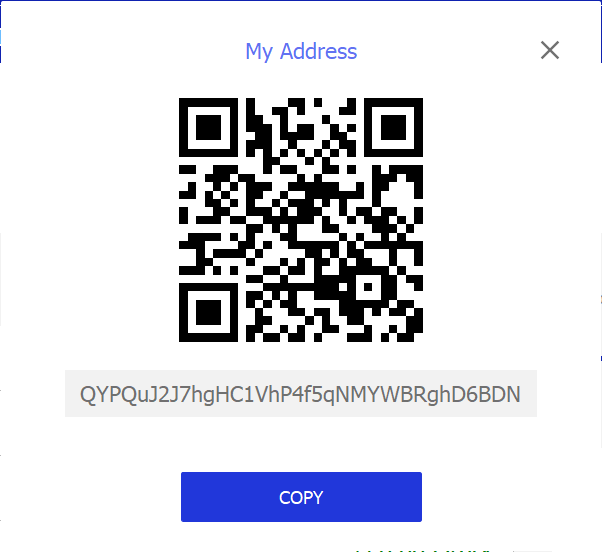
Click on the "COPY" button to copy the address to the clipboard of our computer.
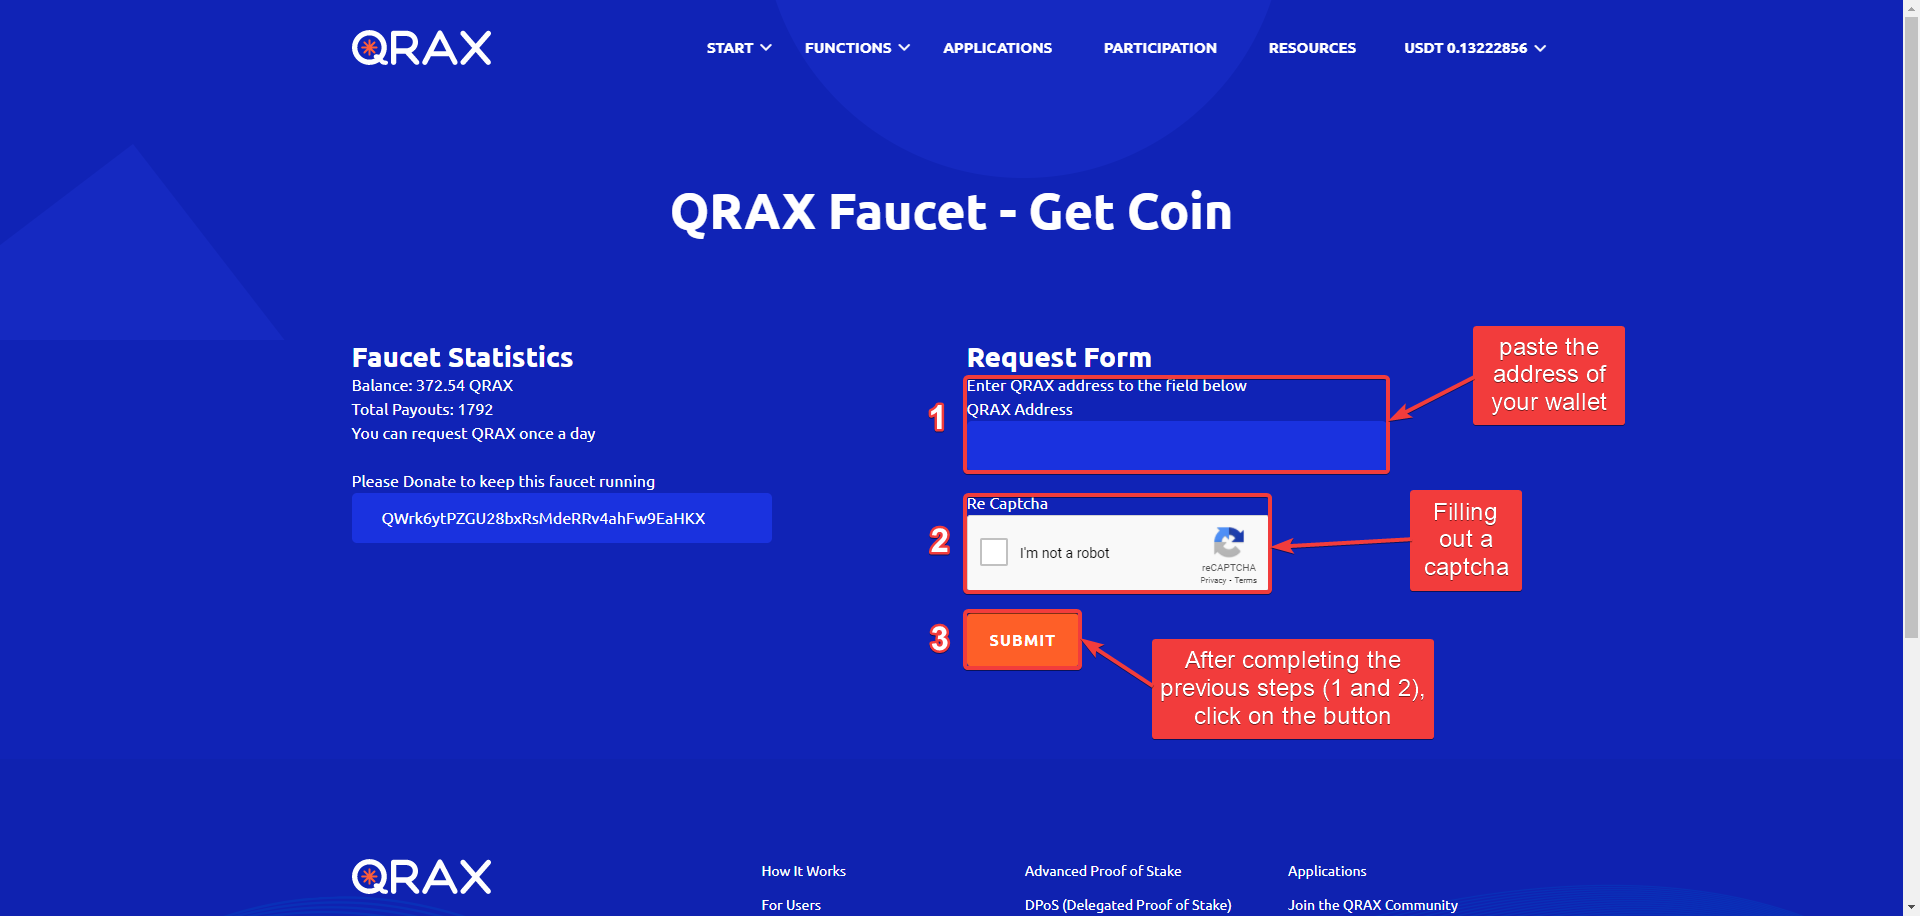
Now we return to the browser and work with the faucet on the official website of the project. Then you have to paste your copied address into the appropriate field on the page.
If all the steps are completed correctly, you will see a message about this; and also a link to the transaction browser that you can click on to view the details of the transfer.
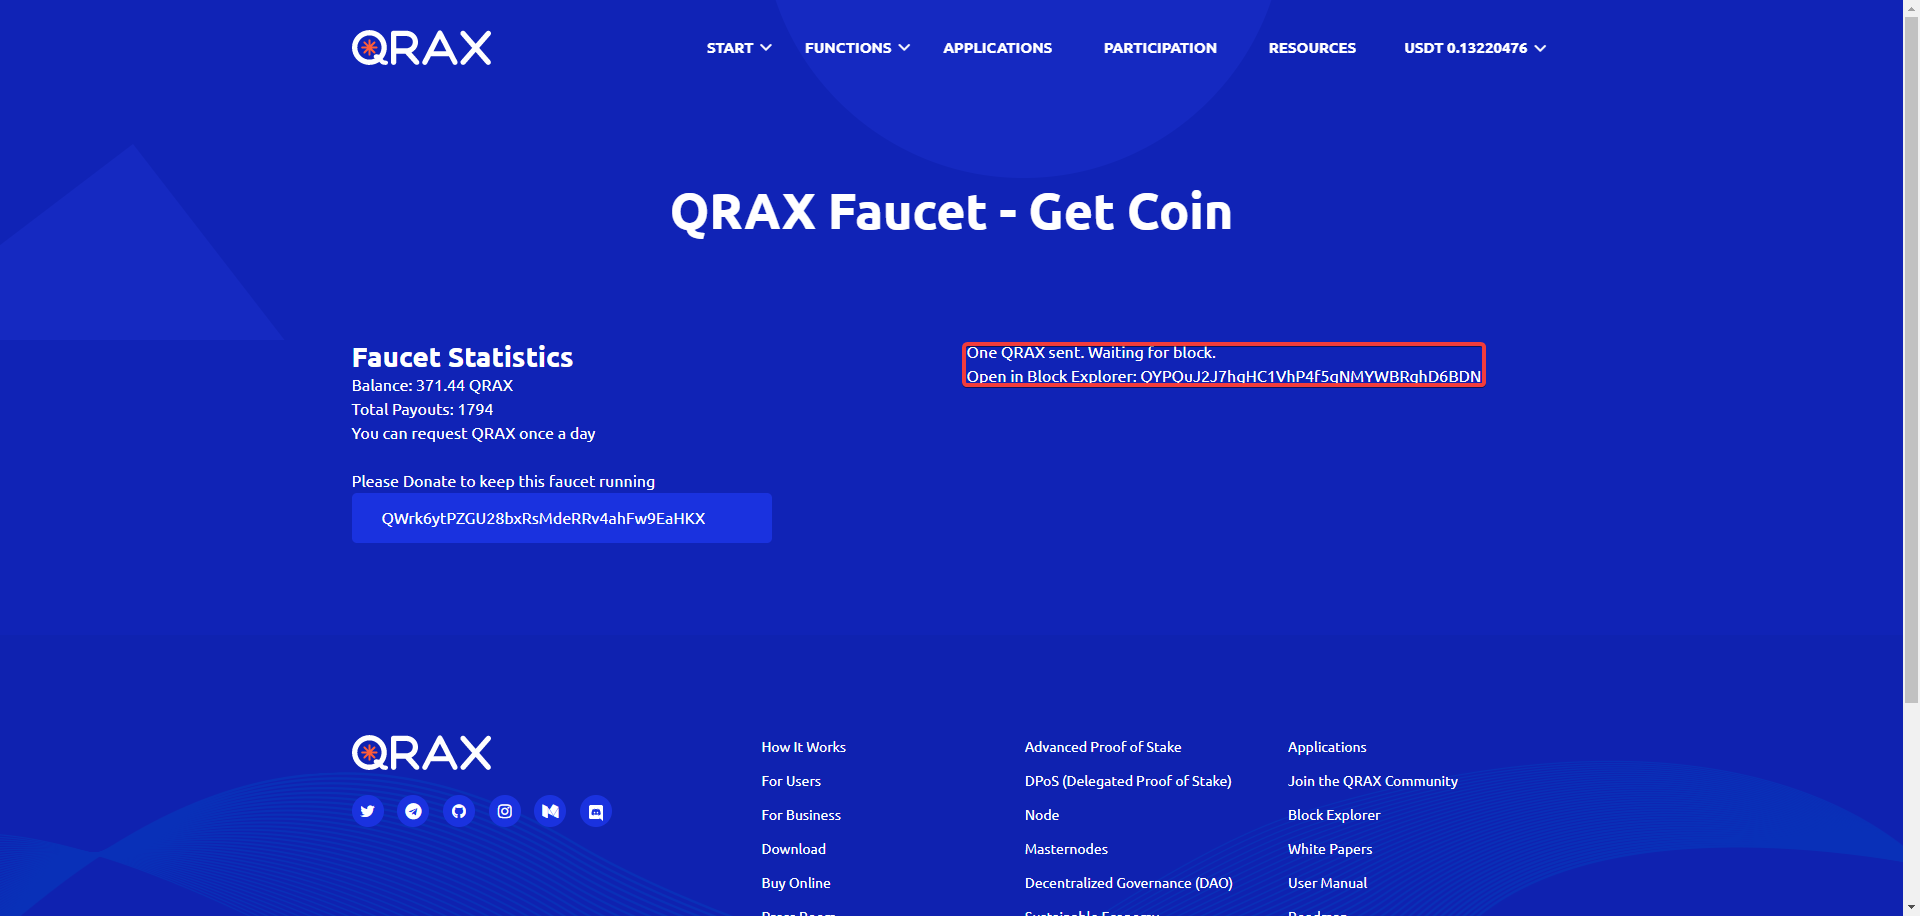
You can only wait the completion of the requested funds transfer.
Congratulations, you have successfully downloaded, installed and activated the wallet. You are now a full member of the QRAX community.