How to Install WordPress Plugins
As one of the most popular content management systems (CMS), WordPress offers high flexibility and numerous customization options. It offers a wide variety of WordPress plugins, which allow you to tweak your website’s functionality.
WordPress has its own plugin directory, which includes free and premium plugins. These plugins let you add various features, ranging from contact forms and custom newsletters to website caching and WordPress security.
Some plugins can also alter your WordPress site to make it a functional online store with a WooCommerce plugin or an eLearning platform with LMS plugins. In fact, you can even create your own WordPress plugin.
In this tutorial, we will show the step-by-step process of installing WordPress plugins using three different methods. At the end of this article, we will also include a few tips you can follow when looking for new WordPress plugins to improve your site.

- How to Install WordPress Plugins From the Official Plugins Directory
- How to Install WordPress Plugins Manually
- Using an FTP Client to Install WordPress Plugins
- Activating Pre-Installed Plugins in hPanel
- What to Remember When Selecting a Plugin?
- Regular Updates.
- Making Sure It Is Right for the Job
- Install One Plugin at a Time
- Use Only One Plugin for Each Function
- How to Install WordPress Plugins FAQ
- How Do I Manually Install a WordPress Plugin?
- Can I Install Plugins on Free WordPress?
How to Install WordPress Plugins From the Official Plugins Directory
The easiest way to install WordPress plugins is by accessing the official plugins directory through your WordPress admin area. However, this WordPress plugin directory is limited to free plugin options only.
Log in to your WordPress dashboard and navigate to Plugins -> Add New. Proceed to search the name of the plugin in the search bar. You can also browse the featured, popular, or recommended plugins by clicking on the provided tabs on the left.اف
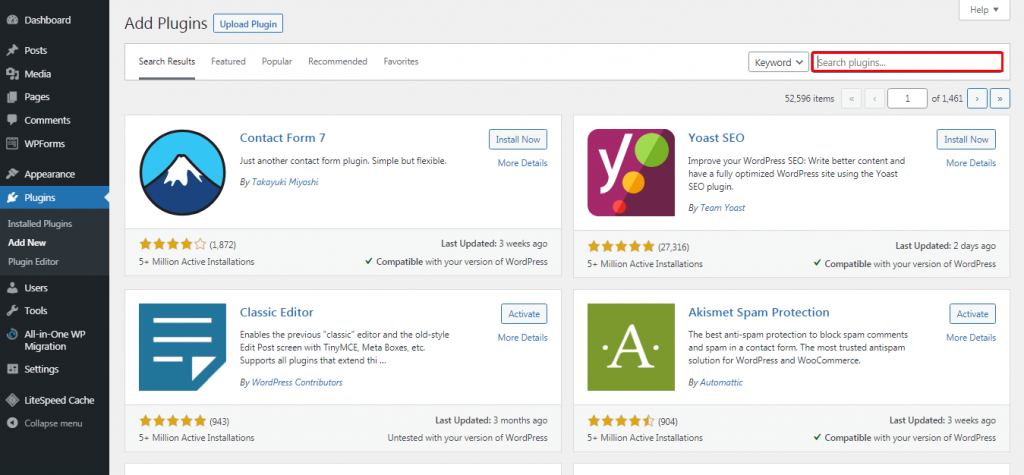
For example, if you search for the MonsterInsights plugin, you will see it come up as the first result. Click on the Install Now button to start the plugin installation.
Wait for the process to finish and click the Activate button to start using the WordPress plugin.
Once you activate the plugin, check and configure the plugin settings by heading to Plugins -> Installed Plugins.
How to Install WordPress Plugins Manually
Another way to install WordPress plugins is by manually uploading the plugin files through your WordPress dashboard.
This method allows you to install a plugin that may not be in the official WordPress directory but available from third-party directories instead, such as CodeCanyon and Codester.
Before starting the plugin installation process, you need to first download the plugin ZIP file from your chosen source.
Expert Tip
If you are looking for plugins, make sure you are downloading them from a trusted source. Plugins from untrustworthy sites may contain hidden malware or viruses.

Egidijus N.
Head of Cyber Security
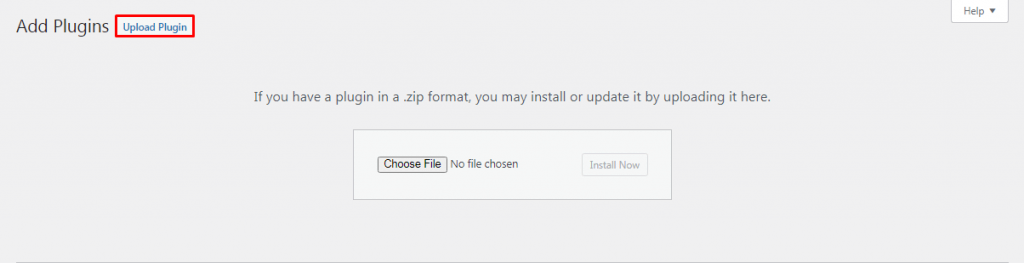
Next, access your WordPress admin area and click Plugins -> Add New. Then, locate the Upload Plugin button at the top-left side of the page.
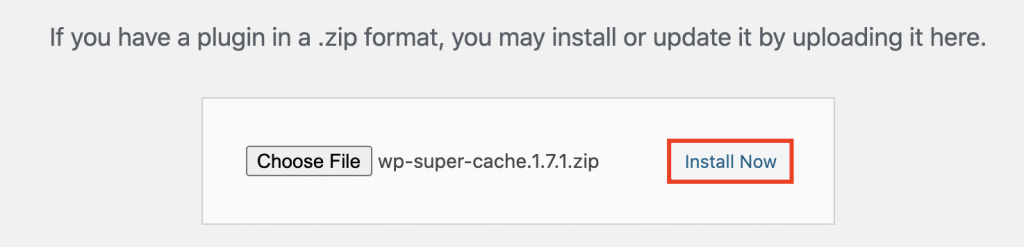
Select the plugin ZIP file from your computer that you want to upload, then click Install Now.
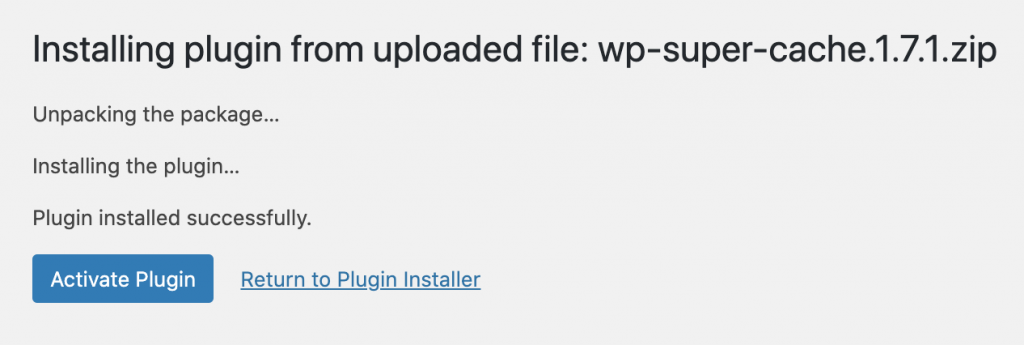
Wait for the plugin installation to finish and press Activate Plugin.
Using an FTP Client to Install WordPress Plugins
There are several premium and custom WordPress plugins that require you to install them manually using an FTP client. For a beginner, the process might be slightly more complicated because you will need to learn how to configure an FTP client first.
Not to worry – the following guide will walk you through the process step-by-step. All you have to do is simply follow the steps.
First, extract the ZIP file of the plugin and save it to a folder on your computer. Keep in mind that the extracted plugin file folder will be the one you need to upload through the FTP client.
Then, connect your website to the FTP server. To do so, find the FTP details from your hosting provider.
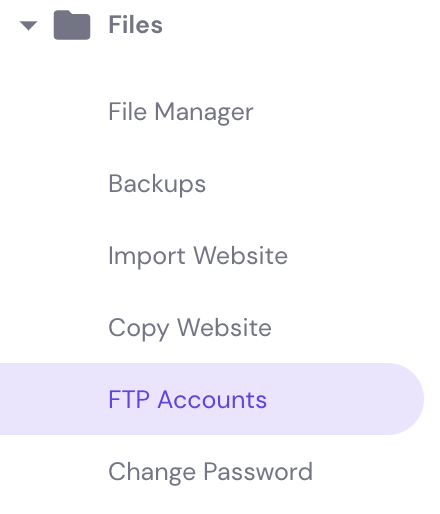
For Hostinger users, simply log in to your hPanel and open your hosting account Dashboard. Then navigate to the sidebar menu → Files → FTP Accounts.
Once connected, access your FTP client – for this example, we use FileZilla. There, input your login credentials and press the Quickconnect button. Next, navigate to the Remote Site panel and locate the wp-content/plugins/ folder.
On the Local Site panel, upload the extracted plugin folder from your computer to wp-content/plugins/ folder on your server.
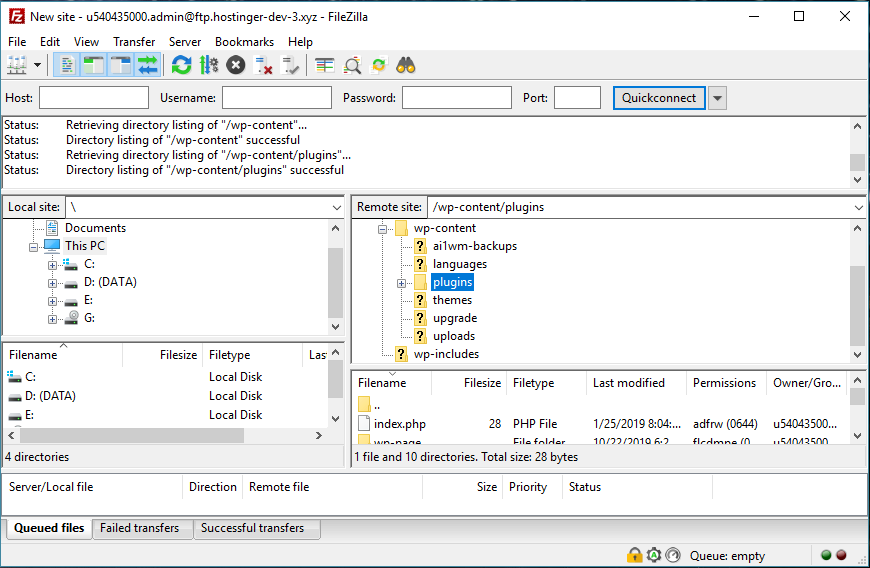
Once the transfer is complete, the WordPress plugin will be installed on your site.
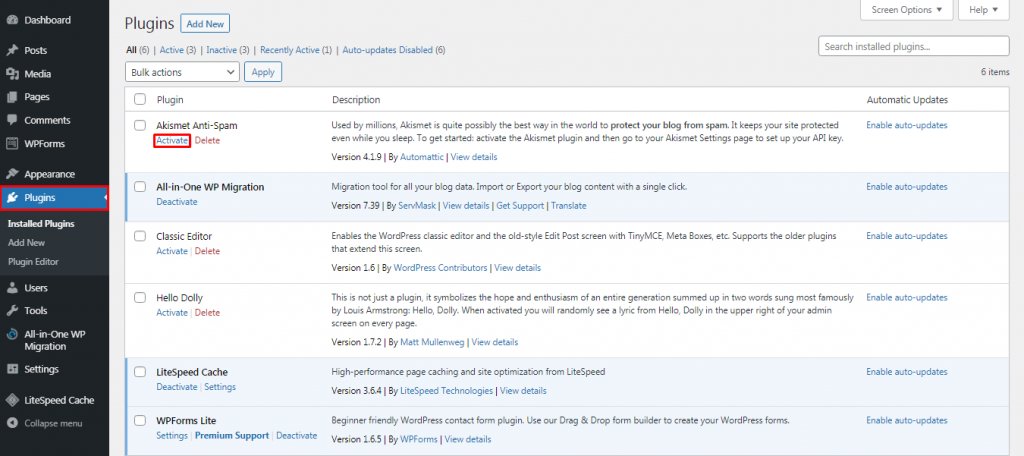
To activate the plugin, you need to access your WordPress dashboard. Go to the plugin section -> Installed Plugins, locate the plugin, and click Activate.
Activating Pre-Installed Plugins in hPanel
Hostinger provides a one-click WordPress installation with every shared, cloud and WordPress web hosting plan. When you install WordPress through this auto-installer, you will get several pre-installed plugins, including LiteSpeed Cache and WPForms.
If you want to activate these plugins, access your WordPress dashboard and go to the Plugins menu. Choose the plugin you want to activate, then click on the Activate button.
What to Remember When Selecting a Plugin?
There are many plugins in the WordPress plugin directory and even more available from third-party websites. This number of options can feel overwhelming, especially for beginners trying to figure out what’s suitable for their site.
The following sections will show you some essential things to consider when selecting a plugin for your website.