How To Change the Default Snooze Time for Your Alarm On Any Android
learnandroideasilySteps To Change the Default Snooze Time for Your Alarm on Any Android:
#1 Let us state that the method to set the custom snooze time for the alarm time on your Android is really easy and straightforward. The only requirement is that the user must have the Google Developed Clock app installed on their device. This app has the settings preinstalled on each of the skin that you utilize and thus the changes to the snooze time can be done through the easy options. If you are ready to change the default snooze time of your clock then please move forward and start to read the steps.
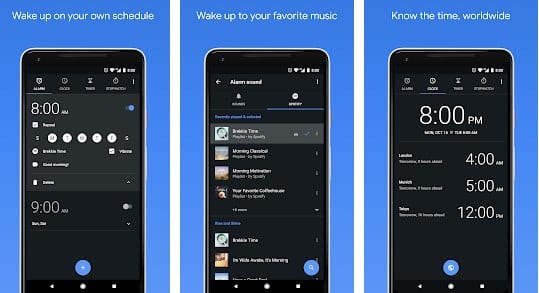
#2, First of all, open up the Google Clock App on your device and then inside the app look forward to the three vertical dots. Once you have found the three dots, just tap over those dots and then the settings screen will show up. The three dots are placed on the upper right corner of the screen inside the Clock app so it won’t be hard to locate it. The settings page that opens up will consist of many different options related to the Clock app and the Alarm.
#3 There will be an option or the grouping named Alarms, go to this option and then select the option- Snooze Length. Once after you have clicked or tap over this option then you will be shown various time intervals for the Snooze length. Choose the one that you prefer the most and after that close every panel. Go to the home screen after all.
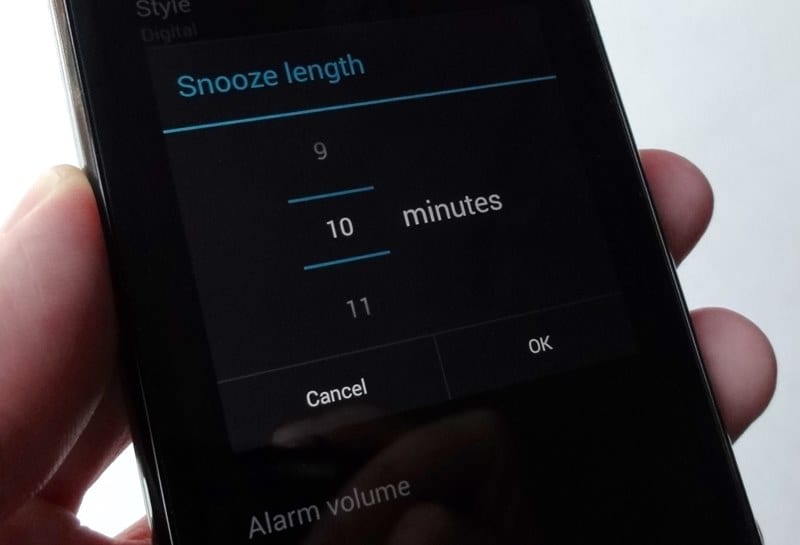
#4 Perform the reboot on the device and once the device restarts then you can see that the snooze timing will be set to the custom time that you selected in the above steps. That’s all!