HEVC Encoding with StaxRip (Settings for best compression included)
SalmanDownload StaxRip: https://www.videohelp.com/software/StaxRip
Download All the required files:- Python, .net framework 4.8, visual studio 2019, Klite codec pack (for all filters like lav)
First Time Installations
- To use StaxRip x64, extract the download file to a folder.
- Open the StaxRip folder. Open staxrip.exe
- Choose settings folder (choose the same folder inside staxrip)
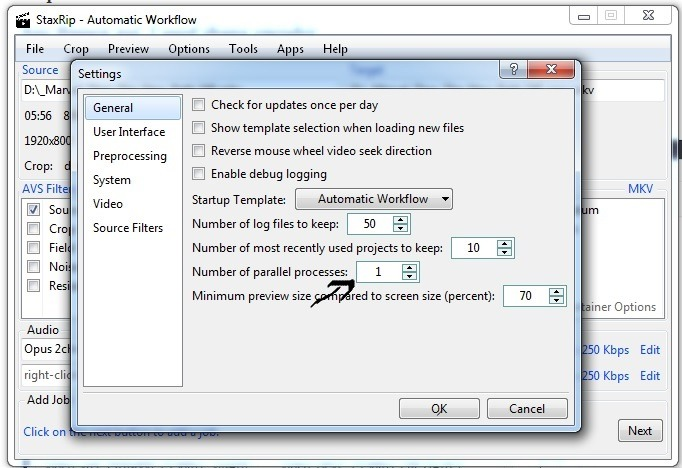
Running StaxRip for the first time.
Go to Tools->Settings-> change no.of parallel processes to 1
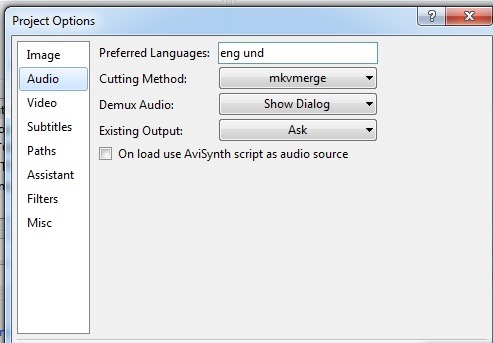
Go to Options->Audio-> Show Dialogue
Go to Options->Subtitles-> Show Dialogue
Creating Templates: Creating custom templates let you do the same conversions over and over without having to change settings each time. Right click on the filters column and choose VapourSynth (Recommended for 10bit encodes but consumes more ram and power than Aisynth). Right click again and add all the filters you want like resize, crop, tweaks and noise reduction.
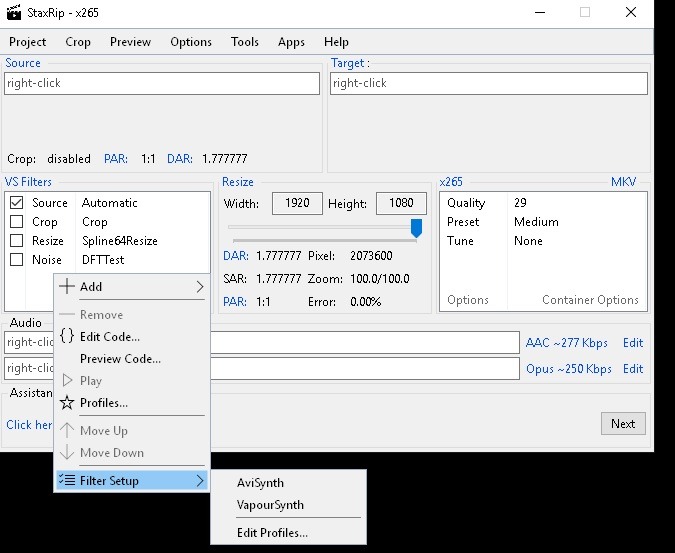
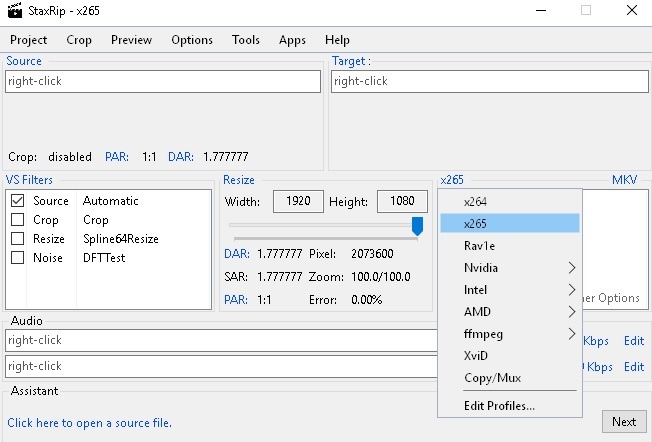
Go to right column and select X265. and Choose mkv or mp4 container
Now go to the Audio section below And click on the profile. You will get a drop-down list of available profiles. Select the profile you want and edit it . here i choose aac profile to encode 5.1 channel. qaac and fdkaac needs to be downloaded and put in staxrip->apps->audio folder.
fdkaac - https://t.me/GoFiIesBot?start=view_11842_tg
qaac - https://t.me/GoFiIesBot?start=view_11843_tg
Select high Efficiency if you are encoding in 2 Channel as it gives better compression at low bitrates.(It wont work in true vbr mode, so change to cvbr mode) I dont recommend going below 48 (Bitrate).
Next click more and change decoding method to pipe

Now we are going to set the X265 options. Click options under X265 Column. you will get a window like below.
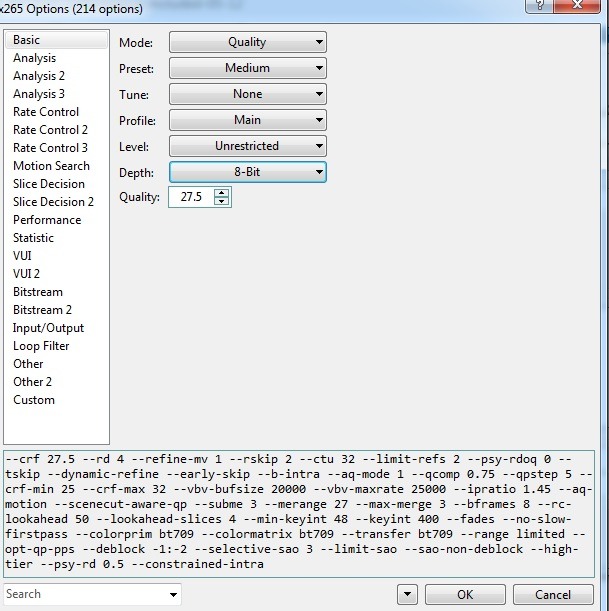
Preset - Medium. go above medium only if you have a powerful cpu like intel i7
Tune - None. (it will set preconfigured settings according to your selection. select anything you want if you know wat you are doing.)
Mode - Qaulity, its CRF mode which will decide the bitrate automatically by the number you enter. The Higher number low size, less quality.
Recommended CRF. 720p- 25-28. 1080p- 23-26.
You can try the bitrate mode and 2 pass mode, with bitrates for 720p 400-550 and 1080p 900-1200. If the movie have complex frames and fast movements increase the bitrate little more.
Depth - the bit depth in which you want to encode the movie. i dont recommend using anything above 8bit unless you have bluray remux source. but using 10bit in crf mode will save bitrate and reduce banding.
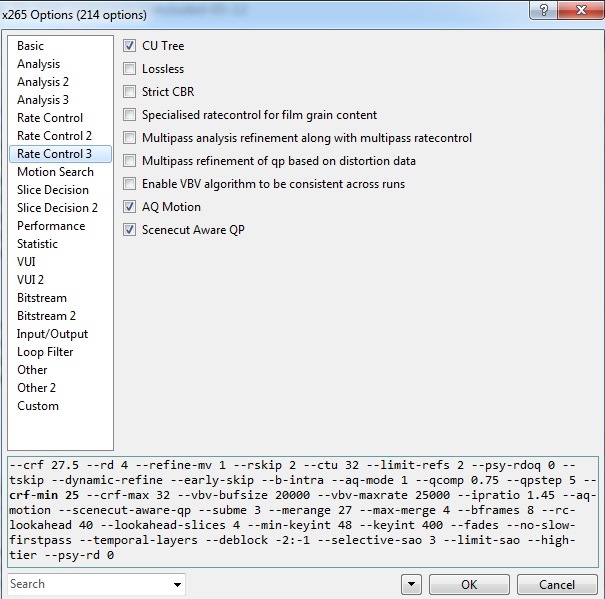
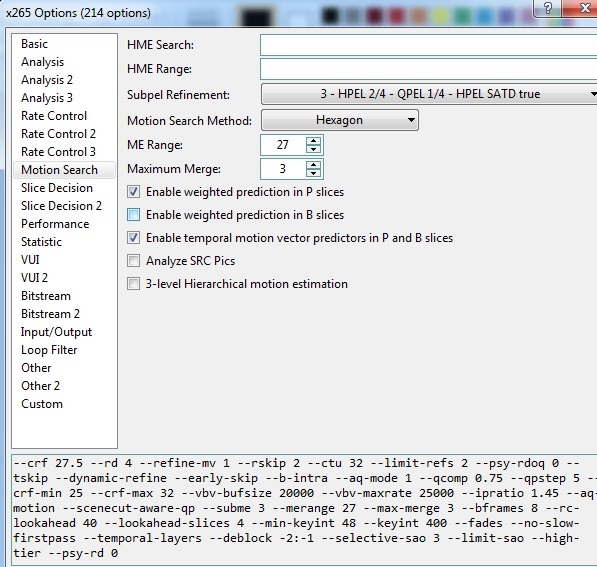
Going through all other sections will make this post very long and boring. I will just upload the screenshot of other sections.


Enable sample adaptive offset if you have a grainy source. it will smoothen the video by doing a blur. In low bitrate encodes it may f**k up the video. So its better to disable it.(make sure to change selective sao to 0, otherwise sao wont be disabled)
Use negative value in deblock fields for sharpening effect, but output will be bad if you are encoding on low bitrates.


For More details: --ref 4 --bframes 4 --tu-intra-depth 3 --tu-inter-depth 3 --deblock -2:-3 --selective-sao 0 --no-sao --psy-rd 2 --rdpenalty 1 --limit-refs 3 --no-cutree --ipratio 1.3 --pbratio 1.4
You can go through other sections and make necessary changes and save the template by going to project menu and choose it load on startup so you dont have to go through everything again

These templates are optimized for better compression with a balanced cpu usage. still it will take hours to complete an encode.
Now load the file by selecting Source. You will be prompted with a selection of files to demux and encode inside the file. choose everything you want and hit next. your video and audio files will be loaded and ready to make final edits before encoding. Make necessary changes and hit next.