Guidelines for the use of Stories Album PRO service
Stories Album
Hello, here is the complete guideline for the use of AR-photo creation service - Stories Album.
Find the video guide here
Page with other guidelines are here
Contents:
1 – Getting to know your user account
2 – How to create an AR-photo
Getting to know your personal area
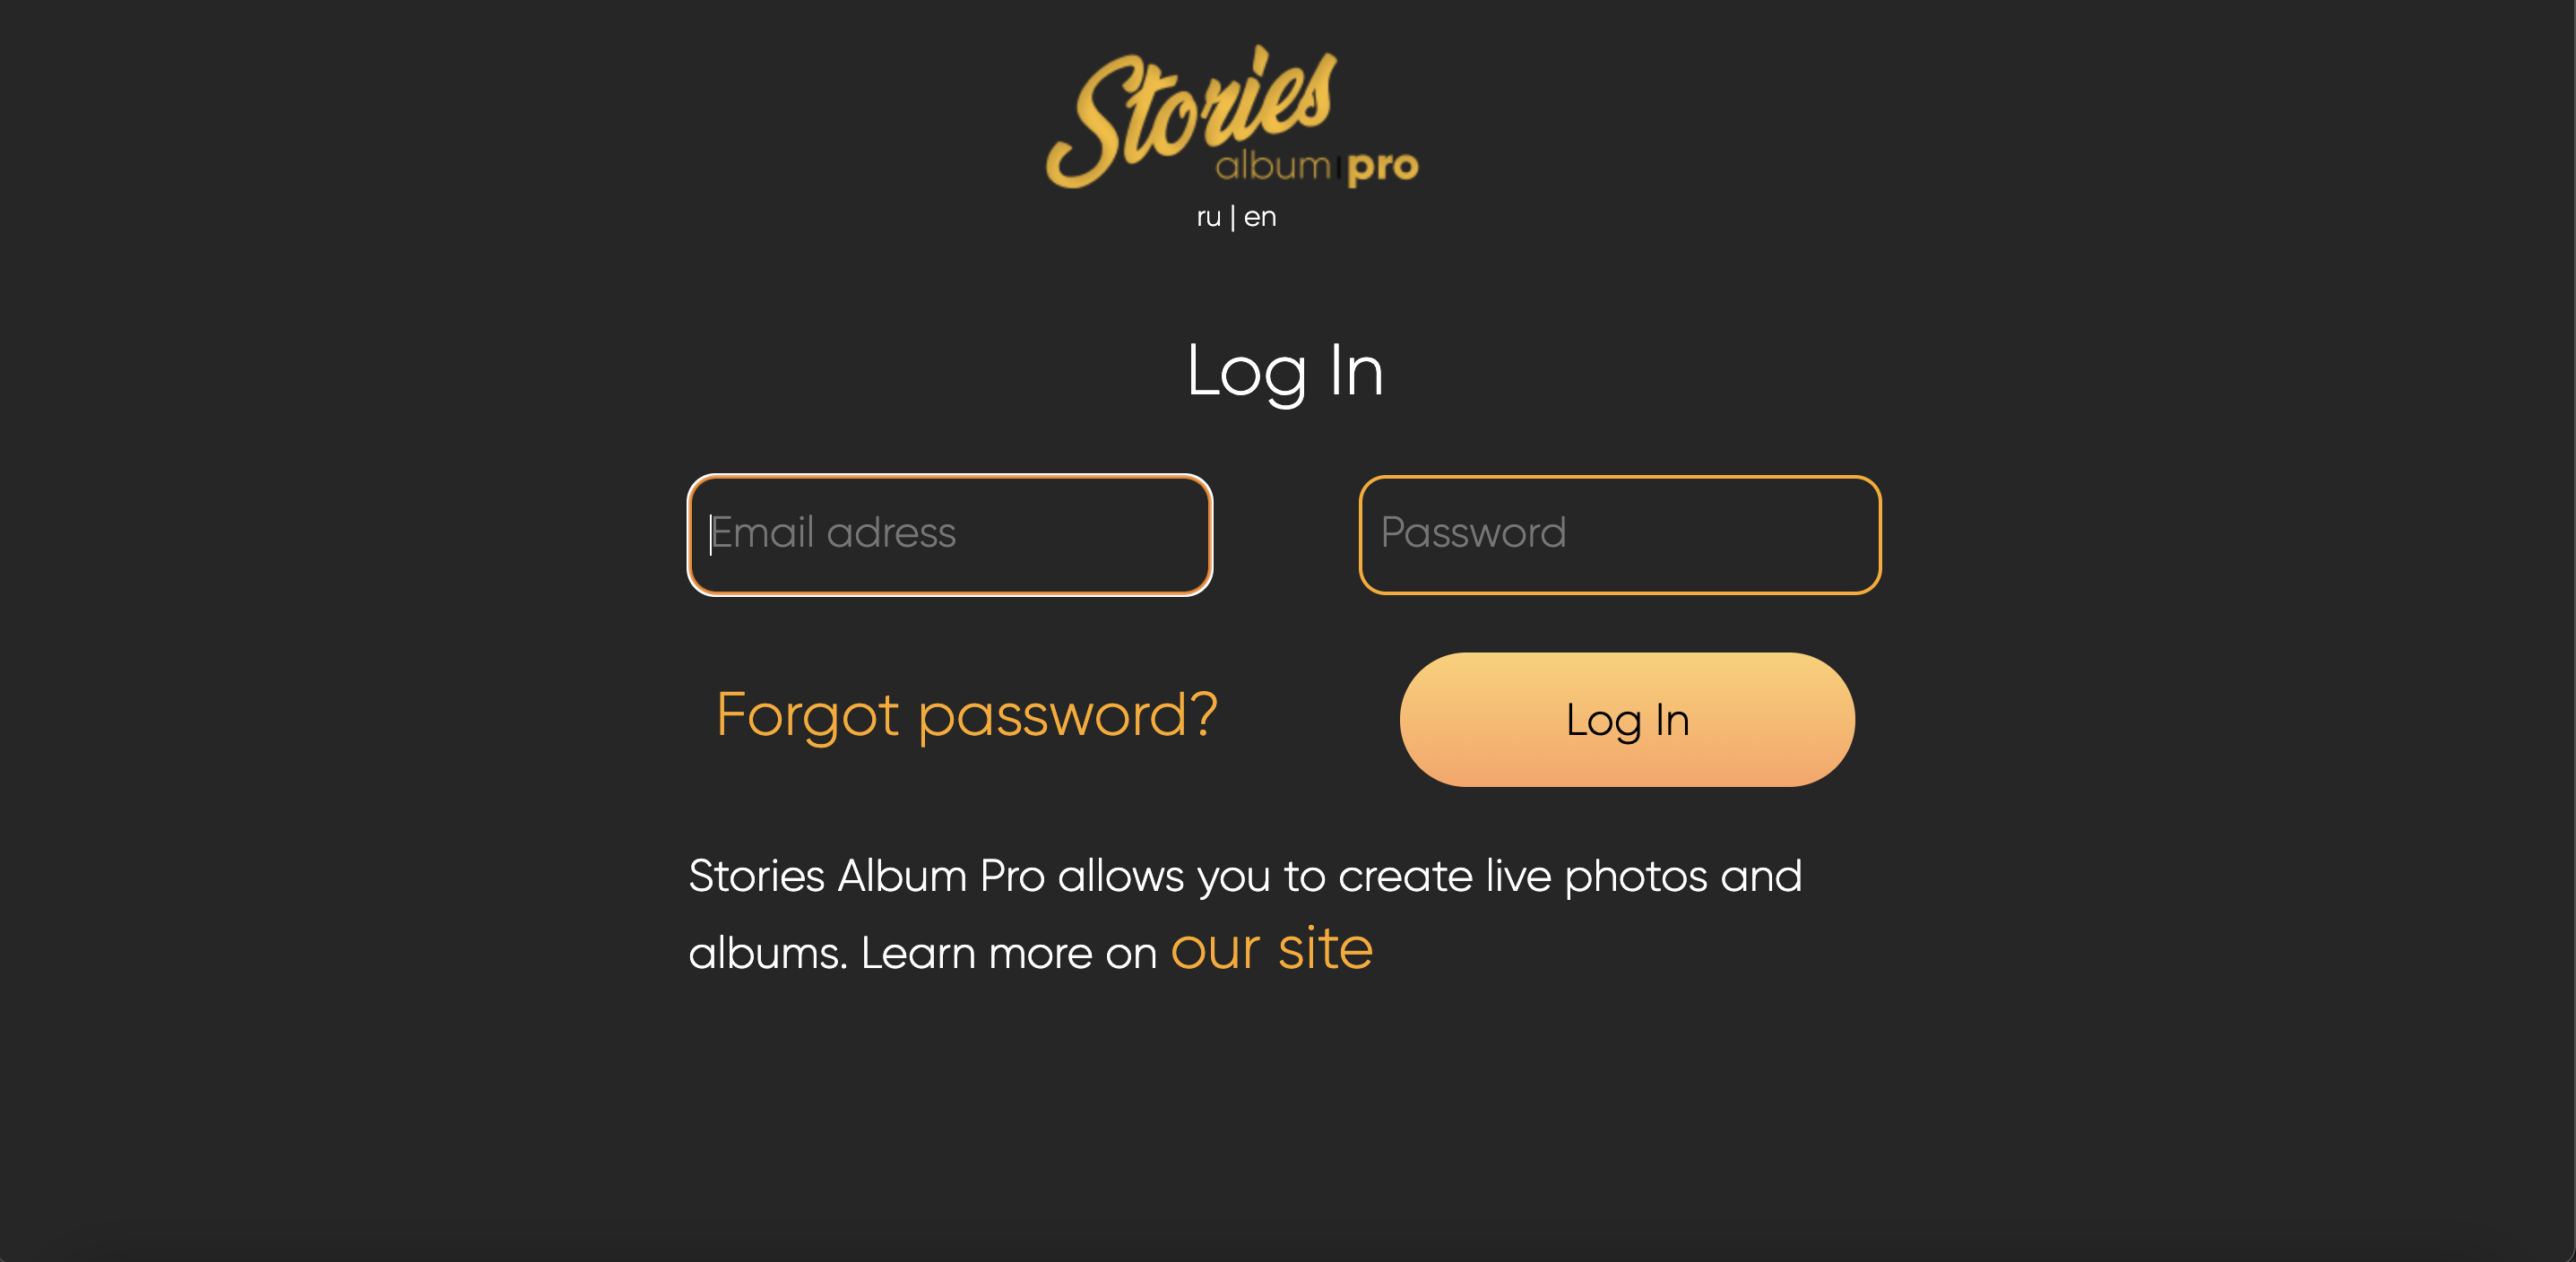
1. Log in your Stories Album PRO account - https://pro.stories-album.com/
If you have no account, purchase the Stories Album PRO license or try the DEMO version
2. My orders –you may look through the list of all your AR-photos here

3. Create new – create new AR-photos here

4. Profile – change your password and data here

5. Help – solve all your problems with the use of the service


6. Balance – replenish your AR-photos balance here

How to create an AR-photo
1 – Go to section "Create new"
2 – Read or watch the complete manual for the use of the service

Let us figure out what the AR-photo consists of as a start.
AR-photo is a couple of photos + a video
A certain video is played while hovering over a specific photo.
You need a QR-code for the Stories Album application to match the required photo and video.
This is exactly what we will generate next.
The scheme to view the AR-photo is as simple as possible:
1) Scan the QR-code in the Stories Album application
2) The Stories Album app downloads information about which photo which video is attributed to
3) A certain video is played while hovering over a specific photo
!Critical – unlimited number of photo and video pairs can be done with one QR-code
Let us prepare the files before uploading:
Open the folder with all files you wish to upload
Number your photos and videos for the system to understand which photo which video is attributed to.
Finally you need to have 1.jpg - 1.mp4, 2.jpg - 2.mp4, 3.jpg - 3.mp4 etc.

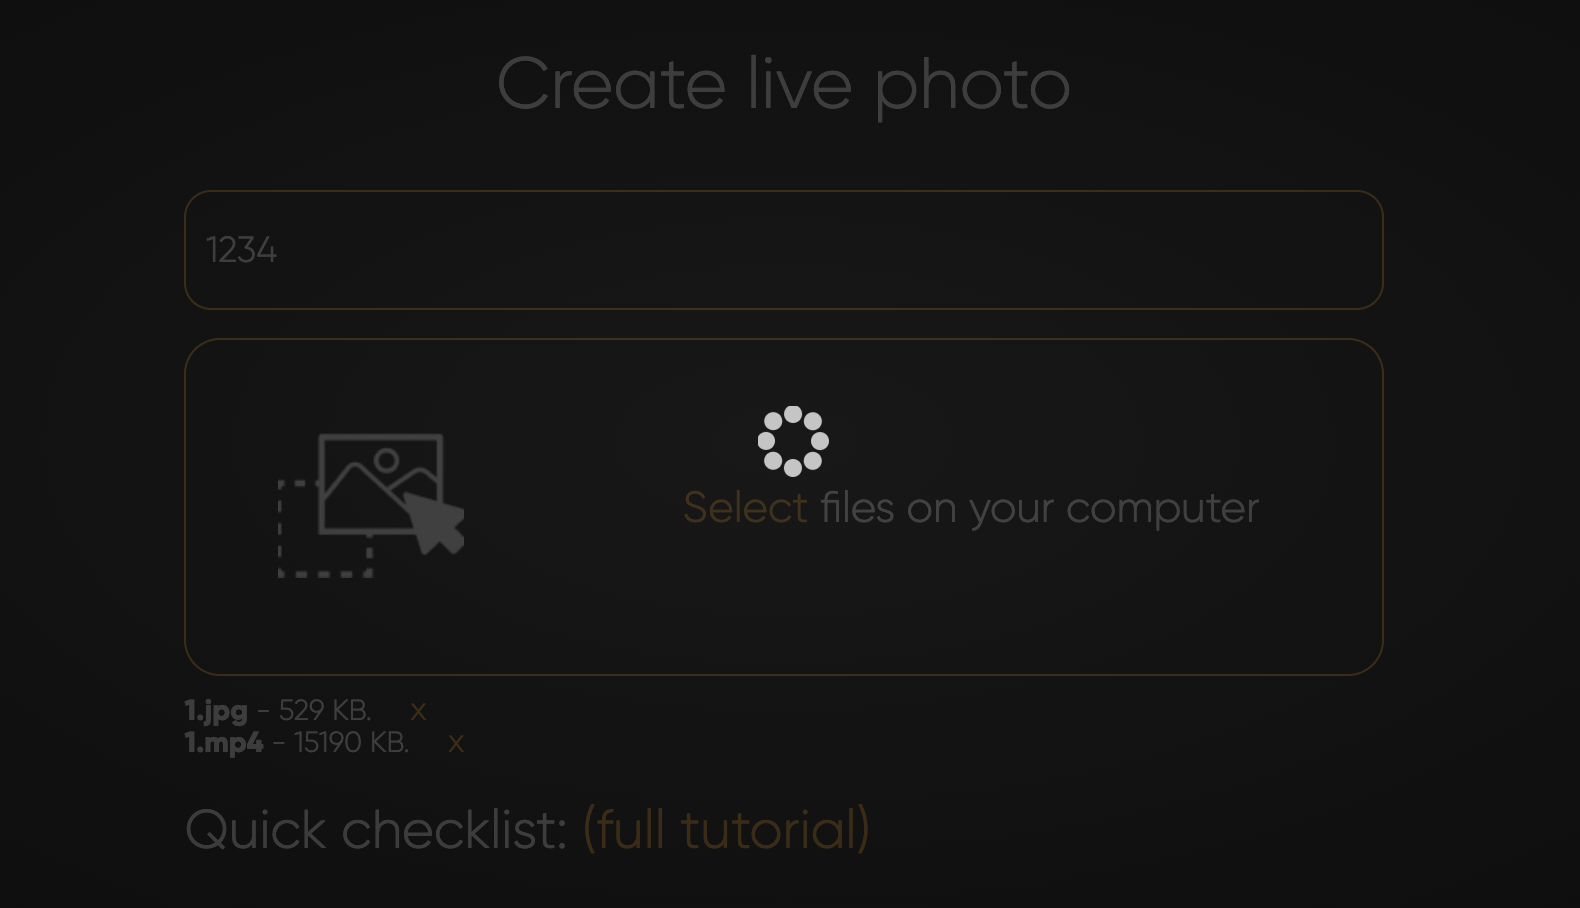
3 – Enter the name of the photo (just for you to understand what these files are about)
4 – Press "Select" and highlight all the before numbered photos and videos.
! Critical: all these photos and videos will be active in one QR code. If you want to have a separate code for each photo and video, select only one pair of photos and videos and you will have one QR code generated.

5 – Next, your files are uploaded to the system. This download speed depends on your Internet speed
6 – Press the "Continue" button

7 – The next step is to check whether there are any errors with your files, which will be displayed here. If you cannot solve the problem, write to our support or to any social network. We will be happy to help. In case everything is OK, the system outputs the number of photos and video files uploaded, if everything is correct, click "Continue"

8 – Final step – uploading files to servers and generating a QR code. The speed of uploading to the server depends on the number of people currently uploading files to Stories PRO. Once the QR code is generated, you can start testing it in the Stories Album application. You can download the QR code by clicking the "QR code" button, and you will get it to your email as well.
!Critical - we do not recommend paying for photos right away, as you have 20 days to test your animated photos. Test it first, and then pay.
!Critical – subject you do not pay for the photos within 20 days, they will be deleted from servers and will be inactive

9 – Let us test the photo in the application
ios
Android
Log in the Stories Album application and scan the QR-code.
The data will be downloaded to the phone after scanning (you need to wait a little). The more files are in one QR code, the longer the download stage will be

10 - Point the camera at the photo after downloading - it will come to life. The photo will have a watermark "THEST PHOTO" – it is ok, as you have not yet paid for the photo in the Stories PRO.
Check all photos before paying. If everything is fine, go to the next step.

11 – Back to the Stories Album PRO to pay for our files that we have tested.
!Critical: one pair of photos and videos is one photo, that is, if you uploaded 3 photos and 3 videos, 3 photos will be debited from your balance

12 – Now you need to test the paid photos.
Let us go back to the Stories Album app. Enter the settings and delete the cache in the application.
!Critical: you are the only one to do this as the creator of AR- photos. Your customers should not do this, as you will give away the already paid QR code without a watermark. You can clear the entire cache or the last scanned code only.

13 – Repeat steps 9 and 10. Scan the QR code, wait for the download and point at the photo.

Congratulations! We learnt how to create animated AR photos!
Other functions in the personal area:

1 – QR code number - you may need it when contacting the support service
2 - Name - the name that you specified when creating the AR photo
3 - Date of the AR photo creation
4 - Number of photos in this QR code
5 - "Links and signatures" functionality - here you can add links and signatures for your photos. Detailed video instruction is here
6 – Edit - You can edit the photo in this QR code
!Critical: if you have 10 photos and 10 videos in the QR code, but you need to change two pairs only, you still have to upload 10 photos and 10 videos, but with the new files, and 10 but not 2 photos will be written off from your balance as well
7 - Delete - You can delete this QR code, it will be no longer active
8 – Date of the test photo - the date up to which you can test your photos is displayed here, if the photos are not paid before this date, they will be deleted from the servers
9 - "Disable/Enable" functionality – in case you need to temporarily disable/enable the QR code (that is, it will be scanned in the Stories Album application)
That is it then! Thanks for choosing the Stories Album PRO - stories-album.com