Guide for Now Playing - OBS
tizhprogerTo work with this widget, you need to do only 3 things:
- Install browser extension and give it permissions (if needed)
- Run server on your PC
- Add widget browser source to OBS
Information for streamers
If you want to support the project, add a link to its page in the channel description. To do this, you can use a ready-made logo with a signature, which can be downloaded from the link:
As a link, add the address playingnow.de, which may have led you to this guide.
Version 2.0 is now available!
Updated information will be below.
Install extension to browser
Process can differ from how you want to do it, so let's cover a simple way.
If you are a developer, you can download the whole repository, run server script via cmd or powershell console and install extension in browsers using Developer menu.
THIS BLOCK IS ONLY FOR FIREFOX, CHROME DESCRIPTION IS BELOW THIS ONE
Imortant to mention, that Firefox requires you to confirm that this extension can access certain websites, so go to extension settings
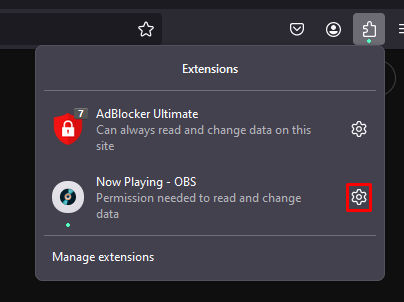
Click on Manage extension

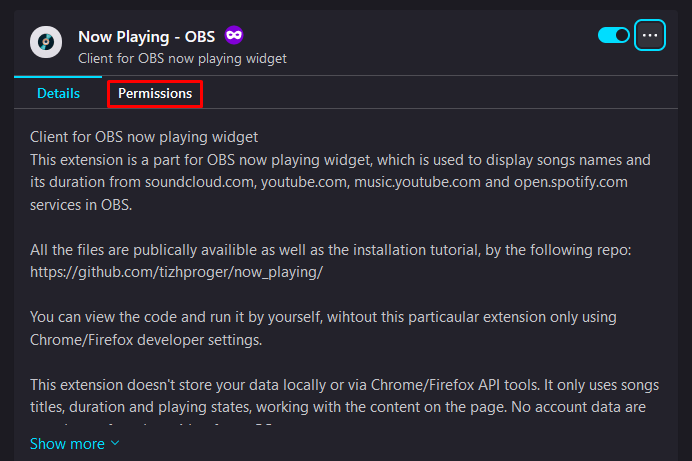
Go to Permissions
Allow extension to work on Youtube, Soundcloud and Spotify ticktng the radio buttons
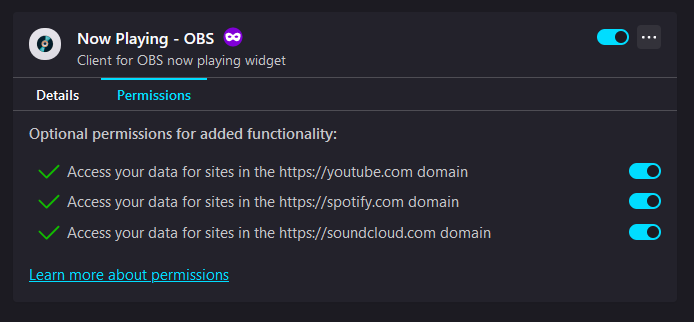
After that, extension will work as expected, this should be done only once.
END OF FIREFOX BLOCK
Depending on your browser, choose the the web extension:
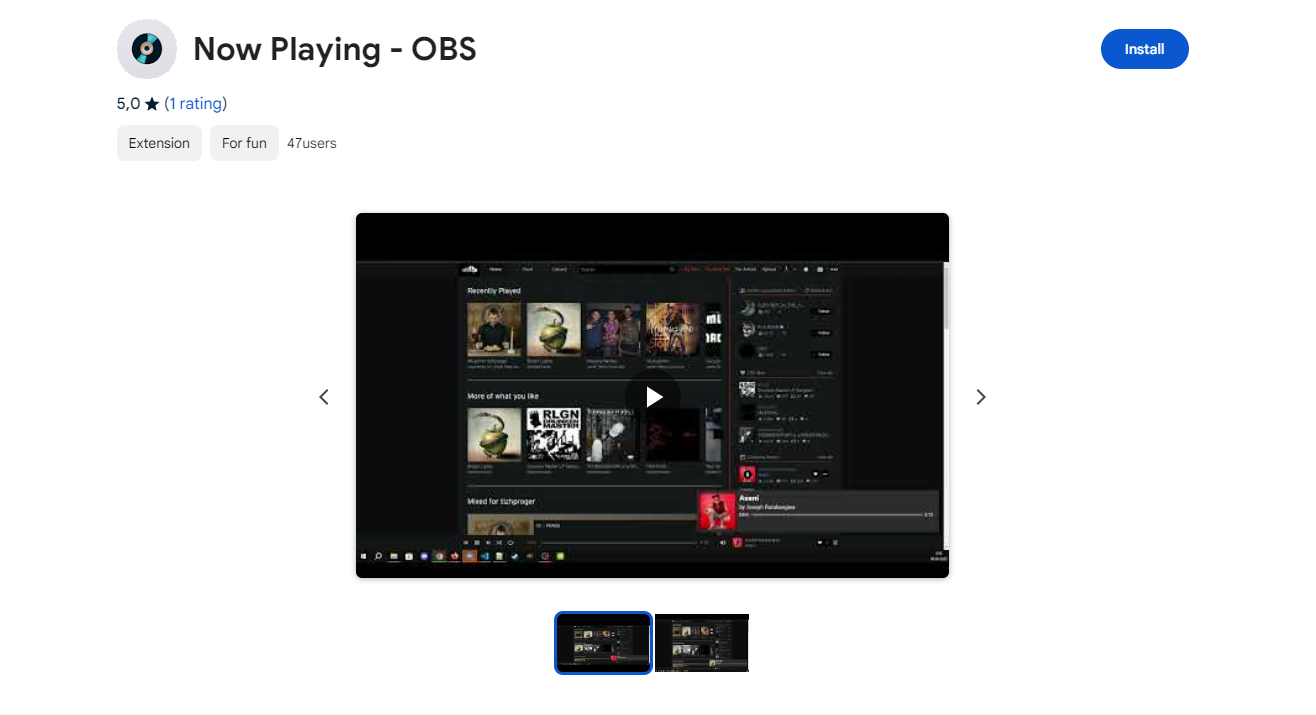
Chrome - Webstore
Firefox - Mozilla add-ons
Opera - Opera addons
For example, let's choose Chrome and click on Webstore, you will see the Install button, click on it
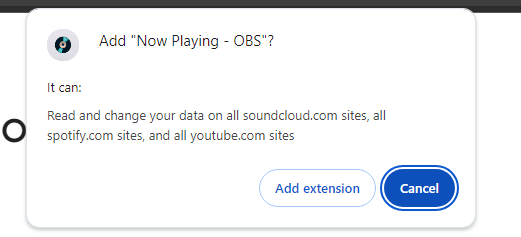
Extension can ask you about permissions, namely that it can access youtube, spotify and soundcloud websites and their subdomains, click Add extension
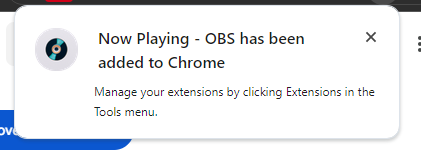
After installation, this extension should appear on extensions panel and show a message:
After that, go to youtube, soundcloud or spotify page (and reload it if it was already opened)
Run GUI server on PC
After browser extension you need to run a server, to broadcast messages for all OBS sources you will add
This version of the server has Graphical User Intreface and a few function, to make work with widgets and server itself much easier. This server also comes with the ability to additionally launch a twitch bot that will send the link and track name to the chat on command
To use this server, download zip archive here with all necessary files
It is already compiled to exe, so you don't need to do anything just a few clicks of a mouse
You can check it with your antivirus before unpacking all the stuff and decide by your own
After downloading the file, you will see it appearing like this

Open it and drag the folder in it to any place on your PC, where you want to store this program

Open this folder, scroll down and find the following file in it called NowPlaying-OBS.exe

Click right mouse button on, hover mouse on Send, after that click on Desktop (create shortcut). This will create an icon on your Desktop for this app.
This step is optional, you can open this app as you like

Now double click on created icon on Desktop (if you created it before) and you will see the following GUI
Sometimes Windows Defender may warn you that this application is unrecognized and also request network access, since the application accesses Twitch for the bot to work. If you're worried about viruses, you can check it with any antivirus you like and decide for yourself, or you can run the server script itself using only the Python files in the repository
Click Run Anyway/Execute anyway, you will see the following window

When you start an app for the first time, configuration file will be created automatically with default values, required to run the basic server
If you want to update a config file, for example to add a bot data, fill or edit the neccessary fields and click Save button, you will see the changes in log window

If you want to be sure, that data in config are stored correctly you can update the current config on display, by loading it again from file, just click on reload button

Server has a few options for simplification, for wxample if you want to start server automatically then you run the app, choose Yes from dropdown menu in server_autorun option and click Save

The same thing goes for the twitch bot.
Remember, that even if you can edit this fields, app will not accept any value except Yes or No in it
You can manually turn on and off the server itself and a twitch bot. It could be useful, when you need to stop a bot or server separately, without a need to close the whole app. Just click on Run/Stop bot or Run/Stop server buttons for this, you will see prompts in logs window

If you want connect a twitch bot to this server, obtain a token for it, save the config and click on Run bot button
IMPORTANT: This server only works on Windows OS, if you are using other OS wait for it's omplementation for your OS
A new feature in version 2.0 is the ability to change port values, command names, and chat message text
Change the port values only if you understand what you are doing!
To change a command, enter the desired word in this field, separated by a comma or space. A text hint is also provided for your convenience.
After making changes, don't forget to save them!

If you want to change the text of a message in Twitch chat, enter it in the fields circled in the image. Inserts are also available in the text for more flexible customization, namely:
{user} - nickname of the user who sent the bot command
{title} - full track title
{artists} - artist names
{link} - link to the track/video
They allow you to create clear and flexible text, for example:
@{user} Now playing: {artists} - {title} {link}
There are separate messages for different cases:
twitch_reply_playing - a message sent during playback
twitch_reply_other - a message sent while paused
twitch_reply_empty - a message sent when there is no data yet
twitch_reply_error - a message sent in case of errors

Getting twitch token for bot
Go to this link
IMPORTANT: For greater data security and protection, I advise you to create a separate profile for the bot and not use the main twitch profile here
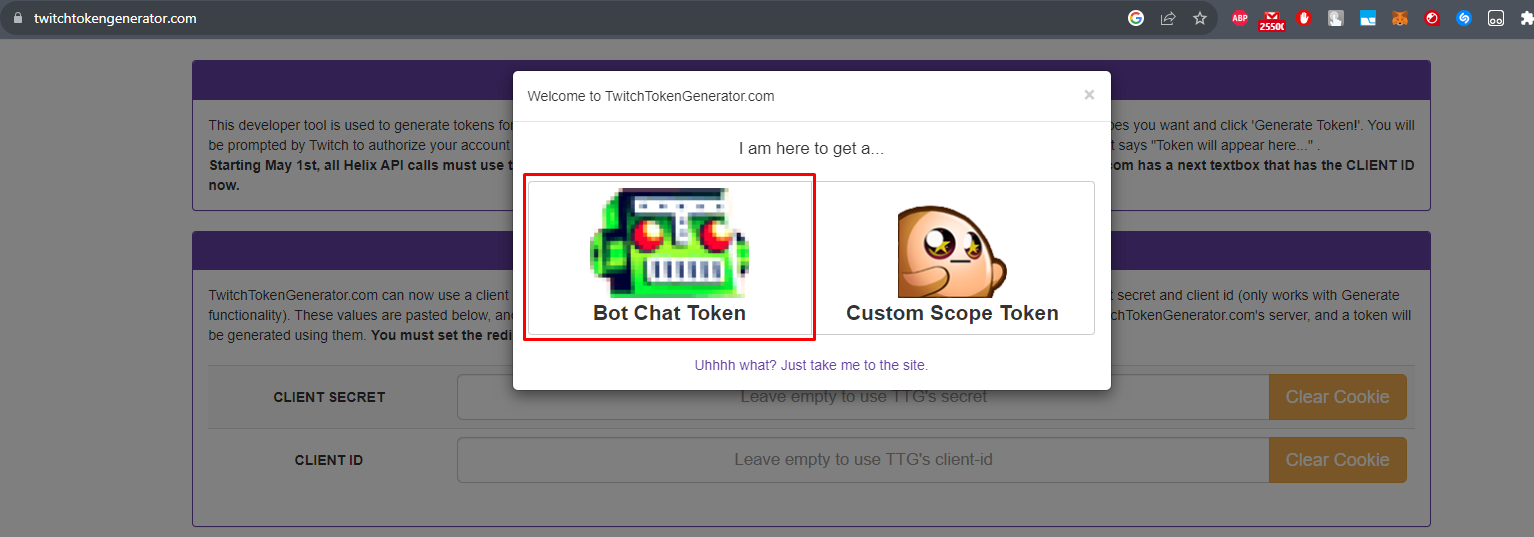
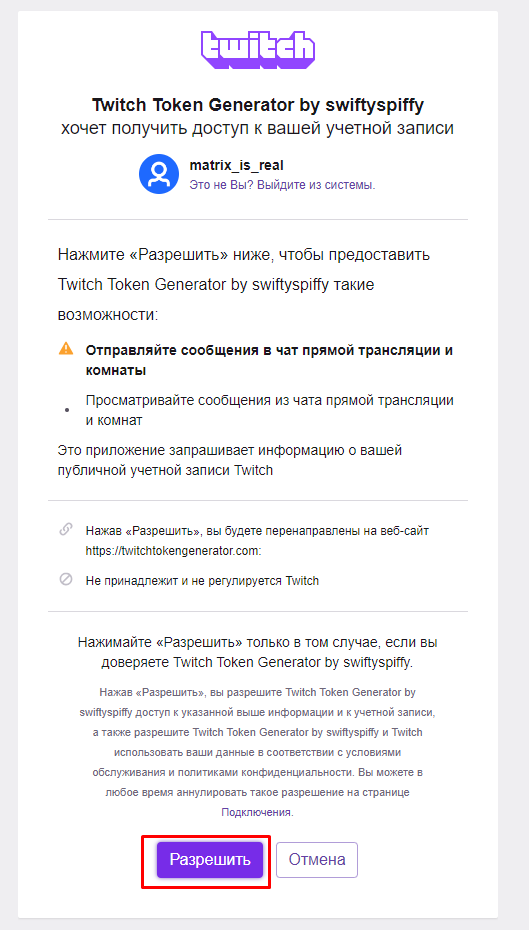
Select the Bot Chat Token option, the site will ask you for permission to read and send chat messages from your profile, click Allow
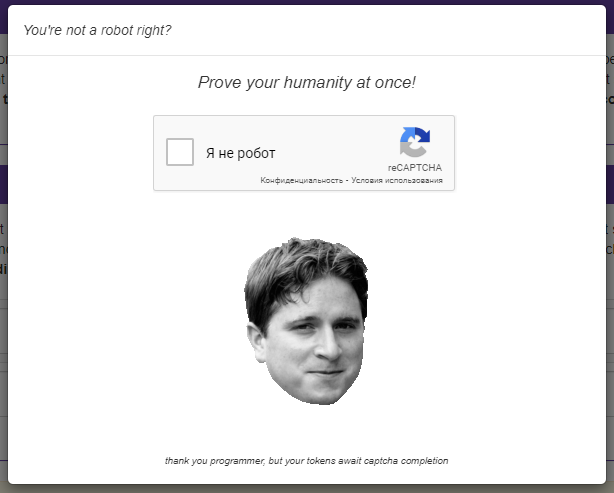
Pass the captcha
At the bottom of the page, you will see fields with text, one of them will be Access token, copy this line and save it
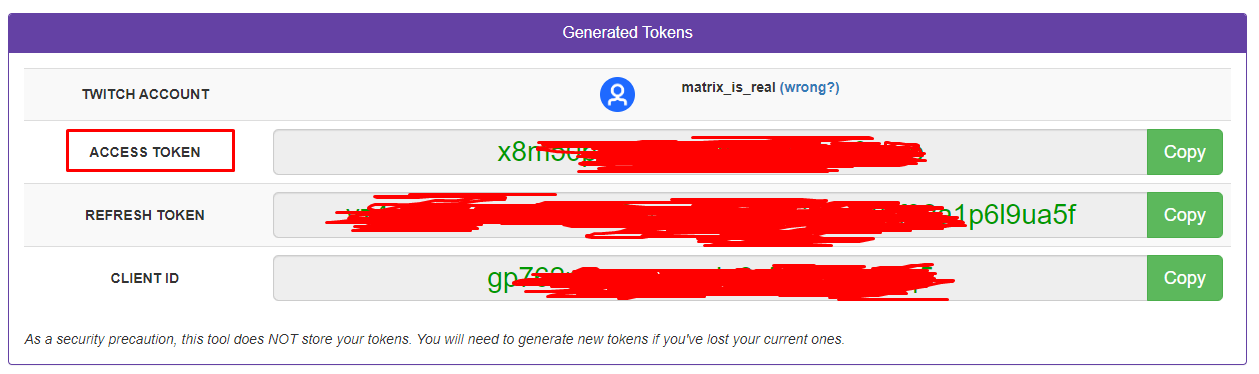
Go back to the server application and paste the received token in the profile_token field

Also, do not forget to set the name of the twitch channel in which bot will work. Enter its name in the channel_name field
If the bot cannot write in the chat, try subscribing it to the channel
Also, the bot may encounter anti-flooding from Twitch when calling commands frequently; this protection can be bypassed by giving the bot moderator rights

Then click the Save button

If everything is ok, after clicking on Run bot button, you will see on of this messages, if you do - that means that bot logged in and ready to work

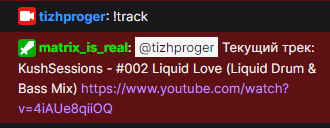
To check the bot, go to the chat of the channel you specified and write the command !ping, the bot should reply with this message (I am alive)

Now you can start playing music on any of the supported resources and by typing in the channel chat the command that you could have set yourself above, or without changing the default values, enter !track/song to see a similar message
If you click on Run server button, you will se the following messages, that means server works normally and ready for use

Adding widget to OBS
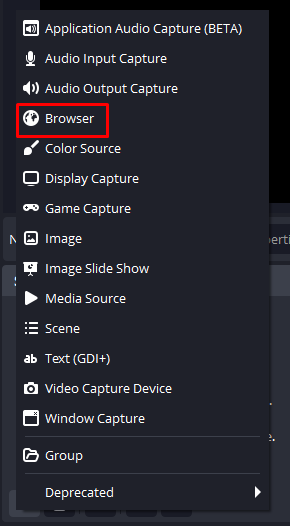
Open OBS and click on + in Sources tab
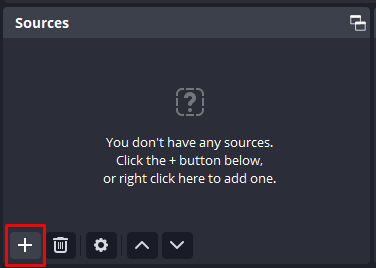
From the list choose Browser
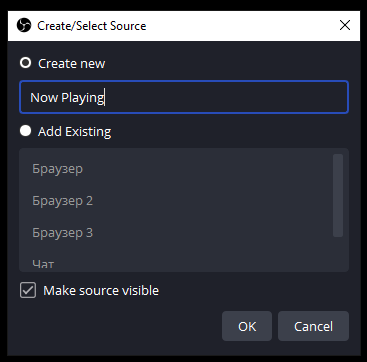
On the opened window, name this source as you like and click OK
Don't forget to tick option Make source visible
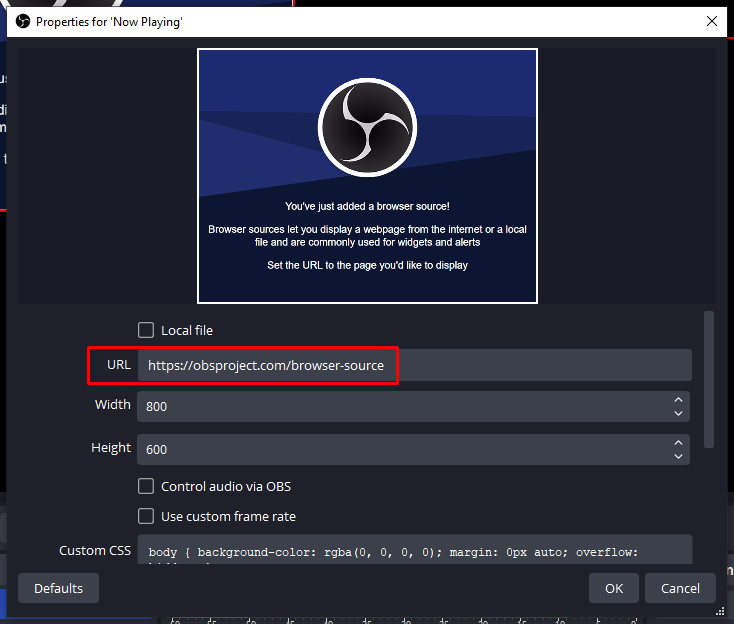
In properties windows put the url of widget
This is where the V2 update comes into play.
Now you can flexibly customize the OBS widget settings thanks to the widget builder:

Let's take a closer look at its interface and main features. Let's start with the left panel, which contains the main configuration options:

In the Widget type section, you can choose between Standard and Auto-hide widgets.
The WebSocket URL section controls the connection parameters to the server, whose interface you saw earlier. This is provided in case you need to change these details.
The Font preset section controls the font used in the text. A standard system set is available:

The Custom option allows you to specify font sets in a Font stack that aren't listed. Preset defines a general set, while stack allows you to specify specific fonts available on your system.
Google Font preset and Google Font are managed in the same way, but differ in that they are downloaded over the network. This is done in case your system doesn't have the font set described in the option above or if they aren't displayed correctly. This option should help with that.
Title size adjusts the size of the track title and is limited by an upper and lower limit. Therefore, the minimum size is limited to 10px, and the maximum to 72px.
Artist size has a similar function, but this time it adjusts the size of the artist name. It can be adjusted from 8px to 60px.
Bar height controls the size of the progress bar. It can be adjusted from 2px to 24px, but I recommend using 6px as the optimal size.
Widget height and Widget width control the width and height of the widget. They can be adjusted from 44px to 420px (for height) and from 240px to 1400px (for width). Widget elements, such as the cover image and progress bar, will adjust to these dimensions.
Cover size controls the size of the track's cover image. It can be adjusted from 0px to 240px. If set to 0, the cover image will adapt to the widget's width and height. However, keep in mind that the cover image will not extend beyond the widget's borders if its dimensions are smaller than the cover image's (set) dimensions.
Radius adjusts the rounding of the corners. It can be adjusted from 0px to 40px.
Shadow adjusts the shadow that appears near the edges of the widget. It can be adjusted from 0px (none) to 24px.
Now let's move on to another type of settings:

Here you can customize colors, as well as individual widget elements
Background controls the background color. Clicking on the dark rectangle will display a color palette where you can select a color using your mouse in different formats (to do this, click the arrows next to RGB):

If you have the exact color code, you can enter it in the field next to it. A hint for setting it up is provided below in the Hint section.
Accent controls the color of the progress bar and has a color selector (like other color options). However, in this case, color selection is only available via the selector.
Text controls the color of all widget text (time, track title, and author name). Color selection is also available exclusively via the selector.
The Preview cover URL is used for temporary cover art when track data is not yet available. You can use the default:

Or you can install your own, just make sure to provide direct links to the images.
Let's look at the following options in more detail:

Compact layout allows you to distribute elements closer together and reduce the edge spacing if needed.
Show cover allows you to show or hide the track image. If you disable it, the other elements will move into its place, filling the empty space:

Accent: Auto (from cover) allows you to customize the progress bar color to your preference (by selecting a specific color) or adapt it to the cover colors (if you enable the option), i.e., select a gradient:

Marquee long titles allow you to create a "scrolling" effect where the text moves from right to left:

Show timeline allows you to enable or disable the time and progress bar. This is useful when you want to focus only on the text:

Show artist controls the artist's name. You can hide or show it by enabling or disabling this option:

Transparent background allows you to make the widget's background transparent, which can be very convenient if you don't want it to cover any content or want to place it on top of something (screenshot from the OBS window):

Thus, thanks to these flexible settings, you can get, for example, something like this:

The same settings apply to the auto-disappear widget.
At the bottom of the designer are quick action buttons, namely:
Reset - resets all settings to factory defaults
Refresh - refreshes the widget preview in case it freezes or doesn't update itself
Copy URL - copies a pre-defined URL with configuration parameters
It is also important to mention the top part of the constructor:

At the top is a line with a URL. Clicking it will highlight it and make it available for copying.
To the right of this is the Open button. This opens the resulting widget in your browser.
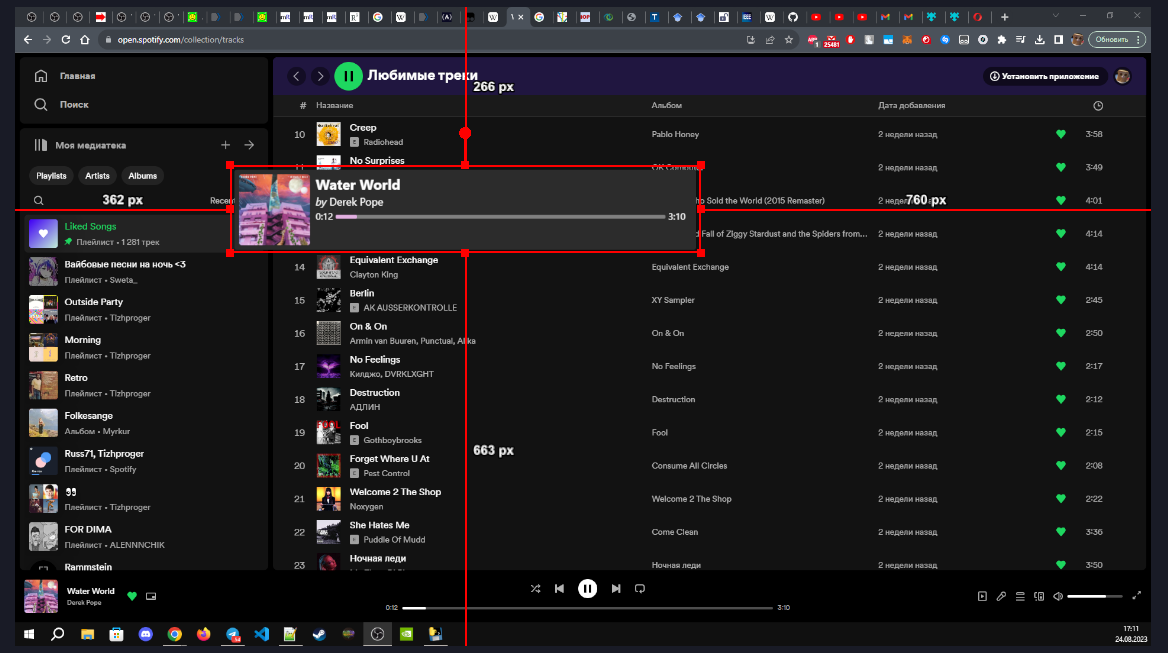
Below is a widget preview, which automatically updates as you apply any settings. This is how the widget will appear in OBS.
Return to OBS, put the desired link in a URL field and click OK
You can adjust the source size. I recommend setting the area size to the size of your widget +30px to the height and width. This will ensure the widget is fully displayed without artifacts

If you see this in OBS scene that you are ready to go
To confirm that OBS is connected, you can look at the server app, which show that source in OBS is connected

Now run any video or music and check OBS, if it shows song title and duration, you are done! Enjoy!
You can open multiple sources, and they will all display the same song information simultaneously. You can also customize the widget size to suit your needs, simply use the OBS feature and the designer page

If you have any questions about this widget, fill free to write me a message:
E-Mail: tizhproger.development@gmail.com
Telegram: @Zeus428