Flutter Showing Old UI or Missing Assets? Fix It with a One-Click Fresh Install in VS Code
FlutterPulseThis article was translated specially for the channel FlutterPulseYou'll find lots of interesting things related to Flutter on this channel. Don't hesitate to subscribe!🚀
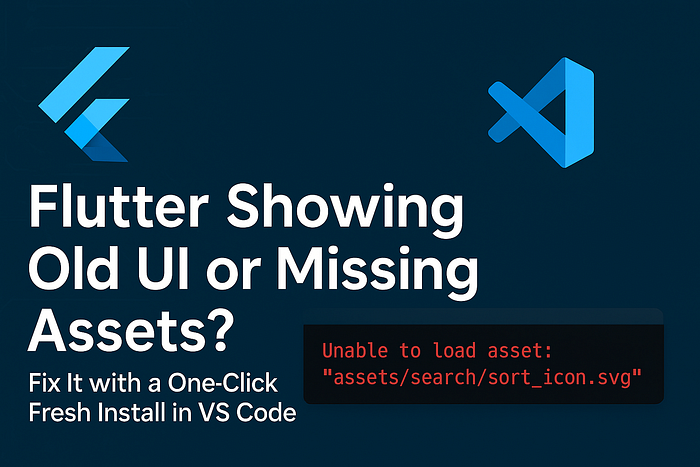
Automate flutter clean, pub get, and app uninstall so your latest code and assets always appear.
If you've ever developed a Flutter app, you know this pain:
If you run your app, make some changes, then stop and rerun — the last run UI still shows up instead of your new code.
Sometimes your assets don't even load, and you get errors like this:
[ERROR:flutter/runtime/dart_vm_initializer.cc(40)]
Unhandled Exception: Unable to load asset: "assets/search/sort_icon.svg".
E/flutter (29768): The asset does not exist or has empty data.
Even though the file is clearly there, Flutter refuses to load it.
After some head-scratching, you try the usual trick:
- Run
flutter clean - Run
flutter pub get - Manually uninstall the app from your device
…and magically, everything works again. Your new UI and assets finally appear.
👉 The problem is, doing this cycle every time is slow and annoying.
Wouldn't it be better if VS Code could handle this for you automatically — so you can choose between a normal run and a fresh install run without typing commands or uninstalling apps manually?
That's exactly what we'll set up in this guide.
🛠 The Problem
flutter runinstalls over the existing app without clearing old data.- Old cache, databases, or assets can conflict with new builds.
- Errors like "Unable to load asset" or unchanged UI pop up frequently.
- Manually cleaning + uninstalling takes extra time.
🛠 The Solution — Automate in VS Code
We'll configure VS Code so that pressing F5 lets you pick between:
- A Normal Run (fast, for everyday coding).
- A Fresh Install Run (uninstall + clean + pub get + run).
This way, you only use the full clean when you really need it.
Step 1 — Create a VS Code Task
Inside your project, create (or edit) .vscode/tasks.json:
{
  "version": "2.0.0",
  "tasks": [
    {
      "label": "Uninstall & Clean",
      "type": "shell",
      "command": "adb uninstall com.example.app || true && flutter clean && flutter pub get",
      "problemMatcher": []
    }
  ]
}
👉 Replace com.example.app with your actual app package name (check in AndroidManifest.xml).
Step 2 — Create Launch Configurations
Now create (or edit) .vscode/launch.json:
{
  "version": "0.2.0",
  "configurations": [
    {
      "name": "Flutter Debug (Normal Run)",
      "request": "launch",
      "type": "dart",
      "program": "lib/main.dart"
    },
    {
      "name": "Flutter Debug (Fresh Install)",
      "request": "launch",
      "type": "dart",
      "program": "lib/main.dart",
      "preLaunchTask": "Uninstall & Clean"
    }
  ]
}
This gives you two options in VS Code:
- Normal Run → Fast run with existing install.
- Fresh Install → Uninstalls old app, cleans, reinstalls, then runs.
Step 3 — Switching Between Runs
- Open the Run and Debug panel in VS Code:
- Shortcut: Ctrl + Shift + D (Windows/Linux) or Cmd + Shift + D (Mac).
2. At the top dropdown, you'll see both options:
Flutter Debug (Normal Run)Flutter Debug (Fresh Install)
3 . Select whichever you need.
4. Press F5 to start.
Now you can quickly switch between a normal debug session and a fresh, clean install.
🎯 When Should You Use Each?
- Normal Run (default)
. Everyday development.
. Faster reloads.
. Use when you're just testing features or small UI changes. - Fresh Install (Uninstall & Clean)
. When you get "asset not found" errors.
. When your UI changes don't appear.
. When old cache, SharedPreferences, or database entries cause issues.
. Before final testing, to ensure your app runs correctly on a clean device.
✅ Conclusion
With this setup, you no longer need to:
- Manually uninstall the app
- Run
flutter clean - Run
flutter pub get
Instead, you have two easy options inside VS Code:
- Normal Run for speed.
- Fresh Install Run for debugging tricky issues and testing first-time installs.
Next time your UI doesn't update or assets mysteriously vanish, just switch to Fresh Install — and save yourself a lot of frustration. 🚀