Door Handle Renovation Explained In Fewer Than 140 Characters
Door Handle Renovation: Transforming Spaces with A Touch of Style
Door handles are frequently neglected in home renovations, yet they play an essential function in both functionality and aesthetic appeals. An easy handle modification can make a substantial effect on the general feel of your areas, revitalizing them with personality and flair. Whether you're updating old components or just aiming to implement a new style, door handle renovation can be an interesting and fulfilling job.
Why Renovate Door Handles?Door handles work as the junction in between function and style. They are among the most frequently utilized aspects in any home, affecting the daily user experience in a subtle yet extensive method. There are several compelling reasons to concentrate on door handle renovation:
Aesthetic Upgrade: Outdated or mismatched handles can interfere with the general style of a home. Fresh, modern handles can boost the appeal and coherence of your spaces.
Increased Functionality: Older door handles might not operate efficiently, resulting in disappointment. Renovating enhances both functionality and benefit.
Improved Security: Newer door handles often include better locking mechanisms, which can boost home security.
Cost-Effectiveness: Compared to other renovation tasks, replacing door handles is frequently fairly inexpensive yet impactful.
Personalization: Customizing door handles according to your individual design adds a distinct touch to your home.
When picking door handles for renovation, comprehending the various types available can assist narrow down your choices. Here are some popular choices:
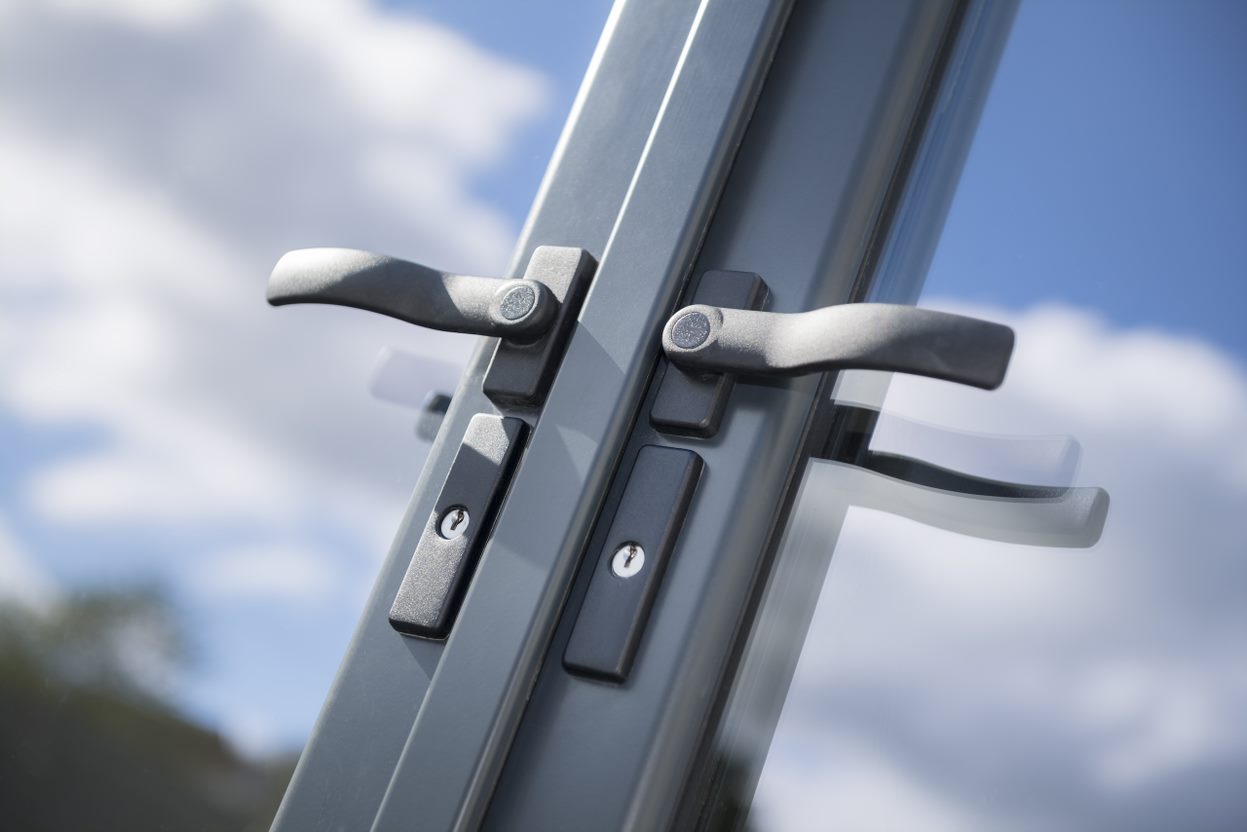
1. Lever Handles
- Description: Lever handles are extensively popular for both interior and exterior doors due to their ease of use.
- Designs: Available in modern, traditional, and even minimalist styles.
2. Knob Handles
- Description: The traditional round or oval-shaped knobs are a staple in numerous homes.
- Styles: Various finishes and materials are readily available, consisting of metal, wood, and ceramic.
3. Mortise Handles
- Description: Used primarily on exterior doors, these require special installation and typically consist of a lock mechanism.
- Designs: Often more ornate, suitable for conventional settings.
4. Pull Handles
- Description: These are typically used on moving doors, pantry doors, or cabinets.
- Designs: Can be minimalist or declaration pieces, depending upon the product and style.
5. Smart Handles
- Description: The advancement of technology has actually birthed clever door handles that enhance security and benefit, enabling keyless entry.
- Designs: Sleek and modern, typically featuring digital screens.
Embarking on a door handle renovation can be an interesting DIY task. Here's a step-by-step guide:
Step 1: Evaluate Your Current Handles
- Take a look at the condition of existing handles.
- Determine if you wish to change them completely or simply update the finishes.
Step 2: Choose Your Design Style
- Research numerous styles to discover what fits your home's aesthetic.
- Think about collaborating finishes (e.g., brushed nickel, oil-rubbed bronze) with other components in your house.
Action 3: Measure Your Existing Hardware
- Properly measure the size and spacing of screws to make sure new handles fit properly.
- Bear in mind of any specialized fittings your existing handles may utilize.
Step 4: Purchase New Hardware
- Visit hardware shops or search online retailers to compare designs and costs.
- Search for brands known for toughness and style.
Step 5: Gather Necessary Tools
Before you begin installation, make certain you have:
- Screwdrivers (Phillips and flathead)
- Measuring tape
- Level (if required)
- Safety goggles (for extra security)
Step 6: Remove Old Door Handles
- Carefully loosen the existing handles from the door.
- Keep the screws as you might require them for the new handles.
Step 7: Install New Door Handles
- Follow the producer's instructions to set up the new handles.
- Ensure they are secured tightly and level.
Step 8: Final Touches
- Check the handles for functionality.
- Tidy any fingerprints or smudges from installation.
1. How frequently should I replace door handles?
It's recommended to examine door handles every few years, trying to find wear and tear. Additionally, think about altering them when remodeling or updating your home design.
2. Can I mix various designs of door handles in my home?
Yes, mixing designs can develop a diverse appearance. Nevertheless, aim for a harmonious color combination or style to maintain a cohesive appearance.
3. What is the very best product for door handles?
The very best product frequently depends on place and usage. Stainless steel is resilient and resistant to rust, while bronze uses a more classic look. Choose based upon both functionality and style preference.
4. How can I ensure my brand-new handles are safe and secure?
Ensure they are set up according to the producer's guide and look for any loose screws after a couple of days of use.
5. Can home improvement door handle repair set up door handles myself?
Yes! Lots of door handles are designed for simple installation and can be done on your own with the right tools and directions.
Door handle renovation is more than simply a functional upgrade; it is an opportunity to improve the character of your home. By picking the right designs and products, homeowners can change their areas with a couple of easy changes. Whether choosing contemporary designs or timeless looks, the best door handles will not only serve a useful purpose but also make a long lasting impression on anybody who enters your home. So, embark on this satisfying DIY job and experience the transformative power of a well-chosen door handle!