Deploying your own Mirrorbot
SpeedX [AFK]Contents:
TUTORIAL 1
Setting up things
• Go to ide.goorm.io and make a new account if you don't have one, then go to dashboard, press 'New Container'
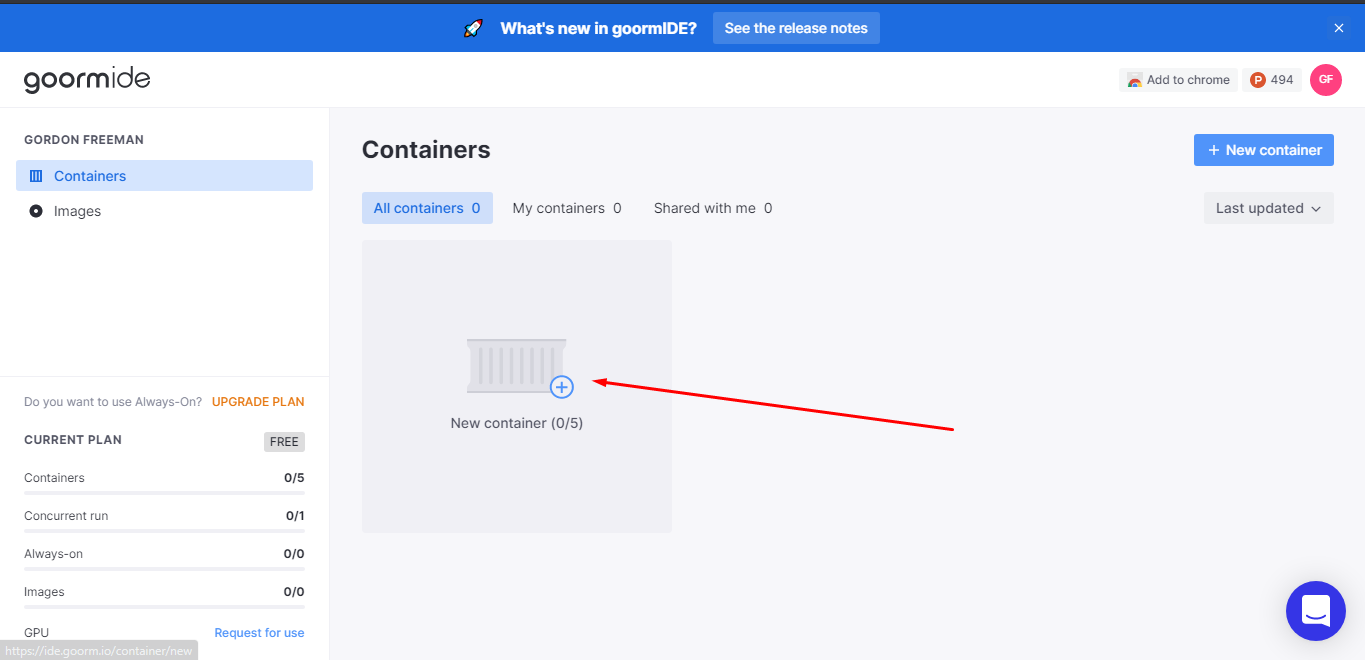
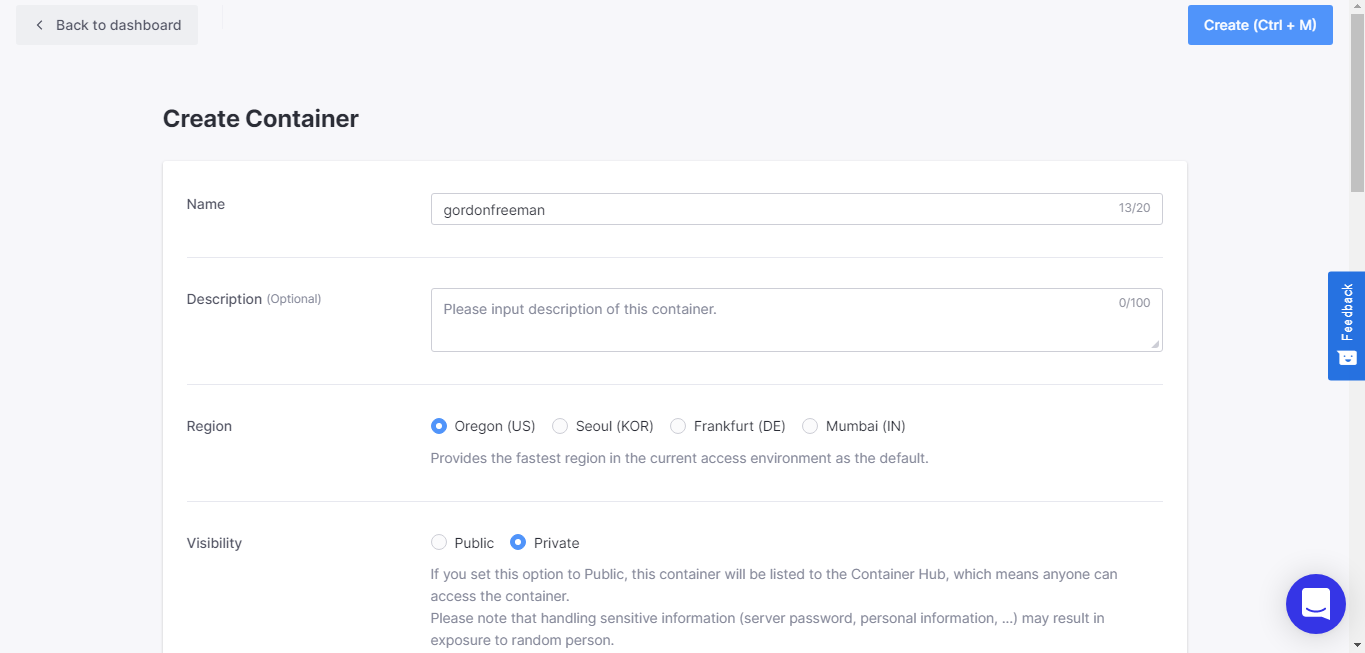
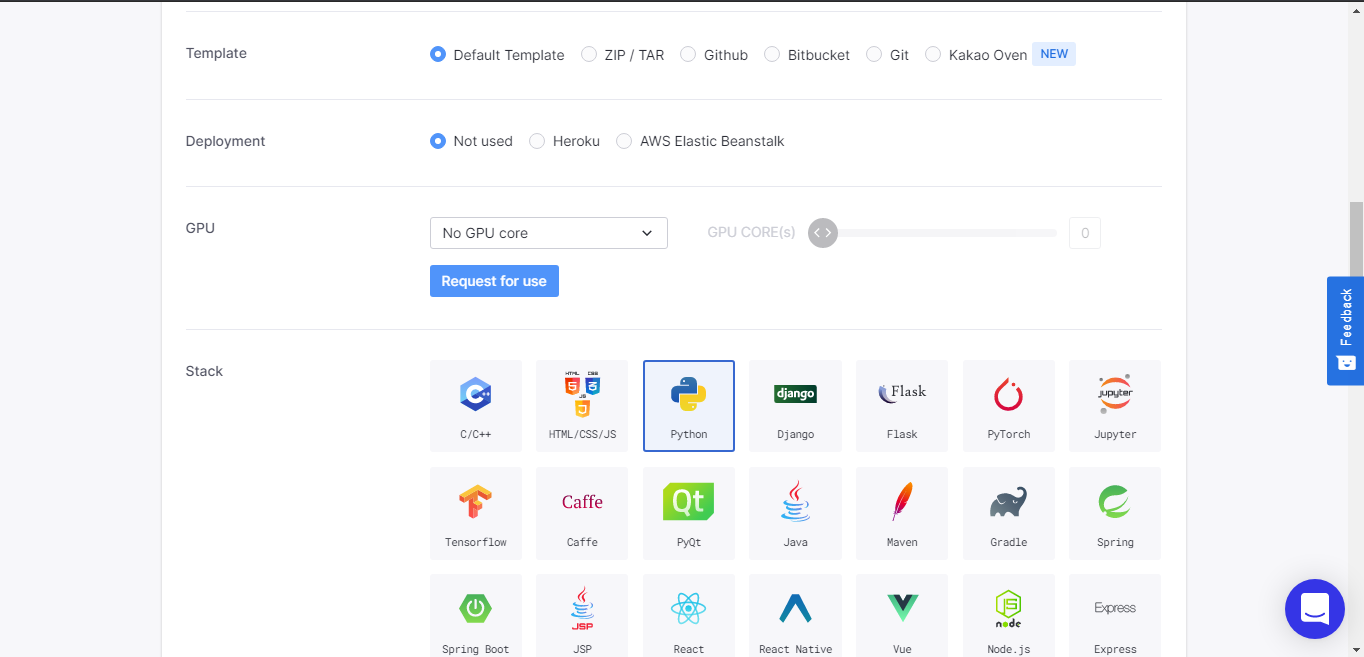
• Use whatever name, use whatever server region, make it private, and select 'python' stack, and press Create. Ignore other configs
• Wait until it's done, and run the container

• A new tab will be opened
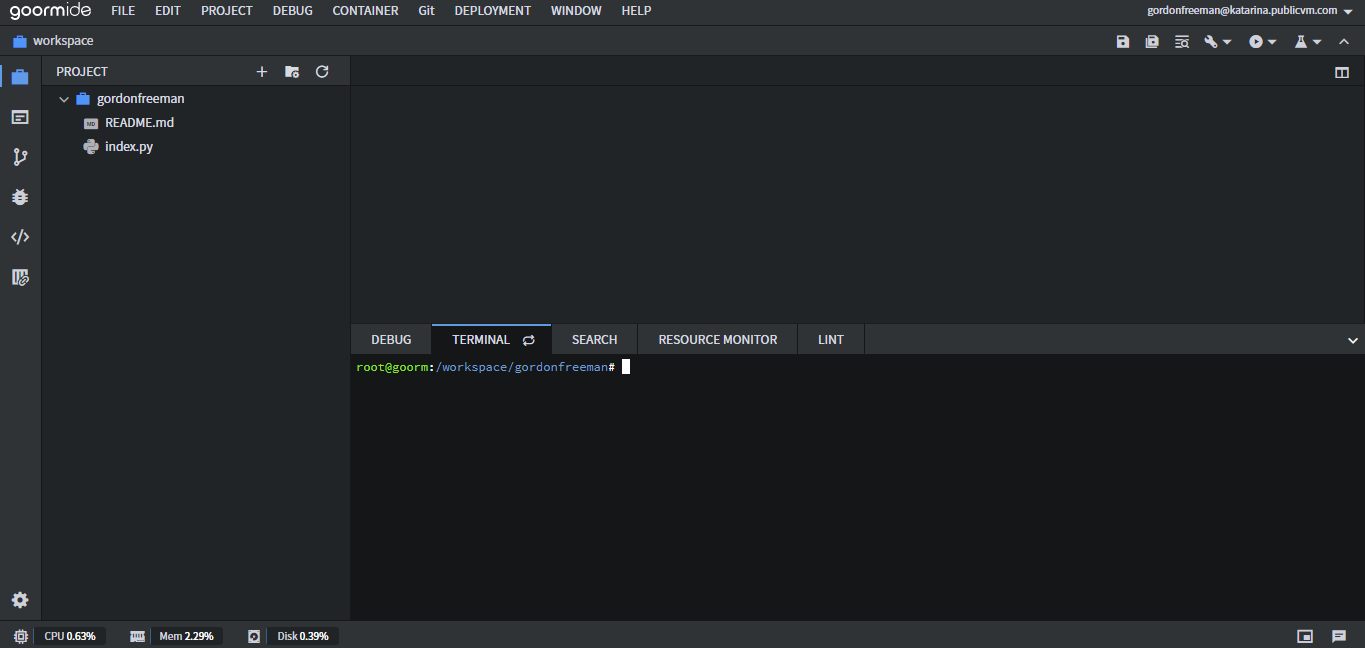
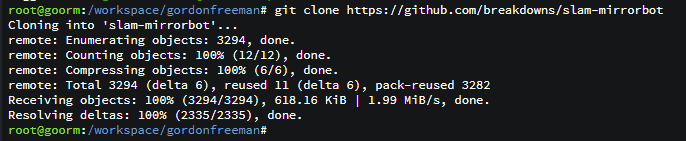
• Now, let's clone the repo to the container.
git clone https://github.com/anasty17/mirror-leech-telegram-bot
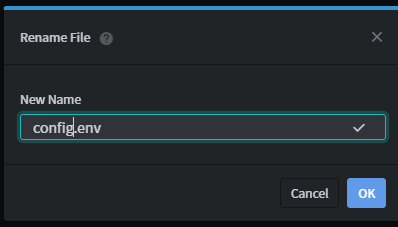
• Then, rename config_sample.env to config.env
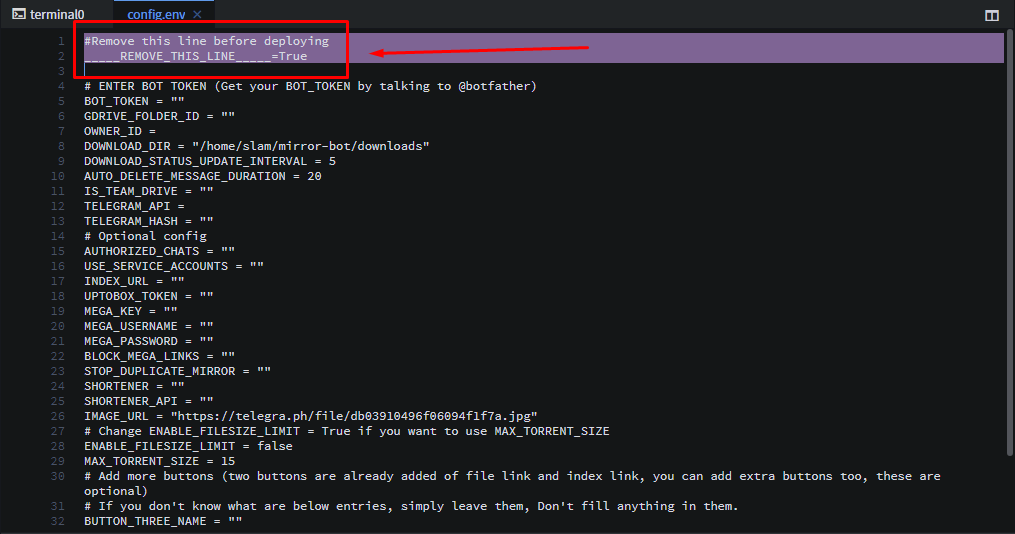
• Open config.env by double-click it
• Remove the first two lines of the file
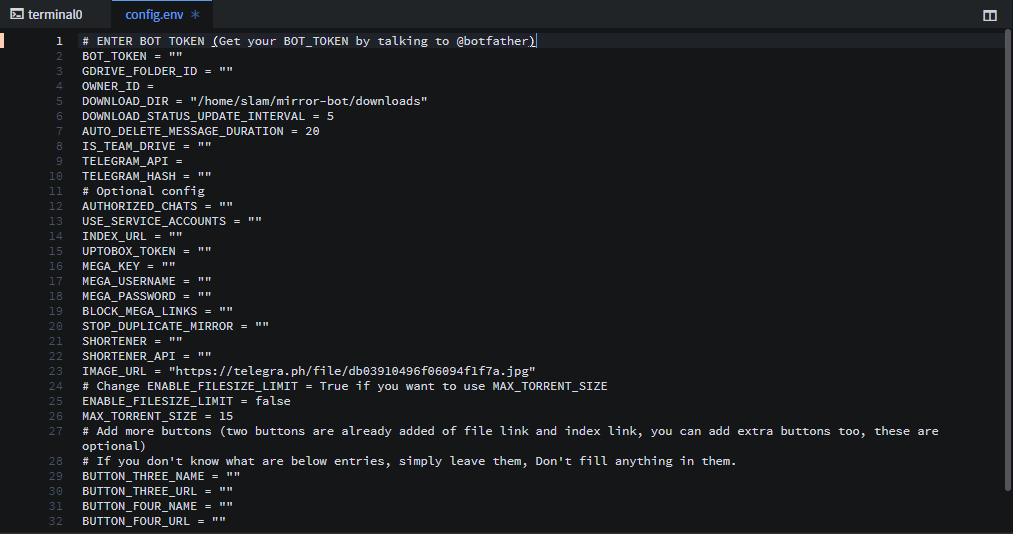
• Then fill the configs as per this page
https://github.com/anasty17/mirror-leech-telegram-bot#setting-up-config-file
PS- You can check appname availability for Heroku using 3rd option in helper script.
• After you've done (remember that not all the configs need to be filled, so don't worry), save the file by CTRL+S or Save button
• A new folder will be created, right click on the folder and open the terminal with that location.
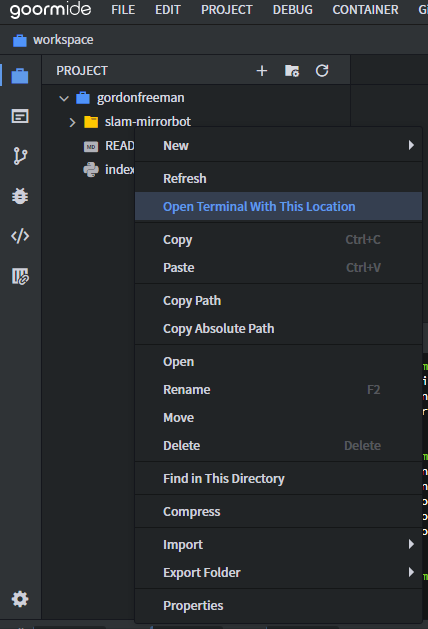
• Then we have to make the helper script executable. So run this command in the Terminal
chmod +x helper.sh
• Now you can execute the helper script by running this command, and it will guide you further
bash helper.sh
If you get error like this 👇,

then run this and try again:
sed -i 's/\r//' helper.sh
If you get error like this 👇,

then you are probably using WSL, so remove heroku bin folder from PATH in environment variables and then run this in your linux shell, and try again:
curl https://cli-assets.heroku.com/install.sh | sh
TUTORIAL 2
Creating credentials.json
• Firstly, goto Google Cloud Console using the right Google account
• Then select 'Create Project' and name it whatever you want

• Go to the OAuth Consent tab

• Press 'External', and press 'Create'
• Fill app name whatever you want

• Fill your Gmail in 'User support email' and 'Developer contact information', and ignore other configs. Press Save and Continue.

• Skip the scopes step
• Add your google account as tester, press Save and Continue

• Press back to dashboard
• Press Credentials tab > Create Credentials > OAuth client ID

• Select 'Desktop' and name it whatever you want
• This will appear, download it

• Back to Goorm IDE tab, right click slam-mirrorbot > Import > File, select the credentials file you have downloaded


• Rename the file to credentials.json


• Visit Google API page
• Search for drive
• Press Google Drive API and enable it

• Also search for IAM and enable it too (Only if you want to use Service Accounts)

All thanks to @katarina_ox for this tutorial. I just took imp parts, necessary for helper.sh, from her post and made this TUTORIAL 1 & 2
TUTORIAL 3
Adding SA to google group
• First go HERE and create a new group (DON'T add SA in the 3rd step while creating group)
• Then open your group, go to members tab and press 'Add Members'
• Copy all mails from \accounts\emails.txt from Goorm and paste them in 'Group members' field, then press 'Add Members'
• Then open your TD and add this google group (it will be something like blahblah@googlegroups.com) as 'Content Manager'. Done!!!