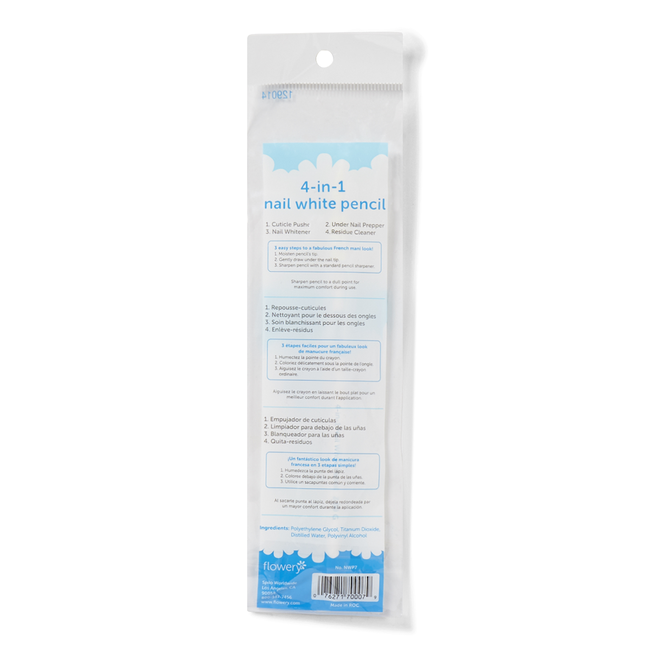
DIY Nail Whitening Pencils - How to Remedy Yellow Nails
A popular new product to hit the market is the innovative nail whitening pencil. As opposed to traditional nail polishes, the nail pencil can lighten and brighten your nails with whitening agents infused in the pigment. This method of applying a color, however, has become controversial due to the fact that the process can cause damage to the cuticles, as well as uneven shade. If you are looking for a quick manicure for the weekend, here are some tips on doing it right without damaging your nails.
Before you begin applying your nail polish, you should be sure your nails are clean and dry. You can use natural nails or cuticle to help you keep your nails healthy and moisturized. After you have thoroughly washed your hands, you should apply an all-natural nail polish and base coat. Using an all-natural nail polish or base coat will make applying the nail polish easier and keep your nails beautiful longer.
Next, you will want to use a hypoallergenic nail pencil. A hypoallergenic nail pencil is one that is designed specifically for people with sensitive skin. If you find a hypoallergenic pencil, you will find that it will give you the perfect shade of nail tips without causing any irritation to your skin.
After applying your natural nail polish and base coat, you will then want to apply a top coat to seal in your manicure. Using an acrylic or gel manicure brush, apply the top coat to your nails. Make sure your manicure stays on all day and looks great all night. After your top coat dries, you can then apply a second coat to create a glossy and UV-free finish. You can also apply a special UV-defiant top coat to protect your nails from the sun. Once you have your nails done and dried, you will then want to apply a small amount of nail polish to give your nails a clean and smooth look.
After applying the nail polish and top coat, you will then want to put a small dab of whitening toothpaste on your nail tips. The purpose of using a toothbrush is to evenly apply the toothpaste. This will help to clean your nails so your nails will be brighter and more whiter. You can also purchase whitening toothpaste at your local beauty supply store. website Once your toothbrush is clean and dry, you can then place your nails in a bowl of warm water. Using a waterbrush, gently scrub your nails so they are clean and natural looking.
To finish your DIY nail project, you will want to use some acrylic or gel polish to cover your nails. It is important to cover your nails, especially if you used a lot of acrylic or gel polish. This will ensure that the polish does not rub off onto the cuticles of your nails, which can cause discoloration.
If you use a nail polish remover, you should always read the label. Most products will warn you not to use the remover on colored nails. They will say not to use on white nails, or light or dark colored nails. To prevent discoloration, you should always blot your stained nails with a clean paper towel right after removing the polish. This will prevent any leftover polish from staining your nails again.
As you can see, doing a DIY nail whitening project is not as difficult as it seems. If you want to try this method, you should make sure to test a small area first before using the entire project on your nails. You can purchase a nail polish remover similar to what I mentioned above at your local drugstore. Before spending a lot of money on a home DIY nail whitening kit, consider using an alternative product instead.