Custom installation of Microsoft Office 365
I have long wanted to know how to install only the Office apps I need, and the method I will describe below will help you to custom install Office 365. As it is known, when the installation of Office 365 finishes, many unnecessary Office suite programs appear on our system and take up more space on our disk, I only install Word and Excel, so I do not need the others.: Outlook, OneNote, Sway, Exchange, Teams, SharePoint, Skype for Business, Project, Visio etc, etc.
So let's get started, what is needed?:
- A good internet connection, and
- An educational account
Ok. In Windows 10 I'm going to show you how to install Word and Excel (opens the image in a new tab to see it clearly), I don't need anything else, but if you want PowerPoint, OneNote or any other, it's easy, just follow the steps:
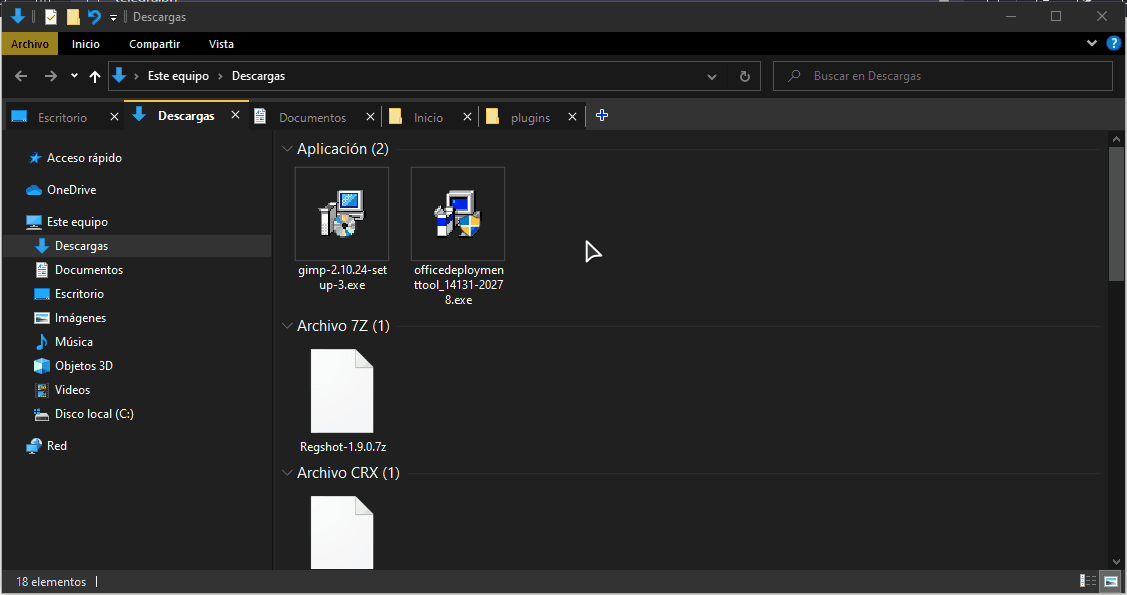
- Download Office Deployment Tool.
- Go to the download folder and open the downloaded file, accept the terms, create a new folder with the name of your choice in your preferred location and click OK.
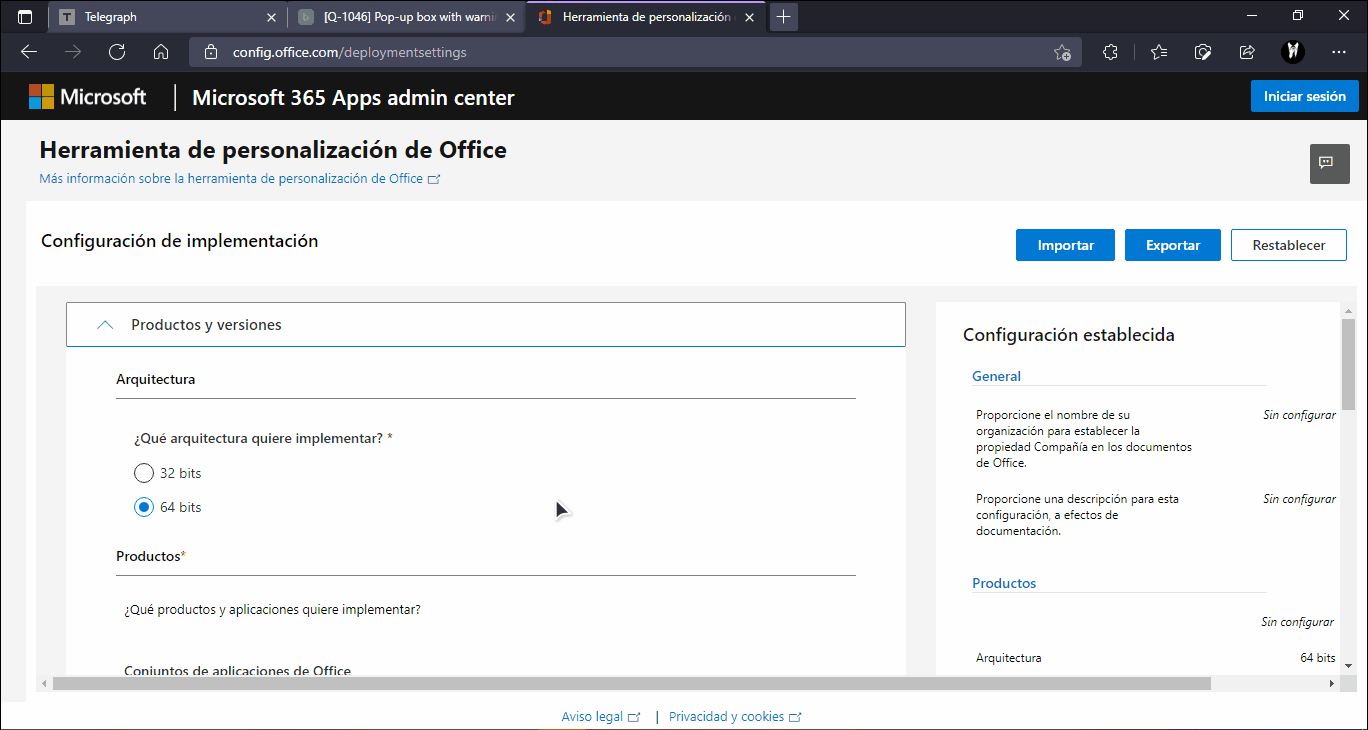
3. Now, go to Office Customization Tool. On this page I am going to create my Office customization file, which I will use along with the setup.exe file located in the new folder from the previous step. Scroll to the bottom of the page where the following options are located and click on the Create button:

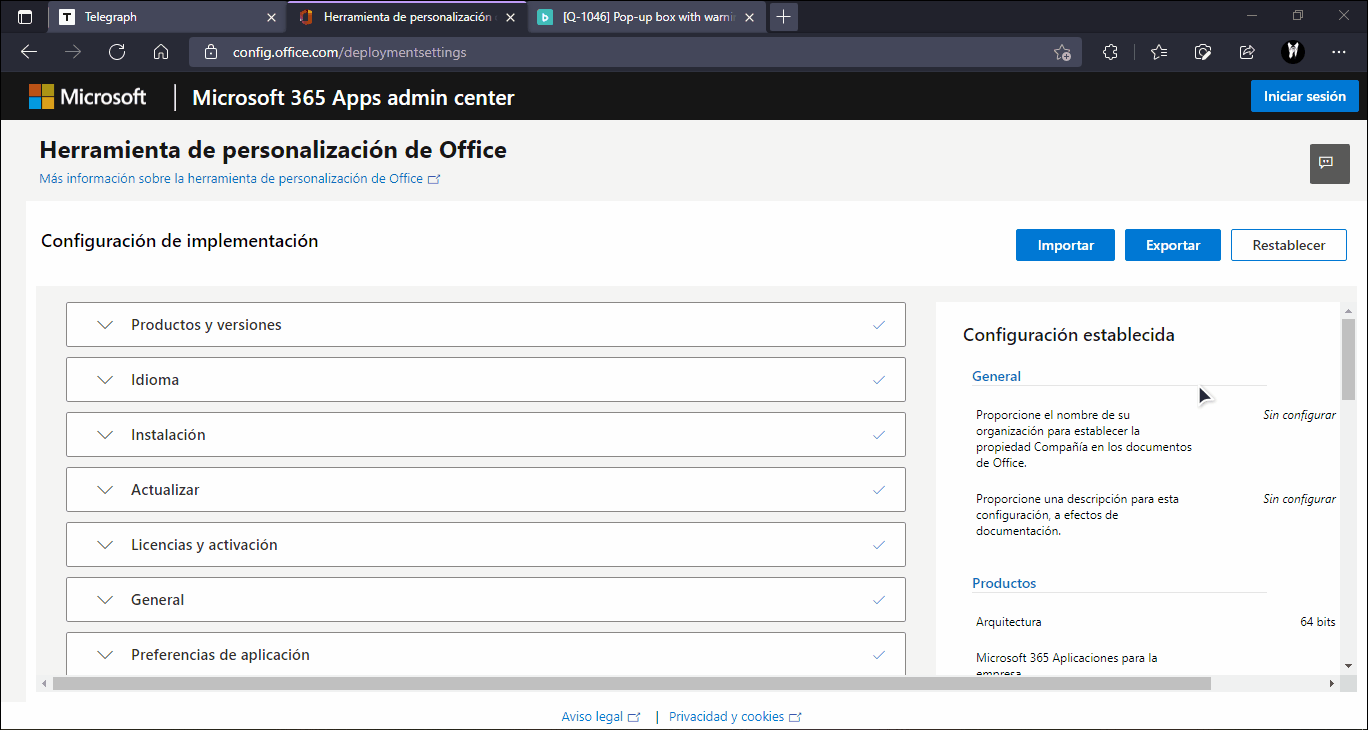
4. On the next page we start to create our custom configuration. In the 'Products and versions' section I select the options you see in the image. If your system is 32bits only choose 32bits.
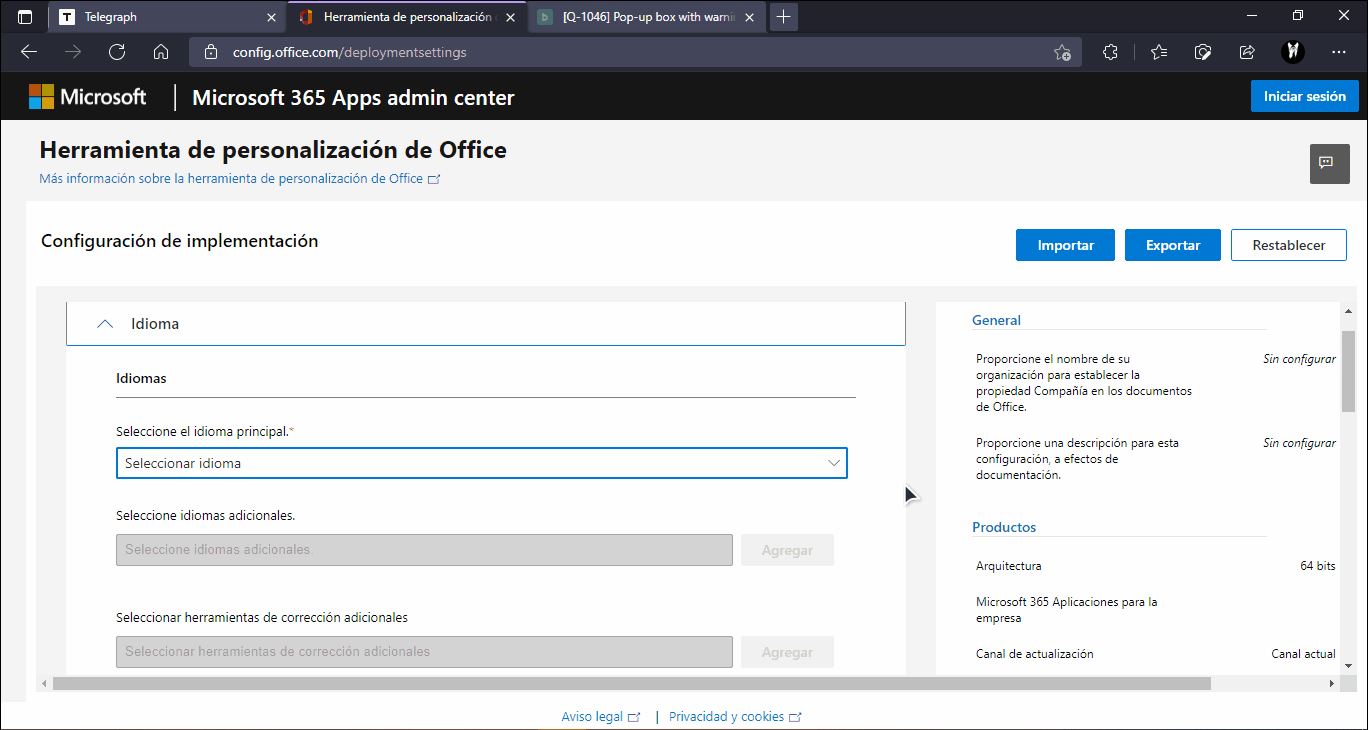
5. In the section Languages we choose the language in which Office will be shown.
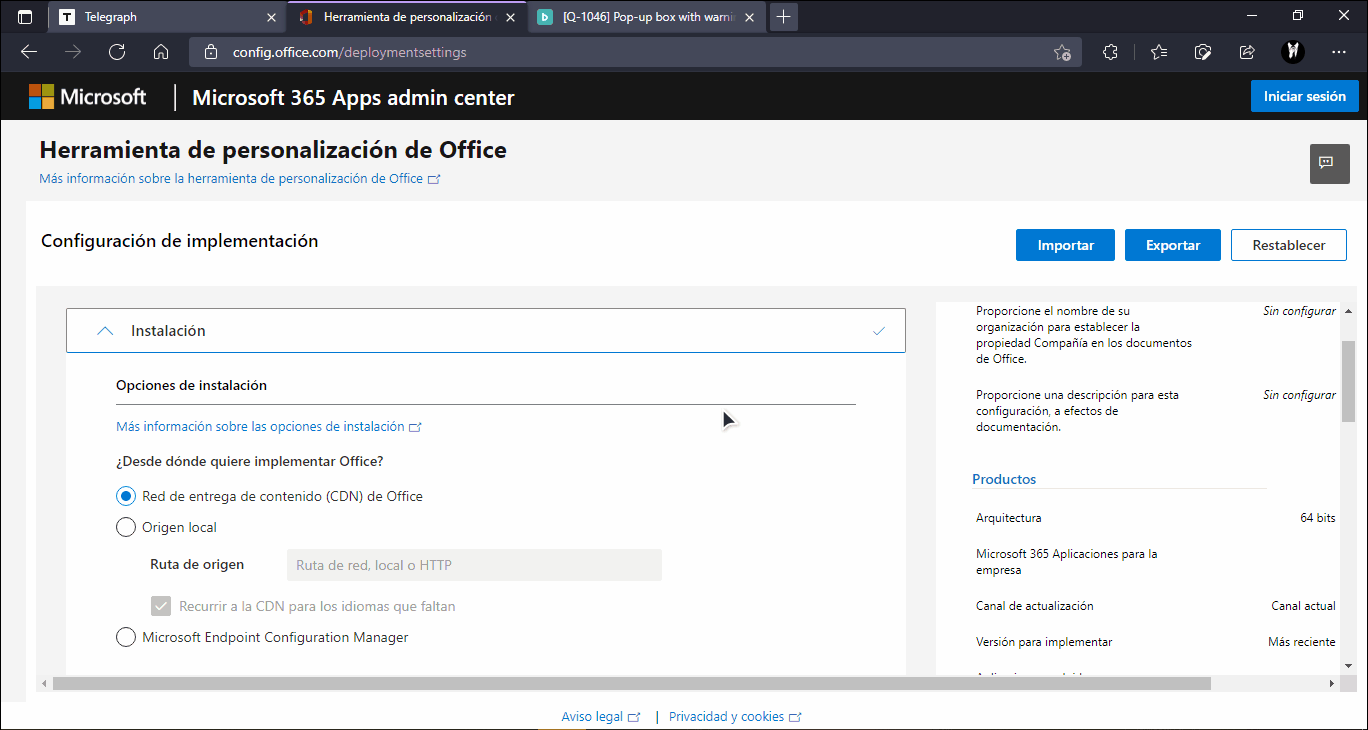
6. In the Installation section I leave the options as they are..
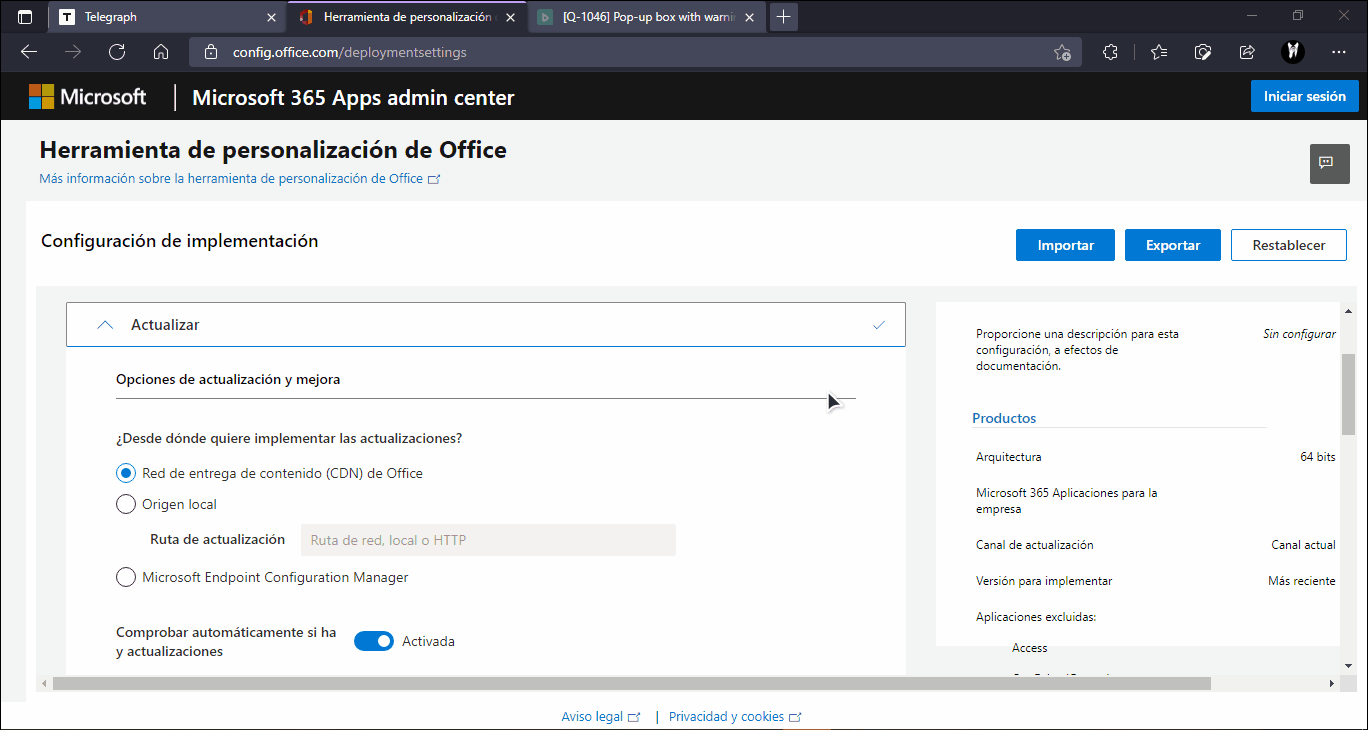
7. In the Update section I also leave the options as they are. I don't have MSI versions previously installed, so I don't mind leaving the options as they are.
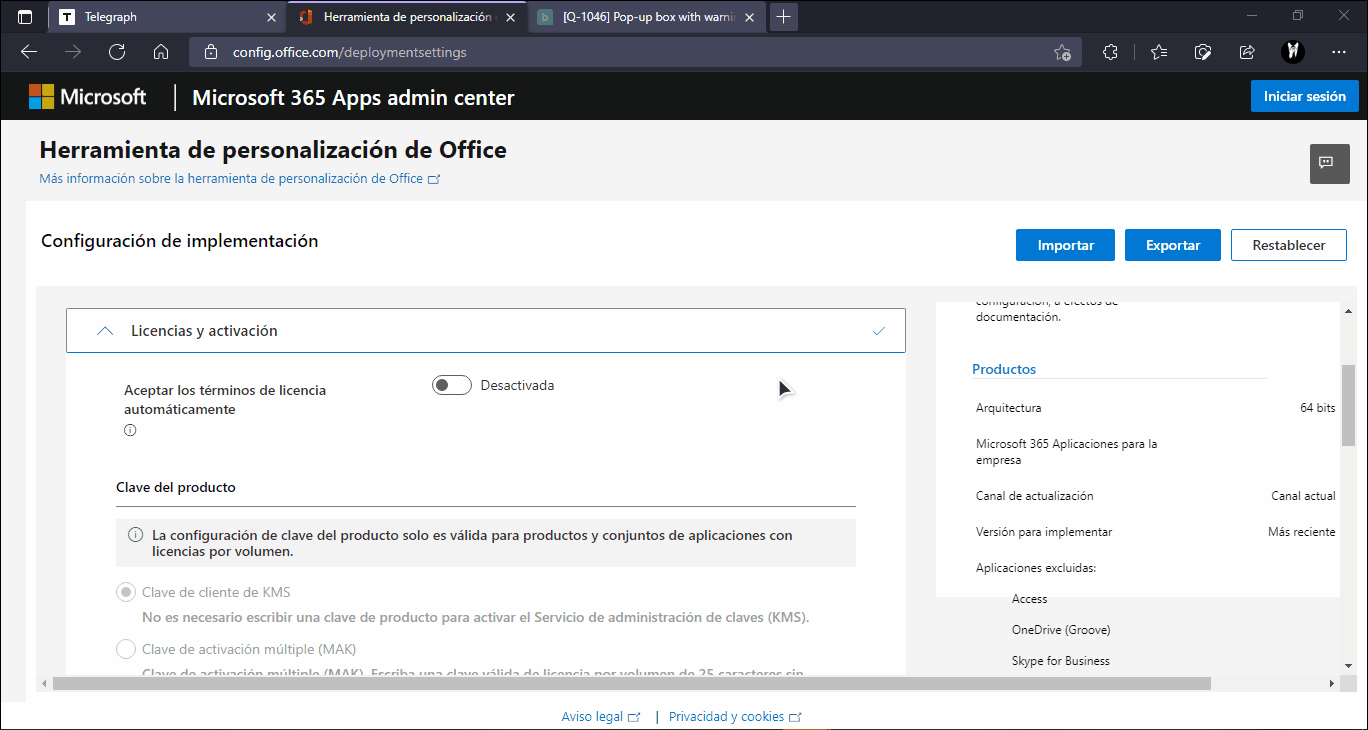
8. In Licensing and activation, I only activate 'Accept license terms automatically', the other options are left as they are.
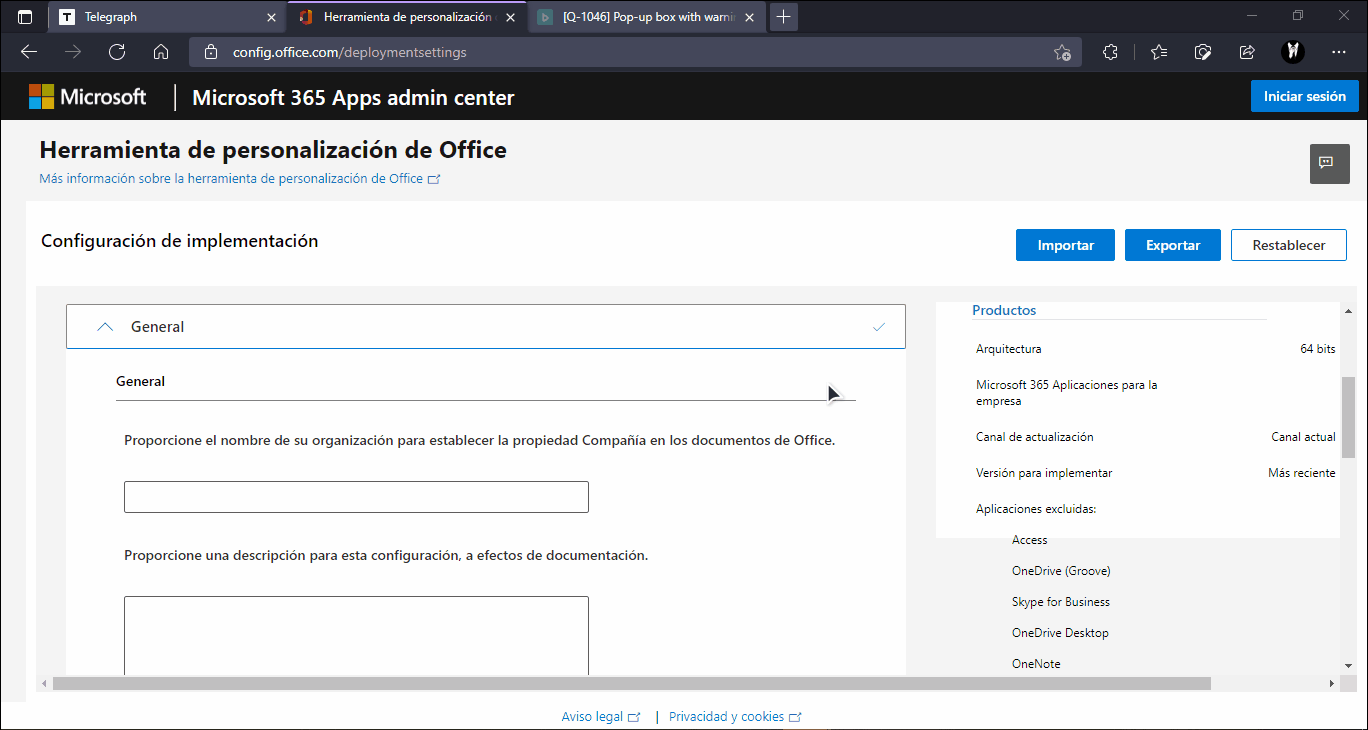
9. In the General section it is left unchanged, it is only for companies..
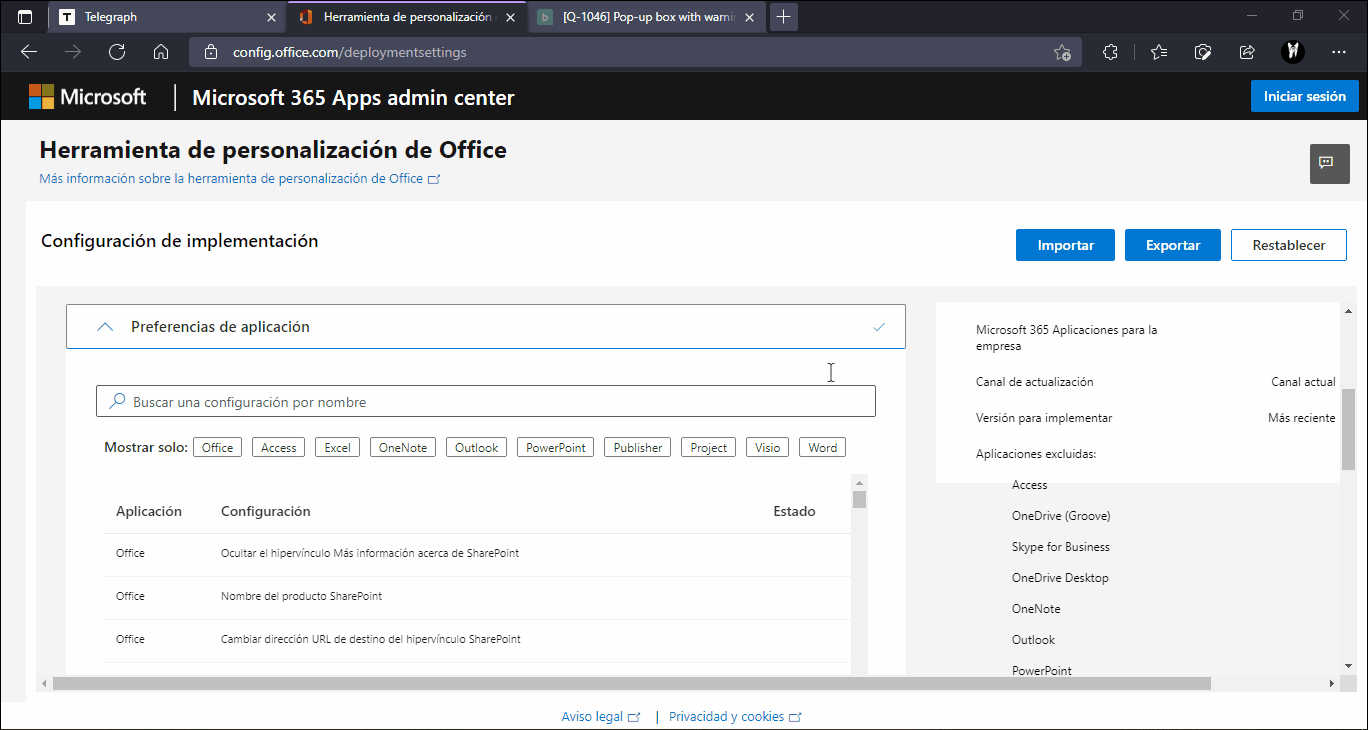
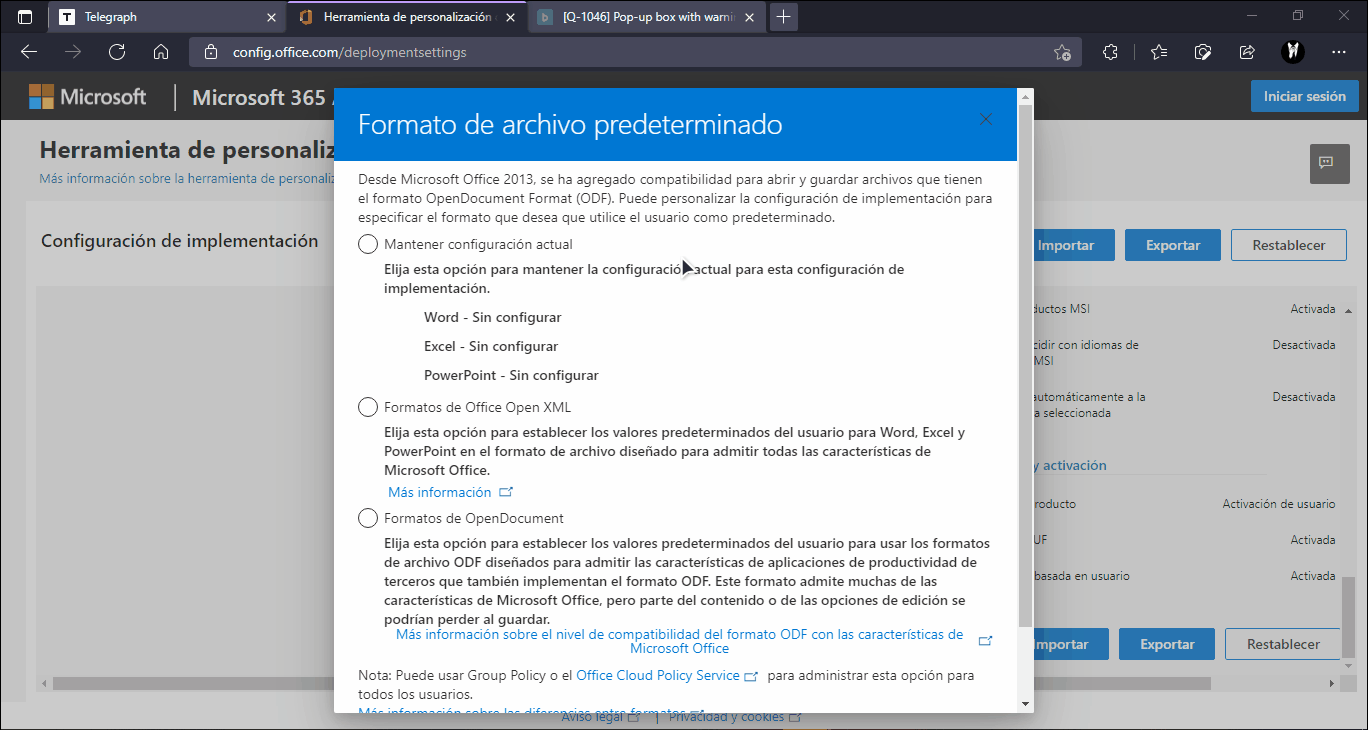
10. Finally, the 'Application preferences' section is left as it is. From here, if you want, you can make some changes to the apps before installation.
11. Each of the settings made can be seen on the right, we check that everything we did is ok and export the customized configuration.
12. Now we select the file format in which to save the customized configuration, I always choose the first option, then I accept the terms and export the file. The browser will block the download of the file, so choose Keep to download it without any problem.
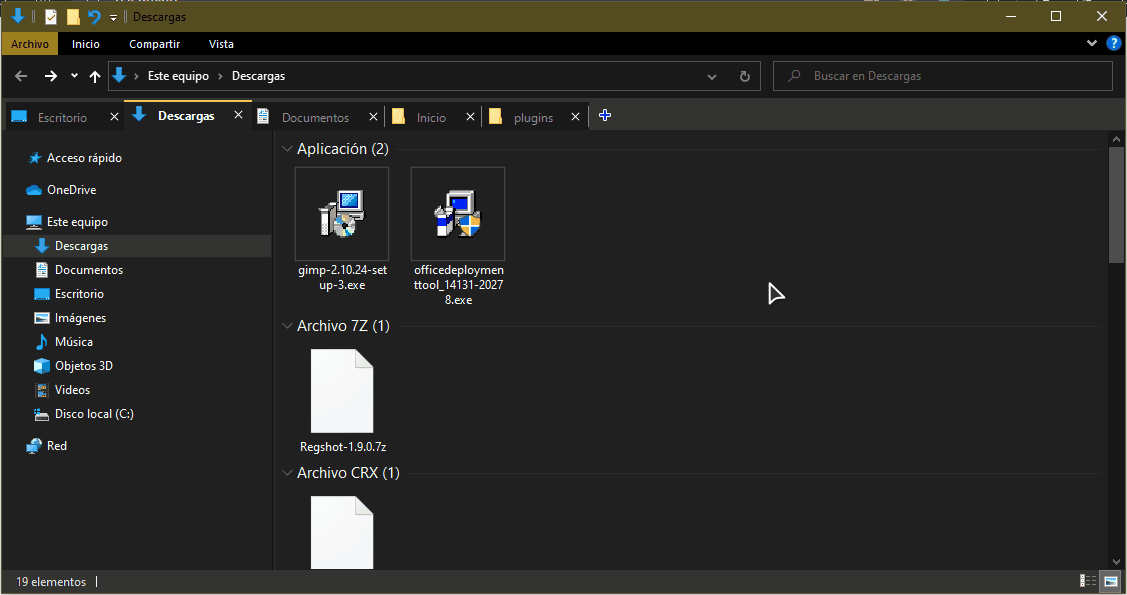
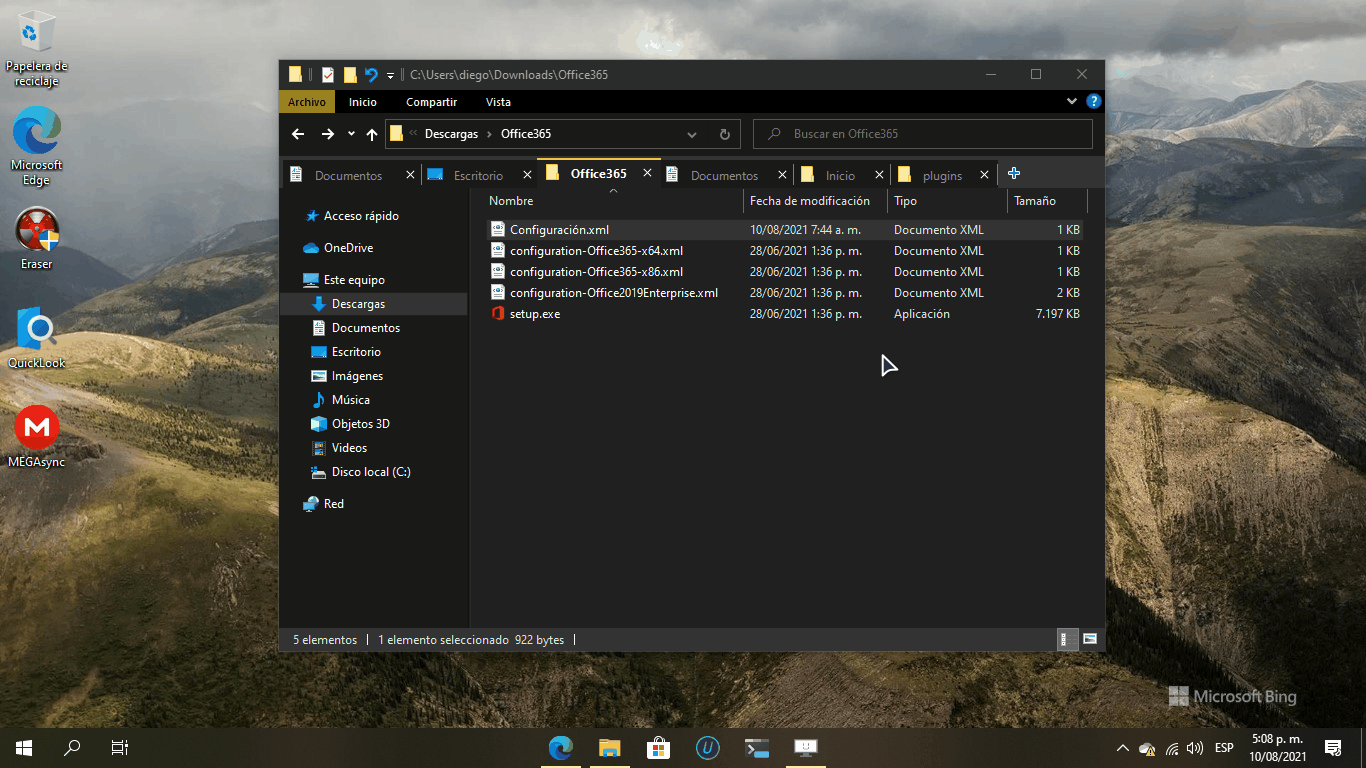
13. Now go to the Downloads folder, locate the Configuration file in xml format and move it to the folder created in step 2.
14. Now open a command prompt window from the location of the xml file, the quickest way is to type cmd in the address bar, and enter the following command for the Office 365 installation, replace installconfig with the name you chose for the file in step 12.
setup.exe /configure installconfig.xml
And click on Enter. An Office icon will appear in the taskbar where you can see the download percentage. It's important that you don't close the command prompt window until the Office 365 installation is complete.
That's all. In my case only Word and Excel appear in the list of programs. The last thing you have to do is to log in with your educational account after opening the program you are going to work with, be it Word, Excel, Powerpoint etc.
More information about the Office Deployment Tool at Overview of the Office Deployment Tool - Deploy Office | Microsoft Docs