Crucial Instruments and Supplies for Drylining Achievement
Regarding attaining a professional finish in interior building projects, drywalling techniques play a crucial role. This process involves the placement of drywall and to create sleek, polished walls and ceilings, making it a common choice for residential as well as commercial applications. To guarantee the effectiveness of any drylining task, it is essential to have the necessary tools and materials at hand. This not just simplifies the workflow but also enhances the standard of the final outcome.
Comprehending the essential tools and materials can significantly influence the productivity of drylining services. From the starting layout and fixing of the panels to the finishing touches of taping and plastering, each step relies on specific equipment and supplies. In the upcoming sections, we will delve into the essential items for anyone looking to excel in the art of drylining, providing professionals and DIY fans alike with the knowledge they need for exceptional outcomes.
Key Tools for Drylining
Regarding drylining services, having the right tools plays a significant role in achieving an impactful change in both efficiency and quality of the final finish. One key tool is a drywall knife, essential for putting on joint compound and smoothing seams. A quality knife offers better control, minimizing mess and securing a smooth layer. Various sizes can be found, enabling you to choose one that fits your particular needs, whether it's taping joints or putting on finish coats.
Another crucial tool for drylining is the screw gun for drywall. This tool helps to make the fastening process more efficient. Unlike standard drills, screw guns automatically adjust the depth of the screw, avoiding damage to the drywall and ensuring a consistent finish. This function is crucial in drylining, where exactness is important to achieving a polished look. Investing in quality screw gun can save you time and enhance productivity on the job.
An utility knife is also a crucial for all drylining project. This tool is vital for cutting drywall sheets to size and making precise cuts around outlets and various obstacles. A well-sharpened utility knife ensures clean edges, which is critical for proper fitting during installation. Moreover, having a sturdy cutting surface and a dependable knife will help you execute precisely, further improving the quality of your drylining services.
Essential Materials for Drylining
Regarding the provision of drylining services, the appropriate materials are crucial for achieving a polished and professional finish. Gypsum panels, commonly known as drywall, is the main material used for creating rooms and ceilings. Its lightweight nature and versatility make it simple to set up, shape, and fit according to the specific dimensions of a room. Moreover, gypsum board is available in multiple types, such as water-resistant and flame-retardant, catering to different environmental needs.
In alongside gypsum board, jointing compounds play a key role in the drylining process. These compounds are used to seal gaps between the boards and to smooth out joints to ensure a flawless appearance. Many types of jointing compounds are available, including ready-mixed and bulk options, allowing builders to choose the best fit for their project requirements. Proper application of these materials will help create a sturdy surface that is ready for wallpapering.
In conclusion, accessories such as fixings, corner beads, and adhesive are necessary to attach the drywall effectively. Drywall screws are specifically designed to help fasten panels to the framing, providing robustness and firmness. Metal corners offer additional protection against wear at edges, while adhesive can be used in conjunction with screws for extra hold. Together, these necessary materials create a reliable foundation for any drylining services project, ensuring both practicality and design are achieved.
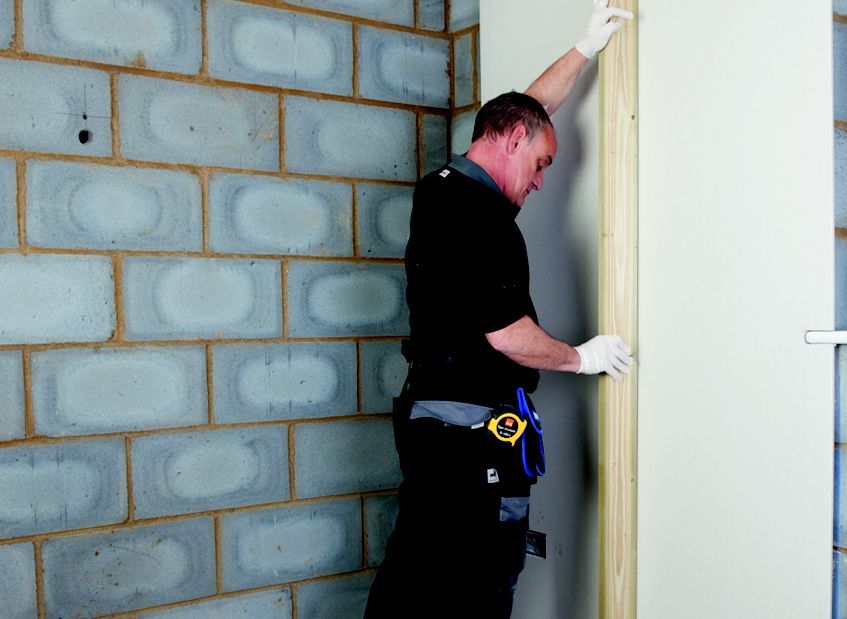
Best Practices for Optimal Installation
To attain the highest results in drylining services , proper preparation of the site is crucial. This involves ensuring the walls and ceilings are clean, moisture-free, and devoid of dust or debris. A even surface will significantly enhance the standard of the installation. Additionally, it is crucial to check for any plumbing or electrical installations that might interfere with the drylining process. Sufficient measurements should be taken to ensure that the materials fit together.
Next, employing the appropriate techniques during installation can greatly affect the overall outcome. Beginning at one corner and working in an organized manner can help maintain alignment and reduce errors. Using the correct fasteners and adhesives will ensure that the drylining boards are firmly held in place. It is also recommended to allow for proper spacing and gaps as advised, as this prevents issues with swelling or contraction due to changes in humidity or temperature.
Finally, finishing touches play a significant role in the overall appearance and durability of the drylining. Once the boards are installed, taping and jointing should be done with precision to create a smooth surface. Sanding down any joints and applying a suitable finish will help in attaining a professional look. Regular checks for imperfections and ensuring everything is straight will contribute to a successful installation that meets both aesthetic and functional standards.