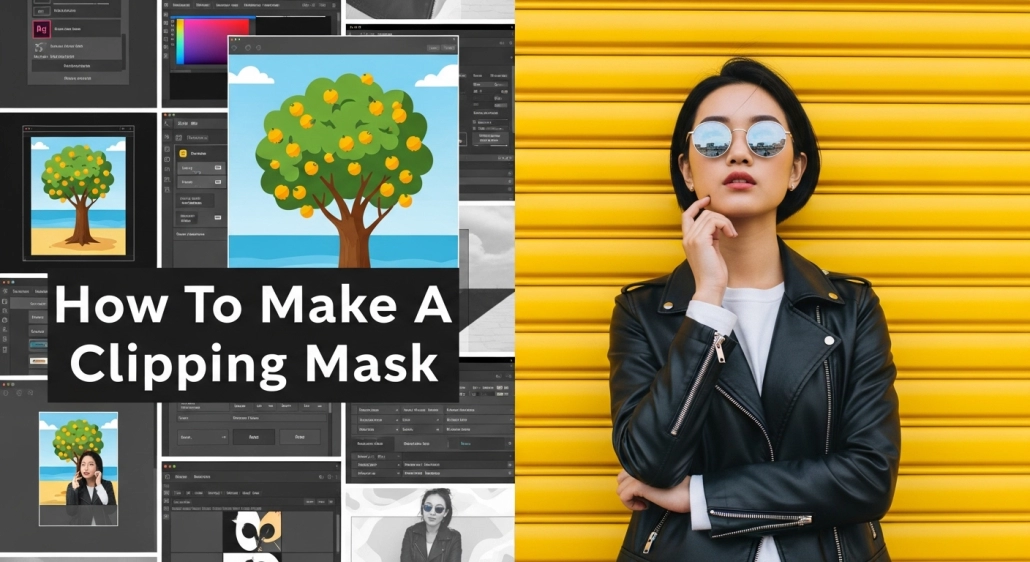
Clipping Mask in InDesign – A Simple Guide from My Own Experience
I still remember the first time I needed to make a Clipping Mask in InDesign.
It was for a product catalog I was designing for a small online boutique. The client sent me gorgeous high-res photos but wanted them shaped into circles and placed inside neat layouts without distorting the images. I tried the usual cropping tricks, but nothing gave me that clean, professional look.
That’s when I discovered the magic of Clipping Mask in InDesign.
It was like finding a hidden tool in a toolbox I had been using for years. In just a few clicks, my images fit perfectly inside any shape I wanted. Since then, I’ve used clipping masks in everything from fashion lookbooks to real estate brochures, even social media templates.
If you’ve ever wanted to place your image inside a specific shape—without losing quality—this guide is for you.
What Is a Clipping Mask in InDesign?
A Clipping Mask in InDesign lets you place an image inside a shape so that only the part inside the shape is visible. Think of it as using a cookie cutter—your image is the dough, and the shape is the cutter. The result? A perfectly shaped image that fits your design.
Quick Answer: InDesign uses frames as masks. The image “clips” to the shape of the frame you place it in.
You can use clipping masks for:
- Fashion catalogs (placing clothing inside unique layouts)
- Real estate brochures (highlighting properties in circles or custom frames)
- E-commerce listings (clean, shaped product shots)
- Magazine spreads and ads
- Social media post templates
Step-by-Step: How to Make a Clipping Mask in InDesign
This is the exact process I follow when creating a Clipping Mask in InDesign for client projects.
Step 1: Prepare Your Shape (The Frame)
- Use the Ellipse Tool (L), Rectangle Tool (M), or Polygon Tool to draw your desired shape.
- This shape will act as the mask.
Step 2: Place Your Image
- Go to File > Place (or press Ctrl + D / Cmd + D).
- Select your image and click inside the shape you created.
Step 3: Adjust the Fit
- Right-click the image and choose Fitting > Fill Frame Proportionally.
- This ensures your image fills the shape without distortion.
Step 4: Fine-Tune Positioning
- Use the Direct Selection Tool (A) to move or resize the image within the mask without changing the frame’s shape.
Step 5: Style It Up
- Add borders, shadows, or background colors for a polished look.
Snippet Answer: In InDesign, create a shape, place your image inside, and adjust the fit—this creates a clipping mask effect.
My Pro Tips for Perfect Clipping Masks in InDesign
After using this technique for years, I’ve learned a few tricks that make the results even better:
- Use High-Resolution Images – Clipping masks don’t improve image quality; start with sharp, clear images.
- Try Unusual Shapes – Don’t just stick to circles and rectangles. Polygonal frames can give a modern, edgy look.
- Combine Masks with Transparency – A soft gradient fade inside the shape can look amazing for fashion and product shots.
- Keep the Frame Proportional – If you distort the shape too much, the image can look stretched.
- Duplicate Before Editing – Always keep a copy of the original image in case you want to change the mask later.
Quick Answer: Use high-quality images, creative shapes, and proportional adjustments for professional clipping mask results.
Handmade Clipping Mask in InDesign – Why I Sometimes Skip Automation
Even though InDesign offers quick fitting tools, I often do clipping masks by hand. Why?
Because clients sometimes want extra details—like slightly adjusting how the product sits in the frame or blending the edges for a softer feel.
When I made a product catalog for a luxury watch brand, for example, I placed each watch in a circular mask but slightly rotated them so the logo faced upward. It took more time but gave a premium, handcrafted look that automation couldn’t match.
Quick Answer: Manual adjustments in clipping masks give a more custom and polished feel to your designs.
Insights from Redokun’s Guide on Clipping Mask in InDesign
I came across Redokun’s article on Clipping Mask in InDesign, and I think they explain the basics really well. They focus on how to place images into shapes and use frames effectively.
From my perspective:
- When to Use Simple Shapes: For clean, consistent layouts like e-commerce product images.
- When to Use Custom Shapes: For creative marketing materials, fashion lookbooks, or social media graphics.
- When to Adjust Manually: For brand-specific layouts or unique creative campaigns.
Their guide is a great starting point, but remember—your own creativity will make your clipping masks stand out.
Quick Answer: Use simple shapes for consistency, custom shapes for creativity, and manual tweaks for brand-specific designs.
Why Clipping Masks Matter for E-Commerce, Marketing, and Design
If you run an e-commerce store, manage a brand, or create marketing materials, Clipping Mask in InDesign can be a game-changer.
It makes your designs cleaner, your products more appealing, and your layouts more professional.
For example:
- E-commerce Stores: Product images look uniform and polished.
- Real Estate Agencies: Property images can be shaped to fit elegant brochure layouts.
- Fashion Brands: Creative shapes make lookbooks more engaging.
- Social Media Creators: Unique image frames make posts stand out in crowded feeds.
Quick Answer: Clipping masks boost professionalism, creativity, and visual impact in any design project.
Final Thoughts – Your Turn to Try
Using Clipping Mask in InDesign isn’t just a technical skill—it’s a design superpower. Once you know how to place an image inside a shape and adjust it, your creative options multiply.
Whether you’re working on a product catalog, a real estate flyer, or a bold Instagram post, clipping masks can help you deliver clean, professional results without spending hours in Photoshop.
So, open up InDesign, make a shape, and try placing an image inside. Play around, experiment, and soon you’ll be using clipping masks in ways you never imagined.
Quick Answer: Clipping Mask in InDesign turns simple layouts into professional, creative designs—fast and easily.
Company Information:
Website: https://www.expertclipping.com/
Facebook: https://www.facebook.com/expertclipping
Contact : https://www.expertclipping.com/contact/
Resources: https://www.expertclipping.com/blog/
Youtube: https://www.youtube.com/c/Expertclipping-ec
Twitter: https://twitter.com/expertclipping
Quote: https://www.expertclipping.com/free-quote/
Office Address
UK OFFICE
24 Longbridge Road
Barking Essex IG118tnv
www.expertclipping.co.uk
Phone: 02036093822
24 Longbridge Road
Barking Essex IG118tnv.
E-mail: hello@expertclipping.com
Phone: +44 02036093822
ITALY OFFICE
168 Belaws, 4th Floor
Via Tolpada 21, 11400
www.expertclipping.com