Build Android Roms with ROM-builders
Rahul Pal XDAYou are Here soo I assuming you must know basics about android rom building but you are lacking of a vps server or good internet to clone android sources or don't have a pc. Thats why we want to help these guys and giving them a chance to build your android rom & make your dream come true..
Soo I assuming you have your stable device sources are already in your git. now lets get started from ROM-Builders.
Step 1: Create a repository in your git called "local_manifest"
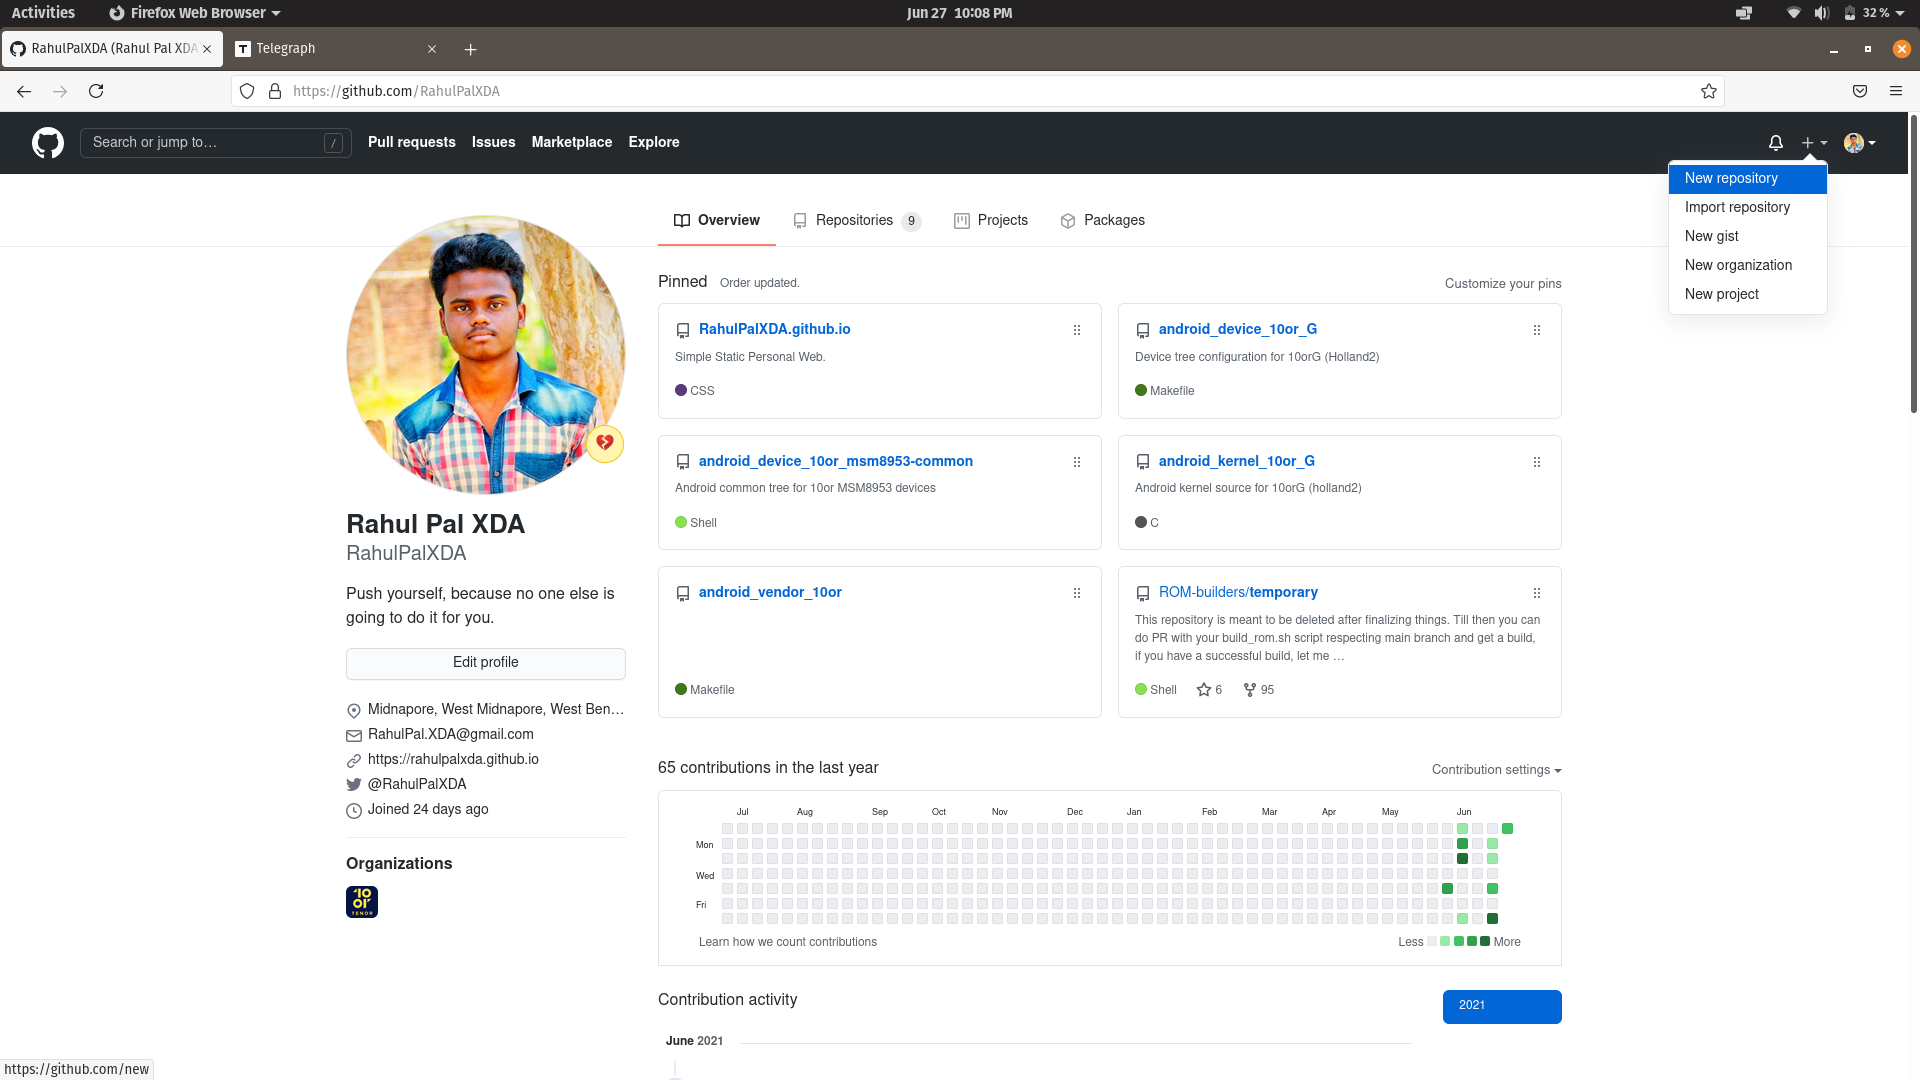
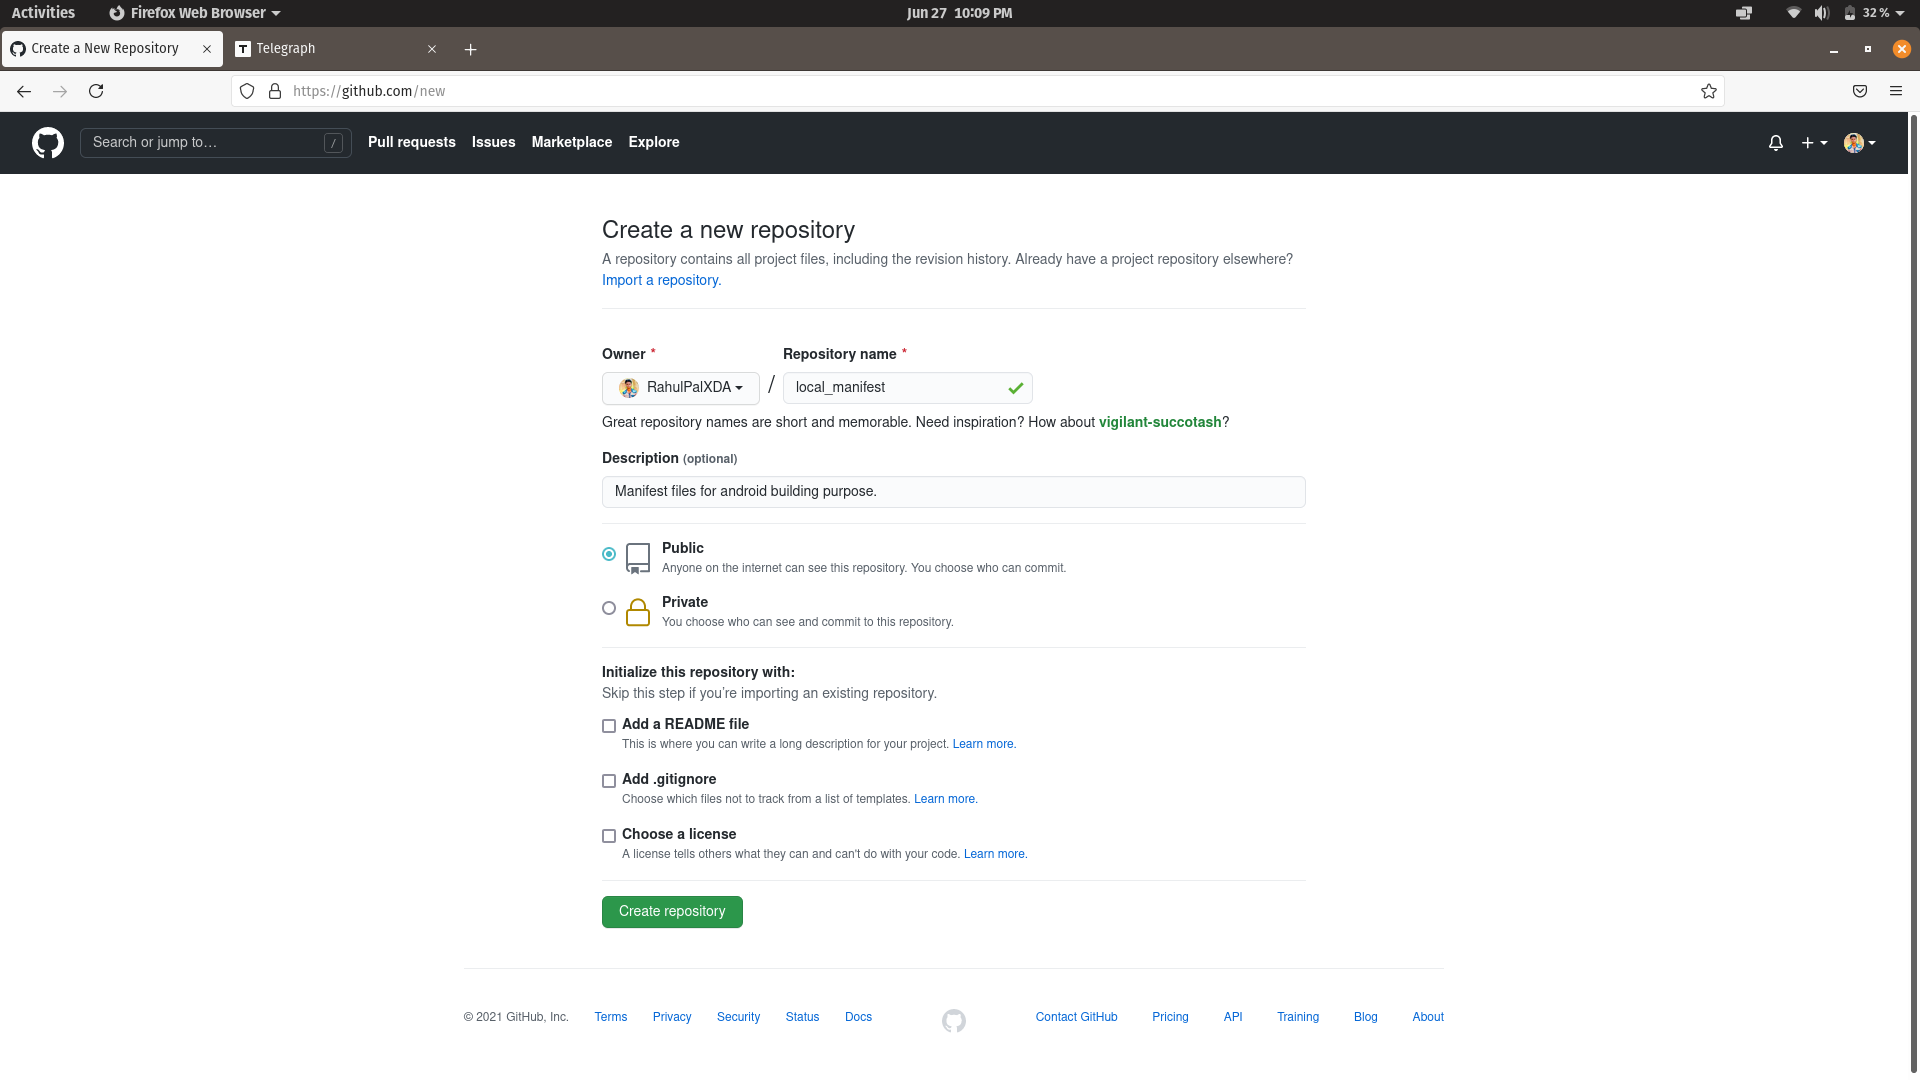
Soo you are here, Great, I assuming you have done above steps & had no problems there. soo now You are getting a screen like this 👇👇👇👇

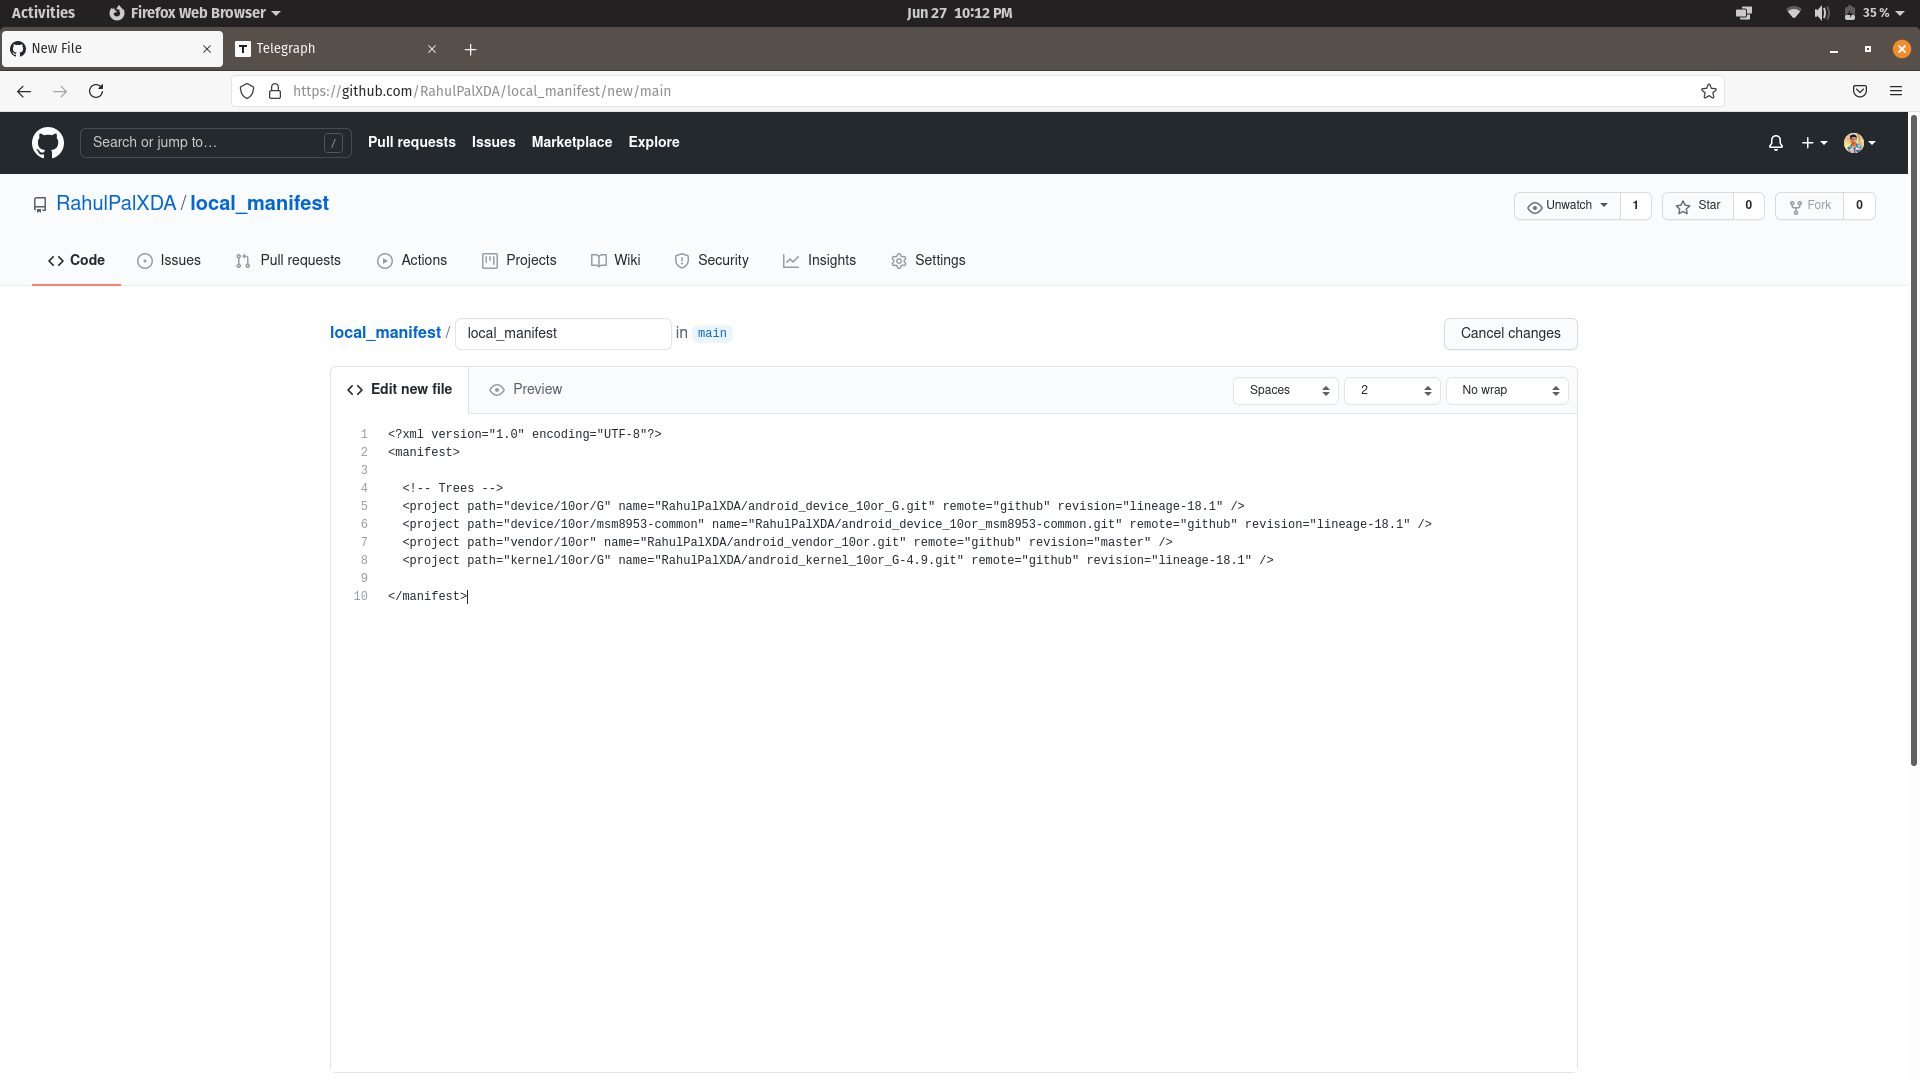
Soo click on "Create a new file" and you will get a screen like this 👇👇👇👇👇👇
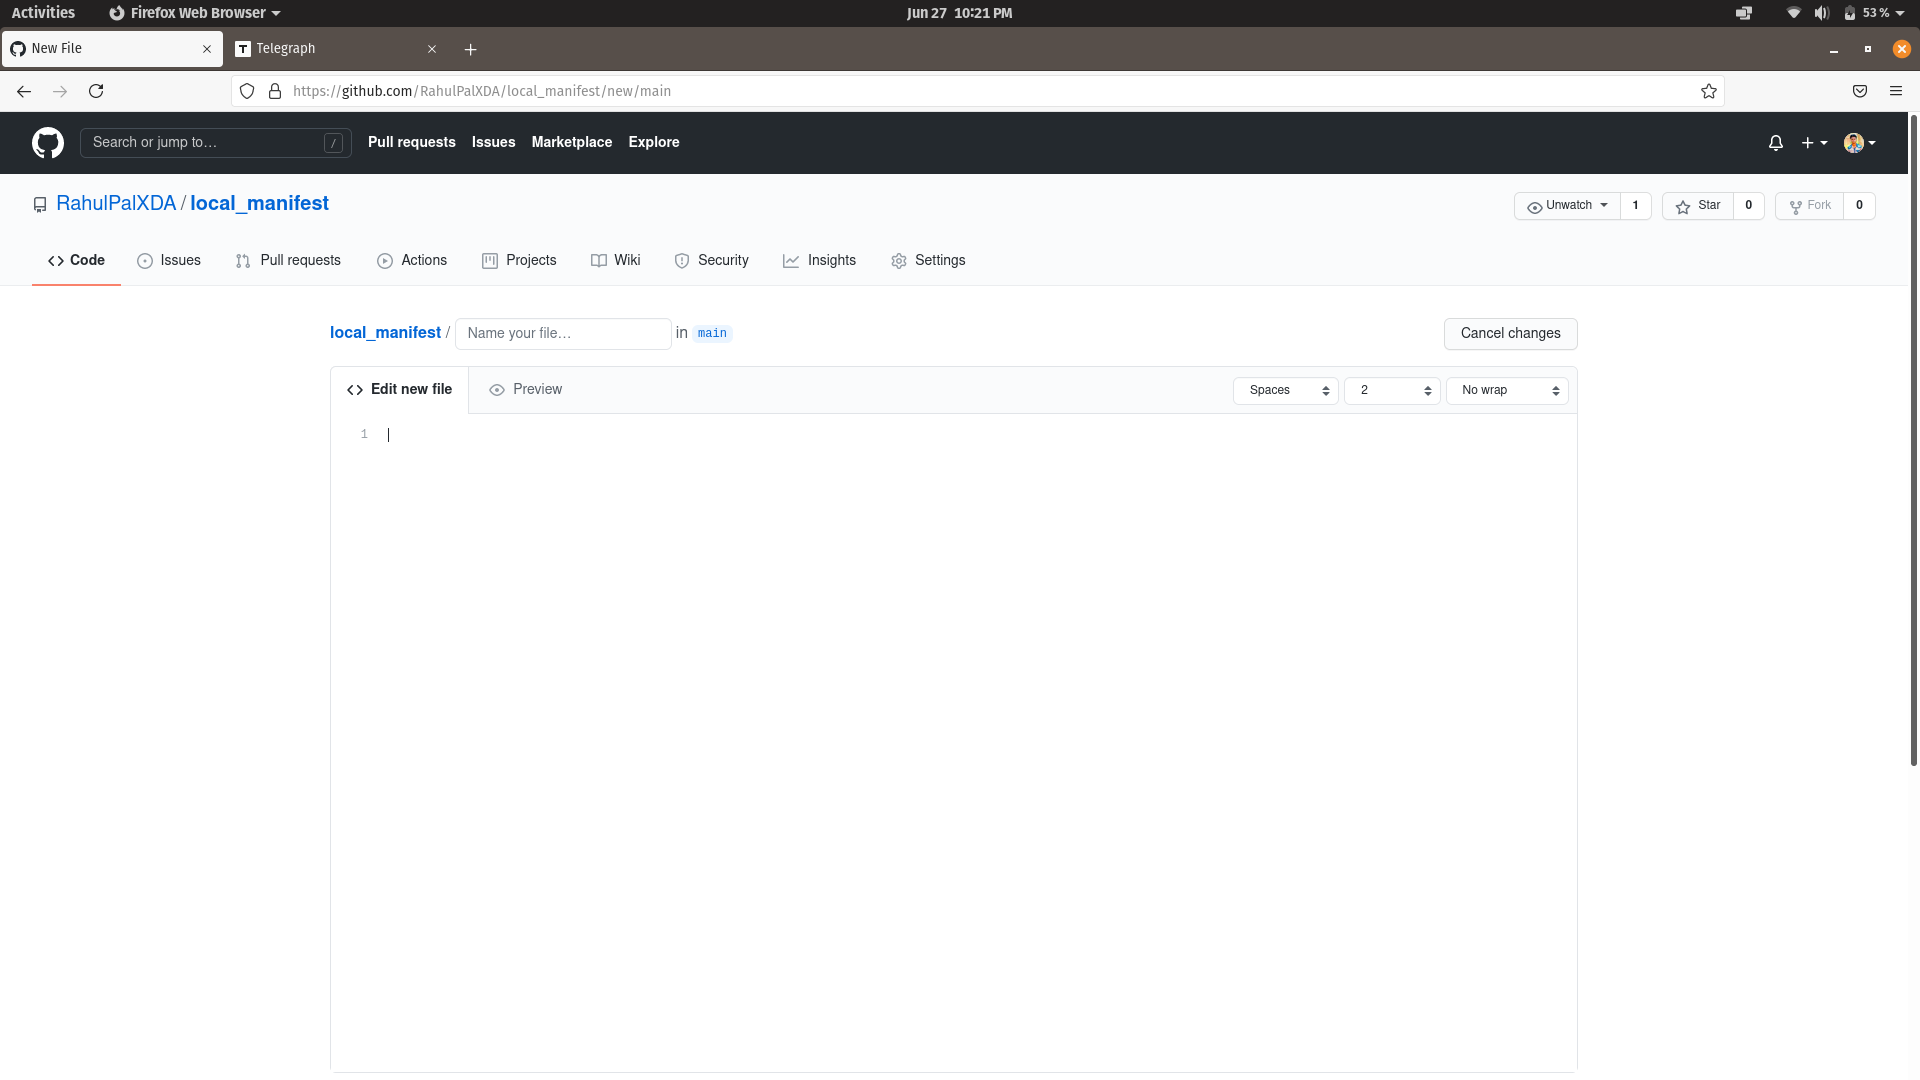
<?xml version="1.0" encoding="UTF-8"?>
<manifest>

 <!-- Trees -->
 <project path="device/10or/G" name="RahulPalXDA/android_device_10or_G.git" remote="github" revision="lineage-18.1" />
 <project path="device/10or/msm8953-common" name="RahulPalXDA/android_device_10or_msm8953-common.git" remote="github" revision="lineage-18.1" />
 <project path="vendor/10or" name="RahulPalXDA/android_vendor_10or.git" remote="github" revision="master" />
 <project path="kernel/10or/G" name="10orDevs/android_kernel_10or_G-4.9.git" remote="github" revision="lineage-18.1" />

</manifest>
OK Soo Now Describe Me about this code to you.
Thats a xml code thats why I added "<?xml version="1.0" encoding="UTF-8"?>"
"<manifest>" was the starter tag of your manifest file.
"<!--Trees-->" was the comment (it's used to tell code viewer that we are adding trees below.
Ok soo now "<project path="device/10or/G" name="RahulPalXDA/android_device_10or_G.git" remote="github" revision="lineage-18.1" />"
here '''project path="device/10or/G" ''' it means we are cloning repo in device/10or/G folder, now you must ask me which repo? ok I'm going to describe you in next lines.
now '''name="RahulPalXDA/android_device_10or_G.git" ''' soo here it is, soo we cloning RahulPalXDA/android_device_10or_G.git inside that folder. now again you can ask me from where? that repository can be inside github or gitlab or maybe in both. thats why we declared '''remote="github" ''' next to tell that we are cloning from github. now probably there should be more than one branches soo we added ''' revision="lineage-18.1" ''' to declare that we need lineage-18.1 branch to clone.
Soo that was about cloning Device tree using manifest. after device tree we need to clone Device common tree (this tree is maybe optional for your device) & Vendor tree & Kernel Tree same way.
now we are closing out manifest using "</manifest>" tag.
Soo now you wrote your own local_manifest for your android building purpose.
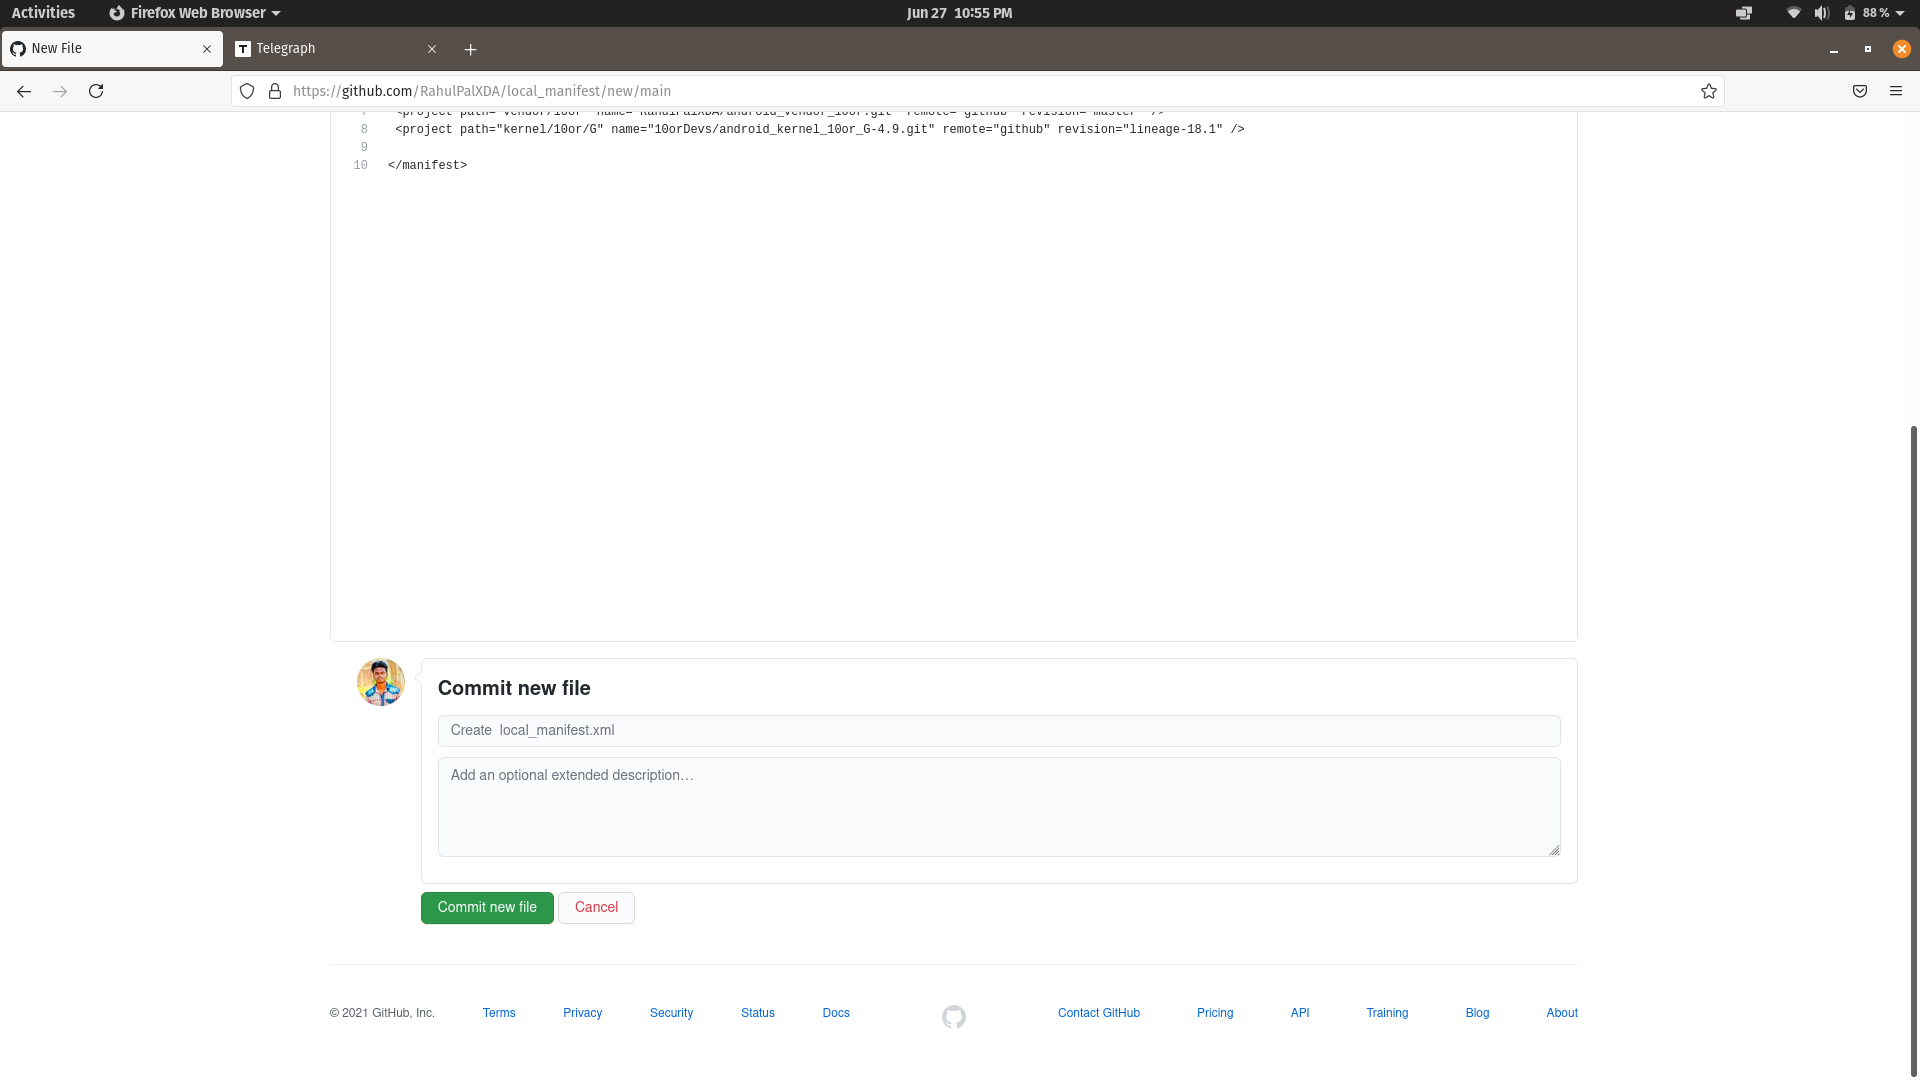
your final manifest will be kinda look like this 👇👇👇👇
Now scroll down there & click on "Commit New File" button.
Now Congratulations you have done your 1st step..
Step 2: Make ready your pull request repo
go to https://github.com/ROM-builders/temporary & click on fork button (upper right corner of your screen)

maybe after some seconds of waiting screen you will get a screen like this 👇👇👇👇
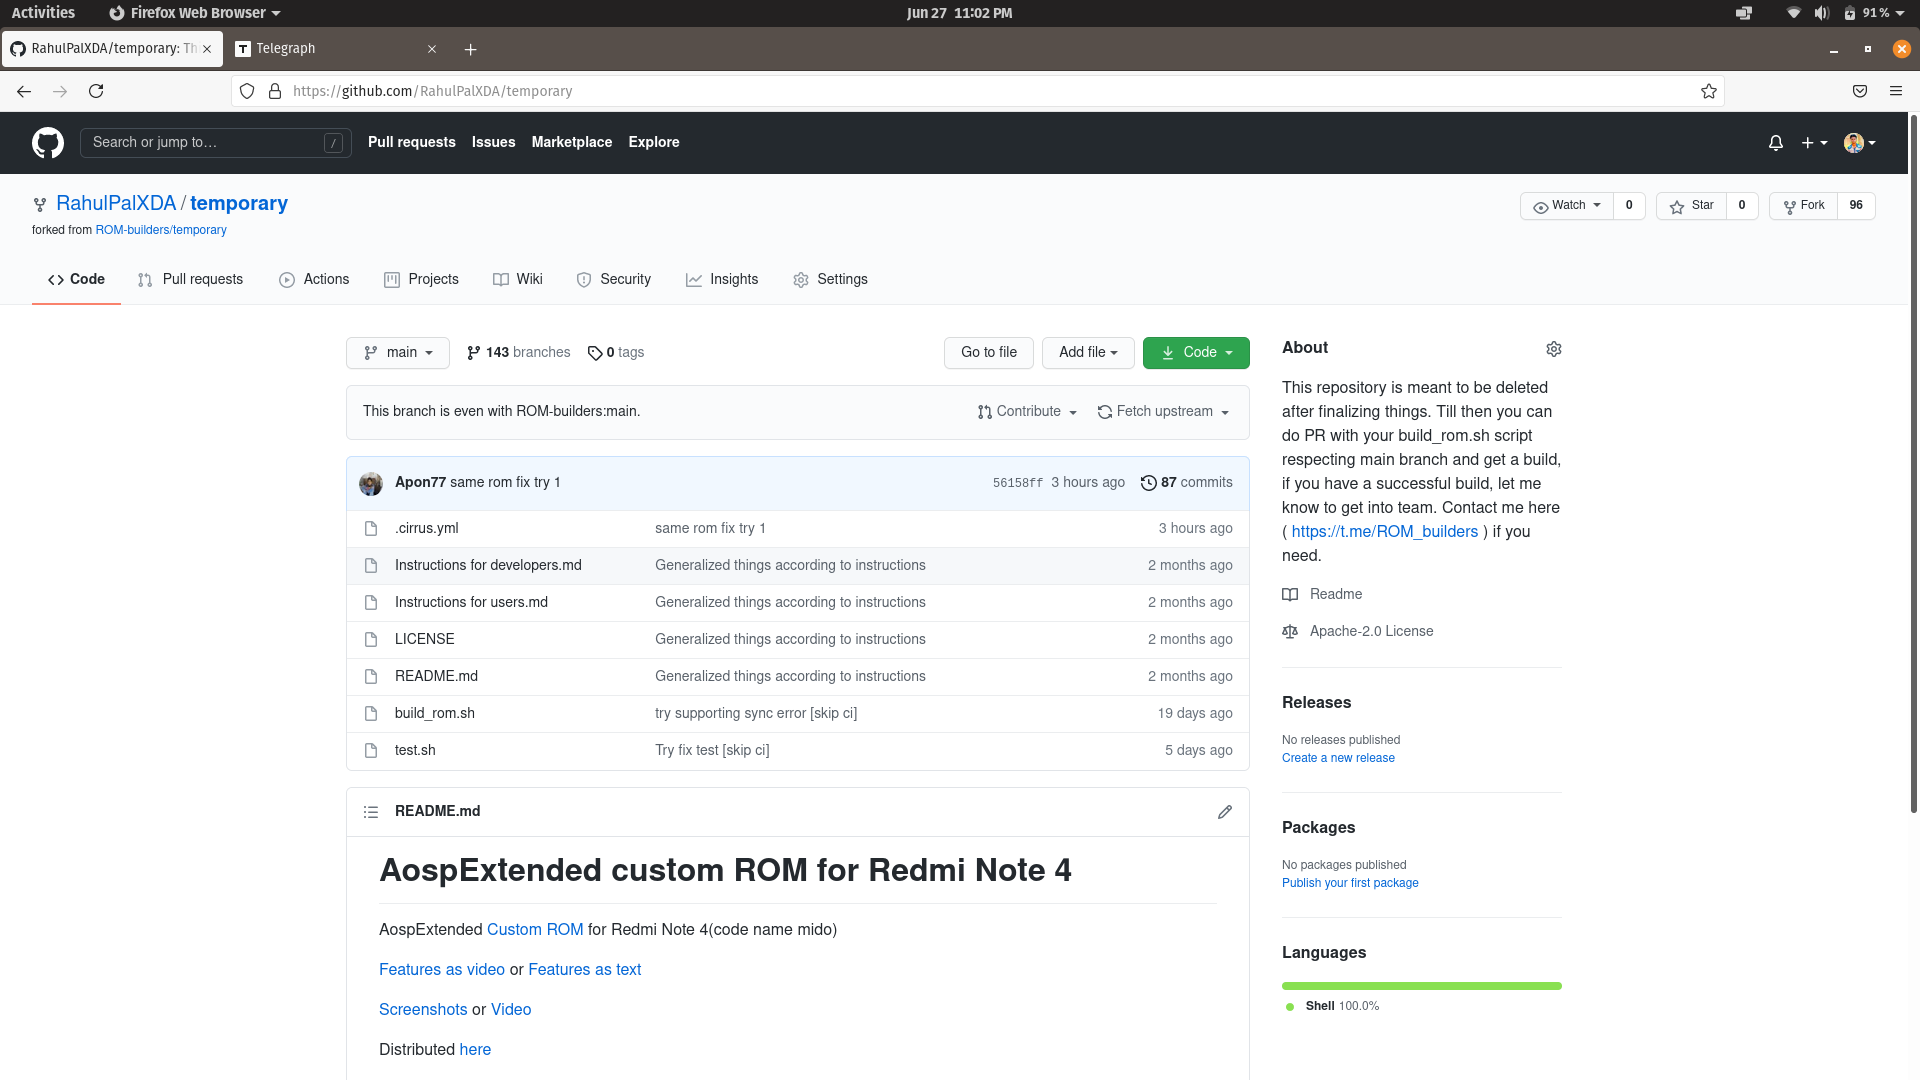
now click on "build_rom.sh" & click on that little pencil icon
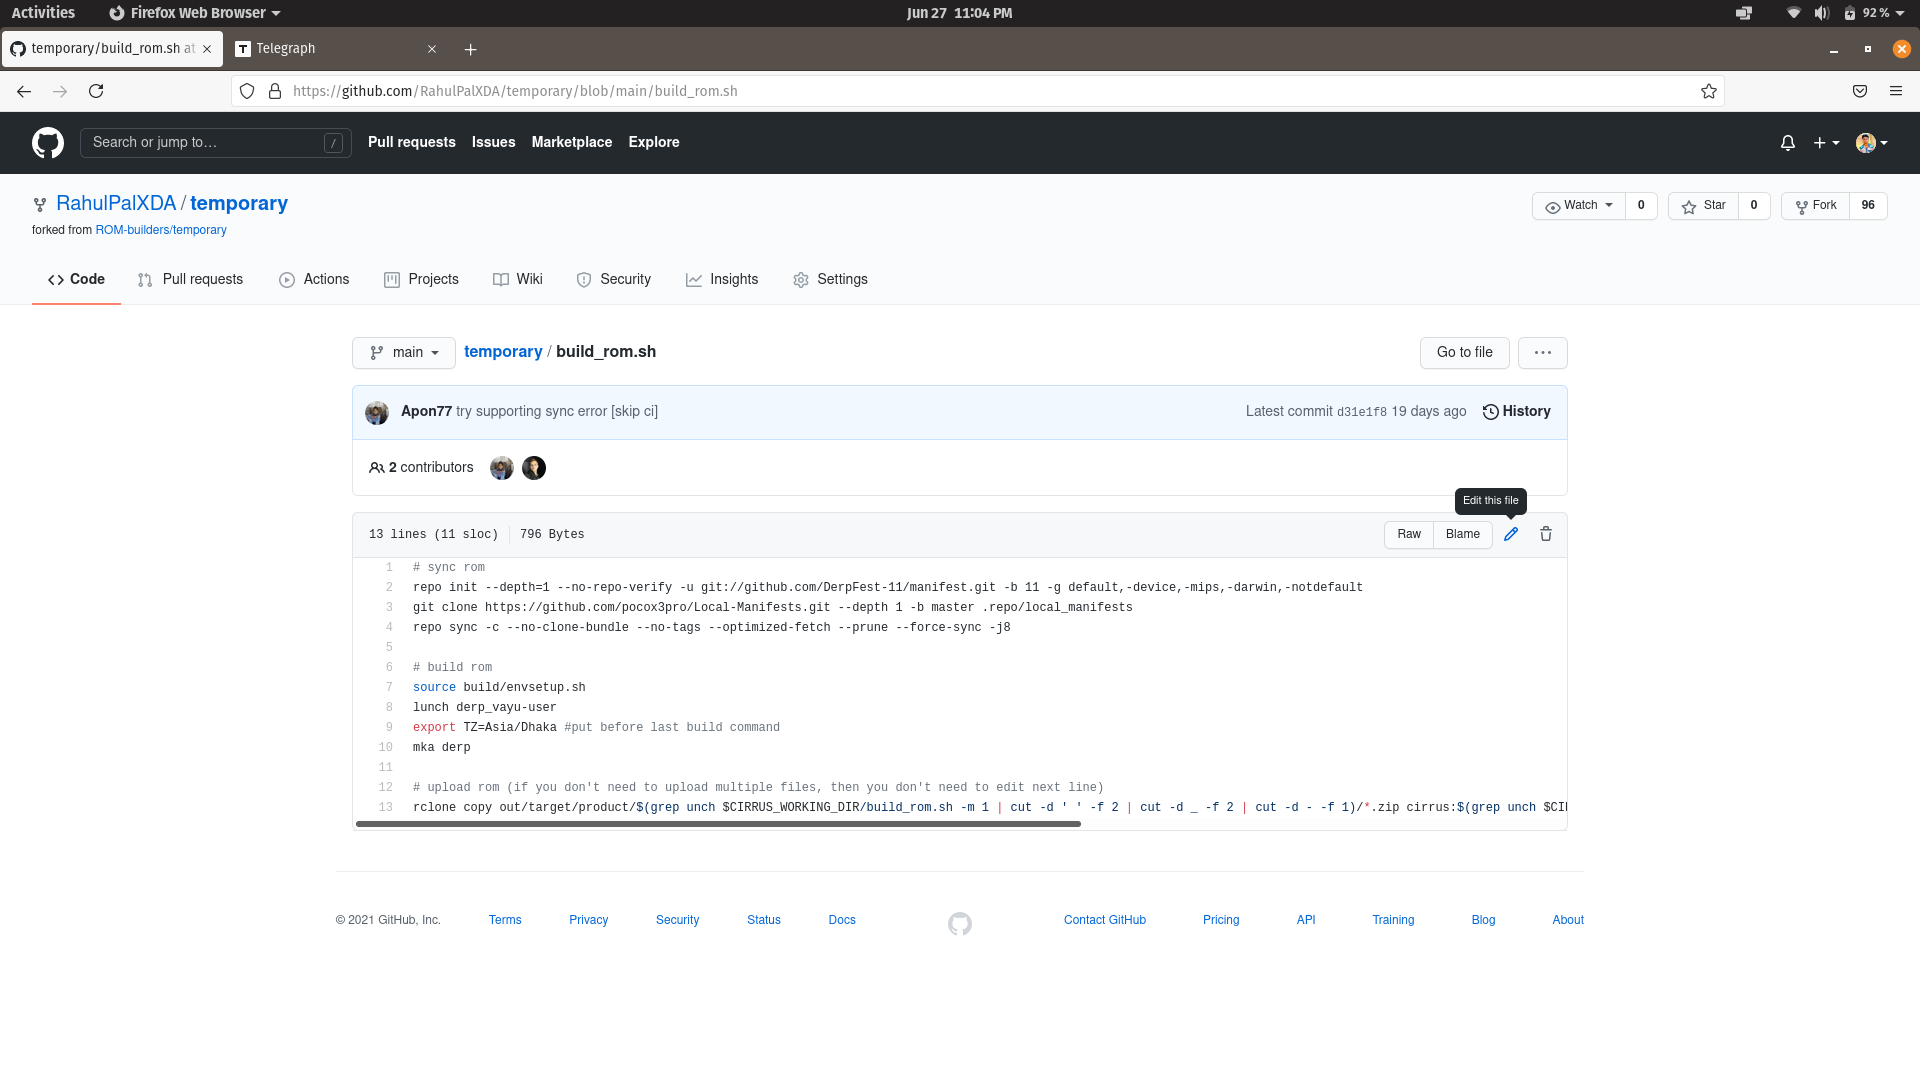
Now a code editor will be open on screen just add your rom building informations like replace "git://github.com/DerpFest-11/manifest.git -b 11" with the rom init url you want to build, in my case i want to build lineageOS 18.1 soo I'm going to replace that porsion with "git://github.com/LineageOS/android.git -b lineage-18.1" line. (you will get your line in your desired rom manifest README.md file.
In next line you need to replace git clone URL with the URL of your local_manifest URL you created on strep 1. and after "--depth 1 -b" you need to write the branch name of your local manifest (by default it'll main or master).
after that goto #build rom section and do changes according to your need.
Don't even touch #upload rom section
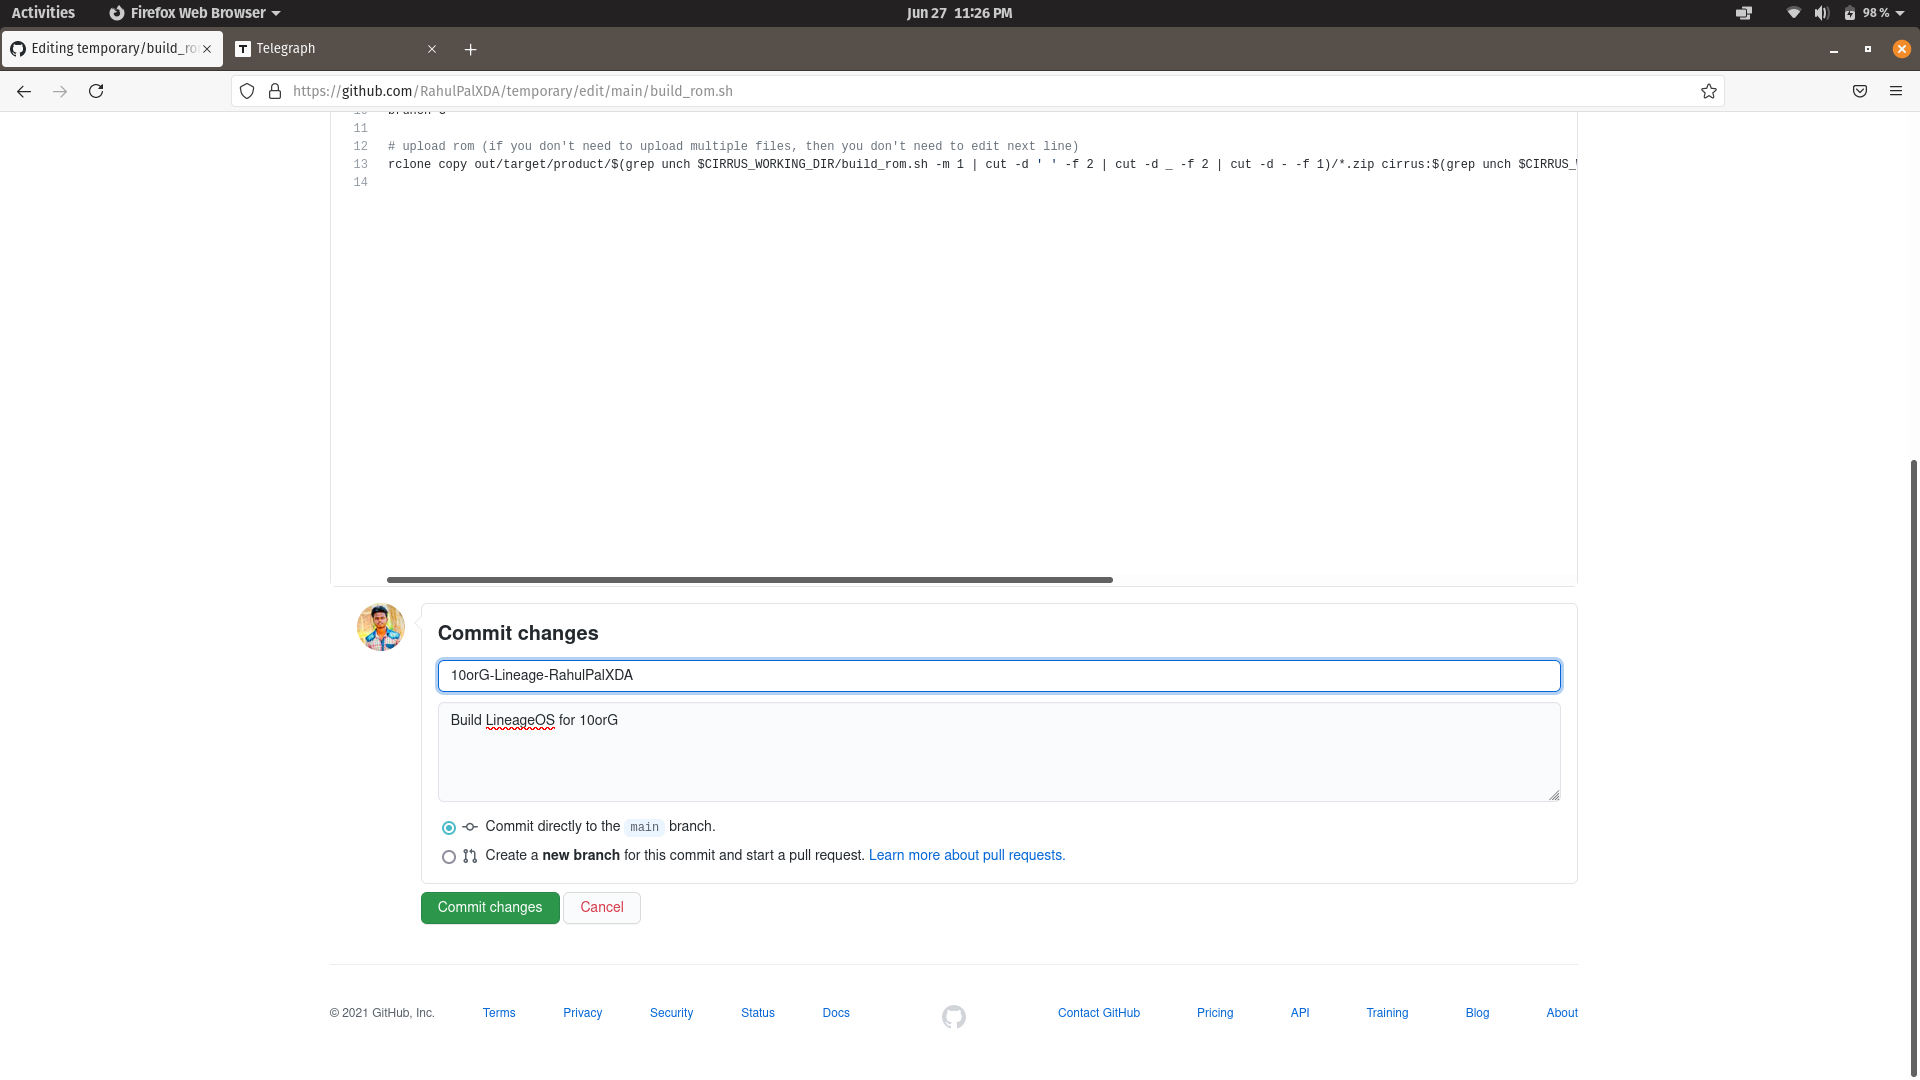
now scroll down & in "Commit Changes" section write commit message in this format <device Codename>-<Rom Name>-<Your GitHub Username> & write commit description (commit description is optional)
now click on Commit Changes button, below here is my example changes.
Congratulation you have done step 2
Step 3: Making Pull Request
Now goto https://github.com/ROM-builders/temporary/compare & click on "compare across forks"
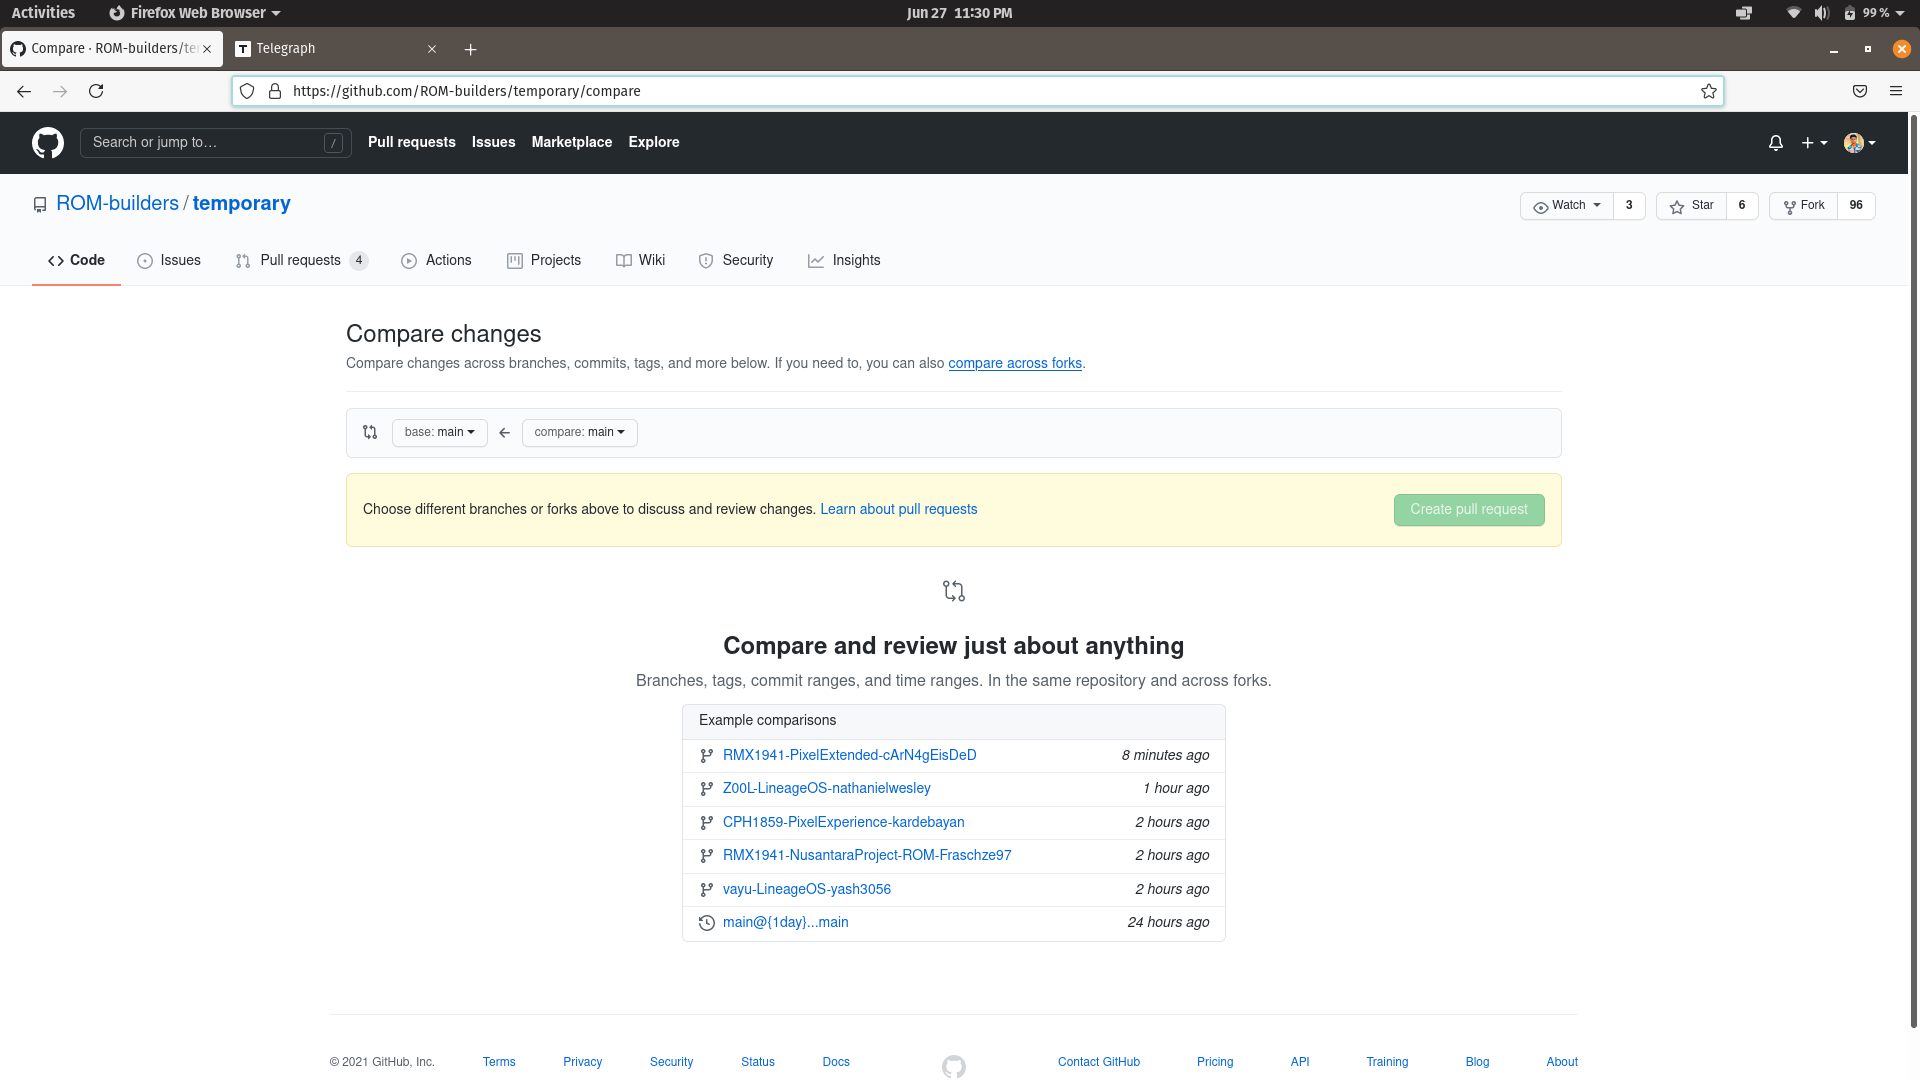
now click on "Head Repository" box's dropdown arrow & if i'm not wrong than your repository will be there in 2nd number(if not in second number than scroll down & find) now click on your repository name. than GitHub will Merge your repo with base repo. Some thing like this 👇👇👇👇
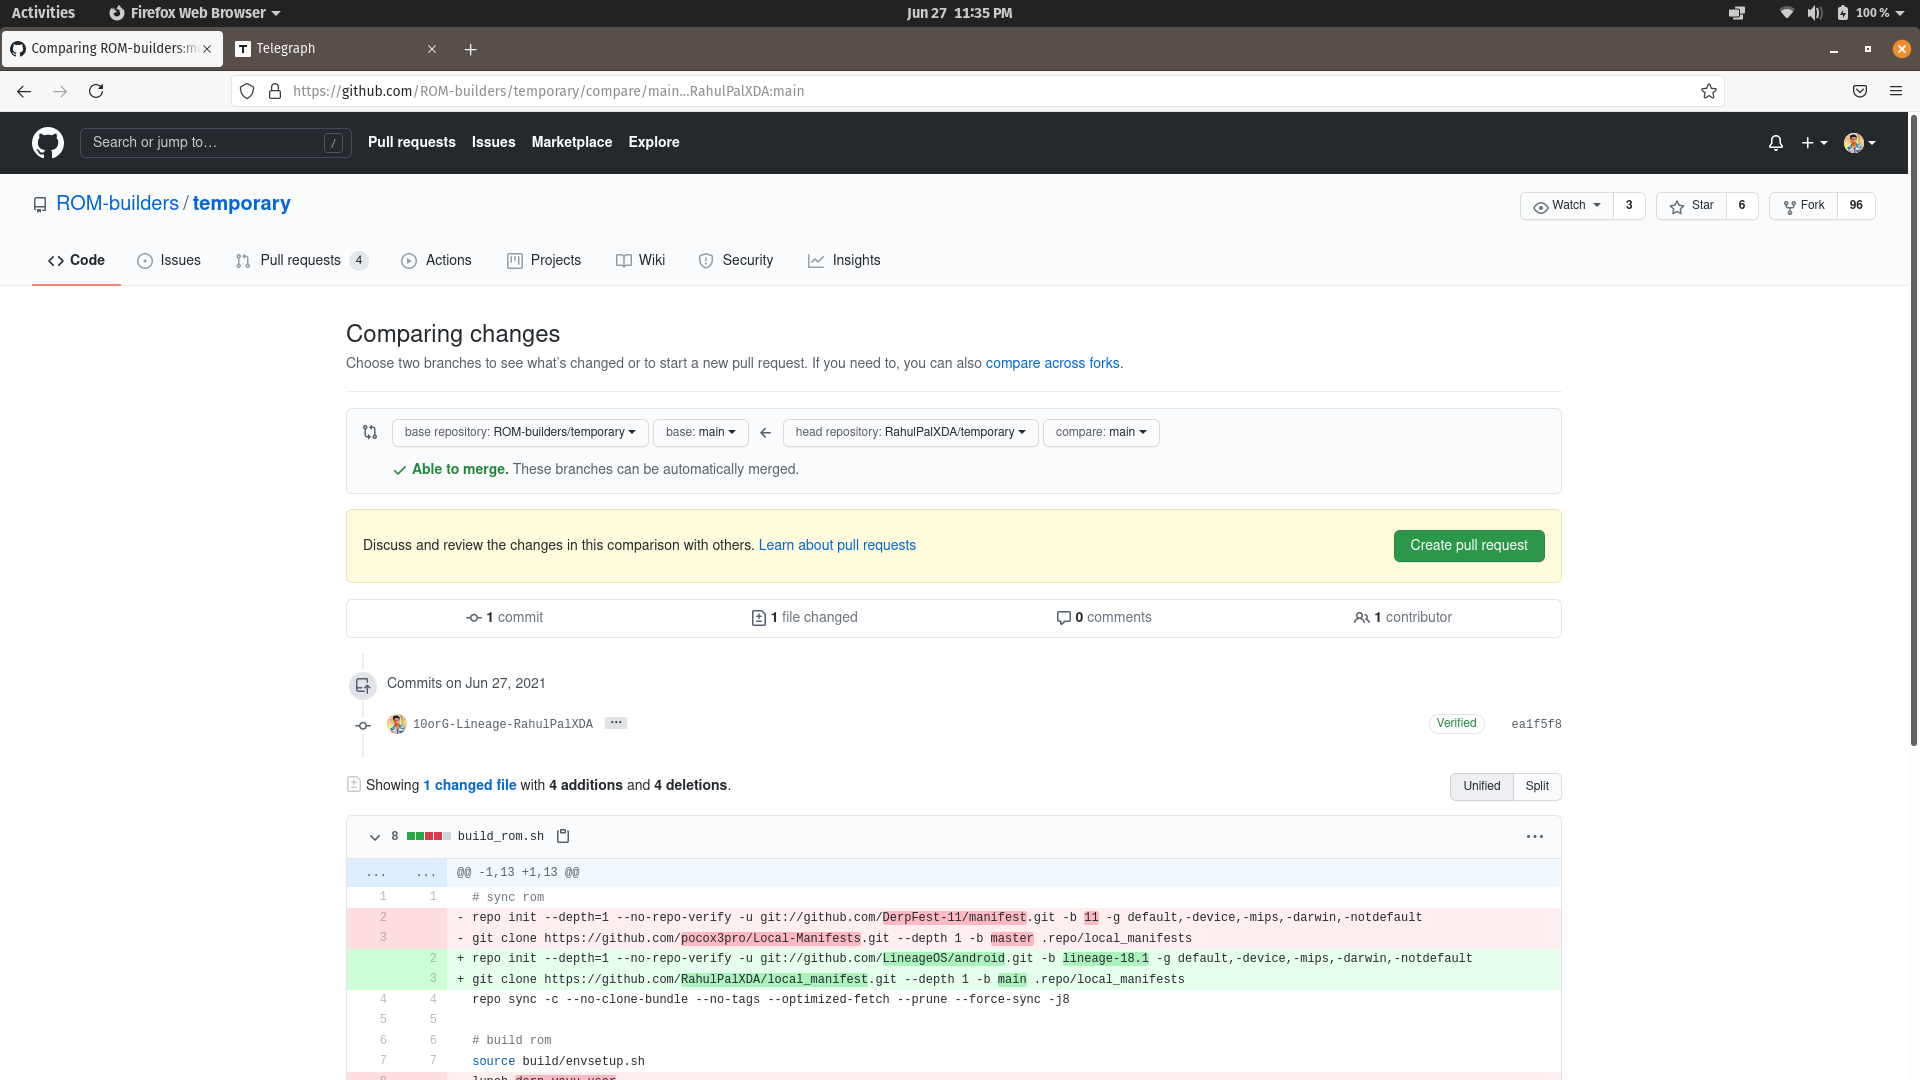
Now just click on "Create pull request" button & you will get a screen like this👇👇👇
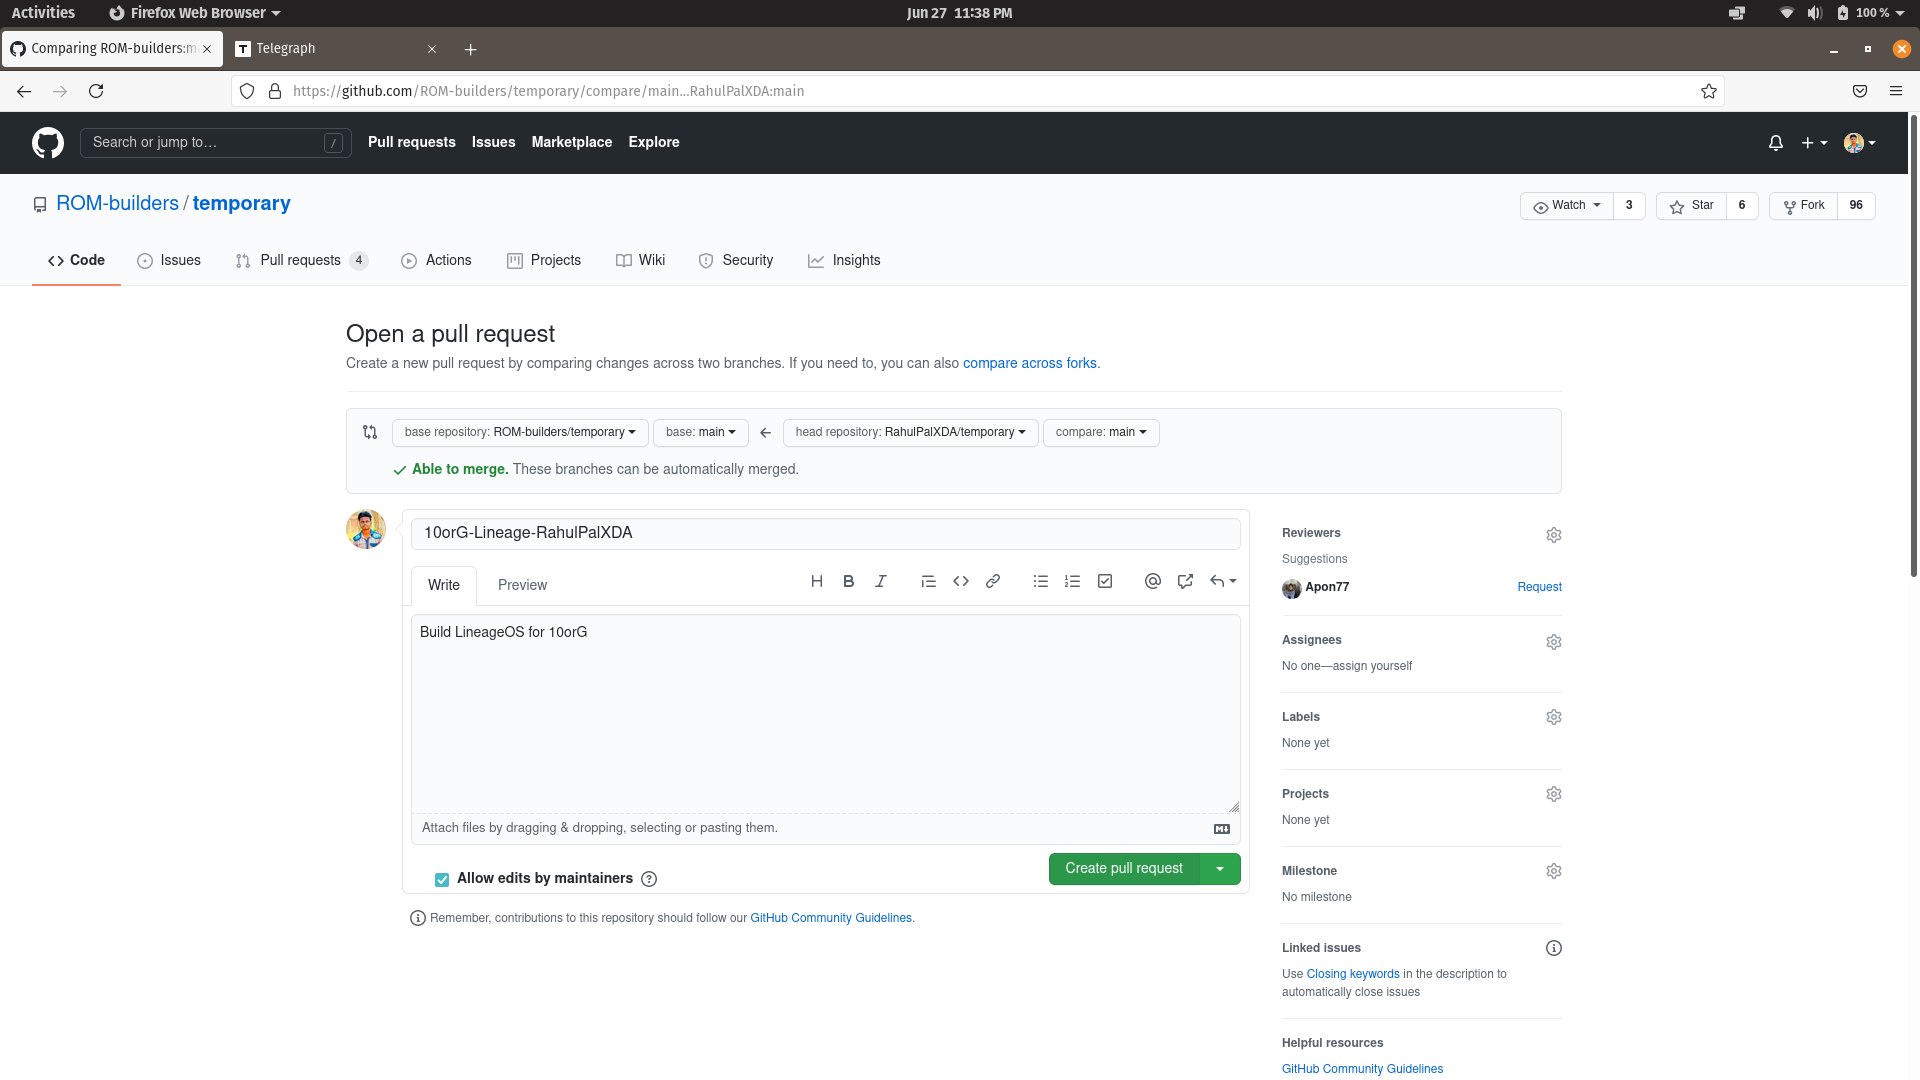
Now again just click on "Create pull request" button & Congratulations You Are Done.
Now you Can go to https://cirrus-ci.com/github/ROM-builders/temporary & check your Build status
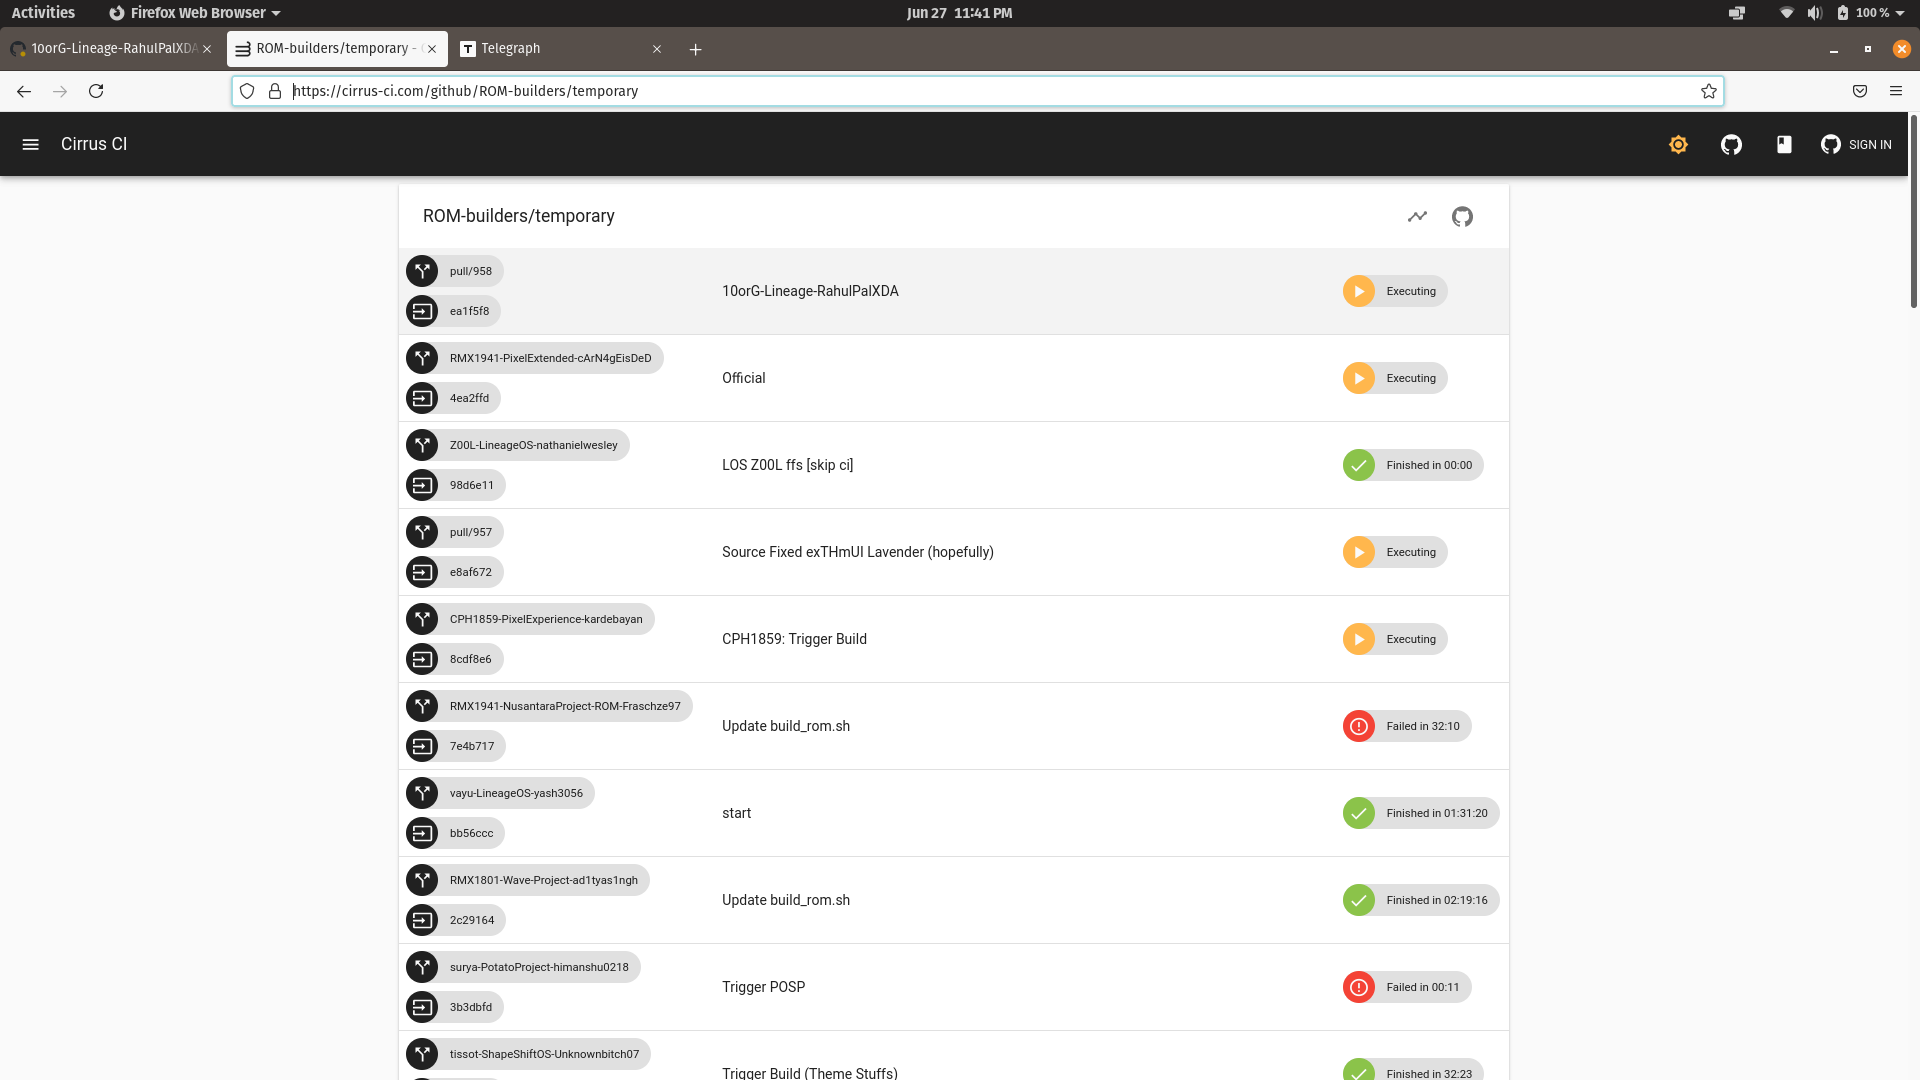
If your Build gone good than you will get a green tick beside your commit name.
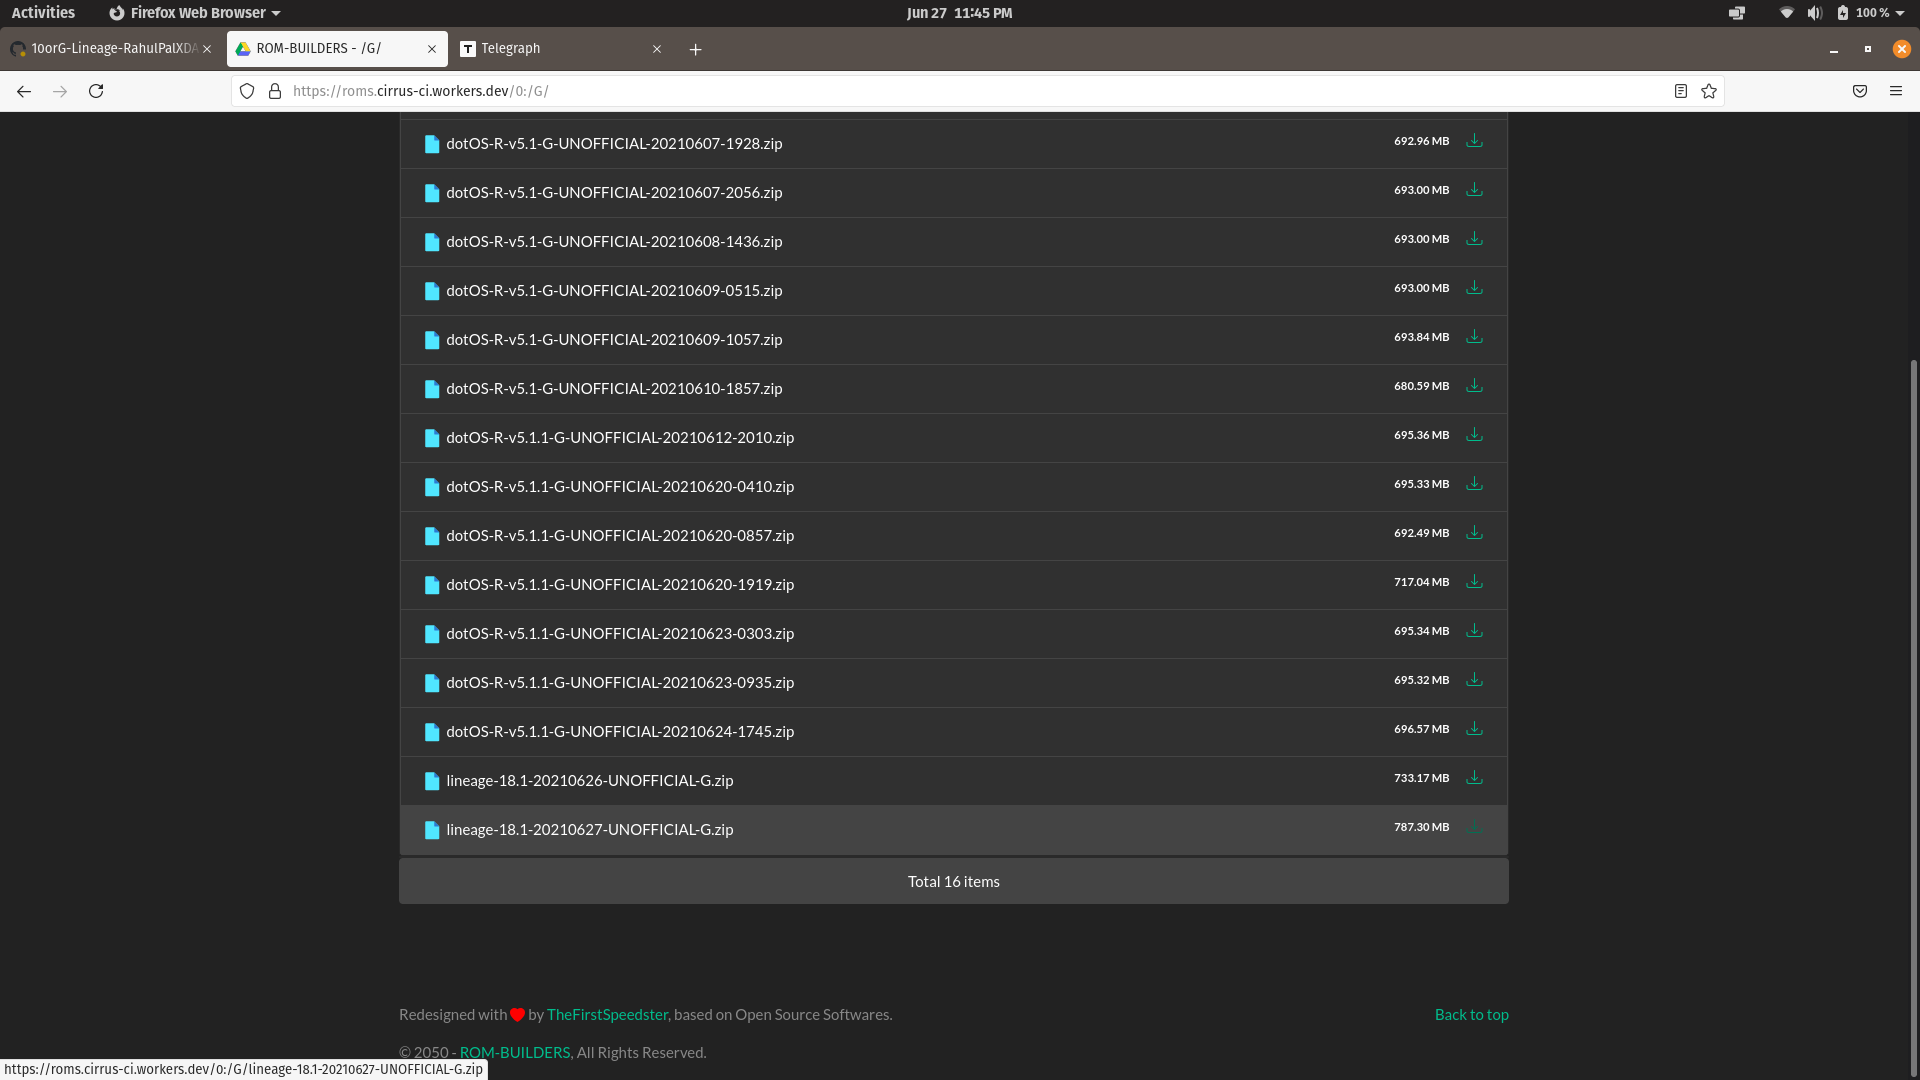
after Success Your Build, You Can go to https://roms.cirrus-ci.workers.dev/0:
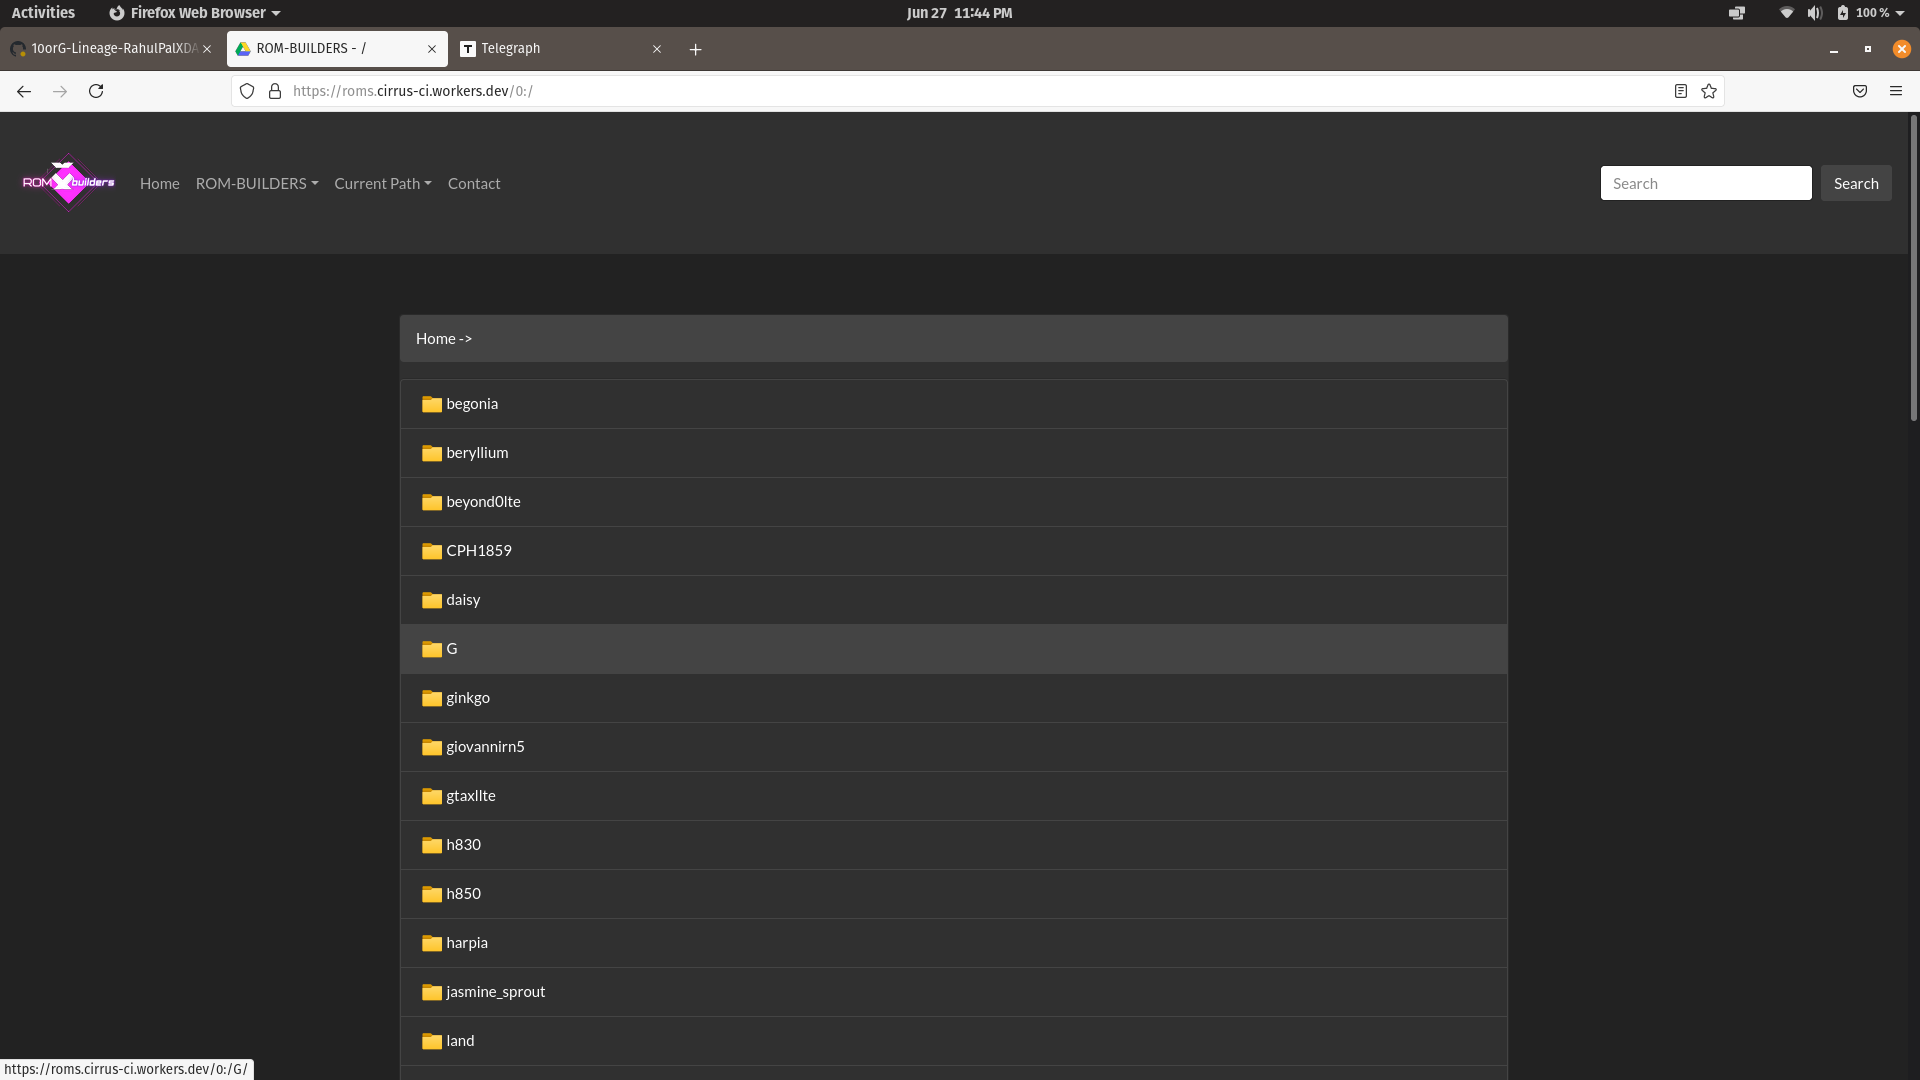
than click on your device code name & collect the build (in my case my codename is G)