Amish Oil Change

👉🏻👉🏻👉🏻 ALL INFORMATION CLICK HERE 👈🏻👈🏻👈🏻
Amish Oil Change
Amish oil change
Amish oil change: when a woman
performs
Fellatio on a horse and ºpª the cum out.
that bitch gave the horse an
Amish oil
change, nearly choked before she could spit
its b_aby batter out.
Amish oil change – Defining Anything
Amish oil change Amish oil change : when a woman performs Fellatio on...
Danish Oil - What You Should Know About This Amazing...
Пропитка дерева Danish Oil - YouTube
Amsoil 5 minute oil change completed - YouTube
FREE tips, techniques, tricks, plans, templates and more!
We are a participant in the Amazon Services LLC Associates Program, an affiliate advertising program designed to provide a means for us to earn fees by linking to Amazon.com and affiliated sites. ©2021 ThePowerToolWebsite.com
You don't want to miss out on this... Check It Out
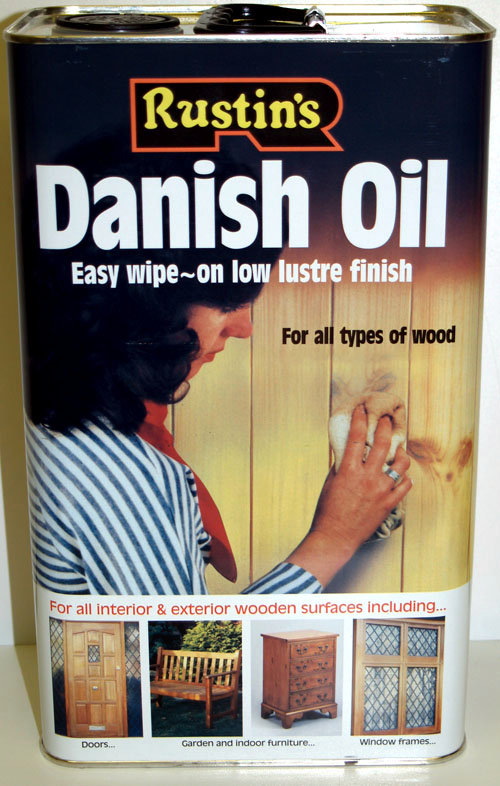
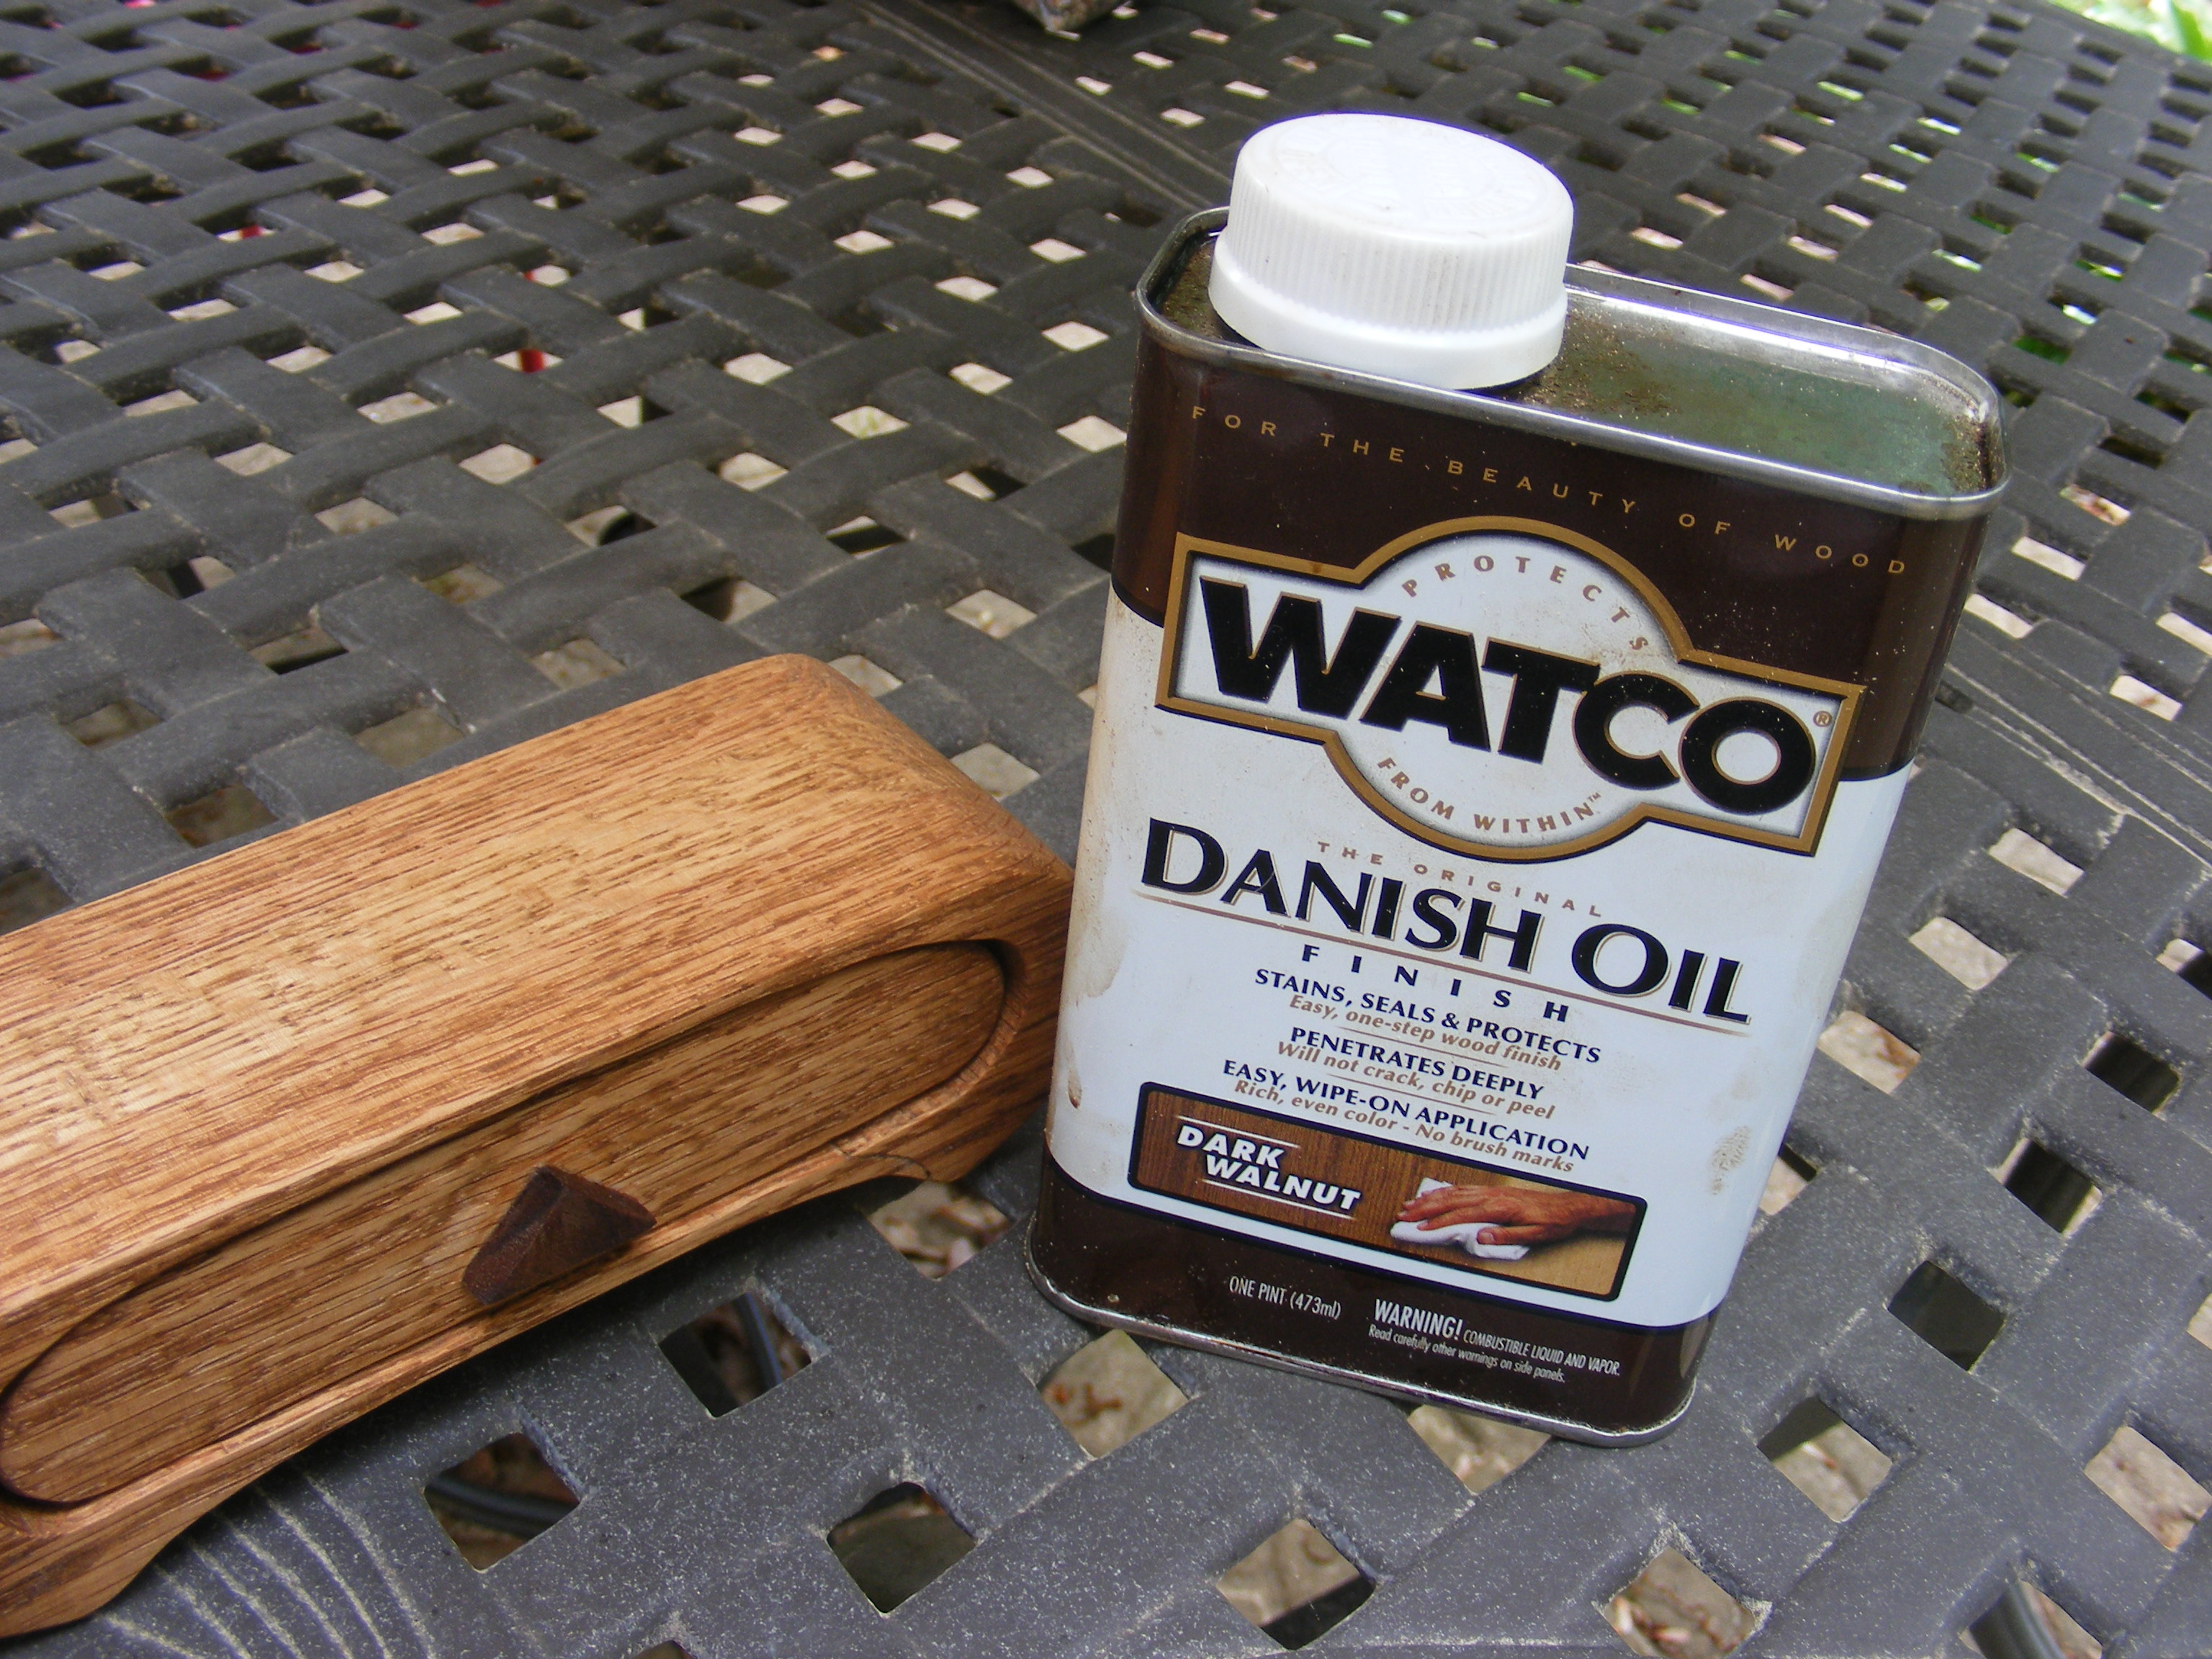
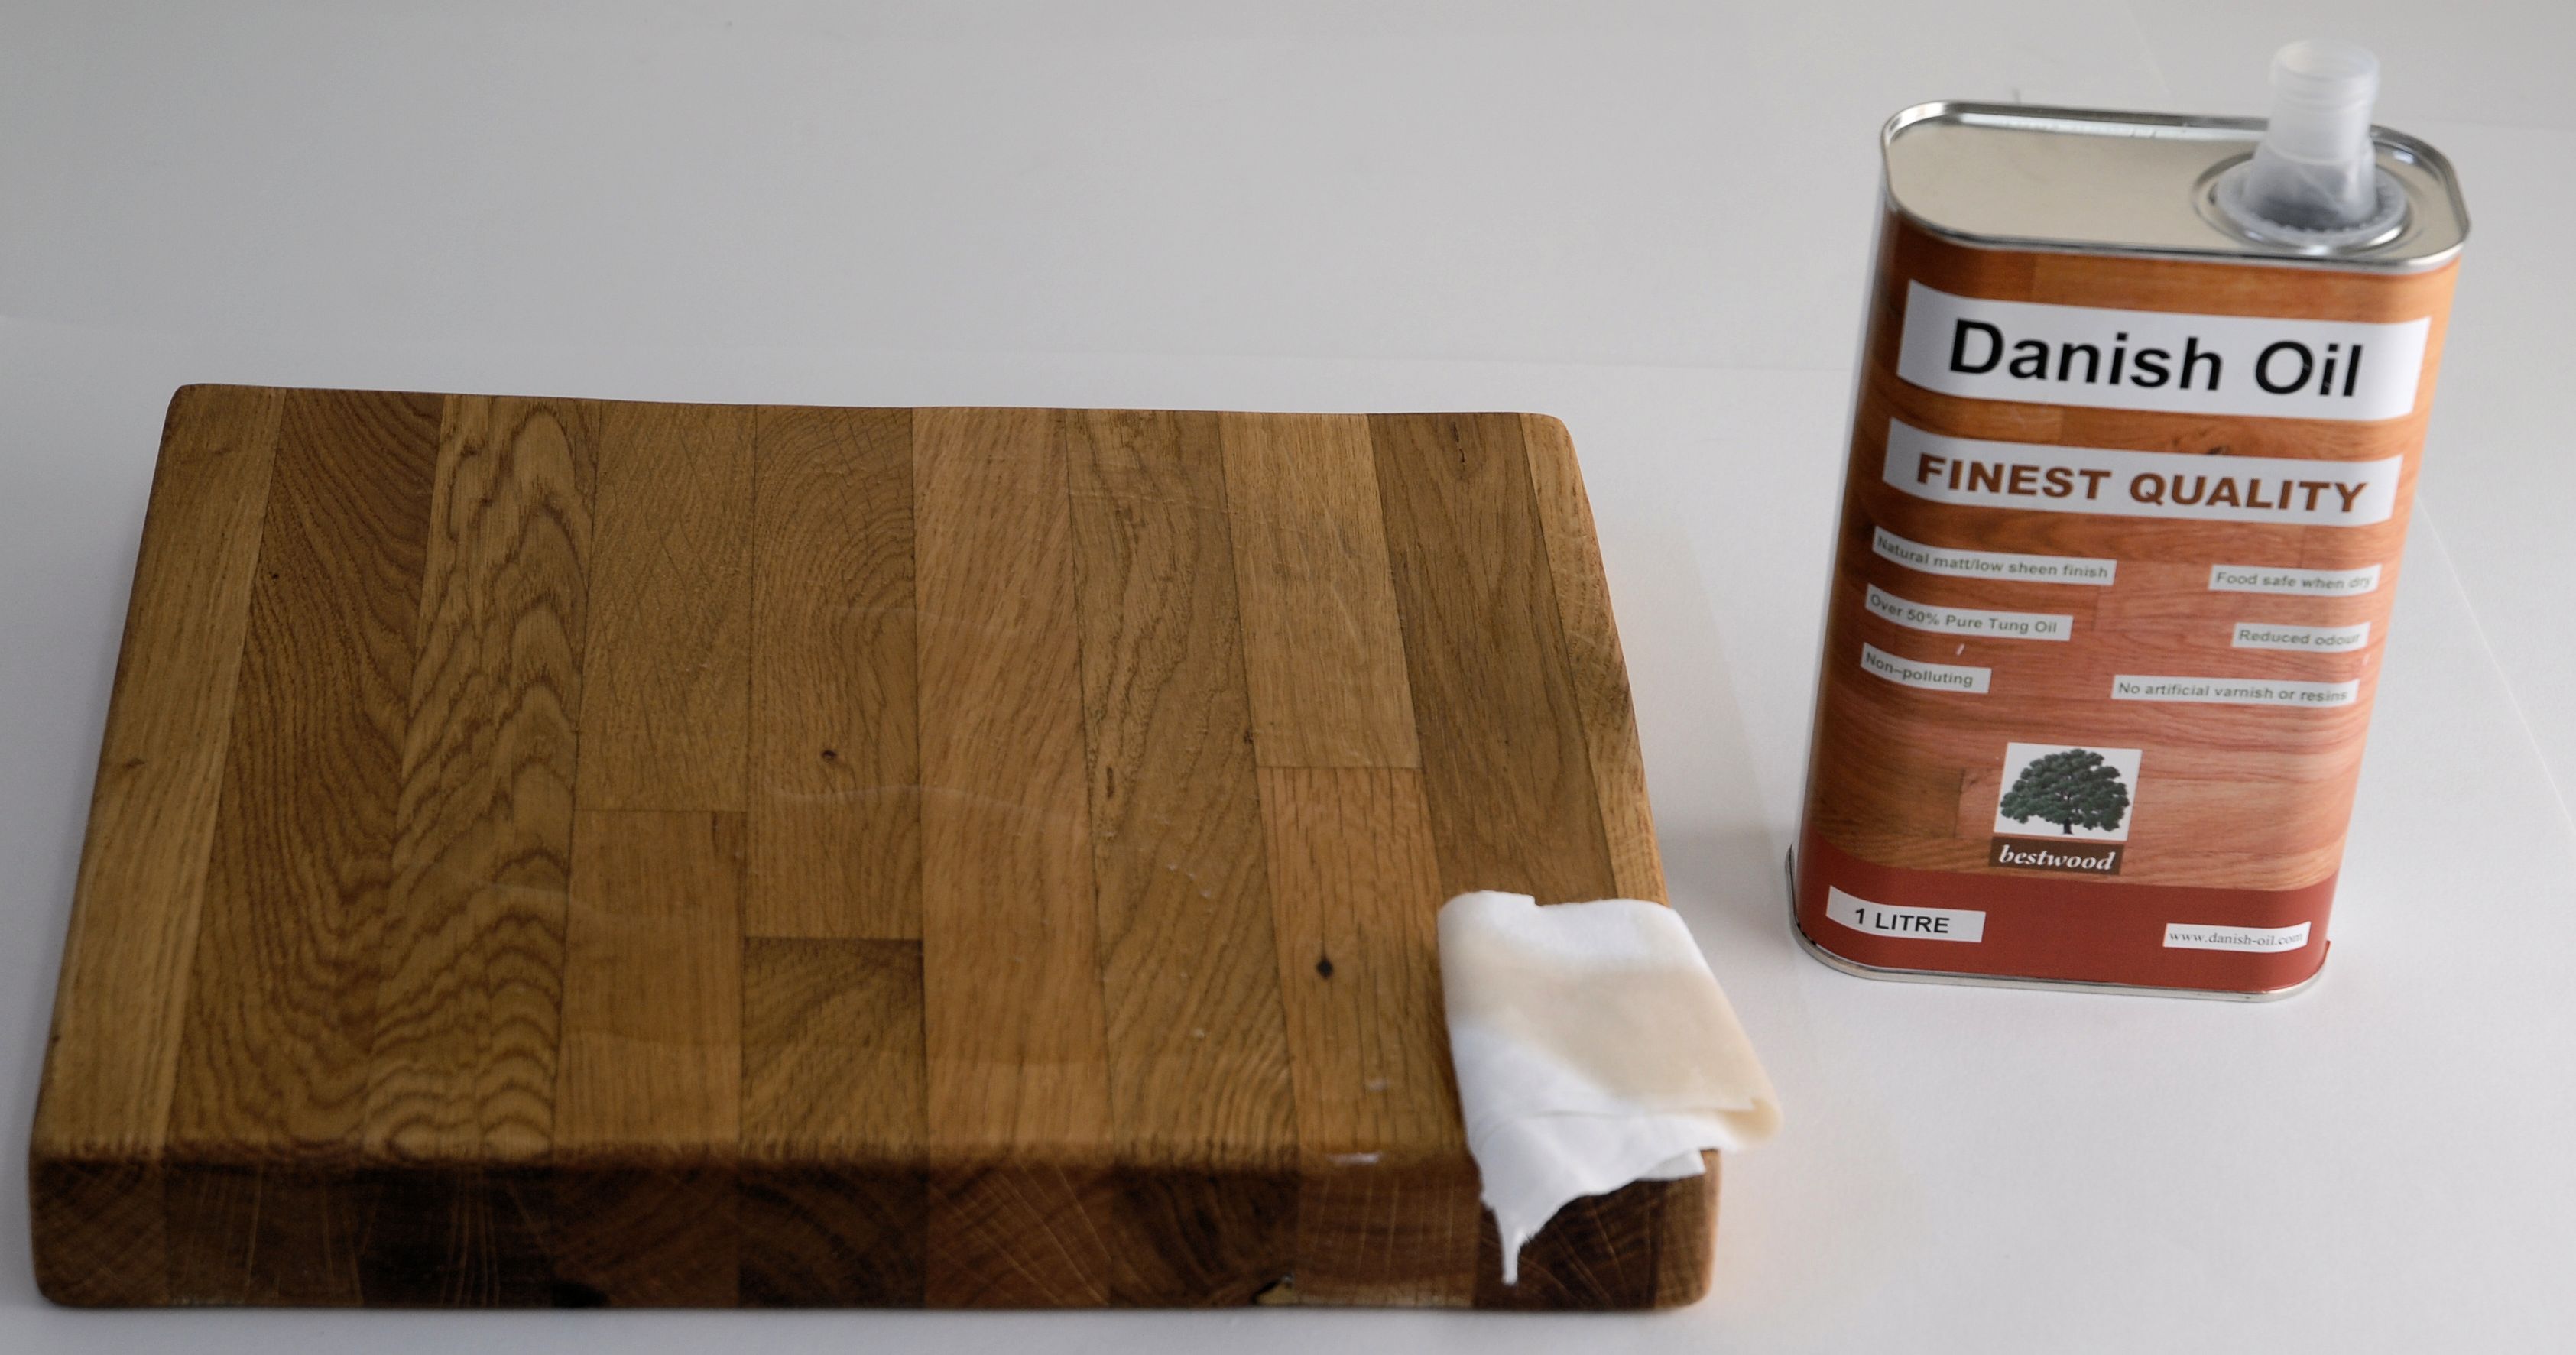
I love a good wood finish that is easy to apply, enriches the appearance of the natural wood, makes the grain stand out, and provides a decent amount of protection. So, let’s talk about Danish Oil.
Oil finishes like tung oil and boiled linseed oil penetrate into the wood. They provide some protection as well as a rich, beautiful appearance.
Film finishes like varnish, lacquer, and poly provide exceptional protection, but much less in the way of color and grain enhancement.
Danish oil, however, provides the best of both worlds.
It’s easy to apply, it’s very forgiving, and you don’t have to worry about dust nibs (all benefits of an oil finish).
Danish oil is a popular wood finish, and it’s basically a mixture of an oil, a varnish, and a thinner. Together, these ingredients really do bring out the natural beauty of the wood, while providing more surface protection than plain oil finishes.
Typically, boiled linseed oil or tung oil is used. These both are drying oils, and they darken and enrich the look of the natural wood.
The varnish component can be an exterior varnish, or polyurethane. This adds more moisture protection, as well as some wear and chemical protection.
The thinner makes it easy to apply, and helps the finish soak into the wood better, as opposed to a film finish that sits on top of the wood.
This thinner can be mineral spirits (paint thinner), or turpentine.
Other types of oil, varnish, and thinner may be used with comercially produced Danish oil, but the ingredients I listed above are what I’ve found to be the most common, while researching many different methods of creating your own Danish oil.
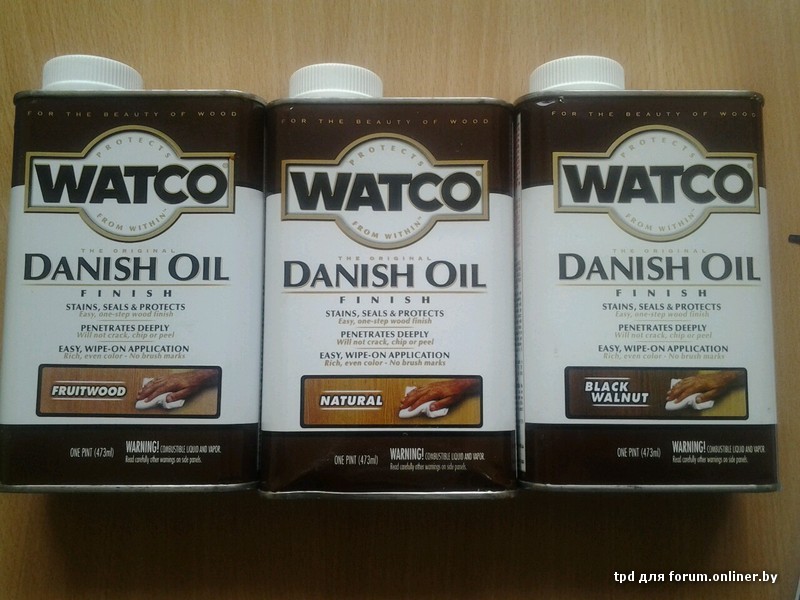
Regular store-bought Danish oils (like Watco or Tried & True) each have their own special concoctions, and provide a really beautiful finish.
But if you prefer more control, you may want to just make your own to really get the results you want.
While the Danish Oil wiki page claims that most variations use polymerized linseed oil, and lack a thinner, everything I found online about making your own is a bit different, which I’ll lay out here.
For a simple mixture, using equal parts poly, boiled linseed oil, and mineral spirits (each a third), is all you need to do. Do not use regular linseed oil, it won’t dry well and makes the finish more difficult.
Pour each ingredient into a glass jar and stir it well. Then it’s ready for use.
If you want better moisture protection, use tung oil instead of boiled linseed oil, and aquatic varnish instead of poly. Just keep in mind, the tung oil dries slower and you’ll need to allow more time between coats.
If you don’t need quite the protection, use 1/2 oil, 1/4 thinner, and 1/4 poly. This is still more protective than a straight oil finish, but really produces a rich, deep, natural look because the dominant ingredient is the oil.
If you need extra wear and tear protection, use 1/2 poly, 1/4 oil, and 1/4 thinner. This will still enrich the natural wood like an oil finish, but provide a tougher and more durable protection, closer to straight polyurethane.
Or, if you just want additional protection on top of the regular Danish oil finish, you can add a layer or 2 of wipe on poly after the oil has completely dried (give it a few days to a week first).
But with all that said, store bought Danish oil will give you great results for general use. Plus, you can find it in different colors to add a staining effect. So feel free to shop around.
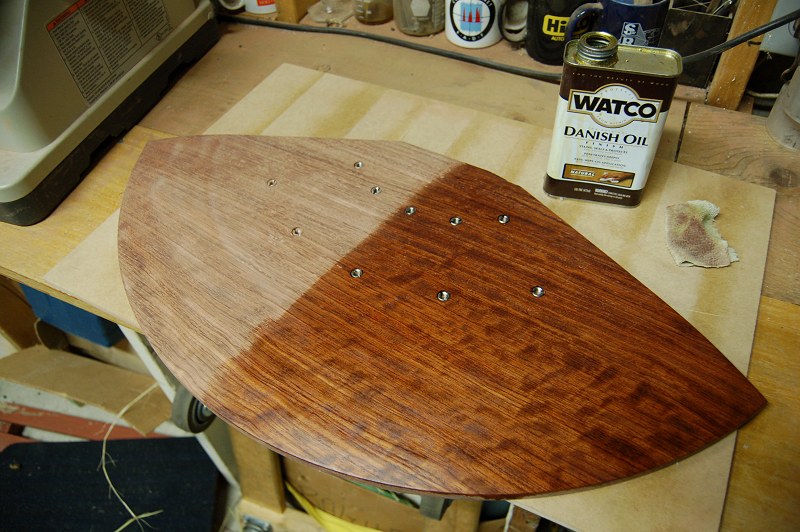
The first step is to make sure the wood is sanded nice and smooth. 220 grit is plenty smooth.
Once all the sanding dust is removed, you can apply the finish.
The first coat can go on with a rag if you want, but the raw wood will soak up quite a bit, so it’s a good idea to apply this coat with a brush.
Any old cheap brush will work. You will be wiping off the excess so you don’t have to worry about brush marks.
Once the entire surface is coated, look over the surfaces at an angle into the light, and find any areas that have soaked up all the oil and appear to be drying.
Rub more oil on these areas. Keep watching and applying more as needed for 10 minutes or so.
Then let the oil sit and continue soaking for another 20 minutes.
Now take a rag and wipe the oil off the wood. Rub it really good until you’re left with a silky sheen. You don’t want any shiny, sticky oil left on the surface.
Basically you’re buffing the finish while removing excess, and you’re left only with oil that has fully penetrated the wood.
Over the next half hour, keep an eye on it. Oil may seep back to the surface, and needs to be buffed out again.
Give this coat another hour or 2 to really dry. It should feel completely dry to the touch, and rubbing it with your finger should not leave a smear.
For the second coat, to really flatten the surface and leave a super-professional look, apply a slurry coat.
To do this, use 600 grit wet/dry sandpaper, dip it in the Danish oil, and rub the oil onto the wood in circular motions.
While applying, if it starts to become tacky just put more oil on the sand paper.
What you’re doing is creating a slurry of sanding dust and Danish oil. This slurry fills in the grain and the open pores, flattening the surface.
Look at the surface at an angle to see any pores that are still open, and sand that area until it fills up.
Once you’ve completed a surface, rub off the excess slurry with a clean rag, going across the grain.
If you rub with the grain, you’ll pull the slurry out of the pores. And rub softly, pushing too hard will pull out more slurry too.
Going across the grain leaves the slurry in the wood better.
After the second coat has been applied like this, let it dry overnight, possibly a day or 2. But for the first half hour of drying, keep an eye on it to make sure no oil is seeping back out and pooling on the surface.
Once that coat dries, if you still see any open pores, repeat the process with another slurry coat.
Once the coat has dried and it appears perfectly flat, apply a final thin layer to help seal in the slurry coat, or you can add a coat of wipe on poly to finish it up.
For extra protection, add a second coat of wipe on poly. But don’t build up much more than that, if any. The more poly you add, the less it will look like an oil finish, and more like a poly finish which doesn’t quite look like natural wood.
WARNING – PROPERLY DISCARD YOUR OIL RAGS. If you wad up your rag and toss it away while it’s still wet with oil, it can potentially combust and start a fire. Be sure to lay out the rags flat until they can dry, then throw them away..
You should not apply this finish over wood that is sealed, because it works by soaking into the wood, and sealed wood won’t absorb the oil.
That means it shouldn’t be put on painted wood, or wood that is sealed with a varnish, lacquer, or poly finish.
If you make your own Danish oil, make sure the main ingredients have dryers in them, like boiled linseed or tung oil. Also, do not use non-drying oils like mineral oil.
If you use turpentine, get the kind that is made from pine. This smells much better than other kinds of turpentine.
When you mix your own Danish oil, do it in a glass jar with a metal lid. If you use a plastic container, oxygen can get into the mix and over time can ruin the finish. A glass jar sealed tight with a metal lid will have a longer shelf life.
And if you’re looking for a food safe version of Danish Oil, go with the Tried and True brand. They claim to follow FDA regs that makes it safe to use on kitchenware and toys.
Thanks for stopping by, and be sure to sign up below so I can send you blog post updates, plus some free plans and templates.
But First – Be sure to share this on Facebook or save it on Pinterest – I appreciate your support!
This page may have affiliate links. For more information see my disclosure page.
About The Author Adam has been woodworking for the last 10 years. He considers himself a 'Small Shop Woodworker' and practices his hobby in his garage. With the lack of time, space, and proper tools, he always finds ways to get great results without over-complicating or over-thinking the process. Various shop jigs, table saw sleds, and tricks of the trade have served him well. God has blessed him with a beautiful family, as well as a passion for teaching others about woodworking. You can read more about Adam here .
Subscribe today for lots of free awesome woodworking stuff.
You will also recieve updates from my blog, status of my current wood shop projects, and relevant offers. You can unsubscribe at any time, and I protect your details in accordance with my Privacy Policy (see below).
Adam. Thanks. A really helpful instructive article on using Watco Danish Oil finish. I learned the technique about 30 years ago in a class from a woodworker (can’t remember his name) I took in San Diego. His method was to use the slurry method over a week and wiping off the excess as it dried between coats. I don’t have that patience and sped up the procedure by going through the different grits at one time and wiping off between coats. Then let it dry over a week and wiping off the excess oil everyday that bleeds out over that week. I then used a pleasant smelling paste wax like Briwax. I use only this type of finish technique for all jewelry boxes and even applied it to a antique dresser that I still own. Watco Danish oil changed it’s ingredients and the older original oil is far superior in application and drying time than the new stuff.
Great tips Gary, thanks. I’ll try your method out, I too have little patience when it comes to finishing. And often a single slurry coat or 2 is not enough, so using different grits sounds like a great time saver. Thanks again Gary.
Hello, I want to use a butcher block counter for a sewing table top. I love the natural, light wood – it is Birch. I want to seal it with something that won’t add/change the color of it. I don’t care for the amber/orange/gold tones that some finish products add to wood. Do you have any suggestions as to what I could use?
To avoid changing the color of the wood, you want to avoid oil-based finishes altogether. I’ve found that water-based polyurethane has a much less impact on final wood color, when compared to equal coats of an oil-based polyurethane.
I think what may be best for your project is called an acrylic lacquer. This should cause no color change, and it doesn’t yellow over time, like regular lacquer does.
As with any new finish, test it out first on some scrap wood from the same material you used in your project.
Hi! Just stained butcher block with Danish oil for a laundry room countertop. What should I use to clean the counter? Should I just be dry dusting it or is there a safe cleaner for it?
Hi Cristy – I would suggest not using any harsh, all-purpose cleaners. Just a little dawn soap and a damp rag will do the trick.
I’m Adam, and I’m a small-shop woodworker. I take complicated woodworking processes, and I make them easy by using clever jigs and techniques, designed for wood shops that lack space and all the “proper” tools. Subscribe here.
WOOD SHOP ESSENTIALS Table Saw Sled Vertical Cut Auxiliary Fence Thin-Rip Push Stick Drill Press Caddy Benchtop Mortising Jig Tapering Sled And more…
FOLLOW ME ON PINTEREST I keep all my pinterest boards updated with great and helpful content.
Girls Upshirt
Maritza Mendez Tits
Japanese Dildo Porn
School Teens Upskirt
Ryoko Murakami Jav


 h_498" width="550" alt="Amish Oil Change" title="Amish Oil Change">al_c" width="550" alt="Amish Oil Change" title="Amish Oil Change">q_85" width="550" alt="Amish Oil Change" title="Amish Oil Change">usm_0.66_1.00_0.01/d770b9_900c23af34f44cd5adf4ff2f2a726bb4~mv2_d_2160_2383_s_2.jpg" width="550" alt="Amish Oil Change" title="Amish Oil Change">