A Step-by-Step Guide to Wall Preparation for Stunning Wallpaper Results
Introduction
When thinking about a home or business makeover, wallpaper is an excellent selection to add a pop of individuality, design, and depth to any kind of area. Yet prior to you hurry into the awesome world of Residential Wallpaper Installation or Commercial Wallpaper Installation, one vital step stands between you and spectacular wallpaper results: Wall Preparation
Proper wall surface prep work ensures that your wallpaper sticks appropriately, looks flawless, and lasts for many years. So, what does wall surface preparation entail? Just how can you properly prepare your wall surfaces for wallpaper? This overview will certainly stroll you with every element of wall surface preparation, making sure that your next wallpaper task commercial wallpaper installation is nothing short of spectacular.
Understanding the Value of Wall Preparation What Is Wall surface Preparation?Wall prep work includes cleaning, fixing, and priming your walls prior to applying wallpaper. Without appropriate prep work, also the most beautiful wallpaper might not stick effectively or might wear quickly.
Why Is Wall Preparation Crucial? Adhesion: Appropriately prepared wall surfaces allow the sticky to bond effectively. Longevity: Taking time to prepare will certainly guarantee that your wallpaper lasts much longer without peeling off or bubbling. Aesthetic Appeal: Smooth walls supply a much more refined finish. Assessing Your Wall surfaces Prior to Wallpapering How Do I Evaluate My Walls?Start by inspecting your walls for any type of blemishes like cracks, openings, or stains. Use a flashlight to look for areas that may require attention.
Common Wall surface Issues Cracks and Holes: Load these with spackle or joint compound. Dirt and Grease Stains: Clean with a blend of soap and water. Old Wallpaper Residue: Remove it entirely prior to proceeding. Essential Devices for Wall Preparation What Tools Will I Need?Here's a useful list of wallpaper installation important devices needed for reliable wall surface prep work:
|Tool|Purpose|| --------------------------|---------------------------------------------------|| Putty Blade|For loading holes and cracks|| Sandpaper|To ravel surface areas|| Guide|To develop an also surface area|| Cleansing Cloth|For dusting and wiping down surfaces|| Ladder|For getting to high places|
A Step-by-Step Overview to Wall Surface Preparation for Stunning Wallpaper Results Step 1: Clear the SpaceBefore diving in, get rid of furniture from the room or cover it with drop cloths to protect against dirt and debris.
Step 2: Remove Existing WallpaperIf existing wallpaper is present:
Use cozy soapy water or a specialized cleaner to get rid of gunk. Wash with tidy water afterward.
Step 4: Examine and RepairCarefully analyze your wall surfaces:
Fill cracks and openings with spackle. Sand down rough patches until smooth. Step 5: Prime Your WallsApplying primer is vital for accomplishing wonderful outcomes:
Choose a guide appropriate for your wall kind (drywall, plaster). Apply equally using a roller brush. Preparing Different Wall surface Types How Do I Prepare Drywall?Drywall has to be treated with treatment. Ensure all joints are taped properly.
Steps: Sand joints gently after application. Apply guide after repairs. Preparing Plaster WallsPlaster requires special interest due to its porous nature:
Clean thoroughly. Use an oil-based primer for better adhesion. Dealing with Mold and mildew & Mildew How Can I Identify Mold on My Walls?Look for tarnished patches or discolorations on the surface.
Steps to Take care of Mold and mildew: Use bleach thinned down in water (one component bleach to 3 parts water). Scrub impacted area with a sponge. Allow it to dry entirely prior to priming. Choosing the Right Primer What Type of Primer Ought To I Use?Selecting an appropriate primer improves bond substantially:

Inspect every little thing again before case:
Ensure all repairs are complete. Confirm that wall surfaces are smooth and clean. Setting Up Your WorkspaceGather all devices close by:
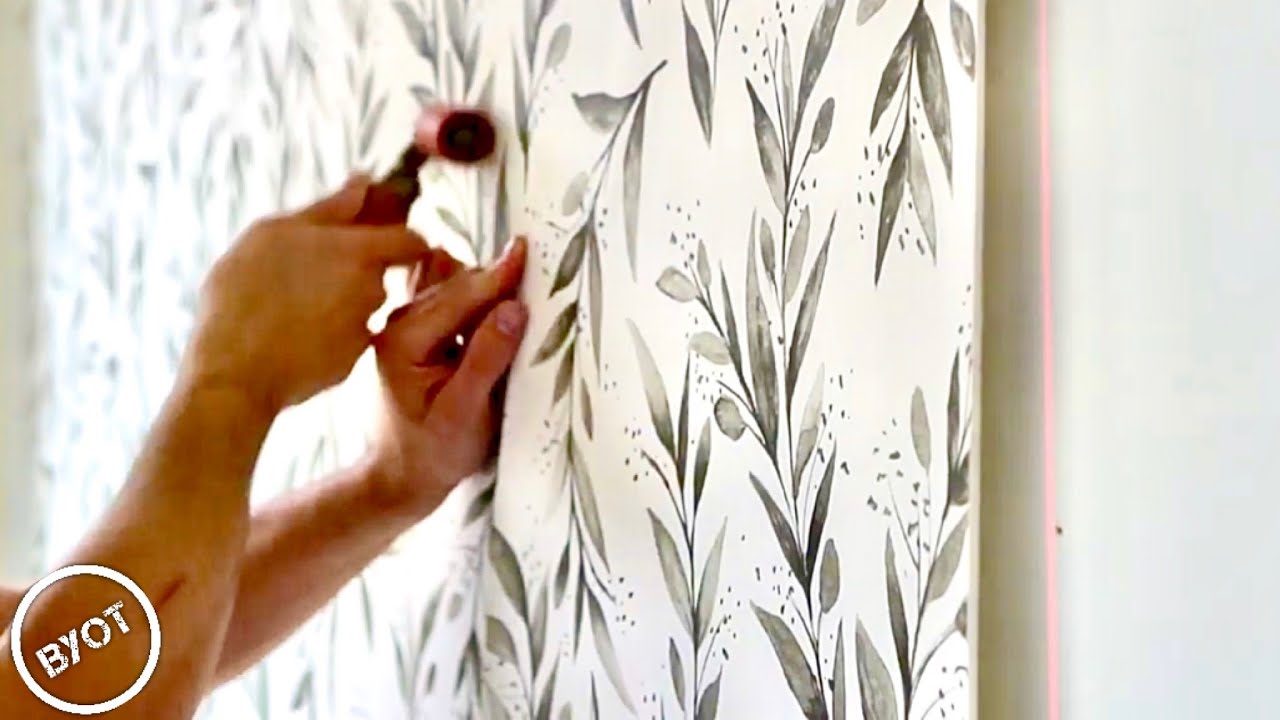
Have scissors ready. Ensure adhesive is within reach. Installing Your Wallpapers After PreparationNow that your walls are perfectly prepared, let's shift into setup techniques that promise stunning results!
FAQs How long ought to I wait after preparing my wall surfaces before installing wallpaper?After priming, it's finest to wait at least 24-hour for every little thing to dry entirely before applying wallpaper.

Yes! Simply make sure that the paint is totally treated-- typically concerning two weeks-- and comply with appropriate cleaning methods beforehand.
What's the most effective method to remove old wallpaper?Start by utilizing a scraper; if it withstands elimination, attempt steamers or chemical removers developed especially for wallpaper removal.
Is wall preparation various between residential and industrial settings?The fundamental concepts continue to be the exact same; nevertheless, business rooms might make use of heavier-duty products needing additional steps in wall preparation because of higher web traffic levels.
Can I utilize normal house paint as primer?It's not suggested as normal paint lacks residential or commercial properties needed for optimal adhesion; use details guides designed for wallpapers instead!
li31/ol5/hr10hr10/##
ConclusionBy following this extensive overview on wall surface preparation labelled "A Step-by-Step Overview to Wall Prep Work for Stunning Wallpaper Results," you're well on your method towards attaining impressive transformations in both domestic and industrial spaces alike! Keep in mind, requiring time ahead of time repays in long life and look when it boils down to installing stunning wallpapers that boost any setting's aesthetic allure while guaranteeing you're furnished with understanding pertaining to proper approaches bordering cleanup jobs such as glue deposit administration-- all essential aspects contributing in the direction of successful installments overall!
So roll up those sleeves-- your desire room awaits!