20 Things Only The Most Devoted Residential Door Installation Fans Know
The Comprehensive Guide to Residential Door Installation
The installation of residential doors is a vital element of home enhancement that not just improves the visual appeal of a home but also increases energy effectiveness, security, and personal privacy. This post will delve into the numerous kinds of doors, the installation process, and necessary tips for guaranteeing a successful install.
Types of Residential DoorsBefore diving into the installation process, it's crucial to comprehend the different types of residential doors offered. Each type uses special benefits and styles matched to various home styles.
Door TypeDescriptionProsConsWooden DoorsMade from solid wood or crafted woodVisual appeal, outstanding insulationGreater cost, might warp or swellSteel DoorsManufactured from steel frames with insulationSturdiness, high securityCan be dented, bad insulationFiberglass DoorsComposite products mimicking wood or steelLow upkeep, fantastic insulationCan be priceyGlass DoorsTypically sliding or French doors made from glass panelsNatural light, modern visualLess personal privacy, can be delicateAluminum DoorsLight-weight and rust-resistant metal doorsRust resistance, low upkeepLess insulation, damage quicklyBenefits of Installing New DoorsBuying new door setups features a wealth of advantages. Below are some essential benefits house owners can expect:
- Increased Security: Upgrading to modern doors with improved locking mechanisms can substantially enhance the security of the home.
- Energy Efficiency: Well-insulated doors prevent drafts and assist preserve indoor temperature levels, resulting in lowered heating & cooling costs.
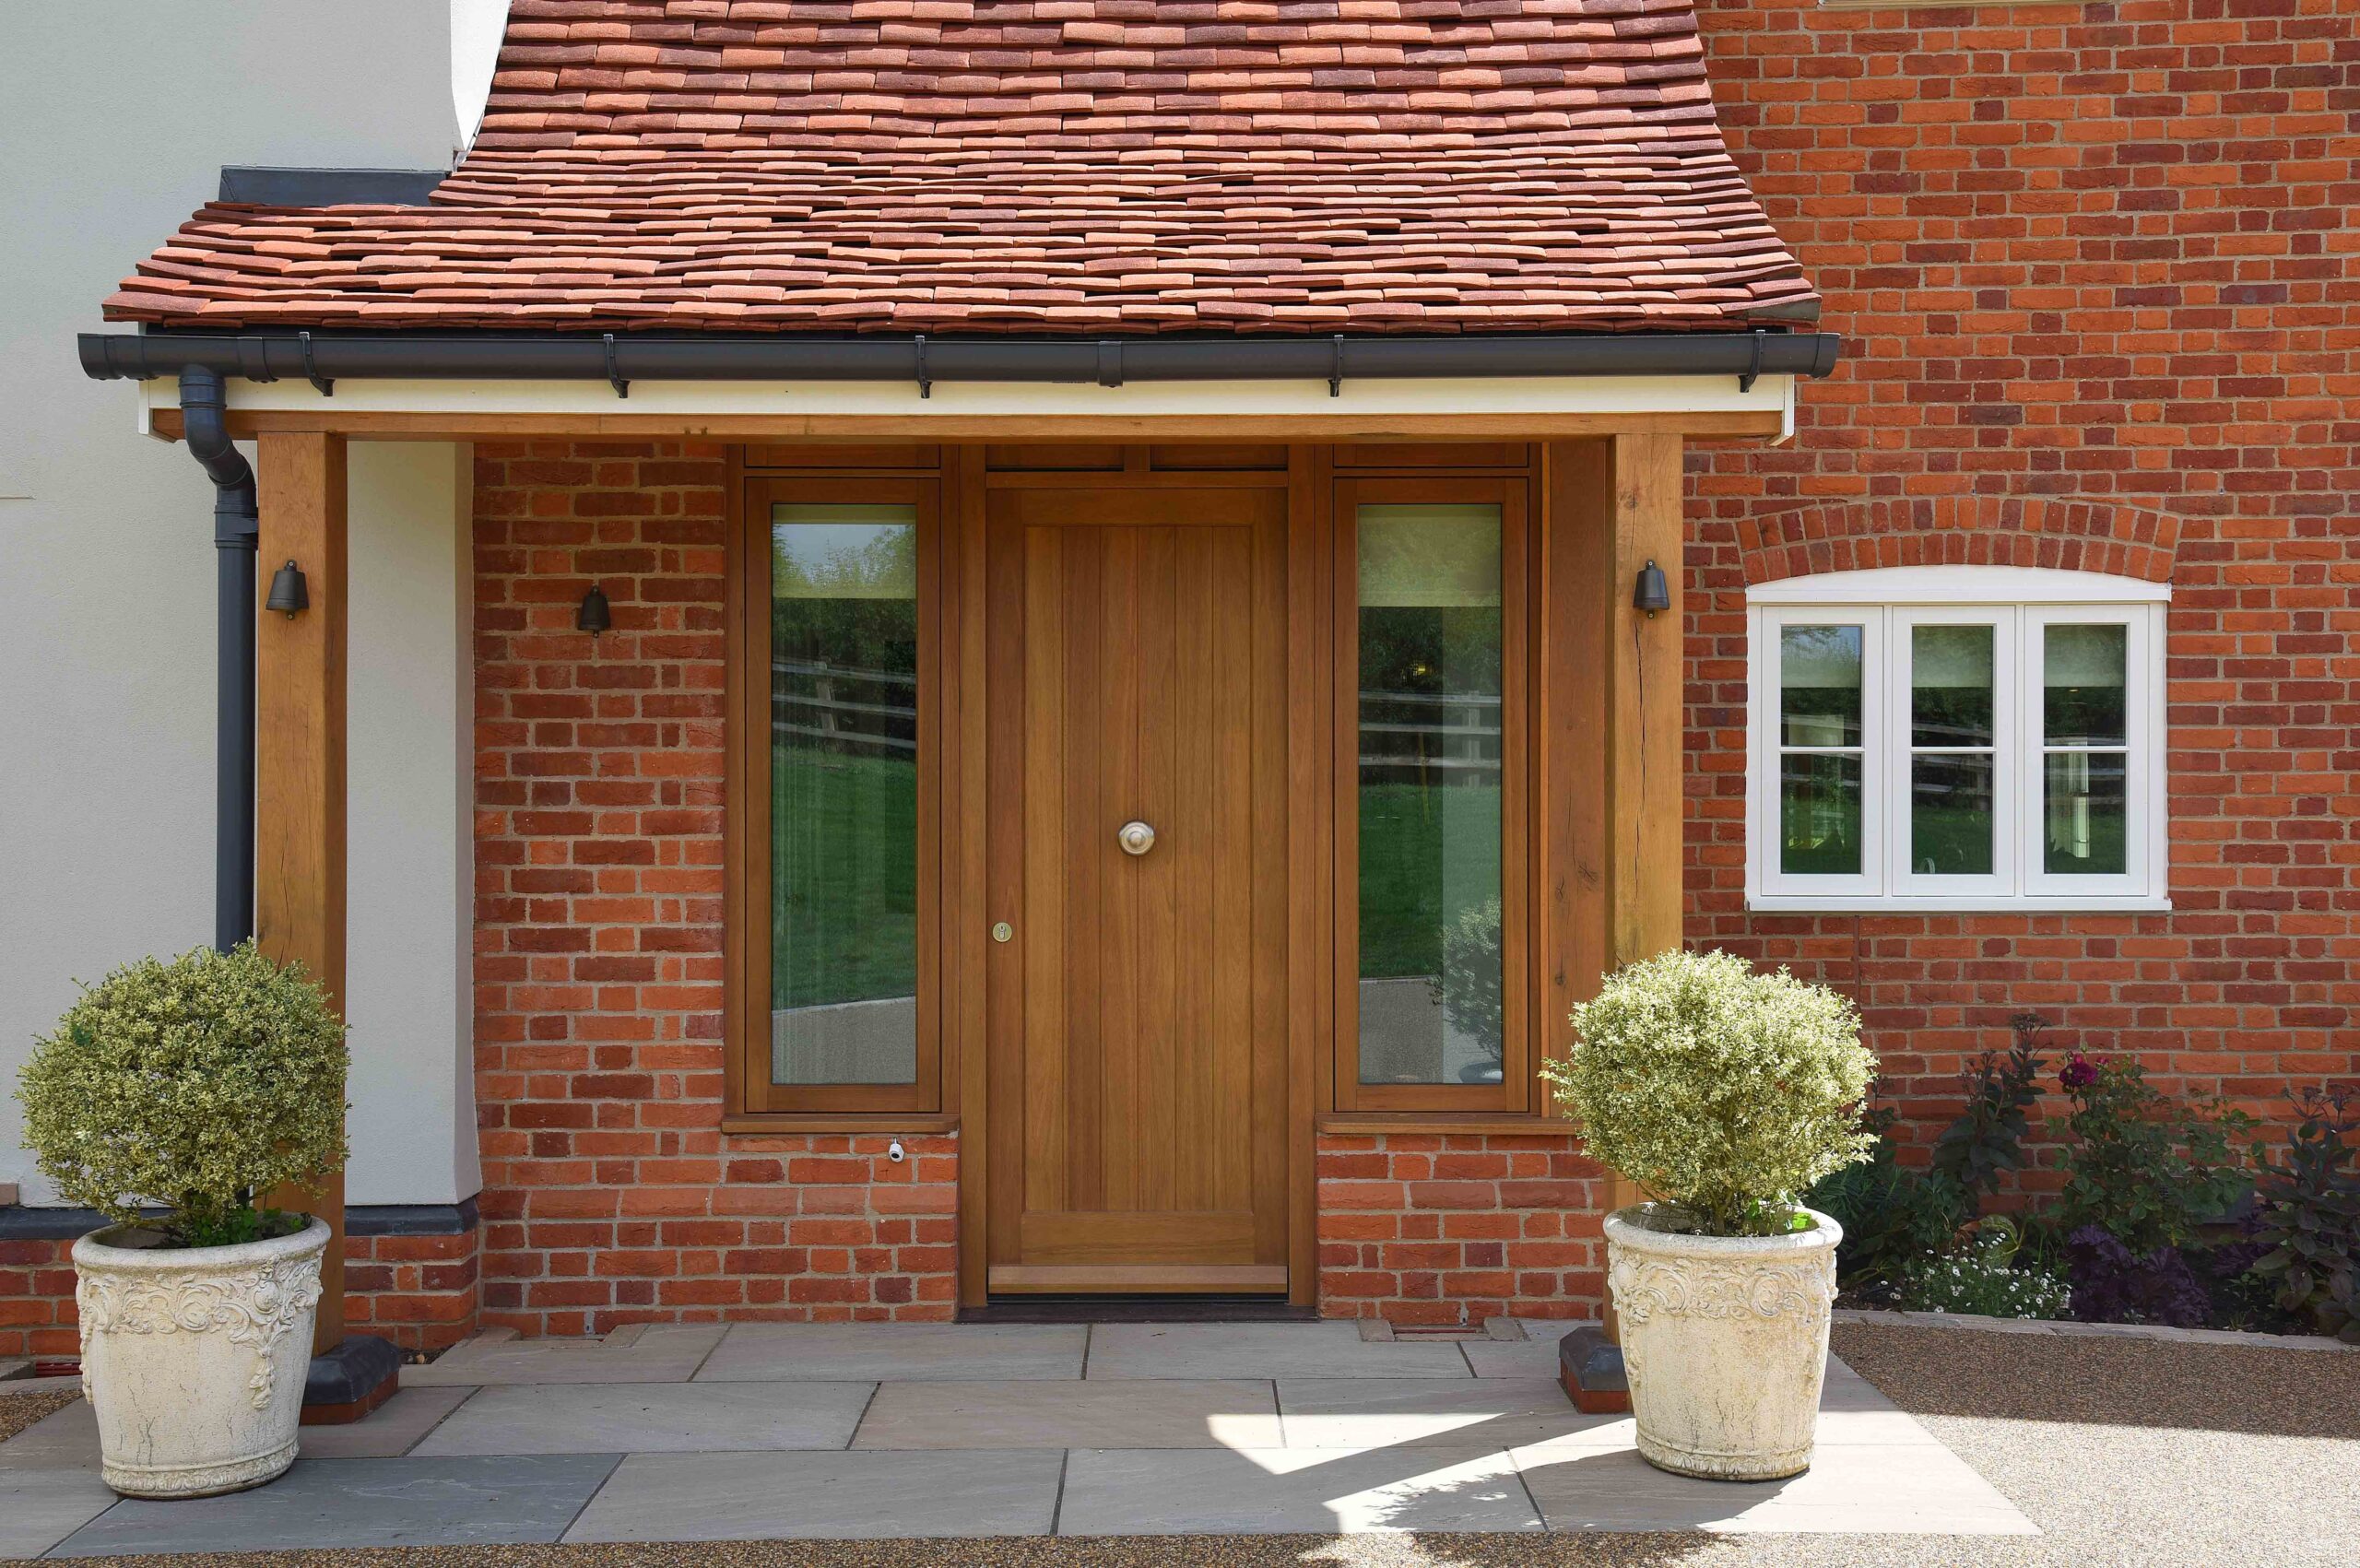
- Curb Appeal: New doors can significantly raise the exterior visual of a home, making it more attractive to possible purchasers.
- Sound Reduction: Upgrading to solid doors can assist in noise reduction, offering a quieter home environment.
- Improved Functionality: New doors may use much better performance, from improved hardware to easy operations like sliding or folding.
Before starting the installation process, collect the needed tools and products. Having whatever ready will simplify the job and reduce any possible frustrations.
Important Tools
ToolPurposeMeasuring TapeTo determine door measurements accuratelyLevelTo guarantee the door is hung straightScrewdriverFor protecting hinges and hardwareHammerTo drive in nails as neededPower DrillFor drilling holes and driving screwsCrowbarTo remove old doors safelyShimsTo change the door frame as neededSecurity GlassesTo safeguard eyes during installationMaterials Needed
ProductFunctionNew DoorThe main element being installedHingesTo attach the door to the frameDoor LocksetFor security and performanceContractor's Foam or CaulkTo seal spaces and increase energy effectivenessWood for ShimsFor modifications and levelingThe Step-by-Step Door Installation ProcessNow that you have actually chosen your door type and collected the necessary tools and products, follow this guide for an effective installation.
Action 1: Remove the Old Door
- Utilize a pry bar to carefully remove any molding or trim around the old door.
- Unscrew the hinges using a screwdriver and remove the door from the frame.
Action 2: Prepare the Door Frame
- Check the door frame for any damage. If there is rot or decay, it might require to be repaired or replaced.
- Tidy out any debris to ensure a smooth fit for the new door.
Action 3: Measure and Cut (if necessary)
- Measure the height and width of the new door to ensure it fits the frame.
- If necessary, cut the new door to precisely match the frame measurements.
Step 4: Install Hinges
- Attach the hinges to the door first. Ensure they are aligned correctly and screw them in securely.
- Position the door back in the frame. Use Windows And Doors R Us to change the door's positioning to ensure it swings properly.
Step 5: Secure the Door
- When the door is level, protect the hinges to the door frame utilizing screws.
- If the door has a knob or handle, drill the hole for the lockset according to the maker's directions and install it.
Action 6: Finish the Installation
- Close the door to check if it swings easily without rubbing versus the frame. Change the hinges or shims as essential.
- Once pleased with the performance, use caulk around the door frame to improve energy effectiveness.
Just how much does it cost to set up a new door?
- Costs can differ widely based upon the type of door and installation complexity, typically varying from ₤ 200 to ₤ 2,000, consisting of products and labor.
Can I install a door myself?
- Yes, with the right tools, products, and guidance, numerous homeowners choose to set up doors themselves to save money on labor expenses.
What should I do if the new door doesn't fit?
- You might need to trim the door or adjust the frame. Always determine two times before cutting or changing.
How can I ensure my door is energy effective?
- Look for doors with high energy scores, guarantee correct sealing during installation, and consider including weather condition stripping.
What upkeep do I require to do after installation?
- Regularly examine and tighten hinges, tidy the door, and reseal around the frame as needed to preserve energy efficiency.
Installing a residential door is an impactful home improvement task that uses numerous gain from heightened security to aesthetic improvement. Whether a homeowner chooses to tackle the installation themselves or employ a professional, understanding the process, tools needed, and kinds of doors can result in an effective result. By following the steps laid out in this guide, even those new to DIY projects can accomplish a perfectly installed door that will last for several years to come.