How to build 10+ GPU Mining Rig in 2021
WoolymanThe first myth associated with mining is that assembling a mining farm is unrealistically difficult and beyond the power of an ordinary person. This was approximately the case until 2017, but since then, many manufacturers have begun to make products that make it easier to assemble a mining farm.
What do you need to build a mining farm?
The frame / body is what you will attach all the elements to.
- Motherboard (minimum supporting 6 x1 and x16 slots in total)
- CPU
- CPU cooler
- RAM
- SSD disk
- Power supply unit (most likely there will be several)
- Adapter for synchronous connection of power supplies
- Risers (for connecting video cards)
- Video cards (GPU)
- Case
Let's dwell on each item in more detail:
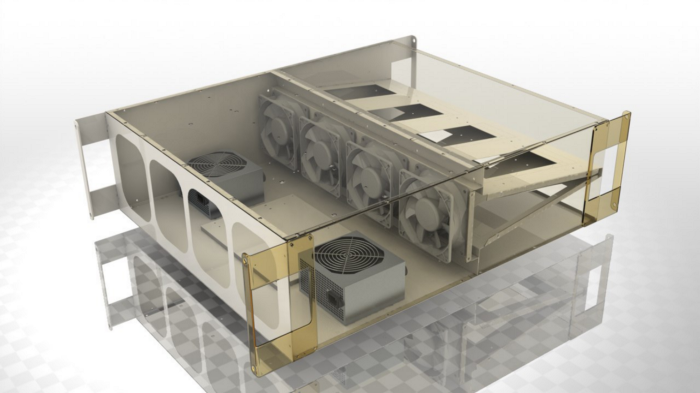
Case.
It can be open (assembled from wood or aluminum slats) or closed (body).
An open case is the cheapest and easiest option to assemble and operate.
The good thing about a closed case is that it protects your cards from possible physical impact, and also allows for better cooling of video cards.
If you plan to take a closed case, then take it with the separation of air flows, they are done:
* Airbox
* Donnager
* Coolbox
* Jabbamarket
Motherboard
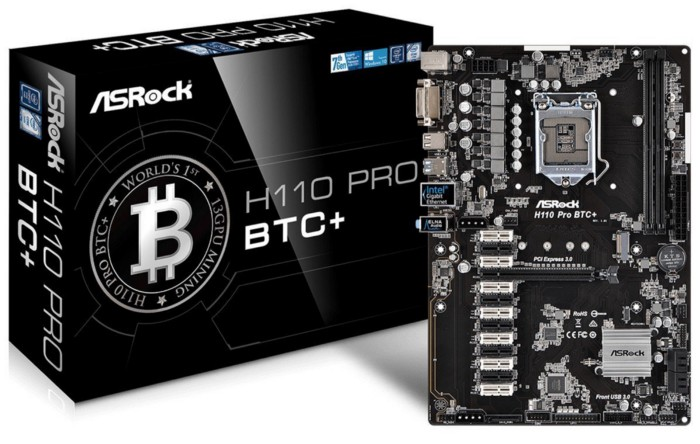
It should provide the ability to connect at least 10 GPU (there is less economic sense), and the more GPU in the mining farm, the better for mining (the farm will send more shares).
Manufacturers are already producing motherboards specially designed for mining. For instance:
- Asus Mining Expert
- Asrock BTC +
- Gigabyte fintech B250
CPU for mining rig
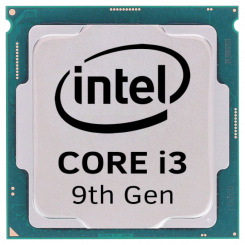
The CPU (processor) must be with the same socket as the motherboard. If you have a motherboard with socket s1151, then the processor must be with the same socket.
Many mining farm building guides recommend using the cheapest plug-in processors. The problem is that they were compiled at a time when there were really enough such processors. With the release of motherboards that support more than 6 video cards, with the release of new powerful video cards, as well as with the release of new, more resource-intensive algorithms, we recommend that you be more careful when choosing a processor.
If you are planning to build a small rig, a cheap processor is really enough. If you are going to use powerful video cards, for example, the 20th or 30th series of Nvidia, but in the amount of 10 pieces, install processors not lower than i3.
CPU Cooler

You should not buy very expensive CPU coolers, there is no need for this (unless you are not mining on the processor, but we will talk about this a little later). Also note that the height of the cooler should not exceed 7–8 cm, otherwise you will not be able to install it in a frame or case. That is, you need a horizontally standing cooler.
RAM
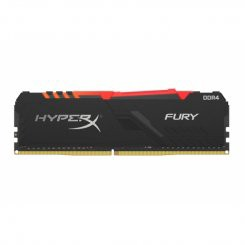
As in the case of a CPU, there are algorithms that are critical to the amount of RAM. If earlier it was possible to install 4Gb, now it is better to install 8Gb (while performance is not needed). And virtually all motherboard manufacturers have already switched from DDR3 to DDR4.
SSD Disk
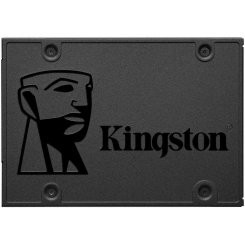
A standard SSD disk, the size of which will depend on how many and what video cards you will have, and what OS you choose for your mining farm. In most cases, the best option would be to buy a 120Gb SSD.
Mining Rig Power Supply
2 options:
- Use a used server power supply that is soldered to connect to a standard ATX motherboard and has cables for connecting video cards. Of the minuses - a used product and a higher noise level in comparison with standard power supplies.
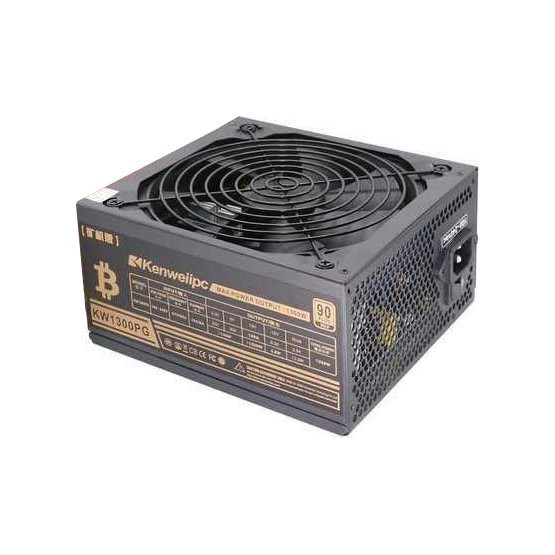
- Use a standard power supply unit for ATX motherboards with high power and a large number of cables for video cards. Select the power of the power supply with a margin (the margin should be at least 20%), based on the maximum consumption of each video card and the system itself, which on average will consume about 200 watts.
Don't rush to buy expensive PS brands. The conventional platinum EVGA or Corsair is very expensive, and it can fail, just like the Chinese Kenweiipc, if it is misused. The advantage of the Kenweiipc KW series is that it was originally designed for mining tasks, has high power and a large number of cables for video cards.
Given the number of GPU in modern rigs (many motherboards support 8-12-19 video cards), it will be necessary to supply several power supplies. We will describe how to do this below.
Adapter for synchronous connection of power supplies
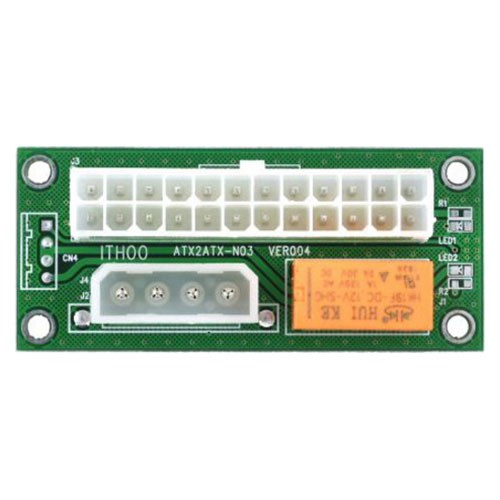
It is a small board with 2 connectors - one ATX 20 + 4-pin, the other Molex.
In the Molex connector (in the photo, the smaller one at the bottom left), you need to insert the power supply with which you power the motherboard of the mining farm and, for example, several video cards.
In the ATX 20 + 4-pin (the same as for powering the motherboard, in the large photo), you need to insert the power supply that does NOT power the motherboard of the mining farm. You only need this power supply to power additional video cards.
Depending on the mining farm, you can use more than 2 power supplies by connecting them through an adapter for synchronous connection of power supplies.
Risers
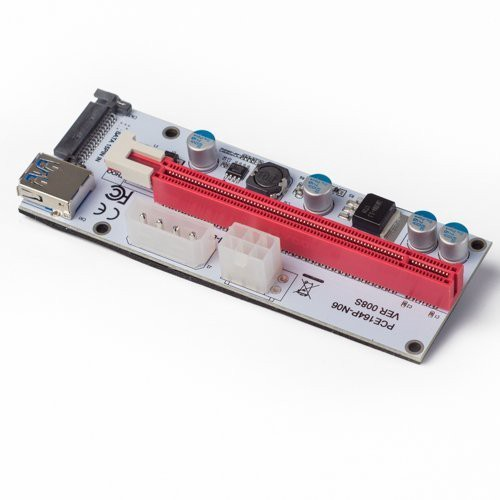
Risers are what you can use to connect GPUs to the motherboard. At first glance, not so important stuff, but the choice of a riser is also extremely important. There are manufacturers that allow a large number of defects, as a result of which your video cards will either not work at all or work intermittently. Personally, I use the risers as in the picture, I have never had any problems with them.
It is not recommended to connect the riser via Sata connector, only via 6PIN or Molex connectors.
You should not take risers with a length of 30 cm, this is extremely small, use 60 cm.
GPUs for Mining Rig

The first choice you need to make is which manufacturer's graphics card. There are “green” (Nvidia) and “red” (AMD).
Nvidia is much easier to set up and work with, and also much more flexible in terms of the choice of algorithms for mining. Nevertheless, AMD is good at digging the ethash algorithm (on which ETH is currently being mined, aka ether, and also ETC, aka ether classic), as well as Progpow / Kawpow.
However, do not buy GPUs with memory capacity below 8Gb, very soon they will already be illiquid.
Assembling a 10 GPUs Mining Farm:
- Apply a thin layer of thermal grease to the processor.
- Place the processor on the motherboard, secure it with a special clip. Install a CPU cooler.
- Place the motherboard on the case / frame, secure it. Determine the location for the power supply unit / s.
- Connect power to the motherboard.
- Connect the SSD disk (after installing a special mining operating system on it, read the description of how to do it here) or later install Win 10 OS on it.
- Connect the riser as shown in the picture.

7. Connect power to each riser.
Attention! If you have 2 or more power supplies on your farm, then power to the riser must be connected from the power supply from which you will subsequently power the video card installed on this riser.
8. From one sata or molex power supply cable unit connect NO more than 2 risers.
9. Install the video cards on the riser, securing them to the case with screws so that they do not dangle.
10. Connect the power to each GPU, after checking again from which power supply unit you powered the riser, if you have several power supplies.
Congrats. The assembly of the mining farm is complete!
Mine with https://woolypooly.com/en/ Mining Pool!